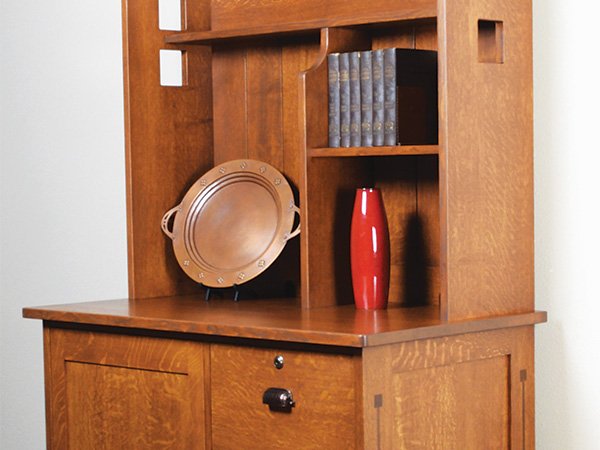
Charles Limbert produced furniture in the early 1900s, and many of his forms have stood the test of time. Not only are there surviving examples of his chairs and cabinetwork, which is no small feat, but his best forms still look stylish over a hundred years later. Limbert took the best part of Gustav Stickley designs, with honest and sturdy joinery, and fused it with Dutch influences to create a truly unique style in America. Traditional square furniture legs were replaced with wide planks, and decorative cutouts harkened back to age-old Western European designs. Inlays and adornments were used sparingly and to good effect. Limbert has inspired many furniture pieces over the years, and I thought his style was fitting for this two-piece office hutch I’ve designed.
Do the Legwork
The legs are indeed plank-like in dimension and form a sturdy base for the lower cabinet. Mill them to the dimensions in the Material List, and set to work on the inlays that dress up the legs. Ebony was the inlay material of choice in Limbert’s heyday, which gave rise to the popular but expensive “Ebon-Oak” line of furniture.
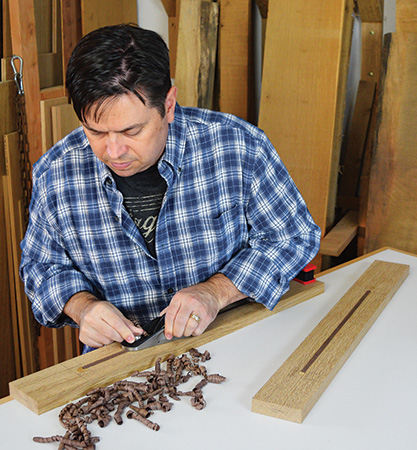
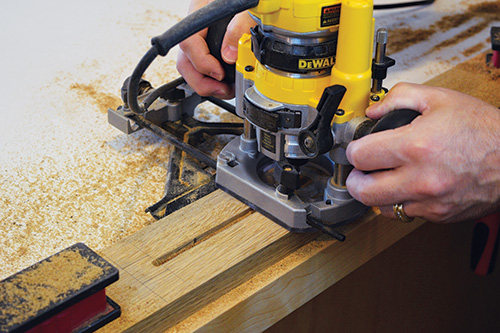
Since I don’t have any Gabon ebony forests nearby, I used walnut for the inlay. Start by milling a 1/4″-deep channel centered on the width of the leg using a router and edge guide. Then mill some walnut stock until it fits into the channel you’ve created. Leave the inlay a little proud of the oak surface. Glue it in place, then plane it flush.
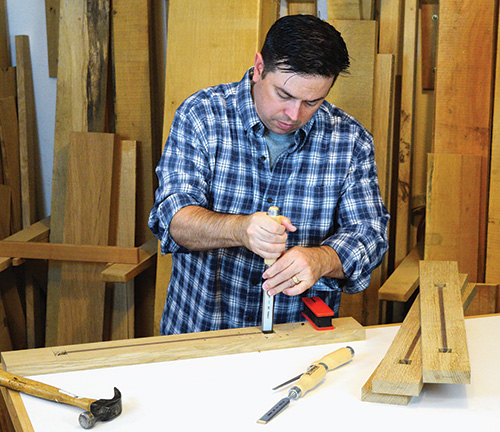
To finish the inlay, chisel out 1″-square recesses approximately 3/8″ deep. Make walnut plugs that show face grain (as opposed to end grain) for a consistent look. Back-beveling the plugs slightly with sandpaper help achieve a snug fit. Glue the plugs in place and plane them smooth.
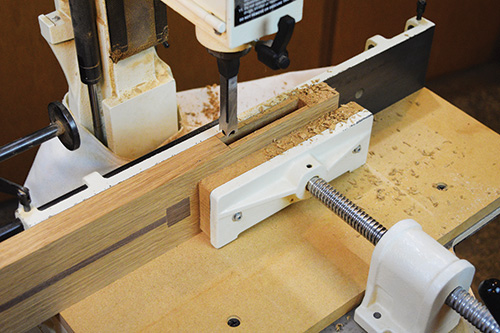
are 1/2″ wide and centered on the thickness of the legs.
Now that the inlay is complete, you’re ready to work on the leg joinery for the side panels. Each leg receives a pair of 1-1/2″-deep mortises for the side rails. The upper mortise is 1-1/2″ long and starts 1/2″ from the top of the leg. The lower mortise is 4″ long and starts 1-1/2″ from the bottom of the leg.
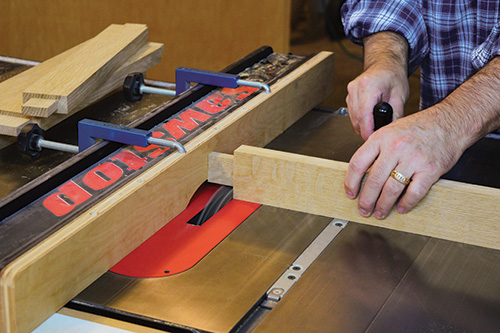
While the legs are still individual components, finish up the remaining mortises. First, you need to mill 1/2″-wide, 3/4″-deep mortises to receive the long lower front and back rails. Take note that these mortises are different lengths: the front mortises are 2-1/2″ long, while the rear mortises are 2″ long. Pay close attention to the offset of these mortises from the edge of the legs. When the cabinet is complete, the front lower rail will be set 1/8″ back from the legs, while the rear lower rail’s back face will be flush with the bottom of the rabbet in the rear legs.
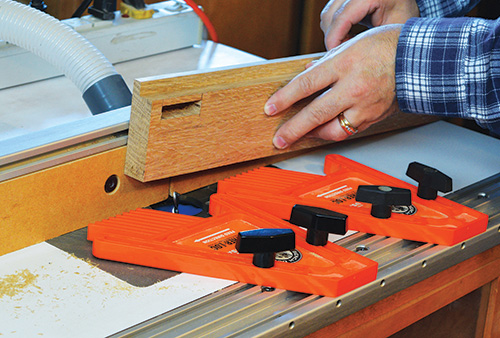
Next, mill a single 3/8″-wide, 1/2″-deep mortise in the right front leg to receive the horizontal divider between the two file drawers. Locate this mortise as shown in the Drawings.
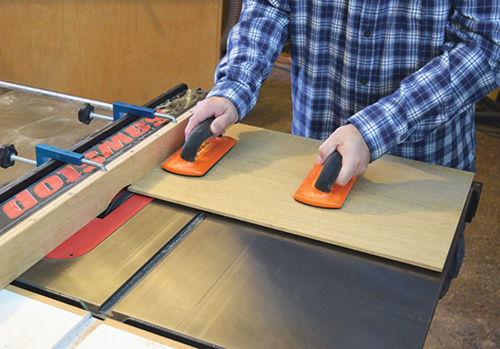
Once the mortises are established in the legs, cut the side rails to final dimension. Form 1-1/2″-long tenons on their ends with a dado blade and miter gauge at the table saw. Adjust the blade height until you achieve a snug fit in the mortise. Then rotate the workpiece and complete the end shoulder cuts, which are all 1/2″ deep. While the dado blade is still on the saw, take care of the 1/2″ x 5/8″ rabbet in each rear leg. This rabbet, which runs the full length of the rear legs, will accept the back panel.
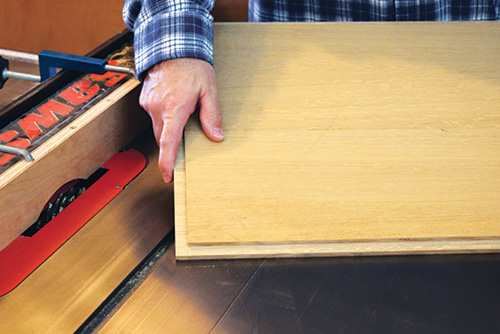
Now cut grooves for the side panels. The grooves are 1/4″ wide x 1/2″ deep and centered on the thickness of the legs. This way, the 5/8″-thick side panels will sit flush with the inside faces of the legs. Mill a through groove for the panels in each of the side rails but a stopped groove between the mortises in the legs.
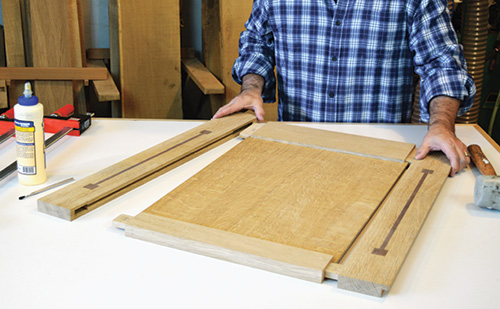
Glue up some solid-wood panels for the sides of the cabinet as well as the large top panel. The side panels are 5/8″ thick. Rabbet their ends and edges to fit the leg and rail grooves. Now sand the inner edges of the legs and side rails, along with the floating side panels. Dry-fit the parts you’ve made, and if everything looks right, go ahead and glue up the side assemblies.
Long Lower Rails
With the side panels complete, forge on and make the long lower rails that connect the two sides. Take note that the front and rear lower rails are different widths, so be careful when forming tenons on their ends to fit their respective mortises in the legs. Also, note that the front rail’s top edge will be flush with the plywood bottom panel’s top face, while the rear rail supports this plywood bottom panel from underneath.
The front rail features a 1″-tall lifted shape that lightens the look of the lower cabinet. You can create it with a template and bearing-guided router bit, or simply bandsaw the curve and sand it smooth instead.
Add the Bottom Panel Dadoes
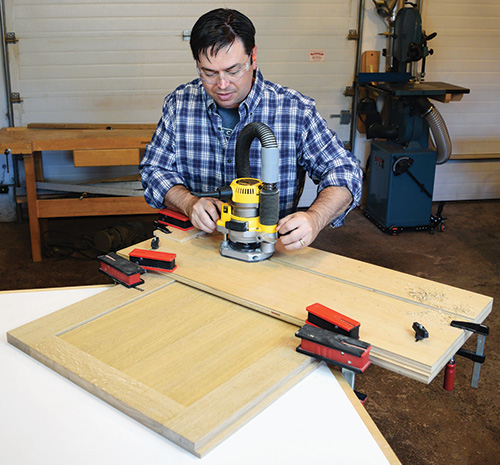
Next, dry-assemble the side panels and long lower rails. It allows you to mark the location of the bottom panel dadoes on the side panels accurately. This dry assembly is also a good opportunity to confirm the final dimensions of the plywood panel. Then separate the side panels from the long lower rails and plow the dadoes, which should stop 1-1/8″ from the front of the legs. I used an exact-width router jig to cut these 1/4″ deep dadoes. Now locate and mill a dado in the plywood bottom that will receive the vertical divider. This is a through dado running the full width of the panel and sized to fit your 3/4″ plywood.
Carcass – Assembly Phase One
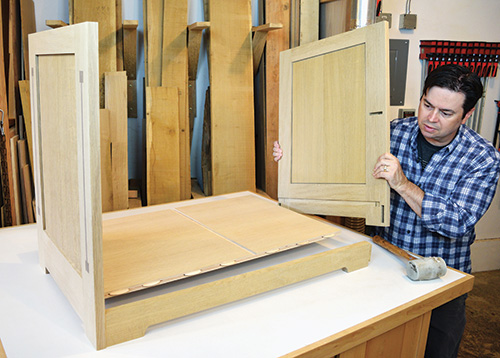
Add a row of biscuits to reinforce the intersection between the front rail and the plywood bottom. Then permanently assemble the side panels, long lower rails and plywood bottom with glue. This first phase of the carcass glue-up is greatly simplified because it only includes a few parts.
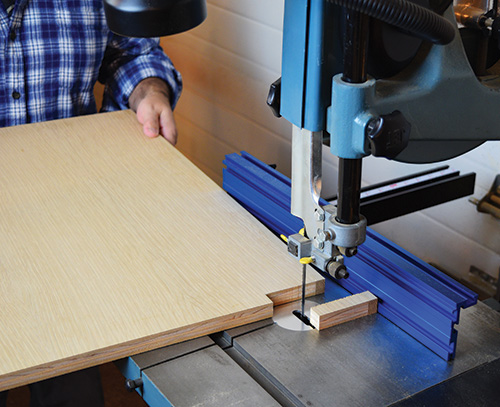
At this point, begin making the vertical divider for the lower cabinet. It consists of a plywood component and a 3″-wide piece of hardwood edging. The edging needs a mortise on one side to receive the drawer divider. I recommend cutting this 2-3/8″-long mortise in the edging board now, before it gets affixed to the plywood divider (especially if you’re using a hollow chisel mortiser with limited table space). Once that’s complete, glue the edging board to the vertical divider with a row of biscuits to help align the parts. Assemble these two parts so their bottom edges are flush; doing that will automatically form a 3/4″ notch at the top. To complete the vertical divider, cut a 1/4″ x 1″ notch to fit around the long lower rail and a 3/4″ x 3″ notch to fit around the upper rear dovetailed rail.
Drawer Divider and Carcass – Assembly Phase Two
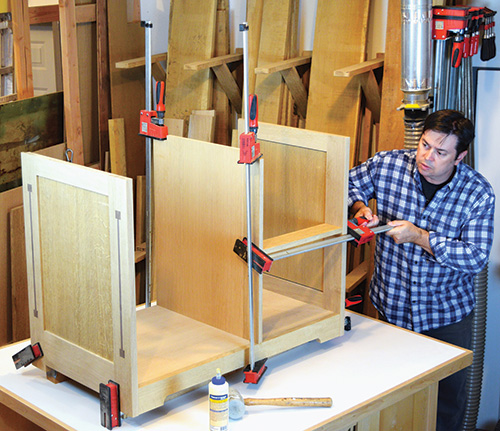
Cut the drawer divider to size, and raise 3/8″-thick, 2-3/8″-wide tenons on both ends. The shoulder-to-shoulder length of this part is 16-1/4″, which should match the width of the file drawer opening. Confirm the length is correct by laying it on the plywood bottom between the leg and vertical divider dado. Sand the parts you’ve made, test fit, then glue the vertical and drawer dividers into place.
Dovetailed Rails
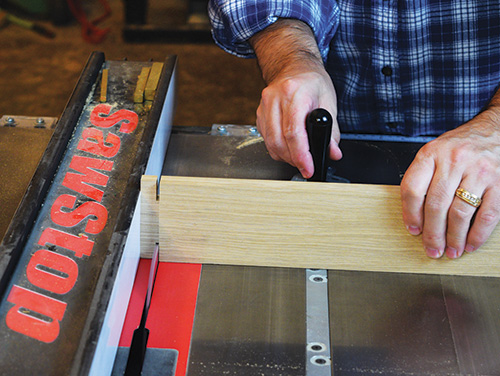
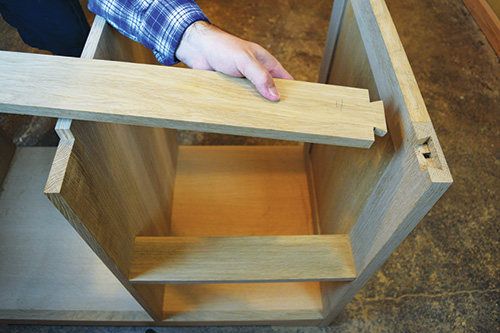
The ends of the top rails require lapped dovetails. Then mark sockets for them on the top ends of the legs.
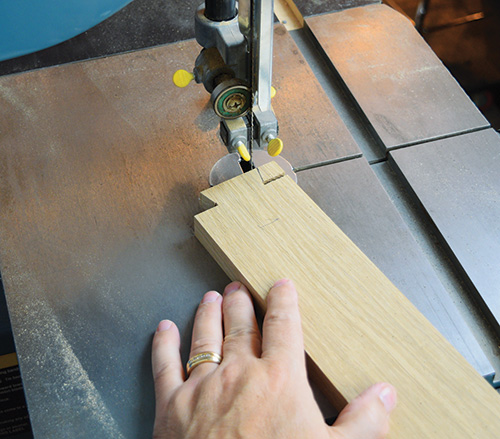
Rough out the dovetail sockets with a plunge router and spiral bit before chiseling them clean. Install the rails, and secure the vertical divider by driving screws down through the dovetailed rails.
Next, cut the 1/2″ plywood back to size. I cut a big opening in my panel on the cabinet door side to provide ventilation for a mini fridge. If you’re planning to store electronics in this space instead, smaller vent slots may suffice.
Cabinet Door and Drawers
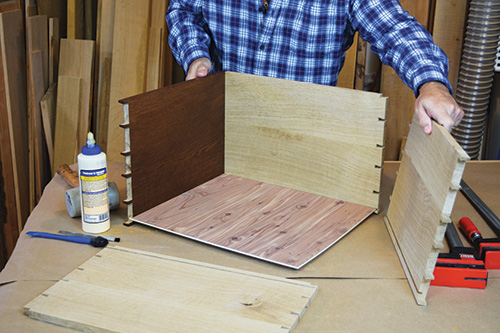
Follow the Material List to build this project’s cabinet door with standard mortise-and tenon construction and a floating panel. I typically make cabinet door frames 7/8″ thick, as thicker stock is less prone to warping. Its solid panel is 3/8″-thick and fits into a 3/8″ groove in the stiles and rails.
My file drawers feature through dovetail joinery and applied drawer fronts. I find through dovetails easy to cut, and the applied fronts conceal self-closing drawer slides (not shown). Size the drawer boxes according to the hardware manufacturer’s specifications. I used Blum 563H series 18″ self-closing slides. If you choose different hardware, your drawer box dimensions may need to vary from the part sizes in the Material List.
The Blum slides require an 18″-long drawer box for an 18″-long slide. Prepare the drawer back by drilling a hole to accept the metal tab, and notch the drawer backs as described in the slide installation instructions. These drilling and notching operations were easily to accomplish after the drawer boxes were assembled. Once those are complete, make the drawer fronts and size them to fit the cabinet openings. Don’t attach the drawer fronts yet so you can pre-finish them before mounting them to the drawer boxes.
Build the Hutch
The hutch is a simple design with two sides connected by a gallery shelf. The space is split asymmetrically by a vertical divider and a short shelf. The only other parts involved are two rails and enough boards to make a shiplapped back panel. If you’d rather save the time and effort, simply use a plywood panel in place of the shiplapped back. Limbert himself used plywood back panels on many of his case pieces and, in fact, had his own veneering shop within his factory.
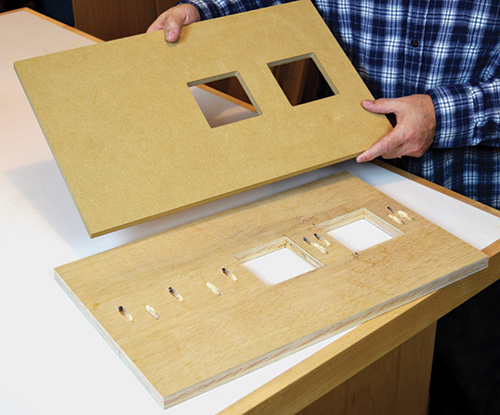
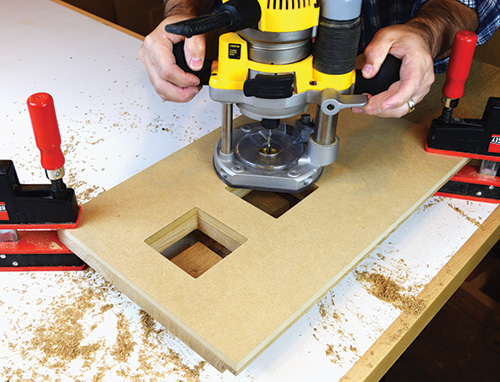
Make the 12″-wide x 32″-long sides. Now follow my templating and routing process at the bottom of the next page to cut pairs of square openings in the side panels. You’ll see that I first make a temporary jig from plywood and pocket screws, then use that to create a permanent one-piece template-routing jig from 1/2″-thick MDF.
Cut the vertical divider, gallery shelf and short shelf to final size. Then cut 1/2″-wide x 3/8″-deep stopped dadoes in the hutch sides and vertical divider to receive the fixed shelves. Raise tenons on the shelves to fit in the dadoes. You also need to cut a 3/4″ wide x 9/16″-deep, full-length rabbet along the inside back edges of the side panels. These receive the shiplapped back boards.
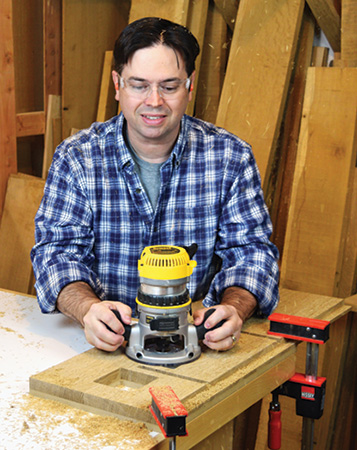
Prepare workpieces for the top and bottom rails and the shiplapped back boards. Cut 3/8″-deep x 1/2″-wide rabbets along the back face of the top and bottom rails as well as complementary rabbets in the ends of the shiplapped boards so the rails and back boards will nest together. Finally, mill rabbets in the back boards to create the shiplaps, alternating front to back. The first and last boards remain square on their outer edge to fit the side panel back rabbets.
Hutch Glue-up
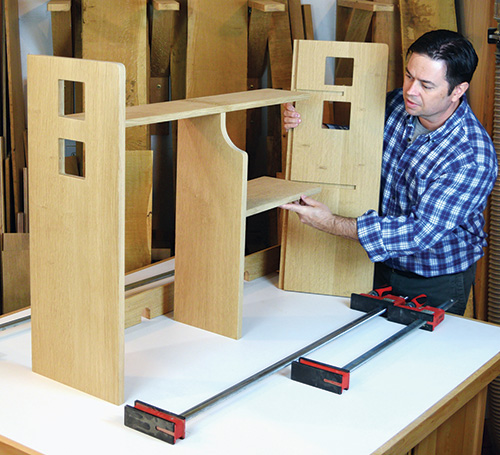
Assembling the hutch components couldn’t be much simpler. The refreshing thing here is there’s no complicated joinery to worry about where the vertical divider meets the gallery shelf: just drill counterbored holes through the gallery shelf, and attach it to the vertical divider with a pair of #8 x 1-1/2″ screws. Then insert the shelves into their mating dadoes with glue, and clamp the assembly together. When the clamps come off, cover the counterbores with wood plugs to complete the framework.
Test Fit the Shiplap
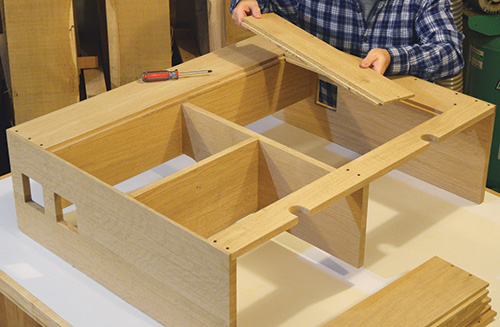
Temporarily screw the top and bottom rail into the rabbet of the hutch frame. Test-fit the shiplapped boards in the hutch, leaving about a 1/8″ gap between them. You may need to adjust the width of the final board for consistent spacing. Since the shiplap is random width, you can change the arrangement of the boards for the best appearance. It looks sharp if you can hide a shiplap seam directly behind the vertical divider.
Make mouse hole cutouts in the bottom rail for appliance wires to pass through, as needed. Then remove the shiplap and top and bottom rails for finishing. Likewise, I recommend finishing the top and back panels of the lower cabinet separately as well so you can access all of the surfaces easily. I proceeded with a popular stain-over-dye technique that replicates an antique fumed finish. Once the top coat dries, reassemble the shiplap with one screw top and bottom, centered on the width of each board. For wider boards, it’s acceptable to use two screws, spaced no more than three inches apart.
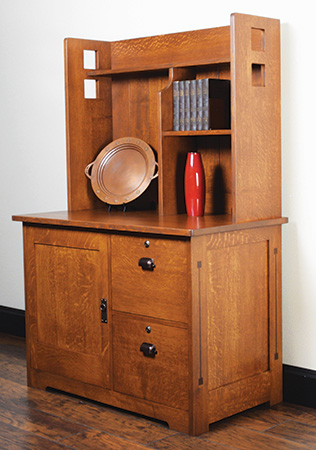
Drill the cabinet door for cup hinges and install the door. Add ring pull hardware to the door, and adjust the hinges for an even reveal. I then installed pulls and cam locks to the drawers to complete the project. Now, my hutch is loaded with office essentials like tea, coffee and even a cold beverage.


