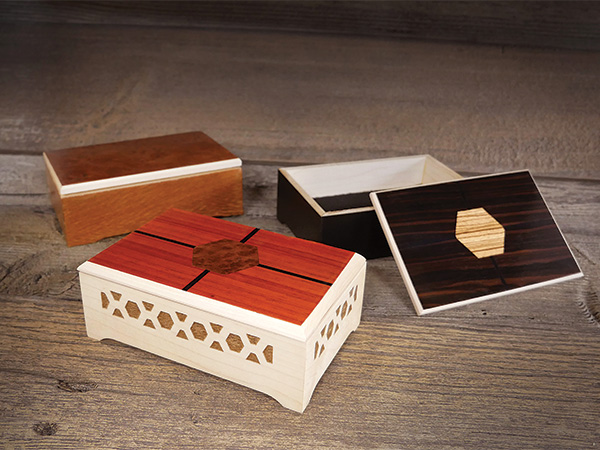
When it comes to small woodworking projects such as these tiny boxes, details can make the difference between bland and brilliant. Those details don’t need be intricate or over-the-top fancy, but it doesn’t hurt if they are. Accurately cut and assembled exotic veneer patterns are a great way to add beautiful wood figure, color and texture to a box lid or drawer face. And simple geometric engraving on a box’s sides is an embellishment that has been a woodworking tradition for centuries.
The key to using these enhancements is to do them well — in both design and execution. Tightly fitting veneer is exquisite, but not if it has gappy and untidy joints. Crisply carved or etched geometric patterns are also interesting when they are well done but distracting when they are not. And that is the crux of the challenge. Do well or do not do, as a Star Wars character might say. So what are our options here for producing these sorts of decorative details?
Embellishment Methods
There are tried-and-true methods of cutting veneer accurately as well as carving with skill and style. If these are in your wheelhouse, we encourage you to go for it. This sort of traditional craftsmanship is worthy of effort and respect.
With the box examples shown here, however, we took a different path. Instead of embellishing with saws and chisels, we used a small laser to burn patterns into the box sides as well as to cut the decorative veneer. Laser engraving still requires learning and practice but of a different sort. Despite what some may think, it also still requires a basic understanding of woodworking, even with its high-tech approach.
Proportions, Proportions
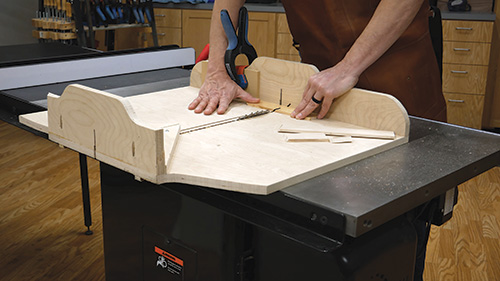
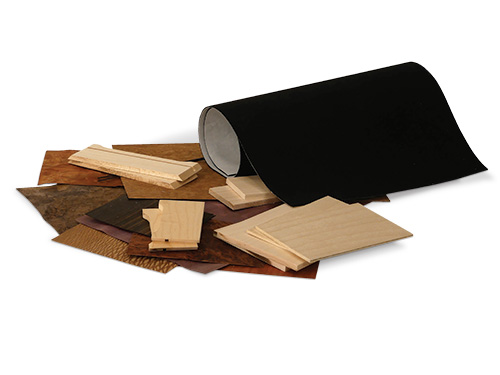
Before we explain how we used the laser, here are more details about the box. While embellishments can lift a project to the next level, if they are slapped onto an awkwardly proportioned box, the project will be less than it could be. And with boxes as small as these are (they’re just 2″ x 4″ x 6-1/4″), proportion is even more crucial. Small can’t be clunky. So we made ours from 1/4″-thick plainsawn maple. We chose the wood for its creamy appearance and relative lack of figure. The top is also 1/4″ maple, with a piece of 1/8″-thick plywood glued to its underside that registers the top on the box. The bottom panel is 1/8″ Baltic birch plywood covered with pressure-sensitive black felt. The felt adds visual interest when the box is opened.
You can find a material list and technical drawings here. There you’ll also find downloadable programming for the laser engraving and veneer cutting.
Before the laser was brought to bear, we finished the sides and ends with a light spray coat of shellac. That kept the maple from becoming stained by smoke from the laser engraving process.
Let the Laser Light Shine

Once the maple parts were prepared, we were ready to fire up the laser. We used a benchtop model from Next Wave. It is a 7-watt laser that runs off of the same software package as their CNC routers. While creating the engraving and veneer-cutting files isn’t rocket science, it does require a bit of instruction. But let’s point out that if the crack team of “laser newbies” at Woodworker’s Journal were able to master these tasks, it is within the average woodworker’s skill level too. After you have the programs prepared and tested on scrap pieces, it’s a bit like using a home-quality printer to do the engraving. The engraving does take a pretty long time to complete — about 20 to 30 minutes per end and side.
Veneering the Top
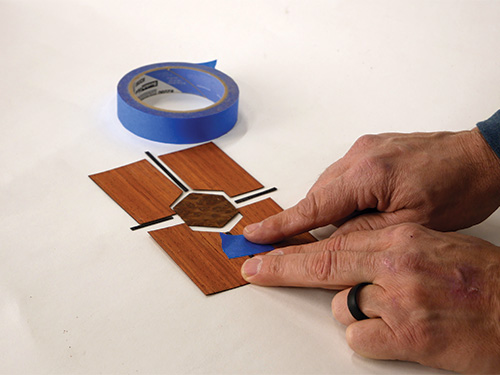
Cutting the veneer with a laser ensures that the pieces fit together perfectly. We assembled the pieces, including the 1/8″ black inlay, with strips of blue masking tape applied across the joints. We then covered the entire top face of the layup in a layer of blue tape before brushing a thin coat of glue on the veneer’s back face and the box top. Clamp these two layers together with a caul that covers the veneer surface — it can simply be a scrap piece of 1/2″ or 3/4″ material. The caul will help distribute the clamping pressure evenly and protect the delicate veneer from the clamps. Allow your glue-up to cure overnight as we did.
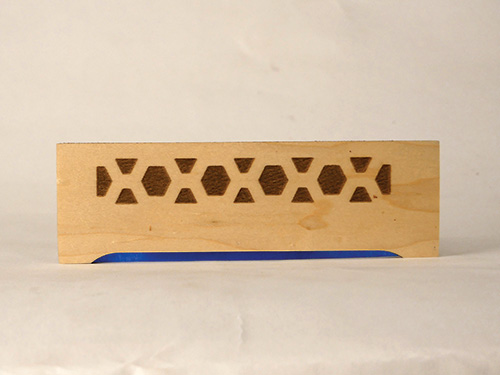
As soon as you take the clamps and caul off the next day, get the backer piece of 1/8″ plywood glued onto the back face of the box top right away — otherwise it can start to warp quickly. (We found that out the hard way.)
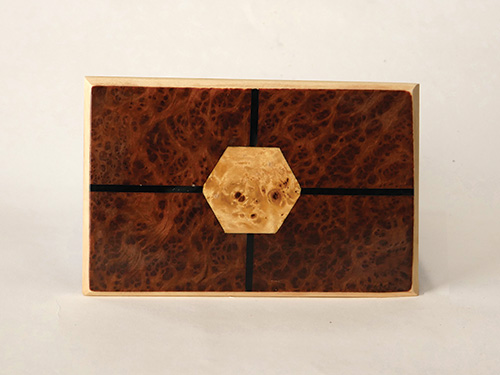
With that done, peel the blue tape off and carefully sand the veneer surface smooth. We applied clear filler to help eliminate the different pore patterns in the various veneer species and produce a level, smooth surface. Bevel the edges of your box if you wish, by sanding them. Apply your choice of finish. When it dries, stick the felt to the bottom interior.
These little boxes look great with their embellishments. Whether you go “high tech” or build them “old school,” we hope these ideas might elevate your box-making craft to a new level.


