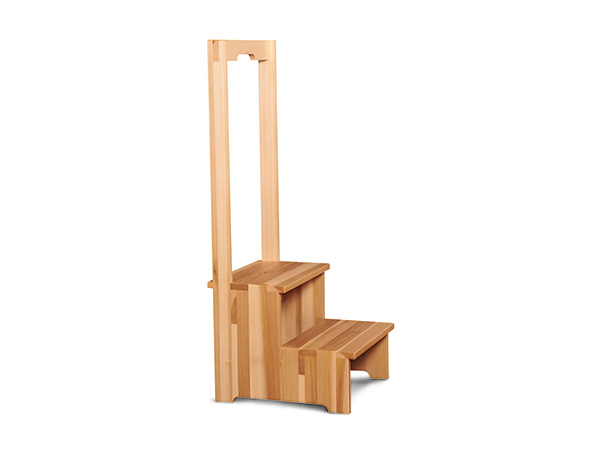
I was staring at a pile of poplar scraps left over from a large project I built when I asked myself: “Can I bear to build yet another cutting board from these scraps, or should I just burn them?” But as I looked over that ragtag collection of strips and cutoffs, I had a slightly crazy idea (they don’t call me the “mad Hungarian” for nothing): What if I assembled all those little scrap strips into a larger project, kind of like a jigsaw puzzle? By overlapping alternating strips, I could form corners that interlock and create joinery like wide box joints. In addition to being a somewhat novel approach to construction, I realized these interlocking arts joints would appeal to woodworkers who don’t particularly like to fuss with timeconsuming traditional joinery.
The project I came up with is a two-step stool, a piece of furniture that’s mighty handy to have around the kitchen, utility room, garage or workshop any time you need to get something down from a high cabinet or shelf. In addition to its two strong, stable steps, the stool features a high back rail that offers stability as you climb and reach, and also makes the stool easier to carry and move around. When needed, the stool can serve as a little seat!
My two-step stool project, shown in the Drawings, is built from 36 separate 3/4″-thick wood parts that are cut to varying widths and lengths, then stacked and glued together in a precise order. An assembly form helps keep the stacked parts aligned during glue-up.
Since the majority of the stool’s parts are only 2-1/4″ wide or less, you could build the entire project from narrow scraps left over from other projects, or you could cut parts from different kinds of woods to give your stool a playful, patchwork appearance.
Preparing the Parts
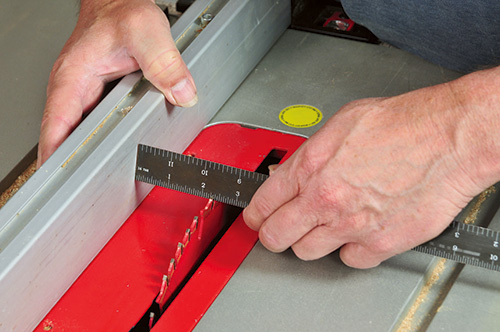
The key to making the construction of this step stool an easy and smooth experience is to accurately and precisely cut and plane the parts. Here are the steps to take: First, carefully plan out your stock-ripping strategy, and determine which parts you’ll cut from which 4/4 scrap boards you have on hand. At the table saw, mount your best ripping blade, and set the rip fence for a 2-1/4″ cut. Before ripping the first part, take a test cut on a scrap board to confirm that cut parts will be precise. (All the parts for this two-step stool need to be exactly the right width, length and thickness, or you’ll waste a lot of time fussing when you try to fit them together, plus more sanding and scraping after assembly.)
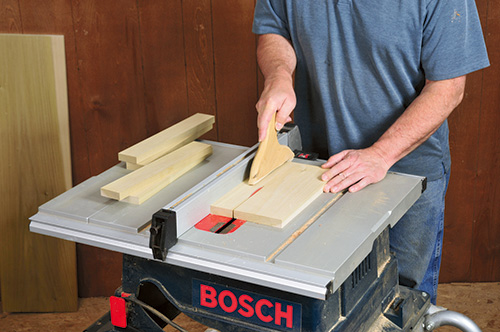
Once the setting is confirmed, rip enough stock for all the 2-1/4″-wide parts on the cut list at one time, without resetting the fence. If you’re cutting more than one part from a particular board, joint its edge after each rip cut, to ensure that it’s straight and square. Once all the 2-1/4″ stock is ripped, reset the fence to 1-1/2″ and rip all those parts and then move on to the other required widths.
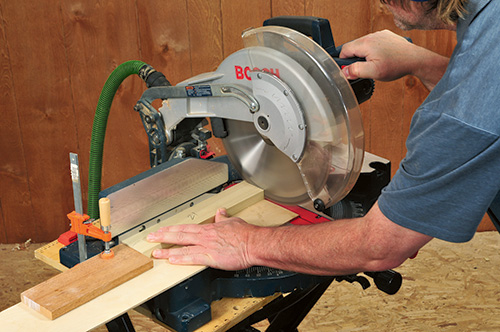
After taking a test cut or two on the cutoff saw, trim one end of each length of stock, marking it with a pencil slash. Now clamp a fence stop at 16 inches, and cut all the parts of that length.
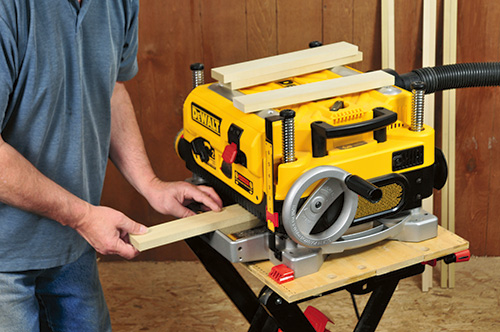
Make sure to always put the previously squared end of each piece against the stop. Reset the fence stop and repeat the process until all parts are cut to their final lengths.
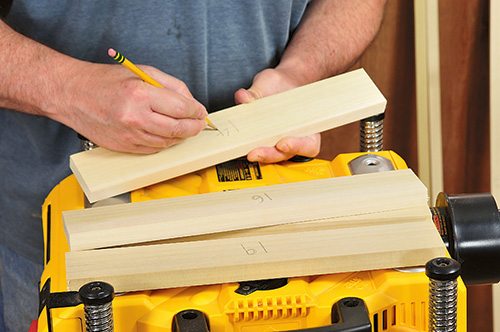
Next, take all the parts to your thickness planer and run each one through twice, planing a scosh off both sides until all parts are exactly 3/4″ thick. Finally, mark each part with its cut list number.
Making the Assembly Form
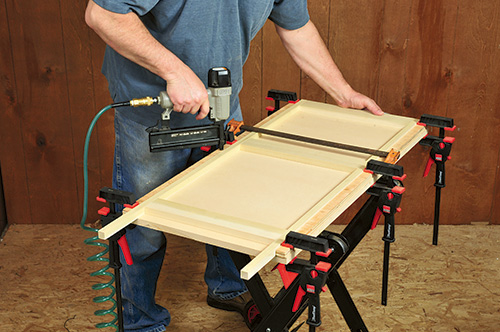
To help keep all the many parts of the stool properly aligned during glue-up and clamping, make the assembly form shown in the Drawing. First, cut the base to size, then machine the two long strips that go along its edges. These strips will serve to keep the first two stool parts in the glue-up sequence parallel and their bottom edges square to each other. To ensure that the distance between the inside edges of pieces 1 (left and right) is correct, use them, along with three 14-1/2″-long stool parts (#14, #16 and #19) as spacers. After clamping these parts temporarily together and squaring the assembly up, nail the strips to the base.
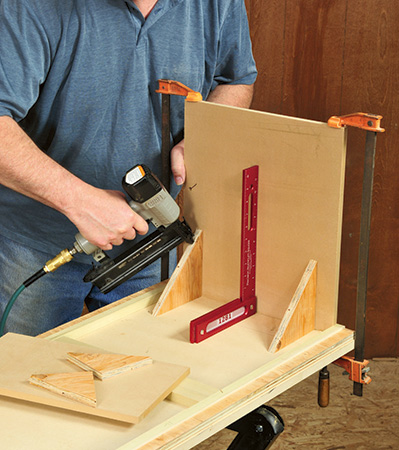
Next, cut the back to size, using 1/2″ sheet stock. Once again, use pieces 1 (left and right) as spacers, and glue and nail the back in place between them. Nail on a couple of plywood triangles to brace the back and keep it vertically square to the base. For the middle brace, cut another 1/2″-thick piece of sheet stock to size and drill three 1-1/4″-diameter holes 3/4″ below its long top edge. These holes allow clamping the stool’s bottom tread (pieces 19-22) during glue-up. Nail and glue the middle brace to the base, positioning it as shown in the Drawings, adding another triangular brace, to keep it nice and square.
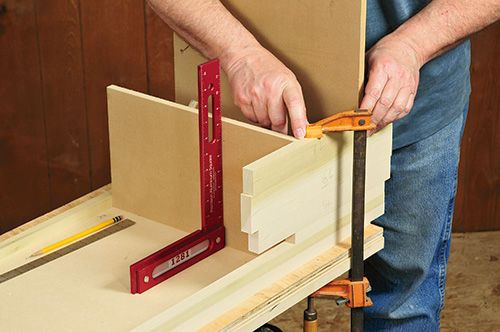
Stack stool parts #1 to #7 atop the form’s base, and temporarily clamp them together. This allows you to make sure that the height of the middle brace matches the height of the stacked parts. If it doesn’t, trim or shim it until it’s exactly flush.

Finally, apply a layer of masking tape to the top edges of the strips, back and middle brace, to keep glued parts from sticking to them during assembly.
Preparations Before Assembly
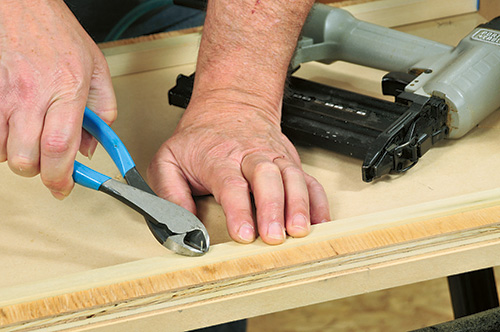
Because the kitchen stool has a lot of parts, it’s important to make careful preparations before you begin the glue-up. In addition to having all the clamps you’ll need on hand, cut some wooden strips to serve as clamping blocks that distribute clamping pressure and prevent dents to stool parts. To prevent glued parts from sliding out of position when clamping pressure is applied, I recommend partially driving a small brad into one half of each mating surface, then snipping it off so only a small nub protrudes. To speed up this process, you can drive short pins or small nails with a pneumatic nail gun set to run on low air pressure, so it doesn’t drive the pin all the way in.
Glue-up in Four Stages

To make the assembly process easier, the kitchen stool should be glued up in no less than four stages: First, glue together the stool’s back: long strips 1, 2, 3 (left and right) and top rail 24. Second, glue up the top step: sides 4, 5, 6, 7 (left and right), treads 15, 16, 17, and cross member 18. Third comes the bottom step: sides 8, 9, 10, 11, 12 (left and right), treads 19, 20, 21, 22, and cross member 23. Finally, glue on the back edge of the top step: treads 13 and 14. Before tackling each of these steps, it’s important to do a trial dry assembly, to make sure that the parts fit together correctly and that you know the correct order in which the parts must be assembled. This dry run is also the best time to drive and snip brads, if you’re using them to keep parts from sliding around during glue-up. During the first glue-up stage, make sure that the ends of long strips 1 (left and right) are flush with the bottom end of the assembly form’s base. Then, glue on strips 2 and 3, sandwiching the stool’s rail (24) at the top.
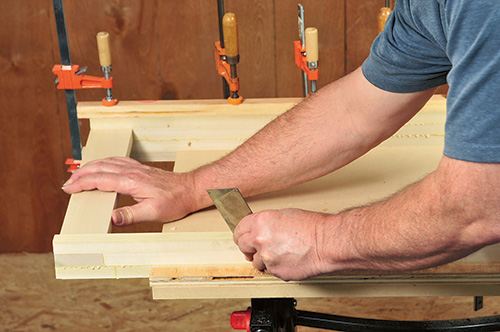
Set your long clamp blocks atop this assembly and apply the clamps between the blocks and the bottom of the form base. After the glue has set, but not dried hard (45 minutes; less in a warmer shop) remove the clamps and scrape the rubbery glue beads from the sides of the stool’s back.
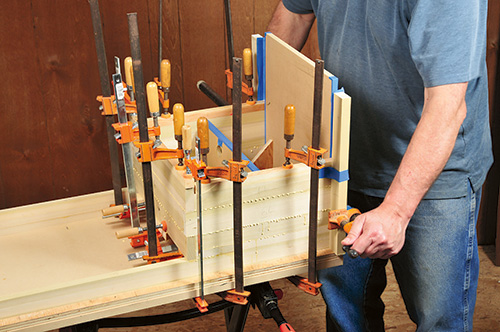
For the second stage, glue the sides and treads of the top step to the back, including the wide cross member (18) that keeps the stool from racking side to side. As you stack the parts for the sides, take care to keep their bottom edges flush with the assembly form’s vertical panel (the back). Once all the parts for this stage are glued up, clamp the sides and stair treads together, using clamp blocks to protect all stool surfaces. To keep the side pieces straight, clamp the stack to the edges of the assembly form’s back using long clamping blocks to distribute pressure. Let the glue set, then scrape off the squeeze-out as before.
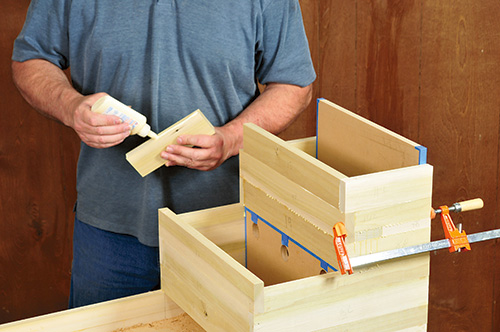
The third stage of assembling the bottom step requires gluing the most pieces at once, so be prepared to hustle a bit. It’s best to tackle this stage on a cool day, to give the glue the longest open time before clamps must be tight (alternatively, you could break this stage into two sub-stages). Work as before, applying glue and stacking the parts in order, taking care to keep their edges flush and aligned.
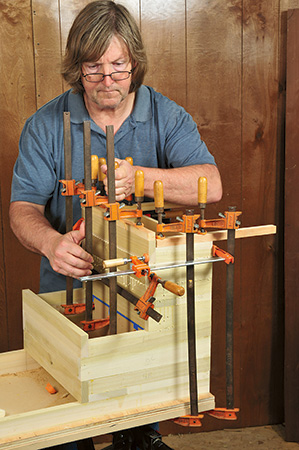
To clamp the bottom step’s tread members together, set the heads of three bar-style clamps into the holes you bored in the middle brace earlier. If necessary, clamp the longer sides to the shorter tread members to keep them from slipping out of position; for example, tread 19 between sides 8 (left and right). After the glue sets, remove the stool from the assembly form and set it upright. Carefully scrape off all excess glue from both the stool’s outside and inside surfaces.
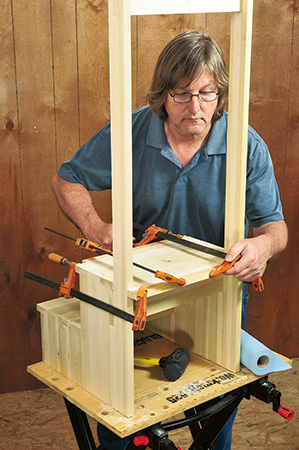
The fourth and last assembly stage is also the easiest: Glue two remaining parts to the back edge of the top step, using clamping pressure or a rubber mallet to gently drive part 14 between the stool’s vertical back members. After gluing and setting part 13 in place, clamp the finished top step together.
Sanding and Finishing
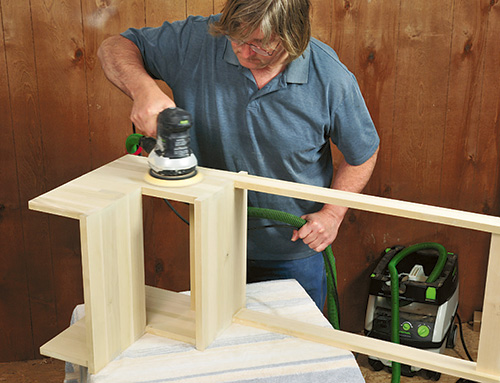
If all the assembly stages have gone well and the parts were carefully aligned, there’s very little sanding or scraping necessary to smooth the stool’s surfaces. On areas where parts have slipped a bit, a portable belt or random-orbit sander fitted with an 80- or 100-grit belt or disc will level surfaces in short order. Once all surfaces are flat and smooth, what happens next depends on your taste: If you like the austere, angular look of the stool as it sits, simply ease all sharp edges with a little hand sanding. If you’d prefer a more finished looking piece, you may use a router fitted with either a roundover or chamfer bit to profile the edges of the treads, and maybe the sides, back uprights and top rail as well.
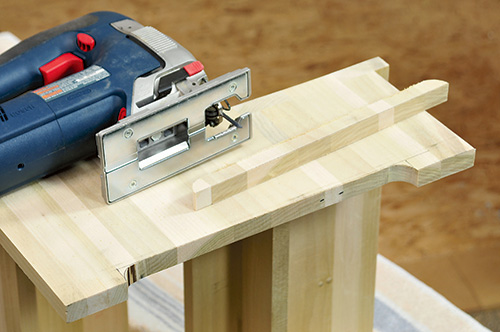
To make the stool appear a little visually lighter, use a jigsaw to cut away the hollow section along its bottom edge. This essentially gives the stool four feet, which tend to sit stably on an uneven floor. You may also create a similar hollow cutout on the bottom edge of the top rail, to give it a hand hold as well as add some visual detail.
Finishing the stool is also up to you — apply a durable wipe-on polyurethane finish or a grain-figure-and-wood-color revealing oil finish. Of course, if you don’t like the patchwork look of your stool, you can always paint it!


