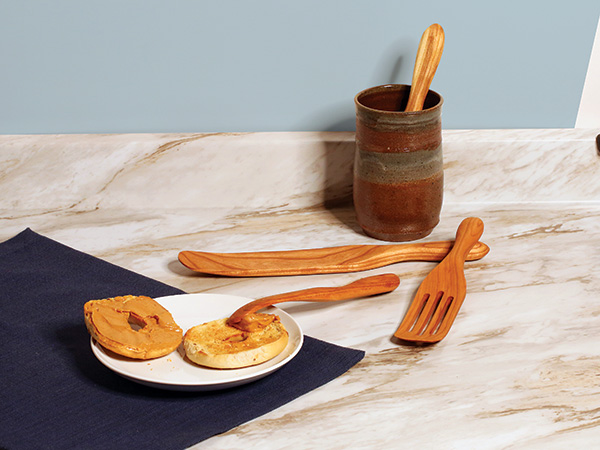
Handmade kitchen utensils are never going to go out of style, no matter how many stainless-steel, plastic or silicone ones are out there now. Wood performs just as well as those options, and it has since long before the Scots were making spurtles back in the 15th century. Then, spurtles looked more like dowels with handles, and they were used to help stir porridge before the advent of rolled oats, when it had to cook much longer.
Today, you can use spurtles for any number of kitchen tasks — as a stirring spoon for soups and stews, as a spatula for whisking batters or flipping pancakes or even as a knife for spreading toppings on your favorite bagel. Their uses are as wide open as your needs may be.
Along those lines, how you make a spurtle and what its final shape becomes is also up to you. There is no “right” way, and there is no “ideal” shape. The four sizes and styles you see here are my interpretation. But by all means, don’t be limited by what you see here. Part of the fun of making these is creating their shapes. And you may find that changing the design slightly makes a spurtle that reaches into the corners of a jar better or suits your sautéing or pancake-flipping just right. All the better!
Here’s my suggestion: After reading this article, grab a few pieces of 3/4″ scrap and practice the sawing and sanding process on material you’ll plan to just throw away or burn anyway. My first few attempts didn’t look great, but by the third try, I had a real “feel” for the shaping and sculpting process. I bet you will, too.
Reusable Templates
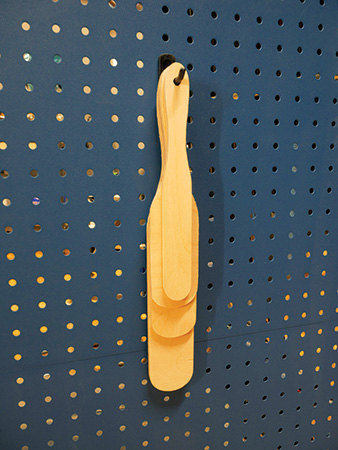
These spurtles are awfully handy in the kitchen, so don’t be surprised when friends and family ask you to make some — or you need a quick gift idea this holiday season! Why not make a permanent set of templates from 1/4″ plywood, so they’re always ready to trace whatever spurtle shape you need?
Routing the Slots
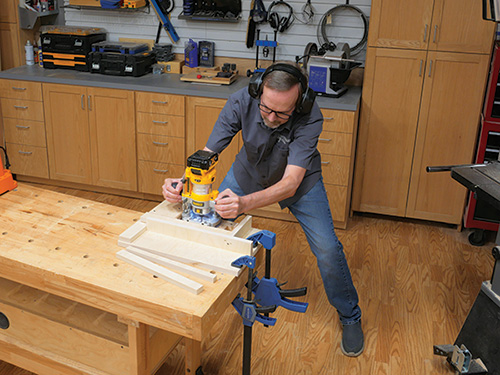
While you could use a router table and fence with a stop block to rout the three-slot pattern on a spurtle, the author opted to make a jig from scrap that traps the workpiece inside so he could rout it with a 1/4″ spiral bit in a handheld plunge router. The position and the length of the three slots is shown on the pattern.
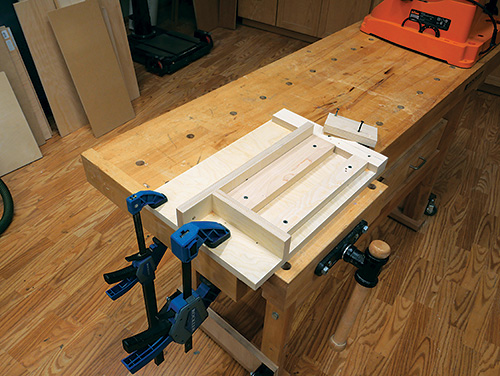
Because router bases vary, and you may opt to make spurtles of different sizes than what’s shown here, we’re not providing the dimensions for this jig. Use it as a general guide for how slots can be cut if you choose this routing method.
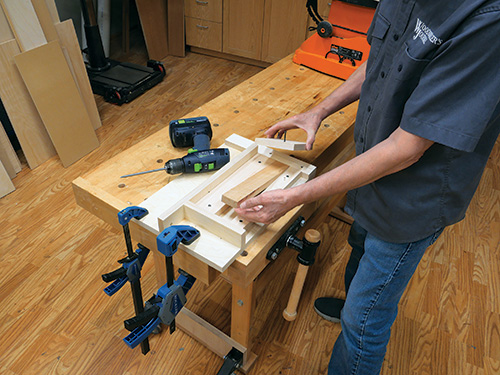
My jig traps the spurtle workpiece between a fixed stop on either side and a square stop block on one end. The block serves both to help hold the workpiece down during routing and to limit the router’s travel on the handle end of the spurtle.
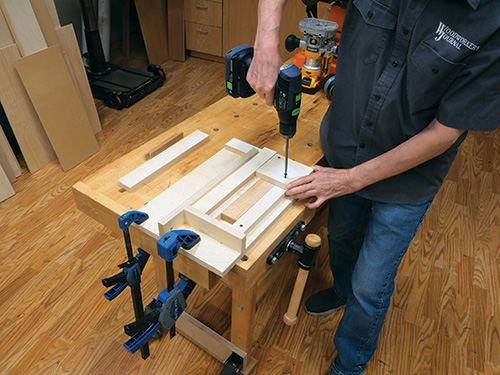
Taller fences on one side and end of the jig enable spacers to be inserted next to the spurtle to set the three locations and two lengths of the slot cuts.
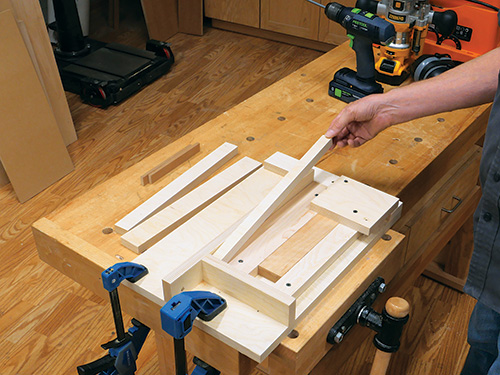
This way, the spurtle workpiece can stay in the same position in the jig for the entire routing process.
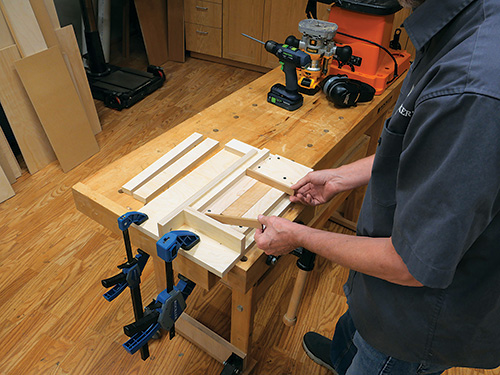
The only thing that changes from cut to cut is which spacers are inserted to set up each slot cut. The author oriented the spurtle workpiece bottom-face up.
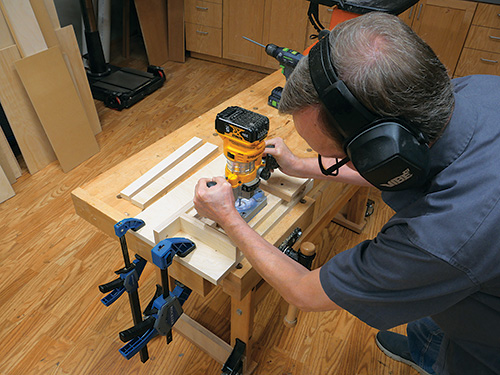
The two shorter slots were routed using the narrowest or widest side spacers in the jig, in tandem with two very narrow spacers positioned against the end fence and stop block.
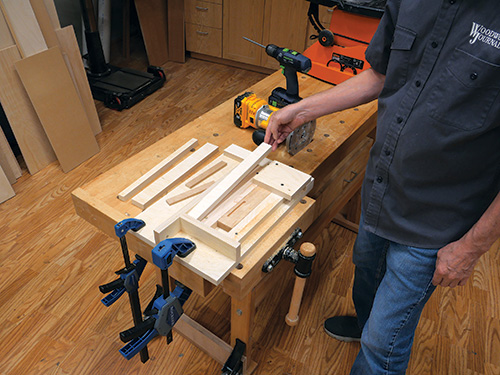
The author routed these slots about 1/2″ deep, guiding the router base along the side spacer and feeding the router from left to right.
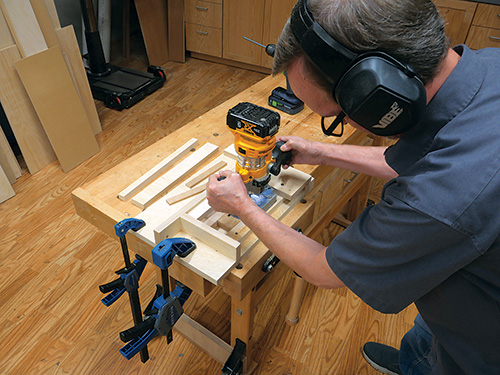
To mill the longer middle slot the thin end spacers were removed, and the middle-width side spacer was installed.
Band-sawing a Spurtle to Rough Shape
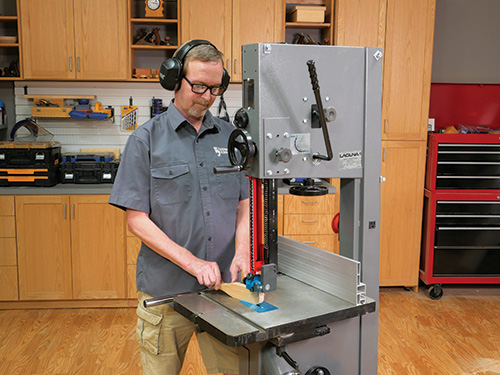
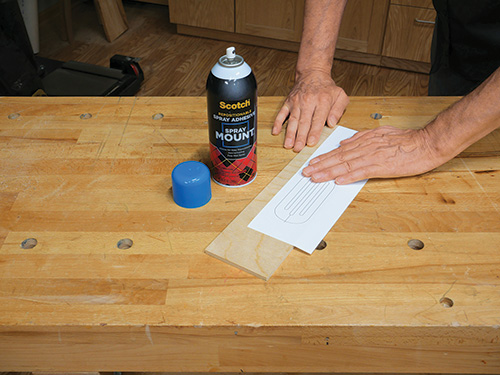
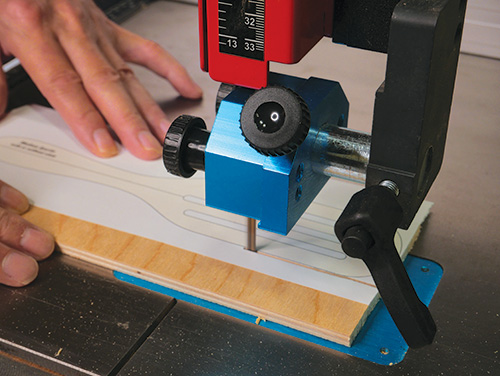
If you like my spurtle shapes, make the four templates and round up some 3/4″ stock. I used cherry, but any hard, close-grained wood is fine. Maple, birch or hickory all would be long-lasting options without an open grain structure that will be hard to keep clean. Trace the template shapes onto your workpieces, install a sharp blade on the band saw and carefully cut them to rough shape, just outside the layout lines. Sand the cut edges smooth.
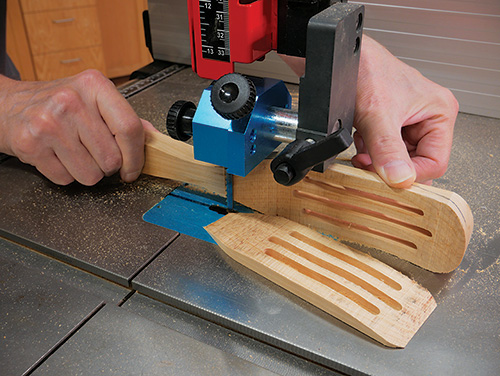
The slotted style is the most involved of the options, so that’s what you see me making here. While the three slots in this spurtle are optional, they’re really handy for draining purposes. I routed those using a jig I made to a depth of about 1/2″ into the back face of the spurtle blank.
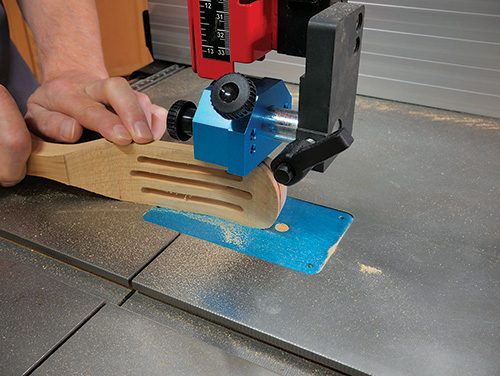
While you don’t see the slots in the first photo, they appear when you cut the top face of the flared paddle portion away. When I made this cut, it reduced the paddle to about 5/16″ thick, but again, that’s just a guide. It could be a bit thicker or thinner if you prefer. Keep the bottom face of the paddle flat. I did, however, cut the spurtle’s bottom front edge into a shallow beveled blade that extends back about 1-3⁄4″ along the bottom face. This edge will make it easier to scrape foods up.
Sculpting on a Sander
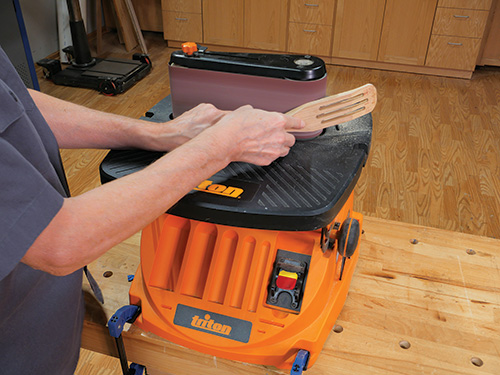
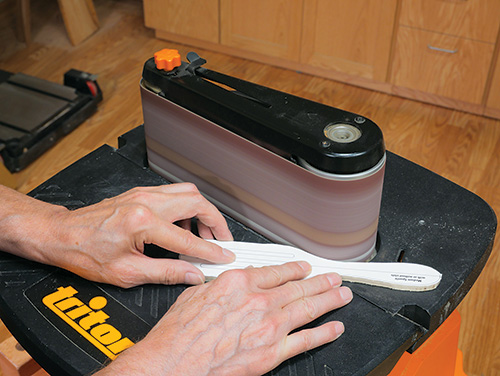
Here’s where the fun happens! Install an 80- or 100-grit belt on a stationary belt sander if you have one. An oscillating spindle sander could also work.
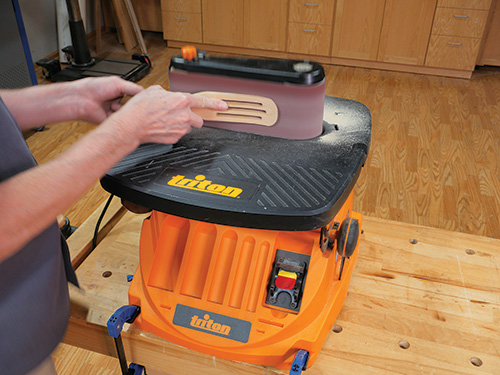
Sand the top and bottom faces of the paddle to smooth away the saw marks and to blend the front beveled edge into the bottom face.
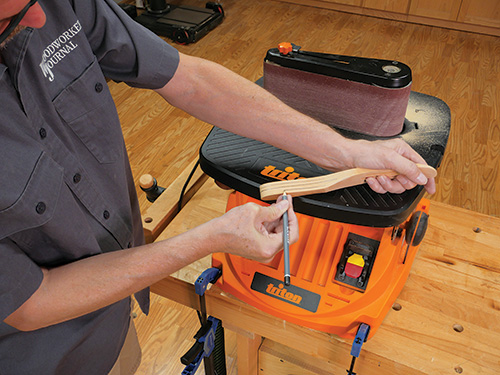
It’s time to shape the handle into a round profile that’s comfortable to hold. I started by marking a centerline along the side and top of the handle, using a pencil and my finger as an index. I also drew a pair of parallel lines about 1/4″ in from the top and bottom faces of the handle to give me guides for how much material to remove.
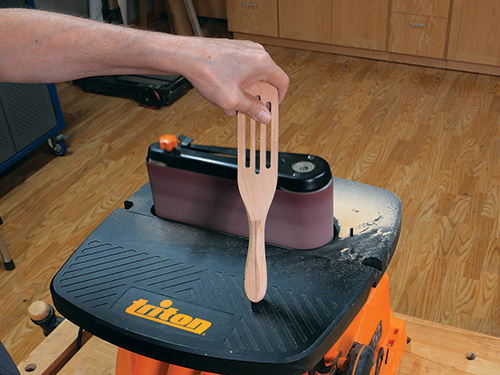
Then, sanding a little material away at a time, I began to sculpt the handle by sweeping it along the belt in broad, angled strokes. My goal was to remove the handle’s hard edges, shape it from a wider bulb at the end into a narrower gripping area in the middle and to blend the handle into the paddle without hard transition lines.
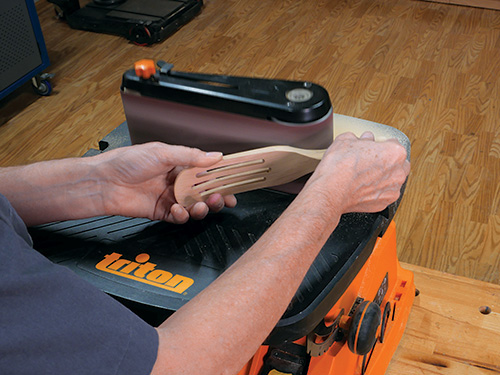
The best way to understand how to do this shaping work is to just dive in on your scrap piece and try it for yourself. Your goal is to continue to remove wood until the handle slopes up smoothly from the paddle, is curved in all respects and feels comfortable in your hand. I kidded with our staff that you just keep taking off wood until it looks like a spurtle!
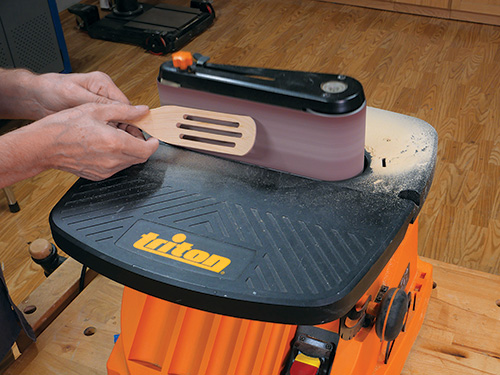
I also sanded away the bottom edges of the paddle’s perimeter, rolling those areas up into the top face. You’ll know when the shape is right enough for you and that you’ve tended to all the surfaces that need to be smoothed, softened and blended together. Just keep sizing it up as you work, and take your time.
Finishing Up
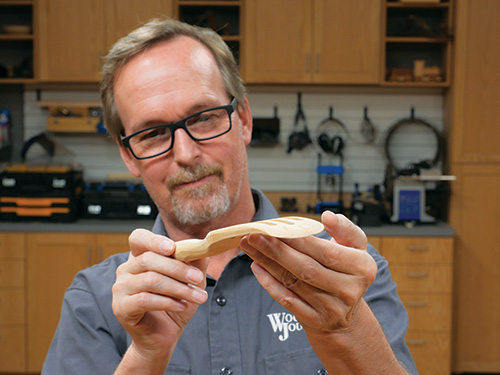
Spurtles should get used, so I applied a simple oil/wax finish for butcher blocks. That way, I can just wipe on another coat whenever it’s needed. And that should be often, because I’m finding that these are pretty nifty gadgets to have around the kitchen!


