Murphy beds have always sparked my interest as a very cool idea. A bed that folds up maximizes a small space, which is super practical. And as a woodworker, building one myself makes the idea even more affordable and enticing. In the old days, the hardware that people used or invented themselves left much to be desired. It basically was just some hinges that allowed the bed box to be lowered down without regard to the weight of the box and mattress or the danger that such a large and heavy unit might pose as it swung down with force. The good news is that hardware specifically designed for Murphy beds is now available. This quality Create-A-bed product from Rockler has heavy-duty stud plates and gas springs that not only ensure safety but also ease of operation. Bringing the bed down and lifting it back up is about as simple as can be. I am sure that Mr. Murphy (yes, there was a guy named Murphy who invented this concept) would be positively impressed with our modern versions.
For me, the choice of a twin-size bed was a no-brainer for a couple of reasons. First, the room the bed was destined for would have been overwhelmed by a full- or queen-size bed. They would have fit, but a lot of furniture would have needed to be moved each time the bed was lowered. And second, the orientation of this bed leaves enough open wall above it that you could hang a flat-screen TV there if you like. It’s a good use of space!
Getting Started
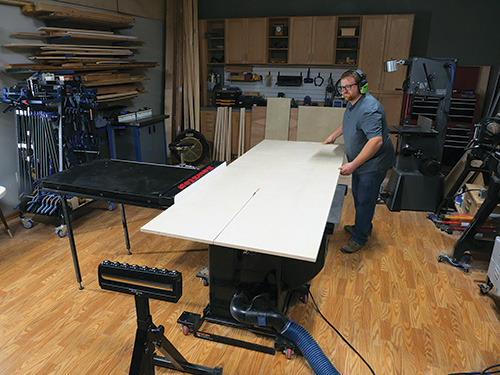
I selected birch plywood for the sheet stock components and maple hardwood for the solid-wood pieces. It is important to use plywood in this construction; MDF or particleboard, while perhaps less expensive, just will not hold up to this use and could eventually become unsafe. The hardwood was used primarily for the interior components.
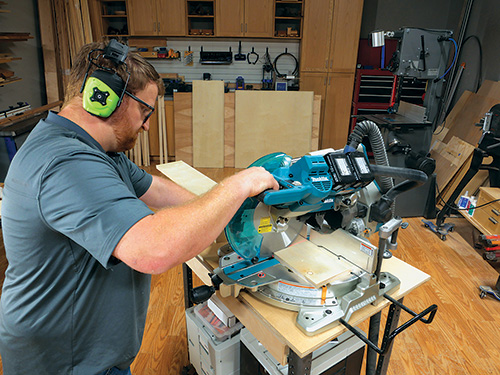
I got started ripping the plywood workpieces to the dimensions found in the Material List. I followed the cutting diagrams and the step-by-step instructions provided by the hardware manufacturer.
|
|
|
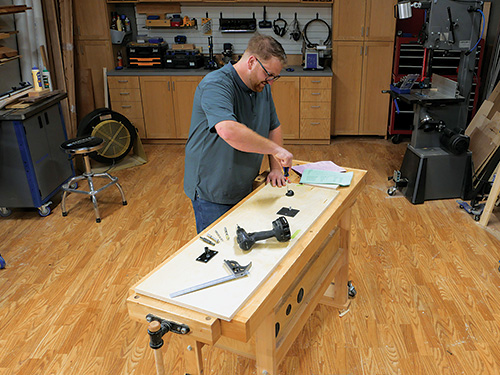
In fact, I cut every piece on the list to size before I got busy assembling them. I know that’s often not a good idea when building a project — typically it’s better to measure and cut parts as you need them to adjust for little deviations here and there, but these part sizes worked out perfectly. I was also careful to mark exactly which piece was which so that I would not get confused later.
|
|
|
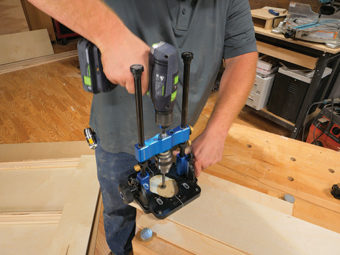
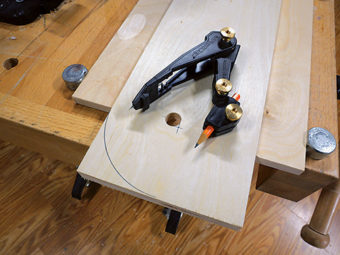
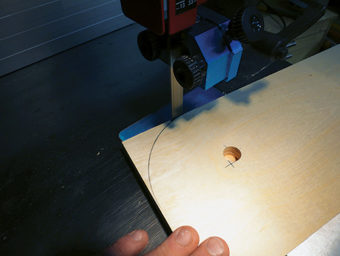
Next, I laid out and bored a 5/8″-diameter hole 1/2″ deep on each side rail before forming their front curved shapes at my band saw. If you don’t have a band saw, a handheld jigsaw with a fine-toothed blade would also work well.
Hardware is the Key
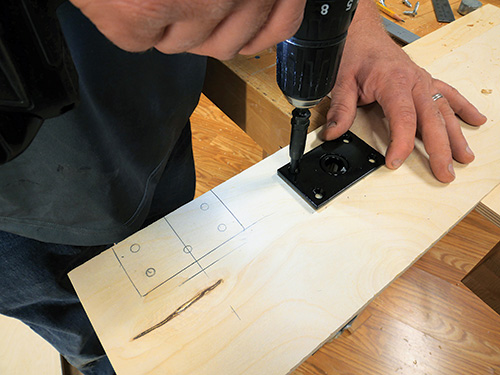
I took some time at this point to become familiar with the hardware. As I mentioned earlier, old-style Murphy beds were often haphazard affairs with some real problems stemming from the use of hardware not created specifically for this sort of functionality. Using this kit from Create-A-Bed changes all that.
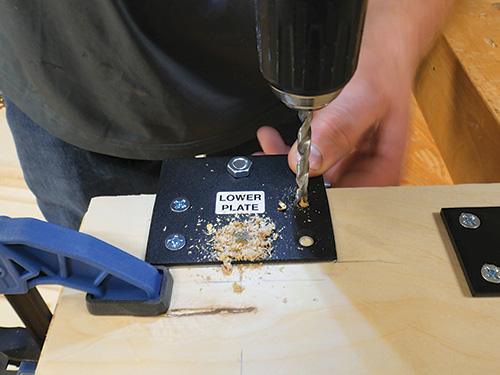
Even so, it’s important that this hardware is mounted accurately to the locations provided in the Create-A-Bed instructions. Take the time now to install the hardware as directed, and then remove it. You will reinstall it after you have applied your finish. The only hardware not supplied in the kit are 1-1/4″ and 1-1/2″ screws I used to join the 3/4″ components together.
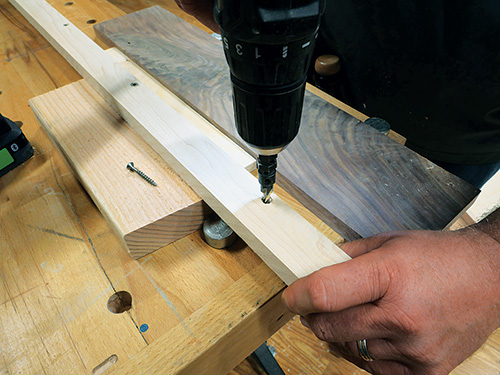
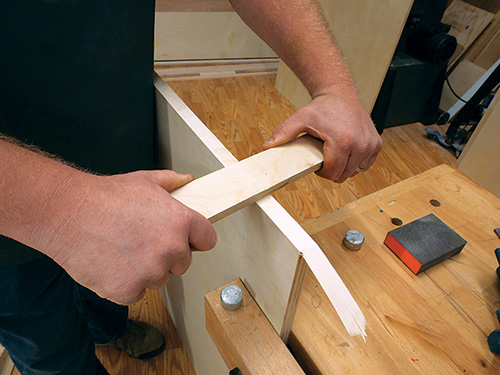
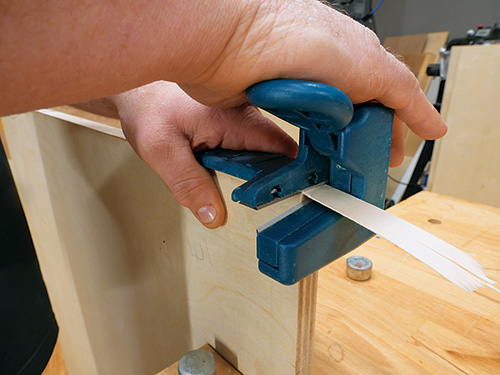
With that in mind, I used Titebond II glue to strengthen the screw joints where possible. There is a fair bit of stress when operating the bed, so don’t skimp on secure joinery. I also took the time to apply iron-on edge banding to conceal the plywood edges where those would show.
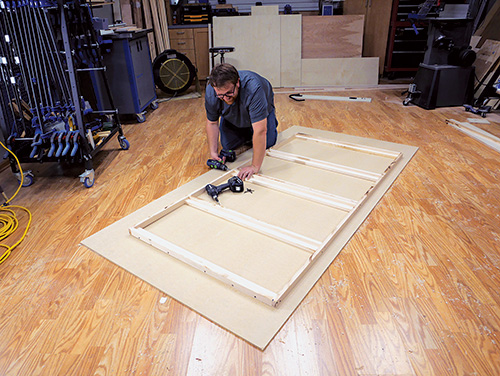
One of the aspects I really liked about this project was that when I had the components cut to their proper dimensions, it went together quickly, like those Erector Set constructions I once made as a kid. I just started assembling the pieces, beginning with the bed frame.
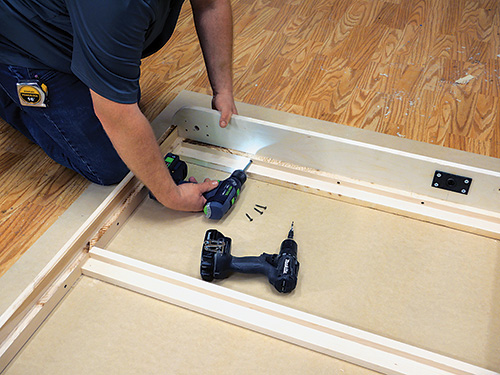
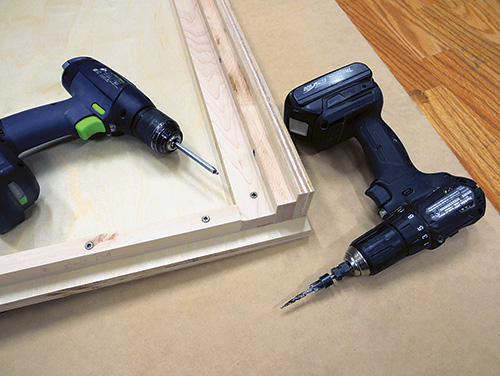
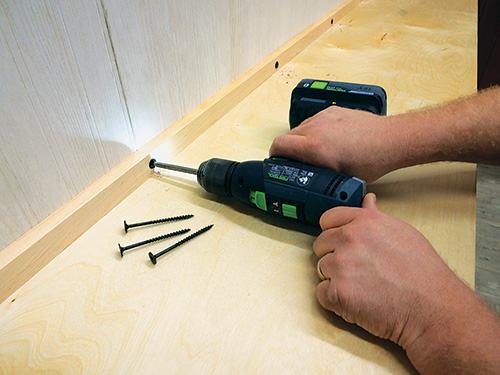
I did not have a work surface large enough for the whole bed frame assembly, so I put a piece of plywood on the floor and assembled the parts there instead. The flat surface kept everything well-aligned. I chose wood screws and glue rather than finishing nails to assemble the frame struts. There’s nothing difficult about the bed frame’s basic butt-joint construction.
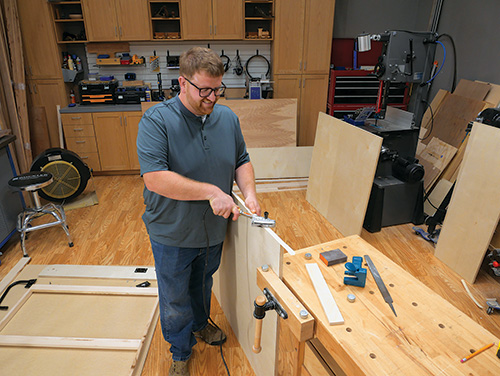
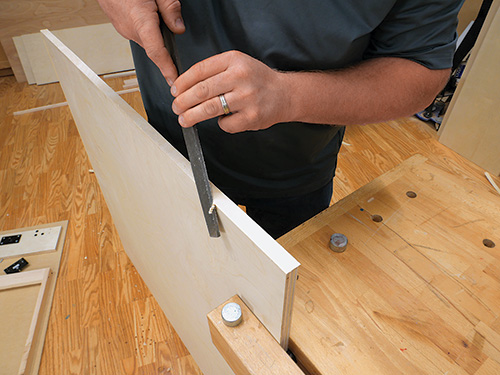
The last big construction task is assembling the bed cabinet. There are a few pretty big pieces in this assembly, and I found it helpful to have a friend hold them at times during the process.
Again, I did not skimp on screws and glue. I mounted the hardware to these pieces before assembly, as recommended, and then I removed the hardware as before. Create the header subassembly.
When all the woodworking was done, I applied three coats of Watco Natural oil finish to them. Once it fully cured, I reinstalled the hardware and got ready to put the whole thing together.
Final Assembly and Installation
Assemble the pieces in the room in which the bed will be located. Start out by attaching the mattress retaining straps to the bed frame. With the bed frame laying on the floor (see the instructions), slide the cabinet verticals into the pivot holes on the bed frame.
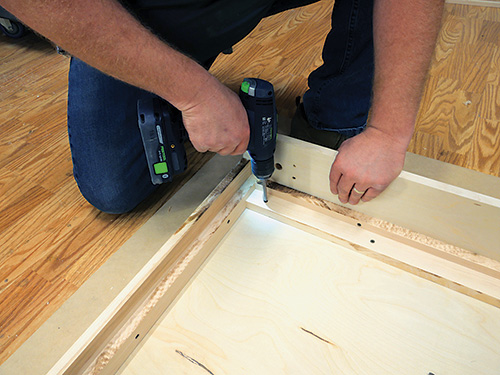
Attach the headboard to the verticals. With the bed frame still on the floor, stand the vertical subassembly up. Attach the header subassembly to the vertical subassembly with glue and screws. Place the bed cabinet a couple of feet from the wall mounting location.
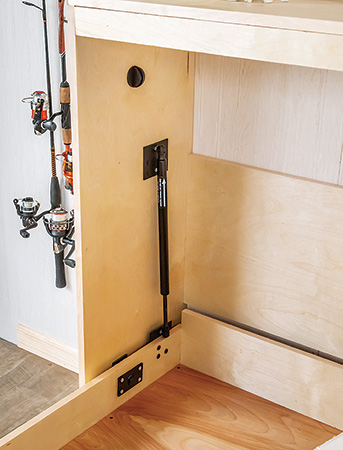
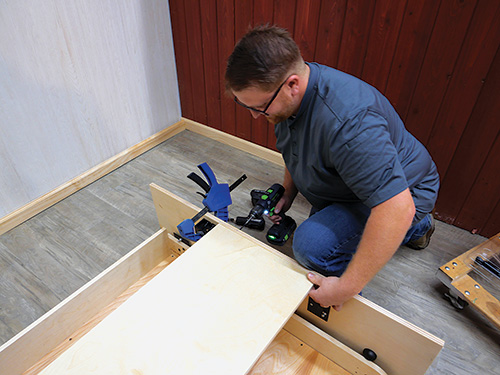
Now it’s time to attach the gas springs to the bed cabinet, as directed in the manufacturer’s instructions. You’ll swing the bed frame inside the cabinet past vertical to attach the gas springs. When that’s done, pull the bed out of the cabinet and screw the bed stops in place. Push the bed back into position on the wall and check to make certain the bed frame and cabinet are square.
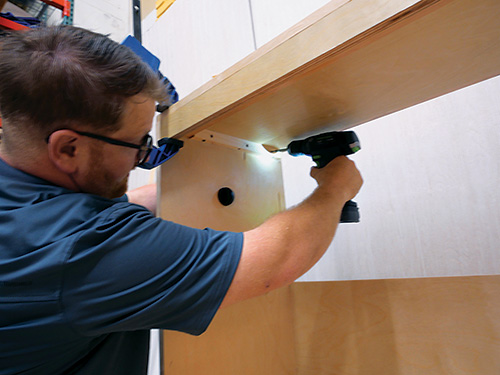
It’s critical at this point to secure the bed to the wall with appropriate fasteners. I used 3″ cabinet screws driven into the wall studs through the header’s rear rail. These screws must be driven into the walls studs. If you have a hard time locating wall studs on your installation wall, verify the framing with a stud finder. You want to be certain every screw is driven into solid 2x framing members.
Now’s the time to add decorative features to the front of the bed, if that’s your preference. I did little to modify the cabinet or bed frame with extra ornamentation, but that is always an option. (You can find some really creative treatments for hideaway beds like this on the Internet.) But be sure to plan where the handles will go first, because you will need them.
Place the handles as directed by the instructions. The weight of a mattress helps the bed open and close smoothly. Just be aware that there will be a bit of wrestling with the hardware until the mattress is in place. Secure the mattress to the frame with straps to wrap up construction.
This Murphy bed was fun to build. Adding another bed to a room without needing to dedicate it as a bedroom can be very practical. Perhaps your house or cabin could benefit from this fun space-saving project, just as mine will!
