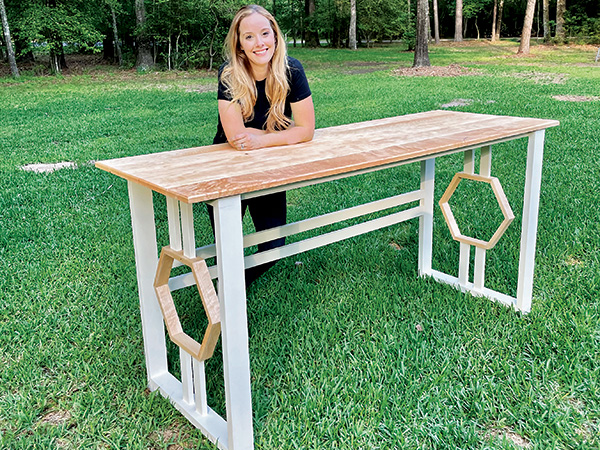
I like to spread things out when I work, whether that’s drawings and notes when I’m planning a new project or the ingredients for a recipe in the kitchen. So I designed this tall table with easy workflow in mind. At 30″ wide and 6-1/2 ft. long, its top is spacious, wherever you decide to put it to work — in your home office, as an airy kitchen island or This tall table with geometric accents could easily serve as a large standing desk or a minimalist kitchen island. whatever you decide. It’s just over 40″ tall, so it could even serve as a roomier alternative to a desk project, if you like the idea of standing while you work but need even more space.
I wanted to incorporate some interesting geometry into my design, and hexagonal shapes appeal to me, but I also wanted to keep the project easy to build. Rockler’s Beadlock® loose tenon joinery was just the solution I needed. The Beadlock drilling jig makes it possible to assemble the mitered corners of the captured hexagons, as well as most of the other butt joints in this table build.
Poplar was my budget-minded choice for the table’s painted parts, and I used maple for the hexagons and tabletop.
Building the Upper Support Frame
In the Drawings, you’ll see that the upper support frame for this table consists of a pair of long rails and three shorter cross braces. Given how long this table’s span is, I wanted the upper framework to be stiff and strong, so I fabricated the parts from 8/4 poplar I milled down to 1-1/2″ thick. Rip the long rails and cross braces to 3-1/2″ wide on your table saw, and crosscut them to length.
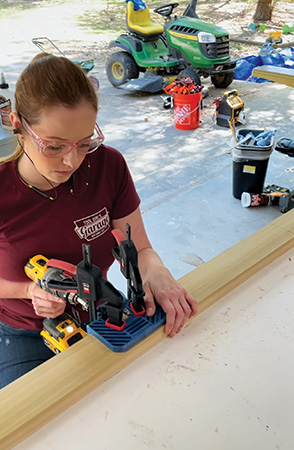
Set the parts into position on your work surface so the middle cross brace is centered on the length of the long rails and the other two cross braces are located 10-1/2″ in from the rail ends. Now draw a layout line across each joint with a combination square to mark it for one centered Beadlock tenon.
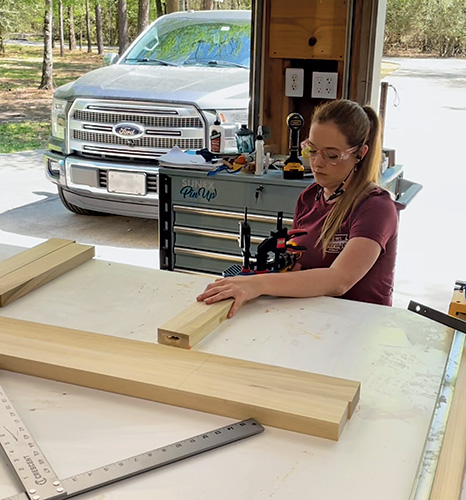
Get your Beadlock jig ready for drilling these joints by installing the 1/16″- and 1/4″-thick plastic Beadlock spacers behind the jig’s hardened-steel drilling guide with 1/2″ holes in it. Chuck a 1/2″-diameter twist bit in your drill/driver, and use the Beadlock jig’s depth scale to set the drilling depth to 1-1/4″ for these joints. Clamp the jig to the ends of the cross braces and along the edges of the long rails where you marked them so you can bore holes for each mortise. Be sure to set the jig to its “A” position, drill all of those holes, then reset to the “B” position and drill the remaining holes before unclamping the jig and moving on to the next mortise.
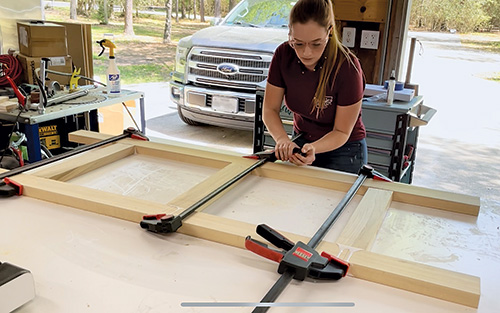
These six joints require 2-1/2″-long tenons, so I crosscut those to length from Rockler’s preformed Beadlock tenon stock at my miter saw. Give the ends of the tenons a bit of sanding to remove the rough edges — they’ll slide into the mortises easier that way. Then go ahead and dry fit the tenons in their mortises to assemble the upper framework. If all the joints fit well and the part surfaces are flush, pull the framework apart again. Spread glue into each of the mortises, slip the tenons back in and clamp the framework together.
Making a Supplemental Jig
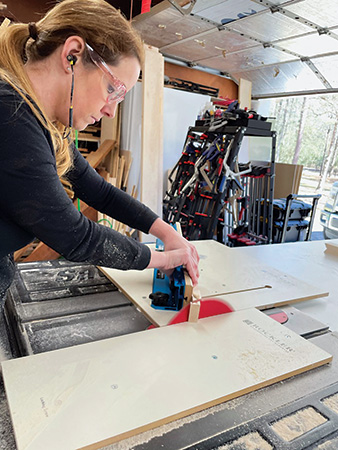
While those joints dry, let’s move on to building decorative hexagons for the ends of the table. Fitting together the mitered ends of a hexagon will require precise joinery, otherwise there’s no way the last joint will close properly.
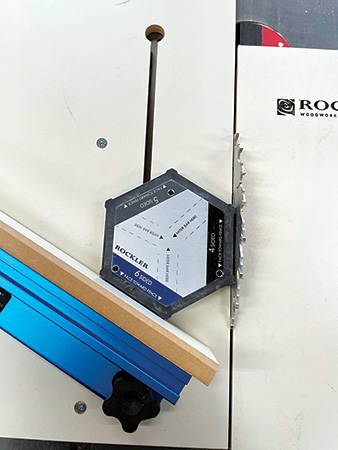
To help me zero in on those joints, I enlisted the help of Rockler’s Perfect Miter Setup Blocks and my Rockler Crosscut Sled. Using the Perfect Miter Setup Blocks is really simple, and they’re ideal for this application. They allow you to easily set the sled’s fence to precise angles without measuring.
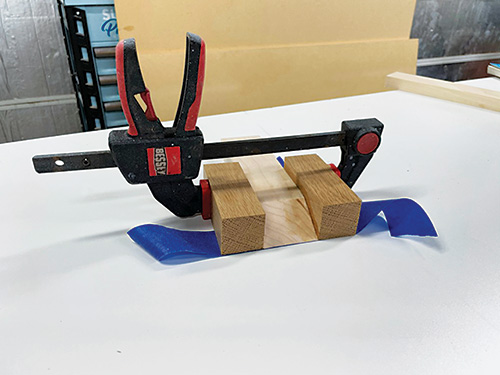
I chose the Setup Block for making a six-sided shape, which requires 30-degree angle cuts. With my fence angle dialed in, I used the sled’s flip-stop to set the length of the 12 hexagon segments and carefully crosscut them to size from 2″-wide, 3/4″-thick maple stock.

Using the Beadlock jig to mortise the angled ends of these pieces was tricky but very possible! To do it, I designed a ramped jig from three pieces of scrap that allowed me to set each hexagon segment into position inside the Beadlock jig for drilling. My ramped jig’s 2″-thick center lamination formed a 60-degree angle, and the outer two laminations had 30-degree angles on both ends.
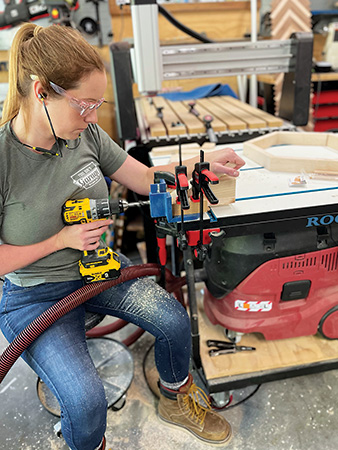
To prepare the Beadlock jig for this operation, I installed the 3/8″ drilling guide with a 1/4″ plastic spacer behind it. Then, with the Beadlock jig and my ramped jig clamped together and to my work surface, I could slide each hexagon segment down into place for drilling. I bored a single mortise 3/8″ deep into all the angled ends.
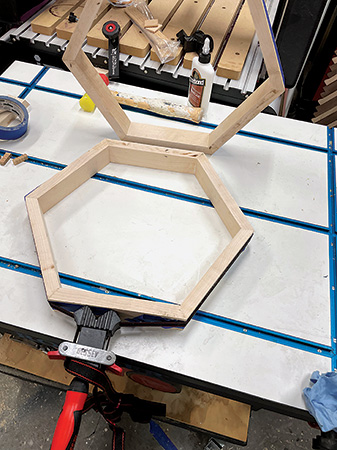
Once the mortises were ready, I cut a dozen 3/4″-long tenons for these joints from 3/8″ Beadlock stock and used a band clamp and glue to assemble both hexagons. Give these joints at least six hours to dry, then unclamp the hexagons so you can touch up the corners and edges with some light hand sanding.
Constructing the Leg Assemblies
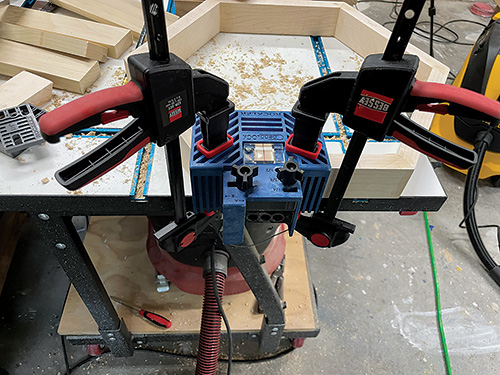
Next, let’s build the leg assemblies. To do that, mill up enough 1-1/2″-thick poplar stock to cut four 27″-long short rails and four 35″-long legs to size. The short rails overlap the ends of the legs to form square corner joints. Set the parts together and mark each joint for a single tenon. Since these are face-to-end joints, mark the parts carefully so you’ll be sure to align the jig correctly for drilling. I settled on 1/2″-thick tenons for these large corner joints and set up my Beadlock jig with both 1/16″ and 1/4″ spacers installed. I drilled each mortise 1-1/4″ deep and crosscut 2-1/2″-long tenons to fit them.
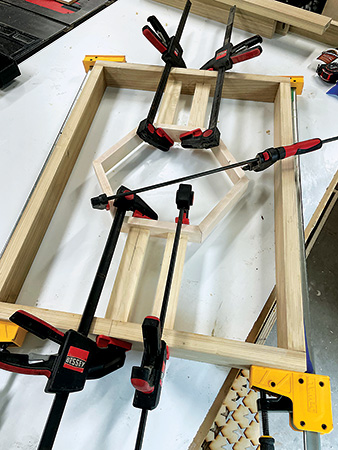
The hexagons will be “suspended” between the short rails on the leg assemblies with four 3/4″-thick, 2″-wide supports. Crosscut four top supports to 9-3/4″ long and four bottom supports to 9-7/8″ long. Given the thinner stock for these supports, I decided to go down a size on my Beadlock mortises and switched to the 3/8″ drilling guide in the jig.
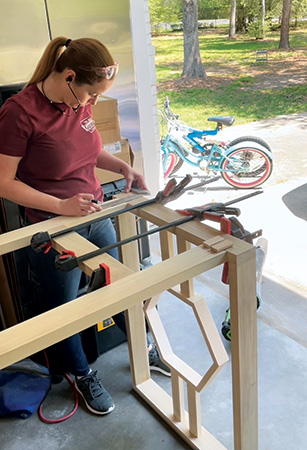
To drill mortises for installing tenons between the short rails and the supports, first install both the 3/4″ and the 1/2″ spacers in the jig. Mark each short rail for two mortises, spaced 11-3/4″ in from the ends. Drill these rail mortises 1″ deep. Now remove the 1/2″ spacer and mark the top and bottom segments of each hexagon 2-1/2″ in from their edges for drilling corresponding mortises here. Drill these mortises 3/8″ deep. Finally, remove the 3/4″ spacer so you can drill a centered mortise into each end of all eight support pieces. Set the depth of these mortises to 1″ deep. Cut 3/8″-thick Beadlock tenons to fit all the mortises you’ve just created, and give the short rails, legs and supports a final sanding.
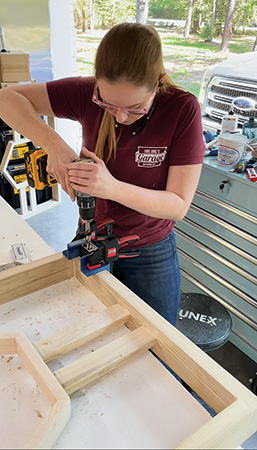
Gluing up the leg assemblies requires some patience, as there are a lot of joints coming together. Definitely start out by dry assembling all the parts with the tenons in place, just to make sure all the joints will close correctly. When gluing things up, first assemble the hexagons and supports, then add the legs and short rails. Break these glue-ups down into two sequences, if that makes things easier.
Assembling the Table Base
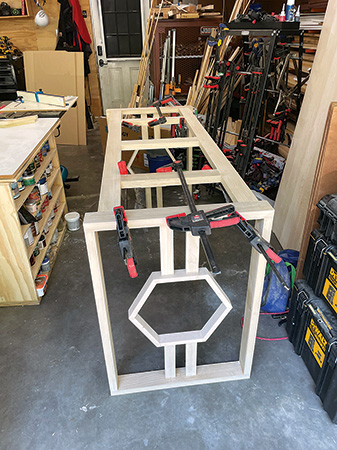
clamp the framework together so you can measure between
the leg assemblies to verify the stretcher length.
Now is a good time to assemble the major components you’ve built so far. Set and clamp the upper support frame between the two leg assemblies so their top edges are flush. The upper support frame will be about 3″ narrower than the leg assemblies, leaving you about 1-1/2″ of inset at these joints. Mark the long rail/short rail joints for two Beadlock tenons per joint. I drilled 1/2″-wide mortises 2-1/2″ deep for these joints with 1/4″ and 1/16″ spacers installed in the jig. Cut eight Beadlock tenons for these mortises, and dry assemble the joints to verify that they fit together correctly.
While these parts are clamped up, measure for the two lower stretchers. While the table is actually plenty strong without them, I erred on the side of caution and added them in. If you do likewise, rip and crosscut poplar workpieces for them. I used 3/8″ x 2-1/2″-long tenons to attach these two stretchers to the legs. I positioned them 16 and 20 inches up from the floor. When locating their mortises, I didn’t use spacers in the jig, but I did mount the stretchers flush to the inside faces of the legs to leave a small reveal on the outside.
Bevel-cut one end of each of the table’s four feet to 30 degrees, and mount the feet to the bottoms of the leg assemblies with glue and screws.
Forming the Tabletop
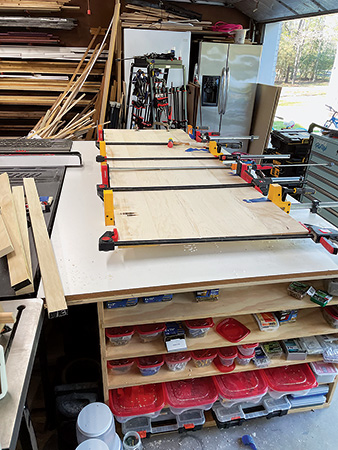
The last component to build is the tabletop! I used 1/4″ Beadlock joints between the boards to help align their faces during glue-up. You might even consider gluing up the top in several narrower subassemblies, then gluing those together to form the larger top, if you have a limited number of clamps. Trim the ends of the tabletop flush to bring it to its final overall length of 78″. I chamfered the top edges of the tabletop panel all the way around to make it more skin-friendly.
Finishing Up
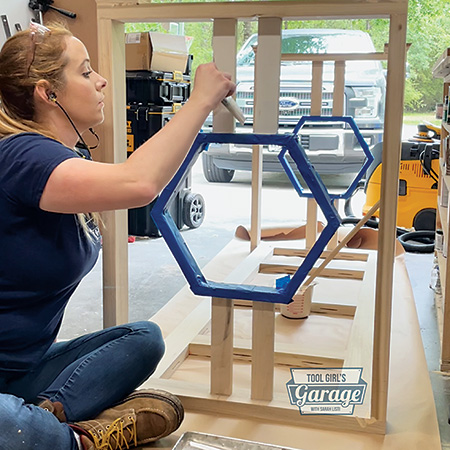
After finish-sanding the entire project, I top-coated all but the hexagons and tabletop with General Finishes Antique White Milk Paint. I opted for wiping varnish to seal the maple parts.
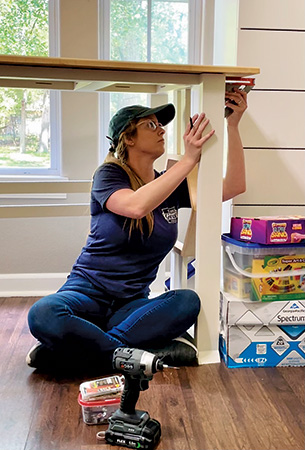
Once everything dried, I used a biscuit jointer to cut slots along the support frame’s long rails so I could attach the tabletop with eight steel Z-clips and screws.


