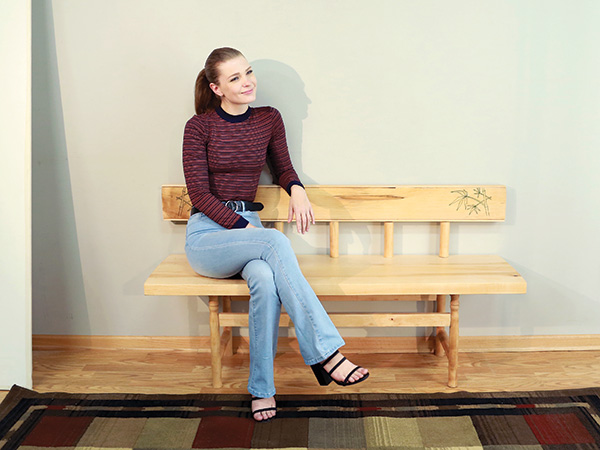
Sitting down, and what we sit on, is kind of a big thing. We all do it every day in a multitude of settings and for a wide range of reasons. Some of my most pleas- ant times have been sitting under a tree or on a grassy hillside with nothing more separating my behind from the earth than a layer of denim. Not surprisingly, like many guys my age and in similar circumstances, I have “my chair” in my home. It is where you will find me regularly reading a book, scanning the Internet or simply caught up in deep thoughts. (What if the hokey pokey is really what it’s all about?)
But chairs, benches and other sorts of seating are more than just utilitarian. Over time, they have come to represent statuses from elevated to humble, societal roles or cultural conventions. If I were to invite you into my house and you chose to sit in my preferred chair, I would be gracious and sit some- where else — but I might give you the stink eye when you were not looking. (Uncouth knave! You have usurped my place in my home!) We all know what the terms seat of power, seat of honor, the hot seat or place at the table represent. Thrones are simply chairs with mere humans sitting upon them, but clearly they are also much more than that.
So we should not be surprised that when it comes to the things we sit on — chairs, benches, stools, sofas, ottomans, pews — the variation in those items is remarkable. Which brings us to this project: a five-spindle turned and inlaid bench.
First, Some Design Context
I found the style of a wide bench with a low back attractive, so I was also pleased and surprised when it turned out to be comfortable for me to sit on with the backrest nestling into the small of my back. If you are shorter or taller than me, I don’t know if that will hold true for you.
While I was inspired by an image I found, how many woodworkers do you know that just build an exact copy of a project? Not me for sure. For that reason, I did some sketch- ing as I modified the bench to suit my aesthetic and then moved on to building a prototype from MDF. I can’t say enough about the benefits of prototyping and seeing a full- sized example of what you wish to build. In this case, I moved the long stretchers higher on the legs and added a very slight curve to the ends of the seat and backrest as a result of this process. Then came the real work: building it.
Preparing Materials
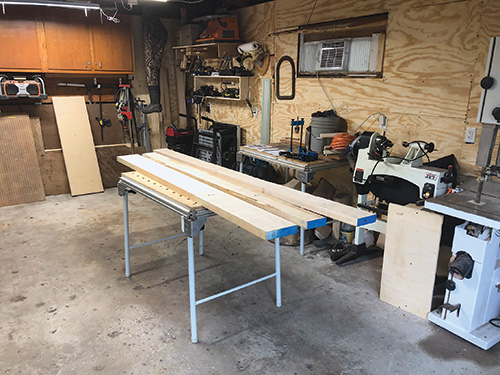
I chose to make the bench from 1-3⁄4″ maple lumber. The thick lumber provides visual weight and the actual substance required to support the joinery.
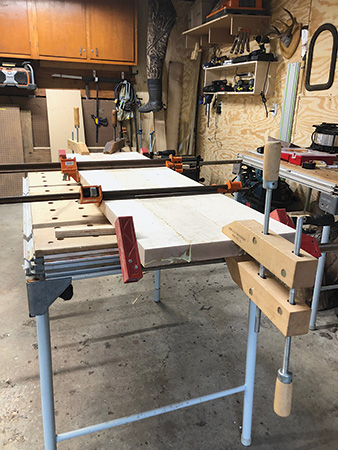
I ripped and crosscut the seat pieces to width and length, and I glued them up slightly oversized in both of those dimensions.
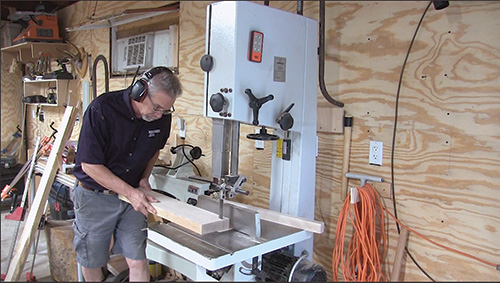
Then I took the remaining stock from that process and ripped pieces for the various turned parts to width on my band saw. Next, I stepped to a miter saw to cut them to length. You’ll find the dimensions and joinery details in the Drawings.
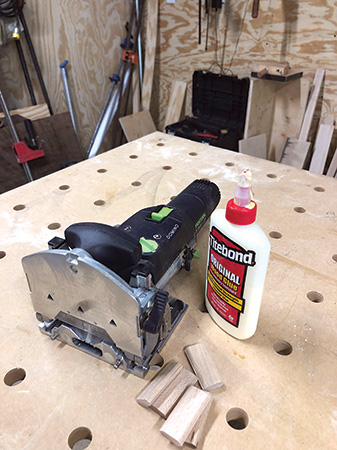
I decided to join the legs and stretchers using Festool’s Domino loose tenons. Dowels or another loose-tenon system would work as well. I formed the mortises before I turned the back spindles and legs to more easily and accurately place these joints.
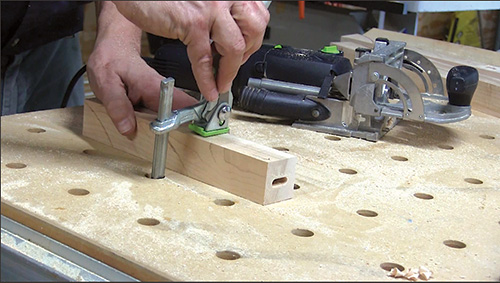
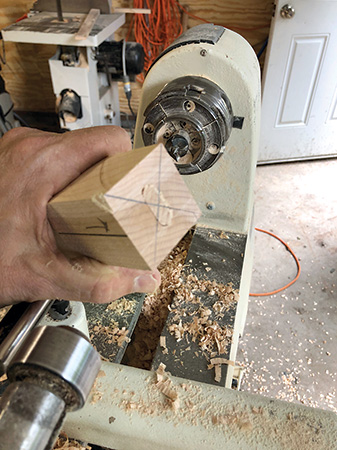
But I should have thought ahead and waited to mill these mortises into the ends of the short stretchers, as these holes prevented me from easily mounting those parts between centers on the lathe. “Plan B” of temporarily filling those mortises with Domino tiles worked to solve the dilemma.
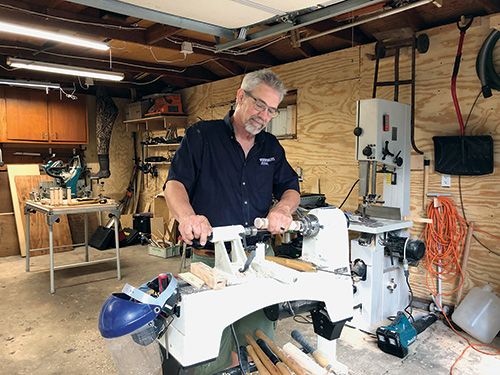
There are 13 spindles to turn for this bench, most of them simple cylinders. I did attempt to turn the legs in a way that evokes a cured bamboo stalk. I didn’t really think I succeeded until an observer commented that hey do look right. You can decide. My lack of skill using a skew chisel was made painfully clear as I turned all of these pieces. (I’ve got to practice more …)
Then I sanded the spindles up to 400-grit because I chose to use Watco Oil finish on the bench. Usually I preach applying finish while the pieces are still on the lathe. In this case, though, I didn’t want to take the time to mask all the mortises, so the finish came later.
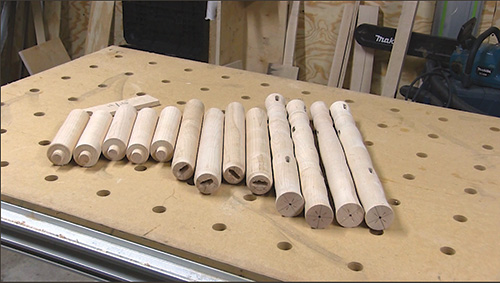
There are just two more pieces to make: the long stretchers. After I cut them to length and width, I centered Domino mortises in their ends and sanded them smooth. I also drilled pilot holes in the short top stretchers for screws that will attach the undercarriage to the seat. One hole on each stretcher is elongated to accommodate seasonal wood movement. With that done and after a full dry assembly, I glued and clamped the leg sets together.
Making the Seat and Backrest
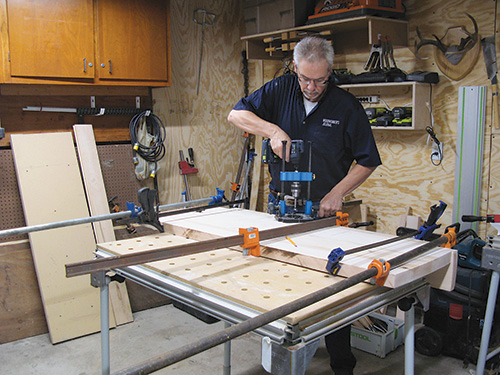
The seat glue-up was now ready to come out of the clamps. I scraped away the glue squeeze-out and then cut the seat to width on the table saw. I wanted to form a very delicate curve on each end of the seat, so I marked the center of the seat blank on each end as well as the exact length of the seat (56″) on those lines. I then measured back 1/4″ and used a square to scribe a line across the width of the seat blank on both ends. Flexing a thin piece of stock that connected the scribed line on each side of the seat with the center point at the 56″ mark, I drew a gentle curve on the ends of the seat. I cut those curves on the band saw, then faired them with a handheld belt sander.
With that done, I set the completed seat on top of the backrest blank and traced the end curves onto it. A trip to the band saw and a bit of belt sander action finished up the backrest’s curves.
With the backrest and seat shapes completed, it was time to sand them. And boy, that was a lot of sanding. Once again, I was determined to sand through all the grits, starting with 60-grit up through to 400-grit. I took a break at the 180-grit stage to form the 1/8″-wide x 3/16″-deep shadow lines in the backrest using a full-thickness table saw blade. Be- fore moving on, I drilled 11/16″-diameter holes for the back spindles using a new portable drill guide from Rockler. Now it was time to do some carving.
Carving and Inlay the Easy Way
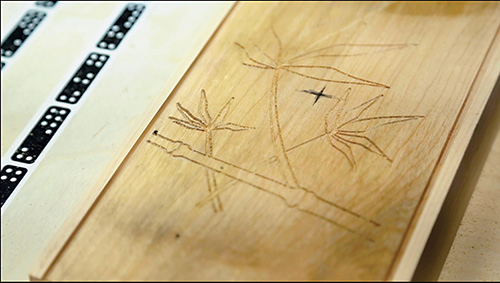
Bamboo carvings had been part of my concept for the bench from the beginning. But carving is one area of woodworking that I find tedious. Frankly, the skill is “heavy lifting” for me.
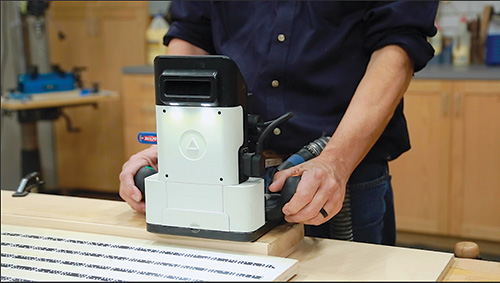
Enter the Shaper Origin handheld CNC machine. I was able to carve the bamboo motifs easily and accurately with this tool. After I carved the shapes into the backrest, I sanded with 320-grit paper and then applied a wash coat of shellac to the carved face.
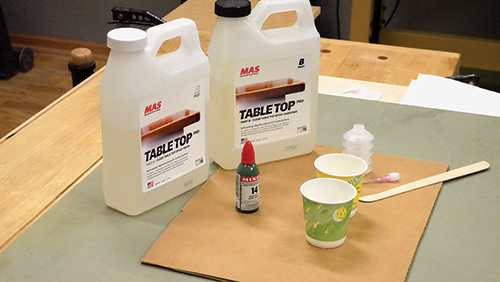
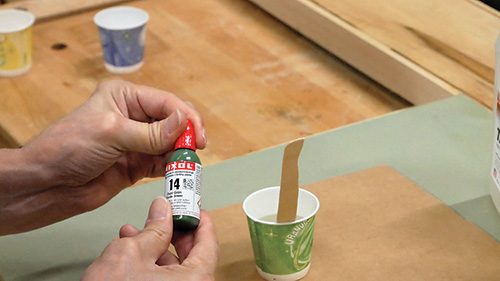
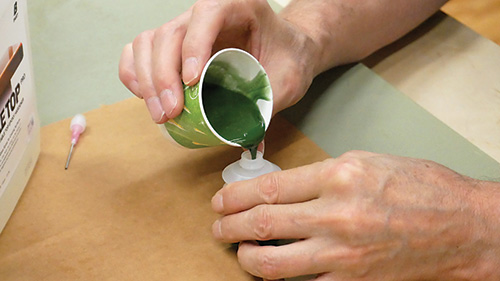
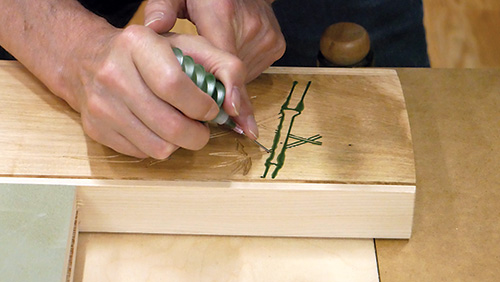
Just as the Shaper Origin makes carving easy, “inlaying” with colored epoxy is even easier. I mixed up the epoxy, added color, put the mix in a glue syringe and “stayed within the lines” as I filled the carving with it.
I made puddles of the epoxy in a few places on the carving. But once it cured, it sanded off in a snap, thanks to the shellac wash coat, leaving the carved lines neatly and fully filled.
At this point, I sanded the entire front face of the backrest once more, starting at 220-grit and continuing to 400-grit.
Finishing and final assembly was all that remained to be done. Before I installed the backrest on the seat, I did a couple of things. First, I dry fitted the back spindles in their bored holes. A couple of the tenons needs to be sanded slightly smaller.
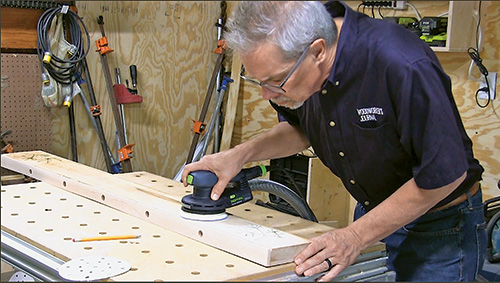
Then I applied the first coat of Watco Oil to the seat and the back spindles, but I carefully kept the tenons and the areas where the spindles would be housed bare of finish. I used Watco’s “light walnut” color on the spindles and “natural” on the seat and backrest.
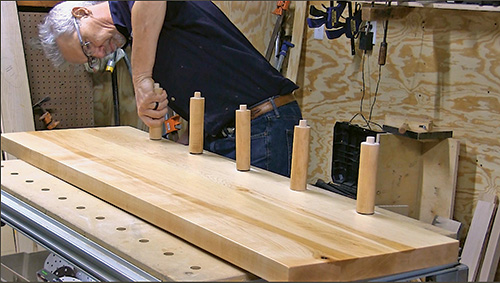
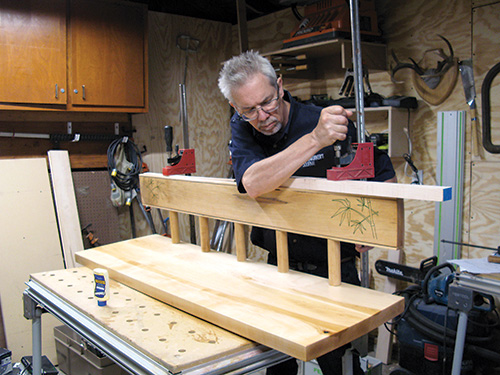
Then I glued and clamped the pieces together and let the glue cure. While that was happening, I applied several coats of the light walnut Watco to the leg set.
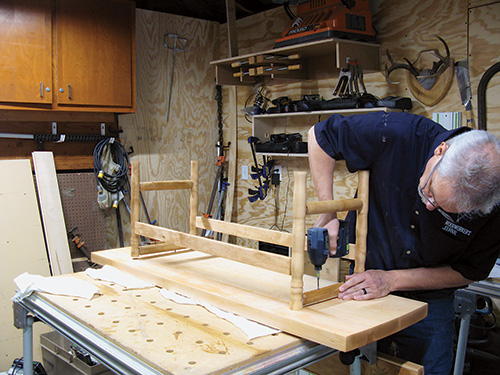
I wanted the color to mimic bamboo. I then fastened the undercarriage to the bottom of the seat with #10 x 2-1⁄2″ screws. After assembly, I applied several more coats of the Watco products to build up a more durable film coat.
While it is no throne, I’m very happy with this bench on several levels. It’s a fun project to build, looks beautiful when done and provides some very practical seating.
Free downloadable SVG files for the bamboo images are available here.


