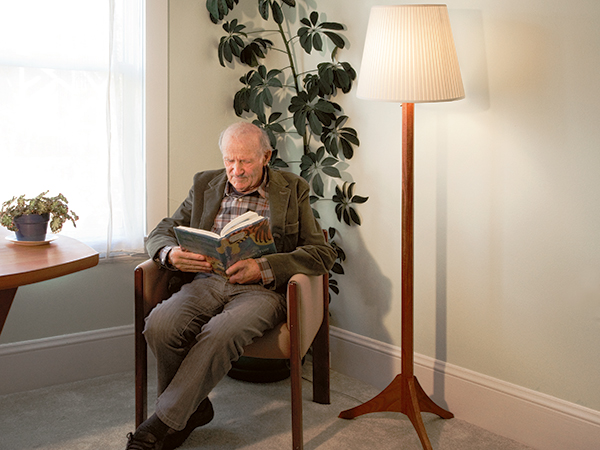
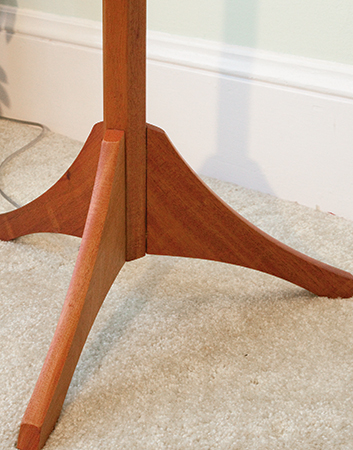
I needed a floor lamp for an old house in Nova Scotia — one that would not wobble on 100-year-old floors. The result is about as simple as you can get — three feet (to accommodate a floor that might be sagging from age) firmly attached to a hexagonal stem with 3/8″ dowel pins. And while my lamp is truly simple in every regard, it is also attractive and very useful.
Since it’s impractical to drill 48″-long holes, I made the stem in two halves, after cutting a shallow groove down the center of each piece. Ideally, if you have the stock on hand, you should cut a 2″-thick section in half, rout or saw the slot for the wiring, then glue it back together. This makes an almost invisible joint, and you’ll have the added benefit that it is much easier to plane if the two halves have a consistent grain pattern.
Any reasonably stable hardwood will do for this project, as strength and durability are not crucial considerations. I’d suggest matching the wood to the environment that the lamp will be used in — it’s one of the benefits of building your own furniture. In this case, I used mahogany since I had some narrow 1″ boards that could be ripped in half and then glued up. It’s also a reasonably affable wood to plane by hand — my preferred method of machining wood.
Getting Started
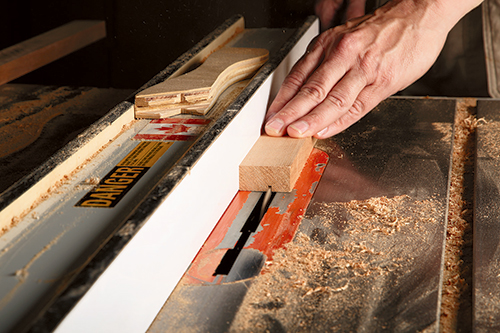
It may be hard for some woodworkers to believe, but I don’t have a router — nor a dado blade for the table saw — in my Nova Scotia workshop, so I just made three or four adjacent cuts with a regular rip blade to form the matching grooves in the stem.
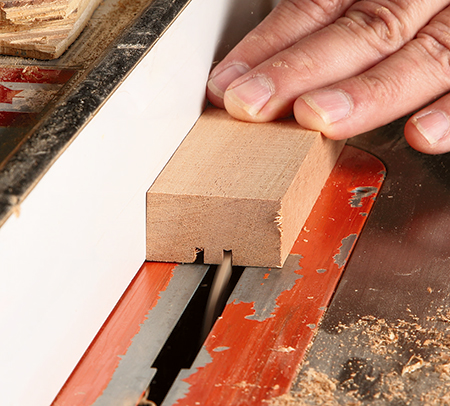
How you form the long channel is up to you, but it needs to be sized to take a six-inch length of 3/8″ threaded tubing — which is a standard size for most bulb sockets. I recommend getting your hardware before you begin the project; it will avoid unpleasant surprises down the road if you can test fit the parts as you make them.
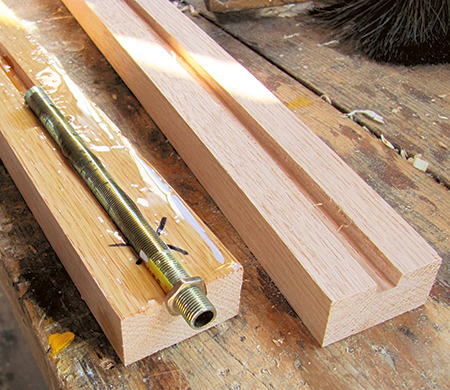
Put the tube in place when you clamp up the stem, but it’s important to leave enough of the tube projecting so you can secure the shade support (called a harp) with a second nut as well as the bulb socket.
If you look closely at the photos, it is clear that I used epoxy to glue the two pieces together. The reason is that I predominantly build boats in my Nova Scotia shop, and that is the adhesive I had on hand.
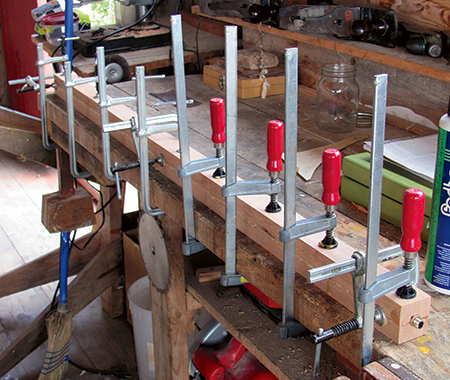
You could use any good quality woodworking glue to make the stem. To glue the metal tube in place, technically epoxy or polyurethane glue would be best, but even white glue will likely hold the tube well enough. To avoid glue squeeze-out from blocking the internal passage, lay a piece of thick string in the channel, work it back and forth a few times to pick up the glue, then pull it clear.
Six Sides from Four
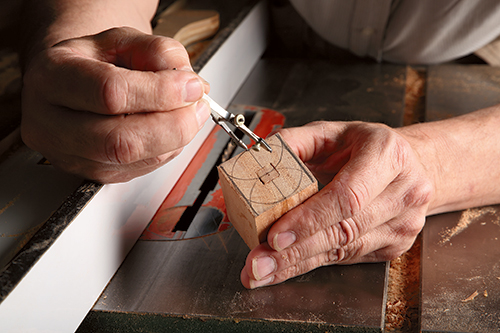
After the stem is glued up, machine plane it to an exact square and drive temporary plugs in the square holes at one end. Lay out an accurate hexagon by first drawing a circle and then, using the same compass setting, divide the circumference into six equal segments.
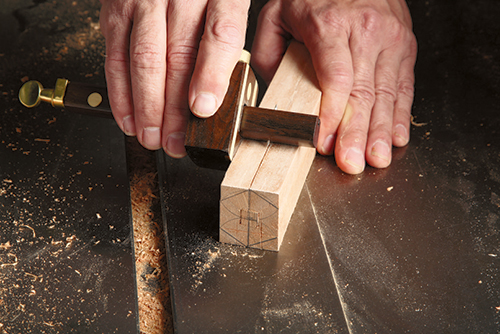
Join the segments with straight lines, making the hexagon symmetrical about the glue line. You’ll find this faint line a convenient guide when planing the stem to its finished size. Set a marking gauge and scribe lines along the length of the stem to indicate the four flats.
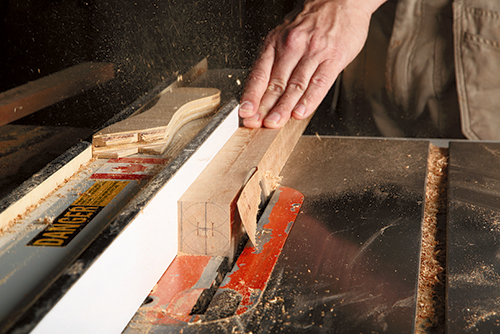
I recommend making a half-template in thin cardboard so you can check the shape of the stem at various points while shaping it to a hexagon. Plane these flats by hand, but if you’re using some “spiteful” wood (such as red oak), set a table saw blade to 30 degrees and rough them out on the table saw.
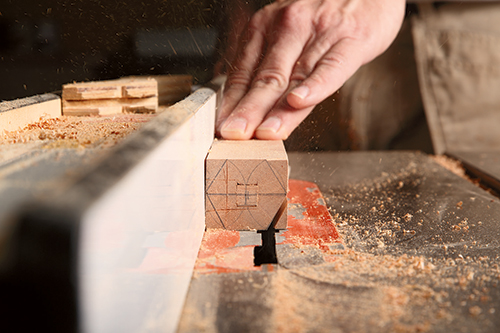
Finish with a low-angle block plane and scraper or, if the grain is really difficult, a disc sander will do a quick job.
Cutting the Feet
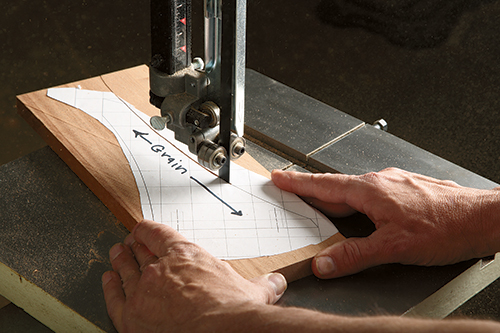
Cut out the three feet on the band saw, making sure that the grain runs parallel to the long axis, not across it — see the Drawings and the photo for details. After cleaning up the curved edges with a spokeshave and sandpaper block, mark the position of the 3/8″ dowels, a pair for each foot. Use a doweling jig so you can be sure the holes are centered. A quick, accurate way to transfer the centers of each hole to alternate faces of the stem is to use 3/8″ doweling points. Clearly mark which foot goes where with a letter or number as they are unlikely to be interchangeable.
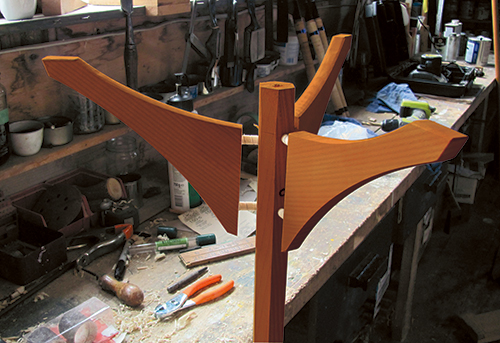
Before gluing the feet, try running the electric wire up the channel inside the stem to see that it is clear. If it’s blocked by glue squeeze-out (and you don’t have a super-long drill bit), straighten a heavy-duty wire clothes hanger, beat one end flat and grind it to a spade-shaped point. Chuck it in an electric drill and run it down the hole, working from both ends alternately, until clear. Drill a 3/8″ hole diagonally for the wire to exit at the base of the lamp. The closer to the floor, the less chance of people tripping over it.
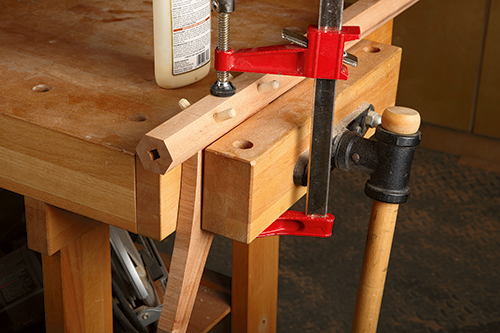
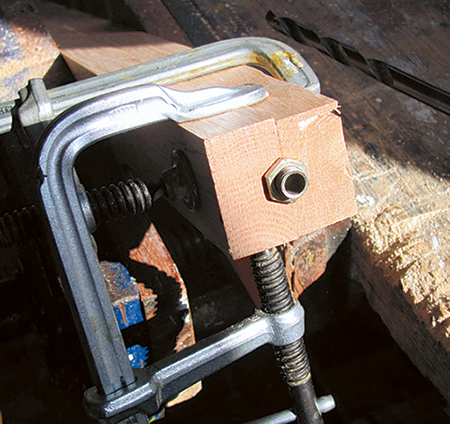
Clamping up the feet is awkward because of the shape. I found it best to clamp a foot firmly in a bench vise with the dowel pins facing up, as shown in the photo at bottom right. I then used a small bar clamp to force the stem down until it was a snug fit. I left it clamped long enough for the glue to set, then did the same with the next one. When done, you’ll need to clear the channel of glue and projecting dowels with a 3/8″ bit. With that done, I used three coats of Danish oil to finish the piece.
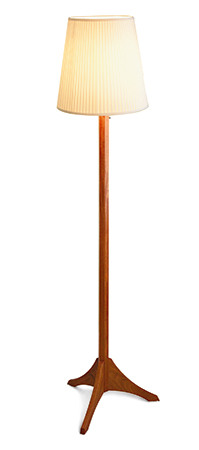
The shade in the photo measures 13″ from top to bottom, 9″ in diameter tapering to 13″, and came from IKEA. It cost less than $15. You’ll find 12 feet of #12 lamp cord about right.
When you’ve got the wiring done, set it up near a comfortable chair and find a good book — or woodworking magazine — and enjoy the light and the read!
Click Here to Download the Materials List and Drawings.
Click Here to Download Full-size Drawings of the Feet from this Project.


