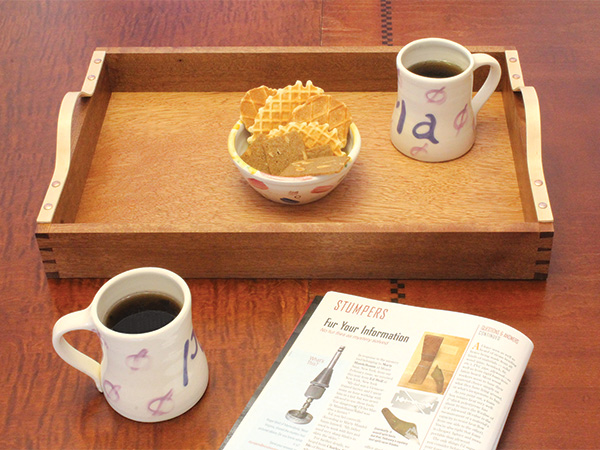
Mass-produced serving trays are often unstylishly box-like and, being machine-made, feature simple cutouts on the ends as handles. They can be boring, and, to paraphrase American furniture maker Jere Osgood, their straight-line designs are a wasted opportunity. Curves add interest to a piece, and thus I included curved handles in the latest tray I’ve made here. To add a handcrafted feel, the tray features hand-cut dovetails and rabbets.
For a striking look, I used maple for the handles, while sapele and African mahogany veneer ply make up the tray. Since those maple handles are thin, they are a good candidate for hot-pipe bending. Using that technique of bending wood, which I will explain later in this article, is a surprisingly simple way to achieve the curved visual effect and add a new skill set you can call upon for other woodworking projects.
The basic construction of this tray’s framework is pretty simple, too — especially if you’ve cut dovetails before. I’ve already discussed my wood choices for the sides, ends and bottom. You’ll want to get started by cutting those pieces into the dimensions stated in the Material List.
Dovetail Decisions
I don’t intend this article to be a tutorial on how to cut dovetails; my opinion is that the best guide for both beginner and seasoned woodworkers is The Complete Dovetail by Ian Kirby, available on Amazon.com. Here, I will only cover the key dovetail steps that I followed for this tray.
I chose to make the sides of the tray the tail boards for my dovetails and the tray ends the pin boards. This allows the tails (and less end grain) to be seen when the tray is brought out to serve. If you prefer more end grain on the front, you can choose to cut the sides as the pin boards instead.
How many tails to put in a dovetail joint is both a structural and an aesthetic consideration. For the size of this tray, even one tail is probably good enough for the structural strength. However, I chose to have three tails in the joint to add a visual element of craftsmanship to the piece.
Starting with the Tails
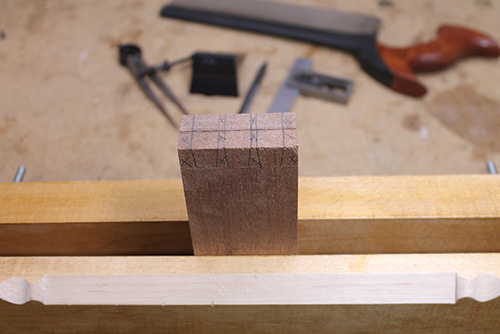
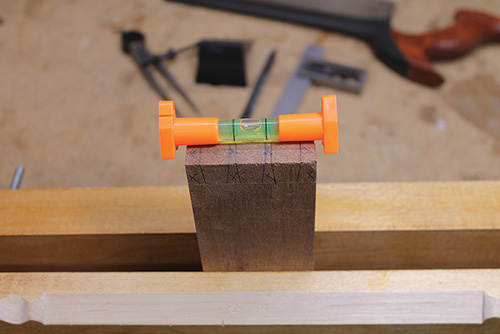
After deciding on the tail/pin design, the first step is to lay out the dovetails — a task I usually complete with a pair of dividers and marking gauge.
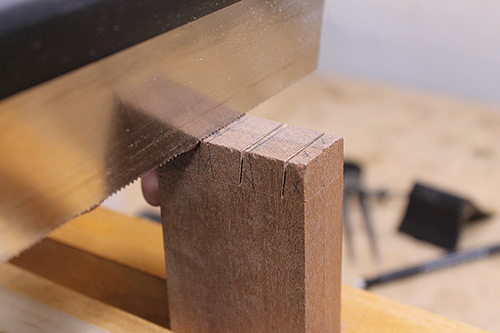
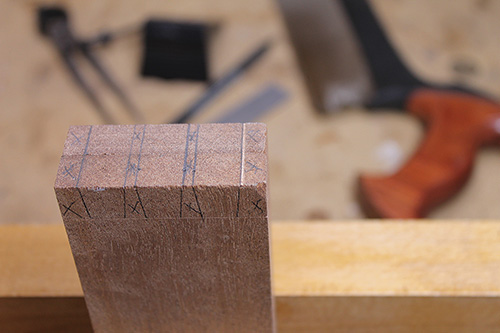
I am a “tails-first” dovetailer, meaning I mark and cut the tail slopes first. Be sure to practice sawing straight and plumb on scraps in order to build your confidence before you take the plunge with your prepared stock.
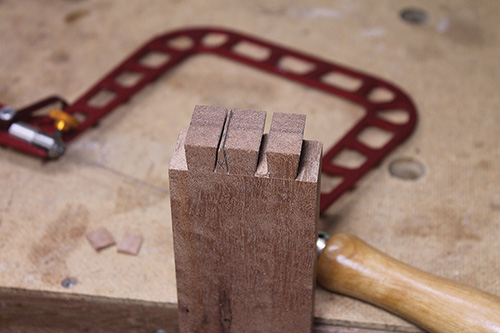
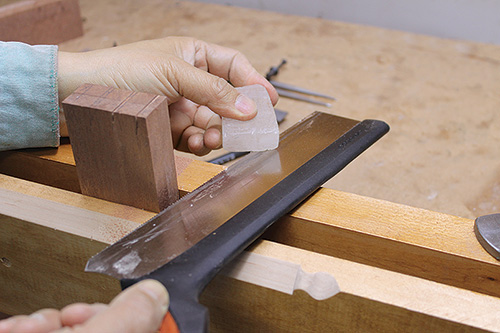
With the tails sawn, remove the waste from the pin sockets with a fret or coping saw, or simply chop the waste out. To saw off the outside half pins, I start by chiseling a V-groove on the shoulder line to act as a saw guide.
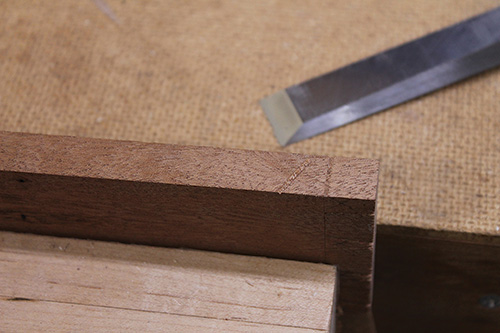
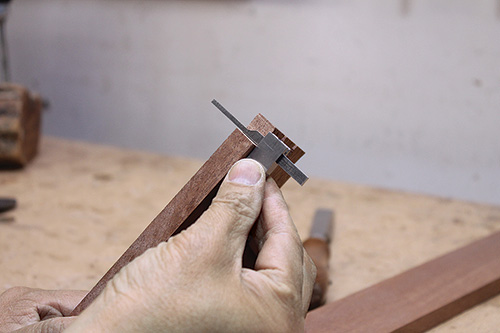
With practice, you can saw to the gauge line with very little left to clean up for the edge shoulder. After chopping to the gauge lines, check that the shoulders are square and flat, and pare away any high spots.
Sawing the Pins
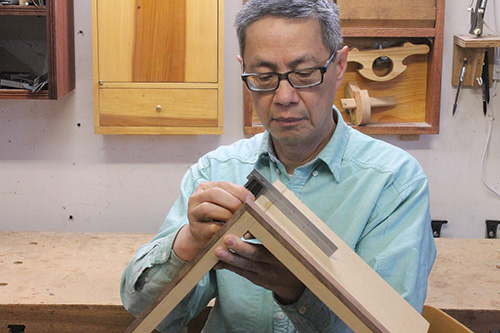
Marking the pins from the tails is best done with a dovetail alignment jig; it’s a shop aid made popular by David Barron, a British furniture and tool maker. The jig is simply a right-angled brace with a fence to align the reference edges of the tail and pin boards.
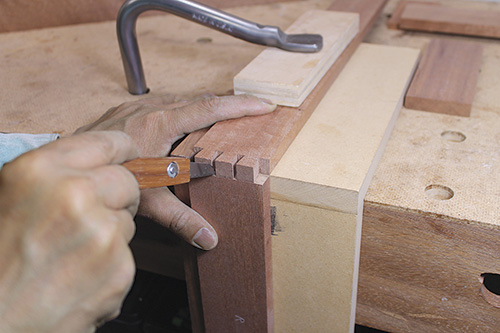
To mark out, hold the tail board on the horizontal part and the pin board on the vertical part, both against the fence, and scribe out the pins.
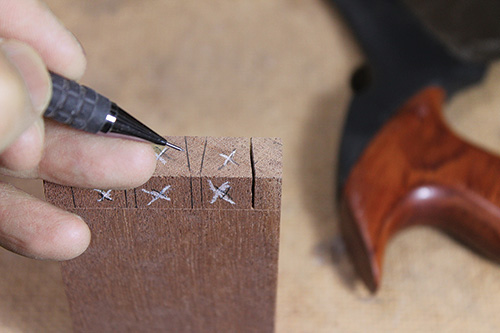
To complete the pin markings, draw vertical saw guidelines from the end grain scribed lines down the outside face.
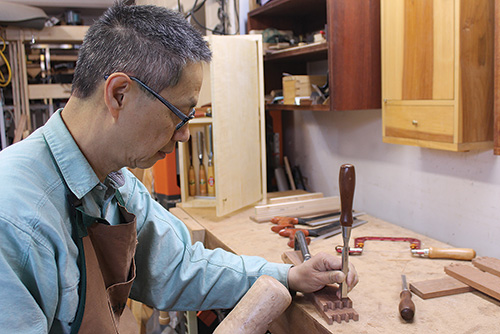
Sawing the pins to match the tails is a tall order for a lot of people, because one needs to split the scribed line and saw straight down along the vertical guidelines at the same time.
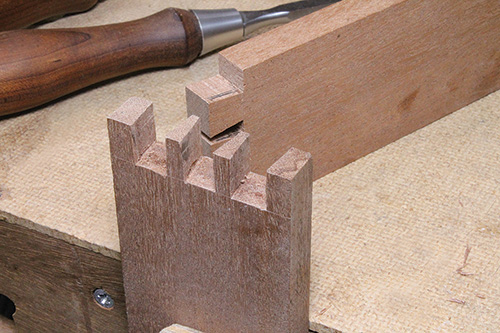
This is where the earlier suggestion of setting your workpiece plumb, or level, before you start will help your plumb cuts.
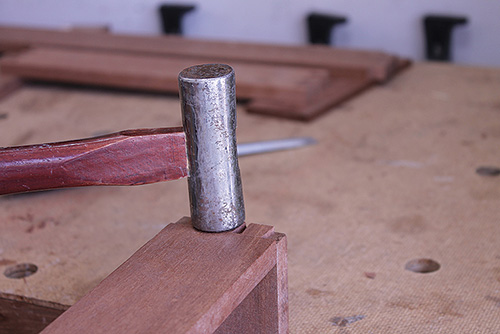
After sawing the pins, remove the waste and clean up the shoulders in a similar manner as described above for the tails. Once all the pins are cut, do a dry-fitting of the joint.
Adding Rabbets for the Tray Bottom
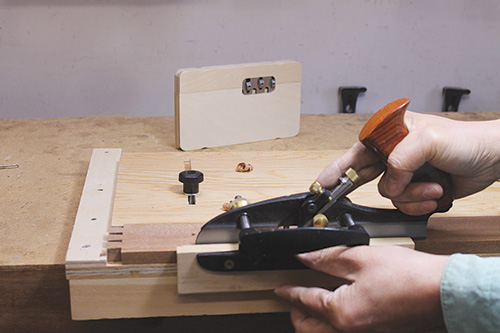
The last joinery to cut for the tray is the rabbets to accept the bottom. Stopped rabbets are cut on the tray ends, while through rabbets are plowed on the tray sides.
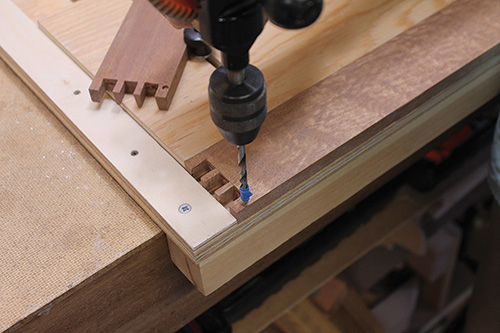
After setting the plow plane, I cut the rabbets on the sides. For a stopped rabbet, I drilled holes at the ends to mark out the length of the rabbet, and then I laid out the width and depth of the rabbet with a marking gauge.
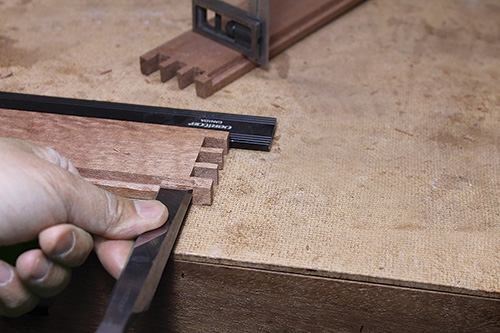
The holes at both ends served as both length and depth guides for planing. I excavated most of the rabbet with the plow plane and then squared the ends with chisels. If you don’t have a plow plane, cut all the rabbets with a router mounted in a router table.
Bending the Handles Against a Hot Pipe
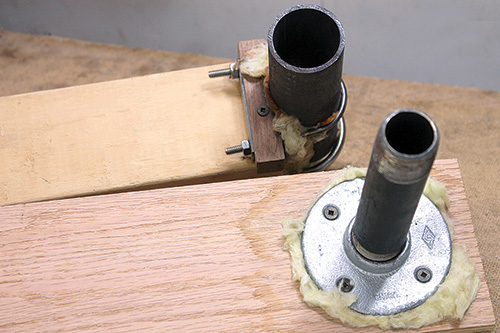
As the name implies, the hot-pipe bending method shapes strips of wood against a pipe, heated with a propane torch. You can mount the pipe to a post with a flange or U-bolts, insulated by a layer of fiberglass material, as I’ve done in the photos.
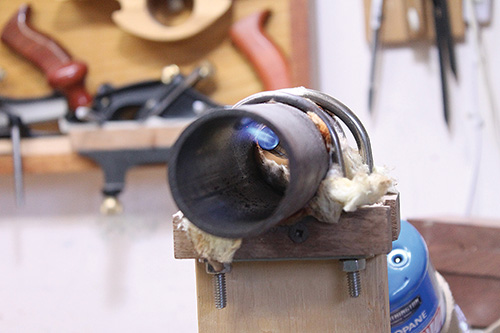
In use, clamp the post in a vise and hold the torch at an angle in a handscrew or cradle on the bench. Wear gloves or use pairs of pliers where necessary for protection.
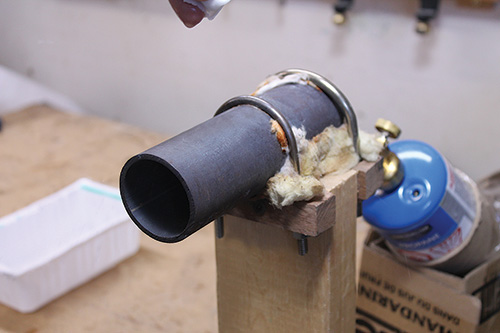
Not all wood species are suitable for bending. Choose straight-grained, air-dried and knot-free hardwood, such as maple, ash, cherry and walnut, that is no thicker than 1/4″. Avoid the use of softwood and exotic wood.
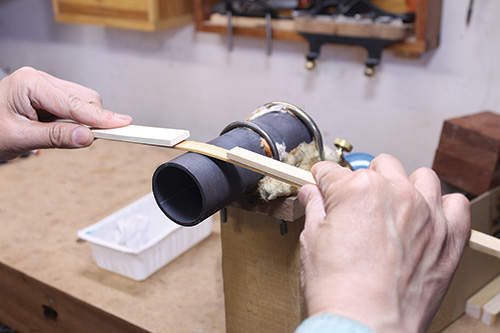
To bend wood with the hot pipe, first soak the pieces in hot or room temperature water for at least several hours. Ignite the torch and aim the flame at the inner side of the pipe to heat the pipe to about 200° Fahrenheit and then maintain the temperature with a low flame.
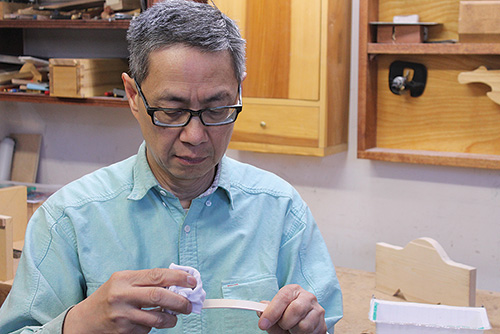
If this is the first time you are trying this bending method, use a scrap to practice. Mark the center point of the piece and slowly rock the piece on the pipe in a seesaw motion, applying gentle and steady pressure. To prevent scorching the strip, keep it in contact with the pipe for no more than 10 seconds at a time, and re-wet both sides of the spot often.
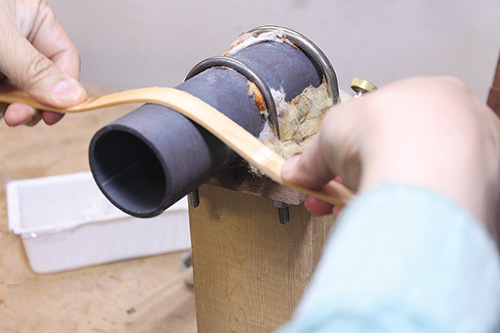
To shape a gradual curve like the handles for this tray, move the piece slightly to another spot for bending. Once the center curve is shaped, flip the wood over to bend the curves on the opposite side to form the handle.
Assembly and Finishing
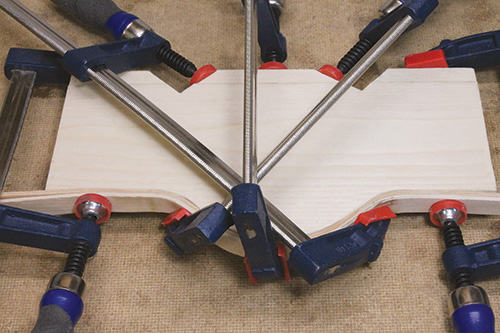
After dry-fitting the tray’s ends and sides, glue up the tray and nail or screw the plywood bottom in place before installing the handles.
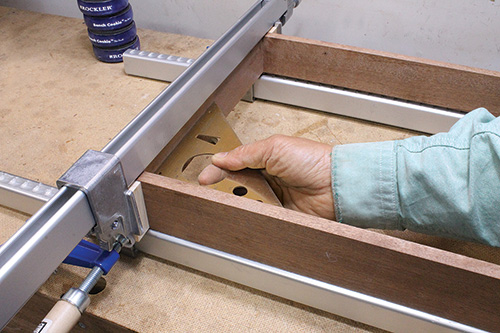
I used waxed pine blocks as clamping cauls to pull the tails and pins tightly together during this final assembly.
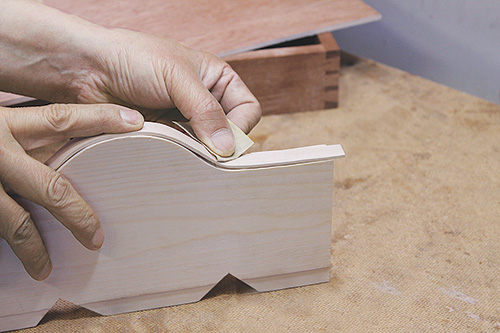
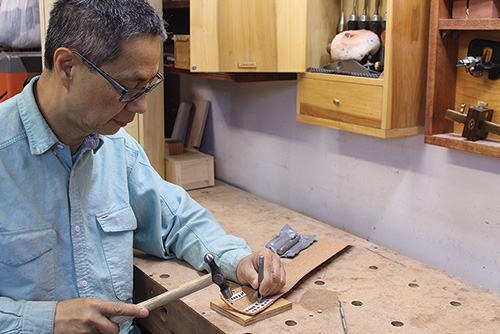
For a touch of flair, after easing the handles’ sharp edges, I riveted the handles to the tray instead of using screws. For added strength, I put a dab of epoxy glue into the holes before hammering the rivets home.
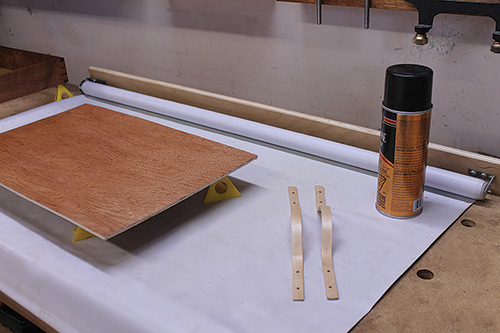
You’ll want to protect the tray from heat and spills, so spray on a few coats of polyurethane, with light sanding in between coats.
Finally, after the finish dries, attach some cork pads to the bottom corners. Now, rustle up some snacks and drinks, and put your new assistant into service — with gusto!


