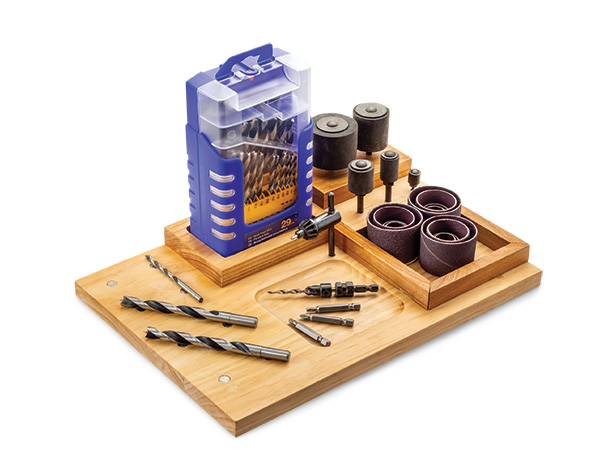
Drill bits, I must confess, have been one of my Achilles’ heels over the years. I am hard on them, regularly breaking bits of smaller diameter, which are almost impossible to then remove — and frequently losing bits around the shop. One of the reasons that I lose so many is that they are cylinders and roll around with the slightest encouragement. Lay one down on a supposedly level surface, and if you are not paying attention, it could be on the floor and rolling under whatever is around it in the blink of an eye.
I came up with this stone-simple drill bit organizer. You can customize it to suit different bit boxes and accessories. I included sanding drums, but you might want to put some of your often-used Forstner bits on the base. It has a place for my drill press chuck key (another item that seems to have a perverse habit of inexplicably wandering around the shop) and a recessed “tray” section to hold this and that … screws, washers, driver bits, M&M’s, it’s up to you. But the feature that is most useful to me is the rare-earth magnets embedded into the base. They will keep my selection of drill bits from rolling away and hold them safely. (I am careful to put the business ends of these brad-point bits pointing away from me. Those Fisch bits are stinking sharp!)
Ready, Set … Organize!
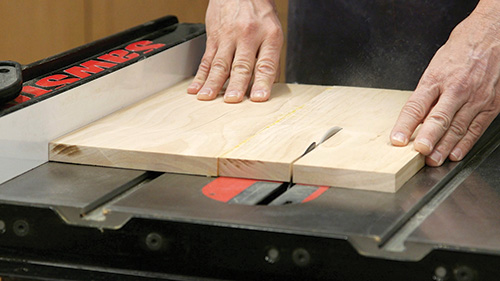
I made this organizer from scraps of wood that were hanging around my shop and just taking up space. You can make it from any kind of stock or plywood, but if you are following my dimensions, that stock should be 3/4″ thick. I used a table saw to cut the pieces to size, after which I quickly sanded each piece (with the exception of the sleeve-frame molding, piece 5) just to clean up the edges and avoid splinters.
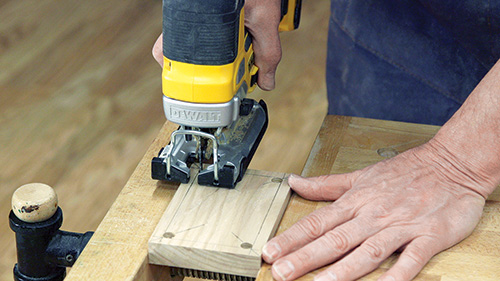
The next thing I did was to cut out an opening in the bit case holder block to accept the plastic box that contains the bits I am using. This is an area where you will have to customize the holder to fit your bit box, be it plastic or metal. I drilled out the corners of the opening and then used a handheld jigsaw to remove the center section. I tested the fit just to be sure.
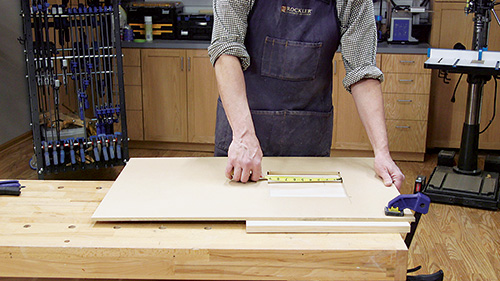
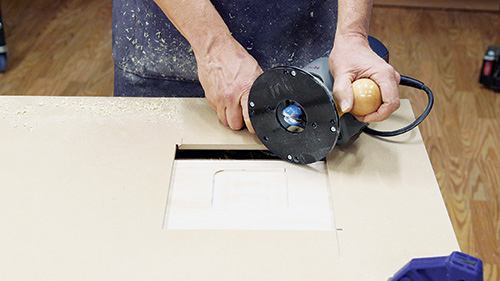
Set hat block aside and grab the piece of wood you’ve cut out to be the base. There are a couple of machining steps that are best done before you start gluing the various blocks to the base. First up: the recessed tray area. I used a 1-1/4″ bowl-cutting bit to form the depression in the base.
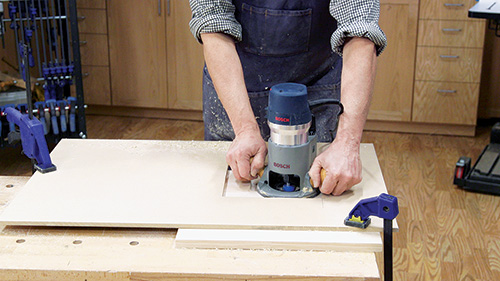
I ran into a bit of a challenge in that I had planned to use a rub collar to guide the bit against an MDF template, but the diameter of the bit was too large to fit though any of the rub collars I owned. Rats! Moving on to plan B, I made the opening in the 3/8″-thick MDF large enough to guide the cut by running the edge of the fixed-base router against the edge of the opening. And while it was a really big opening, it worked great.
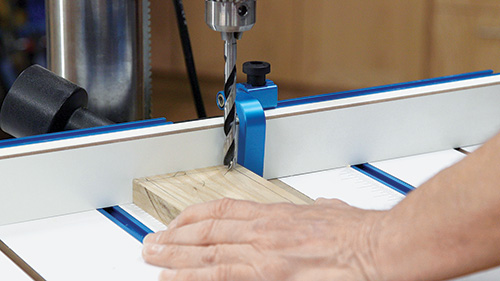
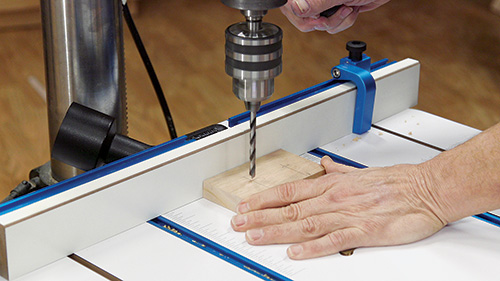
With that done, step back to your drill press to bore the holes that will capture the rare-earth magnets. If you don’t have a drill press, a handheld drill will do the job. The magnets are 3/8″ in diameter, so I found that a 13/32″ bit worked perfectly to capture the small disks. (7/16″ would likely work as well, but 3/8″ was too tight.) The Drawing shows the locations of the magnets on the base.
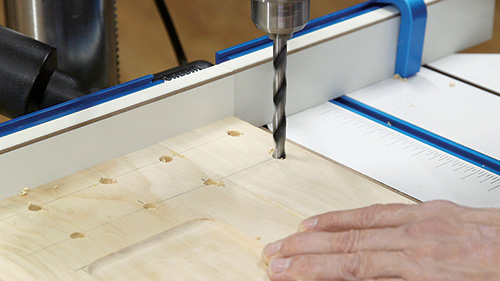
Drill these holes just deep enough to set the top faces of the magnets flush to the base’s surface. But wait to glue the magnets in place until after you finish the organizer. Sand the base smooth and set it aside for the moment.
Customize Your Organizer
I regularly use small sanding drums to quickly sand an edge, especially one with a curve. But as with drill bits, sometimes I put them safely away and then forget where I put them. So this organizer is a great place for me to keep them.
Of course not everyone uses that sort of sanding drums, so this is a place where you can customize the organizer to fit your needs. Perhaps you have a few spade bits or conical stepped bits that you use regularly. Maybe you have counterboring bits that would be handier if they had a place on the organizer. My only piece of advice is that whatever you put there, make sure the sharp edges are pointed down. Your fingers will thank you.
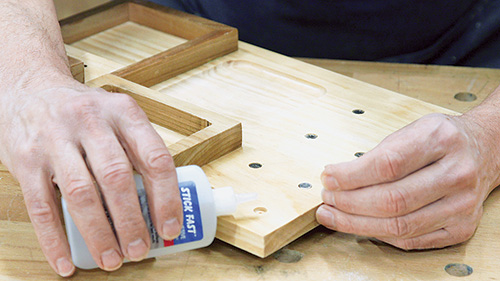
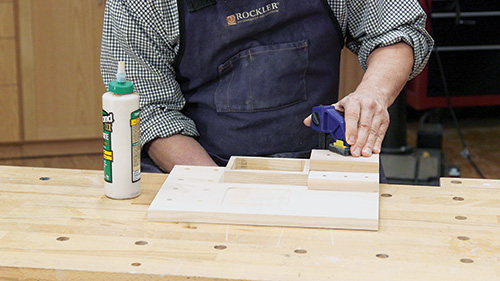
Go ahead and bore the openings that suit your needs into the remaining blocks and sand them smooth. I attached them by putting some glue on the bottom of the block and then rubbing it back and forth until I got a good tack, then I put a clamp on it. When you’ve got all the blocks glued in place, grab the sleeve-frame molding and cut it to fit as needed. I mitered the ends, but that is not a requirement. Glue the pieces in place. When all the glue cures, it’s time for a bit of sanding and this project is ready for a finish. I used a rattle can of spray shellac — it covers well, dries quickly and does not smell bad. The finish is up to you, but I would avoid something like Watco Danish oil, as you still need to glue the magnets in place and the oil might resist the CA glue.
After the finish has cured, it’s time to glue the magnets in place. First thing is to wipe the magnets down with paint thinner or alcohol to remove any residual oils. Then put some thin CA glue in the magnet holes and follow up with a spray of accelerator. I found the magnets to be so strong they would leap around the surface if I did not place them directly into their openings.
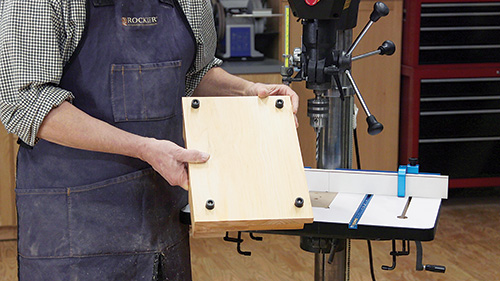
The last task is to attach four rubber feet to the bottom of the organizer. Rockler’s Screw-on Case Feet are tall enough that you can easily get your fingers under the base to pick the whole thing up.
This simple project saves me time, not to mention exasperation, by keeping by drilling supplies close at hand.
Click Here to Download the Drawings and Materials List.
Hard-to-Find Hardware:
Screw-On Case Feet (1) #58411
Rare Earth Magnets 3/8″ x 1/10″ (1) #32907
12 Piece Long Drum Sander Kit (1) #44545


