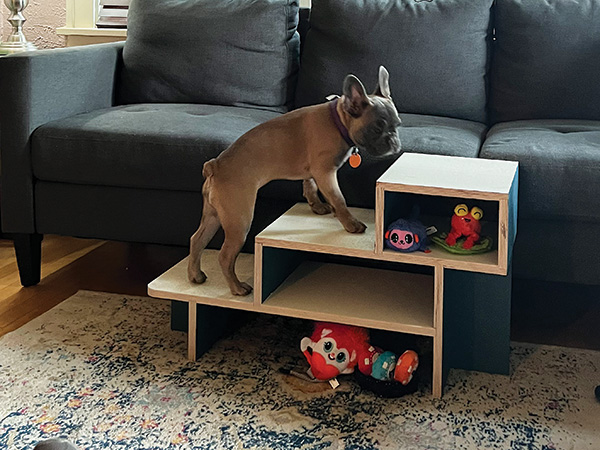
For some dogs, these dog steps are just not necessary. My dog Mona, for example, is a Great Dane. Even though she’s a senior, she can climb onto the couch with ease. (Often leaving no room for me to sit down!) But for elderly mid-sized dogs, pooches with arthritis or small dogs like the puppy in the lead photo, they can be very useful and extremely practical. (I know some folks who lift their arthritic canine buddies up onto the couch every evening to watch TV with them.) These little steps require a half-sheet of 3/4″ plywood. I cut one dimension down to 39″ just to make it a bit easier for me to handle. The next step is to rip that piece into three 12″-wide strips that are 39 inches long.
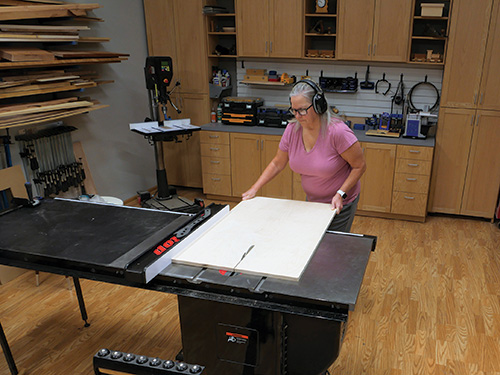
Look at the Material List to find the exact dimension of the steps, risers and supports. You will also find a diagram that demonstrates the best way to get the various components of the dog steps cut out of those 12″-wide pieces. I used a crosscut sled to make my parts. It adds safety to the crosscutting process, and mine has a stop that lets me make repetitive cuts (such as for the risers, pieces 2) quickly and accurately.
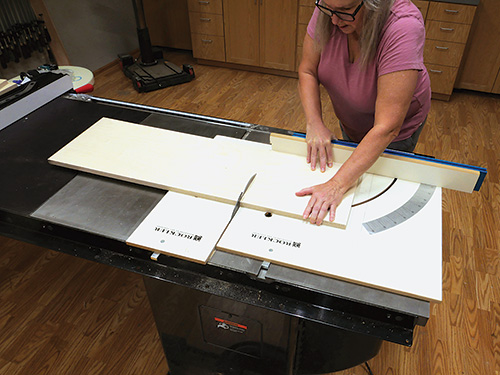
I’d like to offer one more piece of advice about cutting plywood on a table saw: a saw blade designed to cut plywood, with 60 to 80 teeth, will give you the best results. A combination blade (40 teeth) will do the job too, but a plywood blade will cut more smoothly and with less splintering along the edges.
With all of your parts now cut to size, it’s time to break out your router and router table for some joinery work.
Dadoes, Grooves and Rabbets
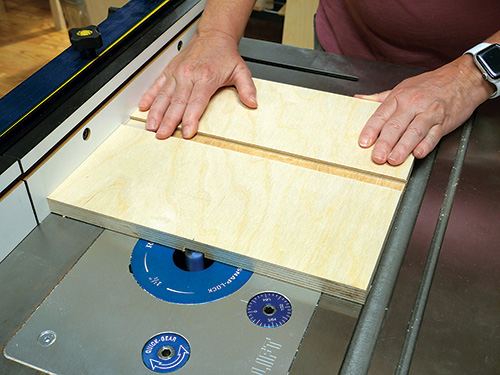
I decided to use dadoes, grooves and rabbets as the connective joinery for this project. They all make assembling these doggie steps easy, and the glued up joints are extremely sturdy. All the joint cuts are 1/4″ deep. I could have formed them on my table saw with a dado blade, but my preference — especially on a project this size — is to plow those joints using a handheld router and my router table.
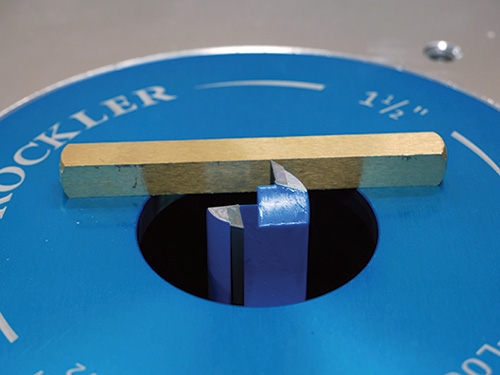
Curiously, 3/4″ plywood rarely if ever measures a full 3/4″ thick. For that reason, I made use of a router bit for undersized plywood. It cuts 23/32″ channels and made dadoes and grooves that fit the thickness of my plywood really well. Find the locations for all the joinery in the Drawings. All of the dadoes and grooves, except two, can be made on your full-sized router table.
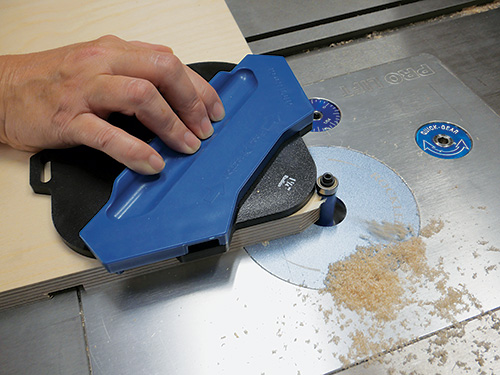
The dadoes that capture the risers in the second and bottom steps must be made with a handheld router guided along a straightedge. Take your time, mark out the joints carefully and then plow the dadoes, grooves and rabbets. As they are only 1/4″ deep, you can make them in a single pass with a mid-size router. When you have completed the joinery cuts, you have one more routing task to take on.
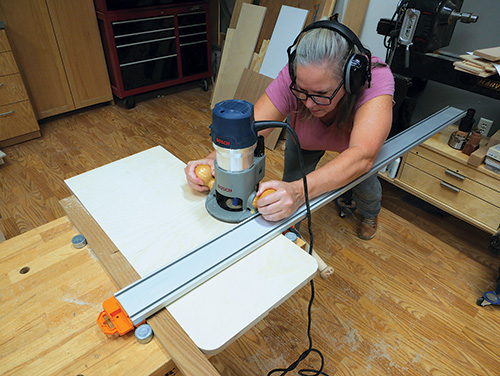
plowed using a straightedge to guide the router. The locations of all of
these joinery cuts can be found in the Drawings.
At the end of the bottom step, form a radius on the two exposed corners (see the Drawings). At the advice of my coworkers, I tried out Rockler’s Corner Radius Routing Template in the 1-1/4″ size. I was a little unsure but it worked great!
Putting It All Together
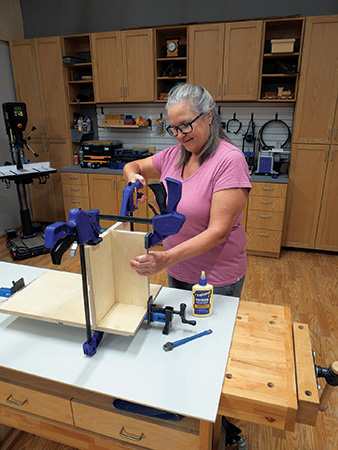
With the machining all done, there were two tasks that needed to be completed before I moved onto assembling the project with glue and clamps. As the saying goes, “Work smarter, not faster,” and it is way easier to sand all of these panels before they are put together. I got out my random-orbit sander and sanded each piece, starting at 100-grit and finishing at 180-grit. Next, I dry-fitted the entire project together without glue. This is a critical step to any assembly, even a modest one like this. I found I needed to trim my end supports to fit just a bit better, so this was time well spent. (Smarter, not faster!) I was now confident that all of the parts were correctly made and they fit together, so I could start with the glue and clamps. (There is no reversing glue!)
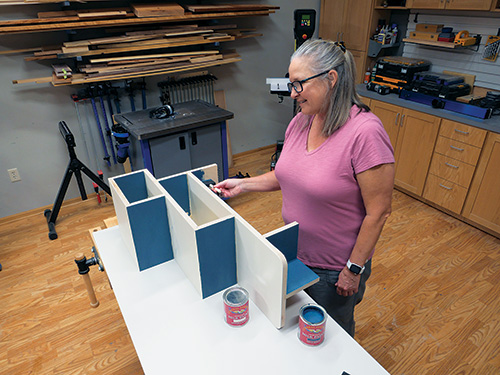
I started out my glue-up by joining pieces 6, 5 and 3. It was a very manageable subassembly, making it easy to clamp the parts securely. A rule of thumb when gluing and clamping is to always check to be sure the parts are square to one another. After the glue had cured, I continued to glue and clamp parts together in more subassemblies. When all the parts are together, remove any glue squeeze-out and then gently break the edges with sandpaper.
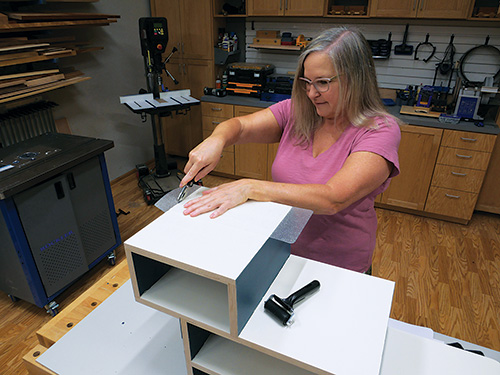
You’re nearly done, but the next step is applying a finish. The choice of product is entirely up to you, but I decided to paint the vertical surfaces one color and the horizontal surfaces another. My selection was General Finishes Blue Moon and Antique White Milk Paints. You could use a clear finish like shellac or polyurethane, but don’t use a penetrating oil — the self adhesive treads will not stick to an oiled surface.
What treads, you ask? Well, I added adhesive-backed non-slip “Puppy Treads” I found on Amazon. These will help provide solid footing, especially for older dogs. I removed the backing, pressed the treads in place and trimmed them to fit.
Even More Features
This version of dog steps is sized for an average-height sofa. We have technical drawings for a taller “bed sized” set of steps online, in our “More on the Web” offerings for this issue. You can, of course, customize your version by adjusting the sizes of the vertical components (pieces 2, 5, 6 and 7). On both versions, there are open spaces to store toys, brushes and maybe even a leash. Really talented dog owners might even be able to train their pooches to “put away” their toys. (If you manage that, send us a video!)
This project was a great time in the shop and fun to build. It gave my router a workout and will be a useful gift for a dog-owning friend that will receive it.


