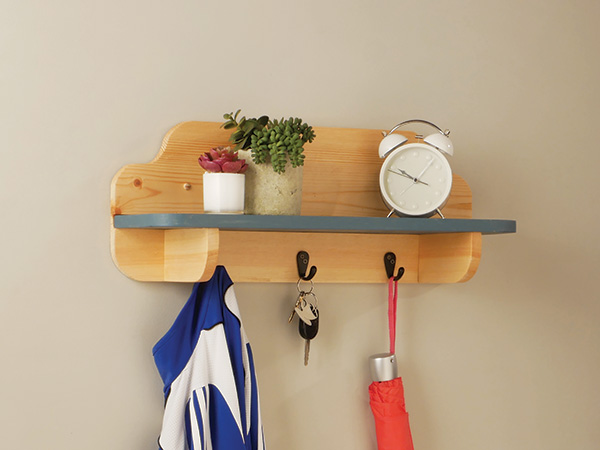
Every bit of organizing and storage provides helpful benefits to our lives. Even this simple shelf with handy hooks to organize an entryway can bring a sense of satisfaction, especially if you make the shelf yourself. With just three main parts and some basic power tools, here’s a great project for a DIYer to get introduced to woodworking in general and how to use a router specifically.
Following the Basics
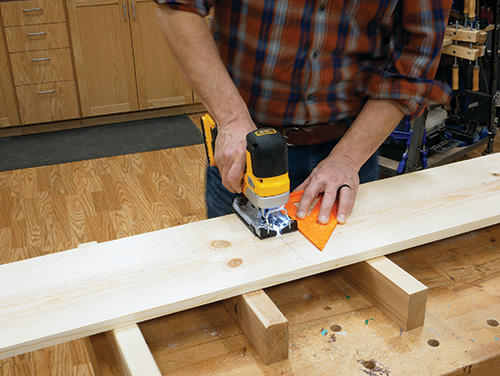
To build this little shelf, you’ll need a jigsaw and a router of some sort as well as a sander. We’ll use a standard wood-cutting blade in the saw and a 1/2″-diameter straight bit in the router. You’ll also need to drill pilot holes for the assembly screws and hook hardware. A piece of 1 x 10″ x 8′ pine from a big box store will take care of all the shelf parts, and the hooks are available from rockler.com.
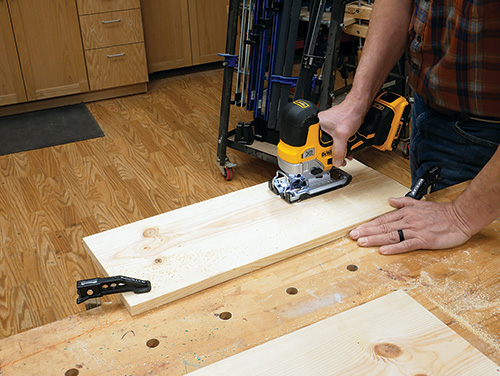
To get started, cut two pieces of pine to make the back and shelf (pieces 1 and 2). Crosscut them to length with the jigsaw. We used a speed square to help guide these cuts. Support the stock so that when you cut through it the parts don’t flop around or fall. Then mark the shelf piece with a line at 6-1/2″ and rip the shelf to width. Set the shelf piece aside for now.
Making a Router Jig
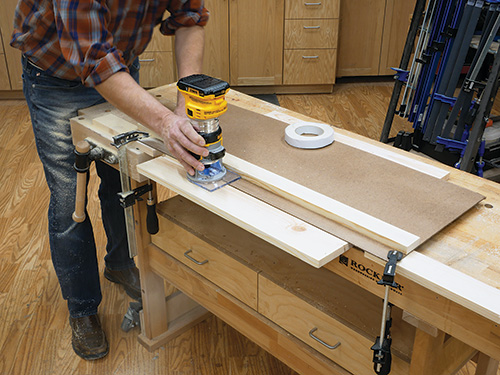
A handheld router is a very handy woodworking tool, but it needs to be accurately guided. In this case, we made a jig for that purpose. We attached a 1 x 2 piece of pine a to a wider piece of 1/8″-thick hardboard with screws so the pine “fence” is 3″ in from one edge. Then we took the router with the 1/2″ straight bit chucked into it and, using the 1 x 2 fence as a guide, cut away the waste hardboard. This way, the routed edge of the hardboard will locate the router cut exactly and the jig will guide the router bit accurately.
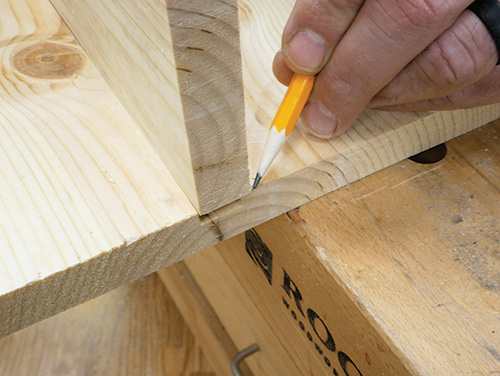
Secure the back piece to your work table or workbench with double-sided tape, and mark one edge of the groove as shown in the Drawings. Clamp the jig in place. Set the router bit to make a 3/8″-deep cut, and plow a first pass with the router. Unclamp the router jig, and mark the exact thickness of the shelf onto the back piece. Reset the jig to this second layout line, and rout a second pass the same way as the first to widen the groove to the shelf’s exact thickness. Test the shelf’s fit in the groove; it should seat in the groove fully and not show a gap.
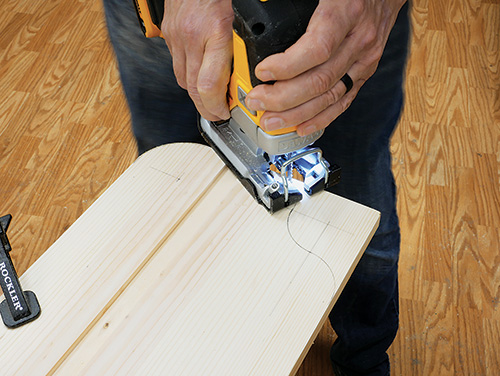
Let’s add some detail to those plain rectangular boards next. Lay out the curves with pencil lines and cut their shapes with the jigsaw. Now cut the two supports (pieces 3) to size, and shape their curved ends. Then get out your sander and sand the four parts up through the grits to at least 180. Be sure to smooth the curves and exposed edges of the pieces, too.
Putting Things Together
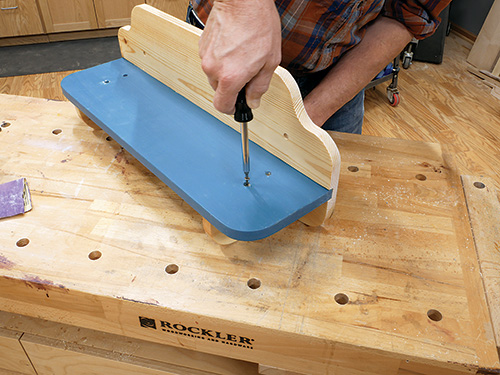
Before you make the last sanding pass, take a moment to drill four screw holes in the shelf and two in the back for hanging. You’ll find their locations in the Drawings. A countersink bit for the screw holes is helpful, and you can find them at any home center.
Complete your last sanding pass, then spray two coats of aerosol shellac onto the various parts. Mask off the groove and the back edge of the shelf first to keep them clear of finish so the glue will bond well. Then paint the shelf and allow it to dry; the shellac will work as a primer. Glue and clamp the shelf to the back piece (remove the tape!), check things for square and allow the glue to dry. Finally, use screws to mount the supports under the shelf and install the hooks to wrap things up. Your do-it-yourself shelf is ready for hanging!
Download the Drawings and Materials List.
Hard-to-Find Hardware:
Oil-Rubbed Bronze Wall Hook, 13 ⁄4″H (3) #63773
Birch-3/8″ Oval Top Wood Plugs (1) #20578


