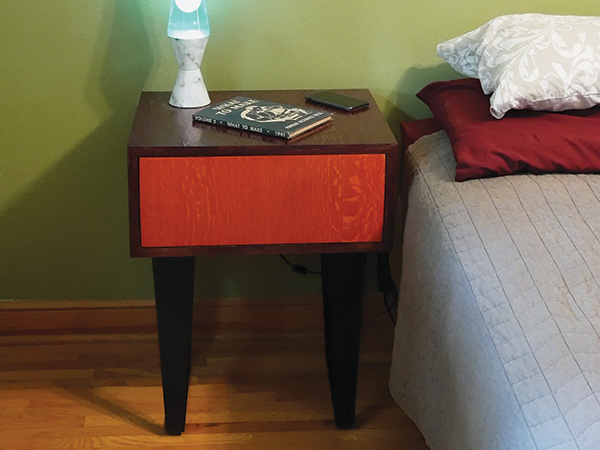
Technology is changing our lives in so many areas — even, it seems, in the bedroom. Now before your imagination runs wild, let me explain. This bedside table has a hidden wireless phone charger mounted under the top. So while you are snoozing away, your phone is being refreshed and recharged as well. (And if you, like me, occasionally use your phone for your alarm clock, you can have some assurance that it will be charged when it is supposed to call you to action.)
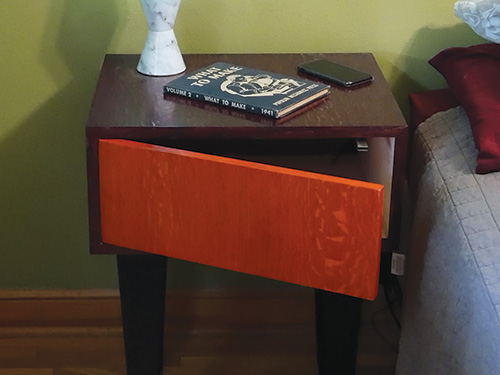
That’s the first hidden benefit to this table, but it also has a touch-opened door that swings away to give you access to the table’s interior. Just push the edge of the door and the latch will pop the door forward, revealing a storage compartment. (With the door closed, the compartment is hidden.)
One last unique feature are the steel legs sold by Rockler. They keep this table’s modern mojo going. Intense colors, wireless technology and groovy metal legs make this a 21st-century table for sure.
Building, Veneering the Carcass
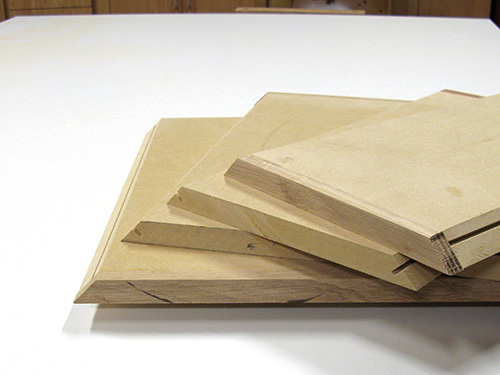
I decided to lay up veneer on MDF for this project. If that is a task you are just not willing to try, you can always build this table from veneered MDF or plywood instead … it will work just fine. I chose the veneering route to control the grain patterns. With very simple shapes like this basic rectangular box, how the veneer is laid up can make a big difference in how the project presents itself. I’ll discuss two different veneering methods later. I used both on this project, but I do prefer one over the other.
The carcass construction could not be easier. Cut the parts to the dimensions found in the Material List. My experience with MDF is that it produces a lot of airborne particulate, even with good dust collection. For that reason, I suggest protecting your lungs by wearing a dust respirator or using whatever method works best for you.
When you have the top, bottom and sides cut to length and width, miter-cut their edges. Then with the blade still set to 45 degrees, cut a groove to accept splines that will be used to make assembly a bit easier. If you use a full-kerf saw blade, one pass per mitered edge will do the job. If you are using a thin-kerf blade, take another pass to create a full 1/8″-wide spline groove. The last step on the carcass parts is to form a rabbet on their rear edges. I did this on the table saw, making a 1/8″-deep rabbet 3/4″ wide. These rabbets will capture the back panel when it’s installed during assembly.
With those pieces cut to size and shaped, their front edges need to be trimmed with hardwood. I had decided to use quartersawn white oak veneer for this project, so I made the trim out of white oak. I glued it onto the front edge and then machined the ends of the trim to match the panels’ corner miters. As you might have guessed, I made those cuts on the table saw.
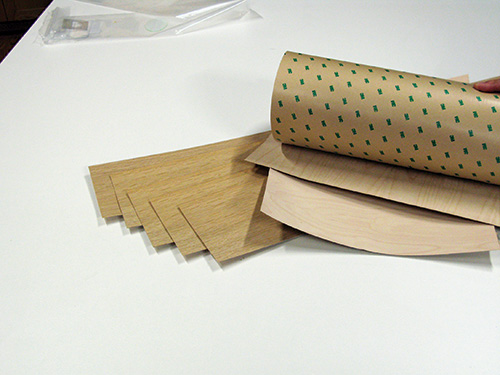
At this point I needed to make a decision. I wanted the interior of the carcass to be lined with a very light-colored veneer. It is much easier to see the inside of a box if it is not a black hole. I made the choice to use pressure sensitive white birch veneer inside the carcass. (Okay, so I lied earlier … I used three veneer application techniques on this table.) I cut the pieces of veneer to size using a utility knife and a straight-edge. Then I carefully rolled it onto the inside faces of the top, bottom and sides. I overlaid the entire surface, even the white oak edging, and I used a J-roller to apply enough force to be sure the pressure-sensitive adhesive bonded tightly to the substrate. I then used a block plane to trim what little overhang there was.
Secret Charging
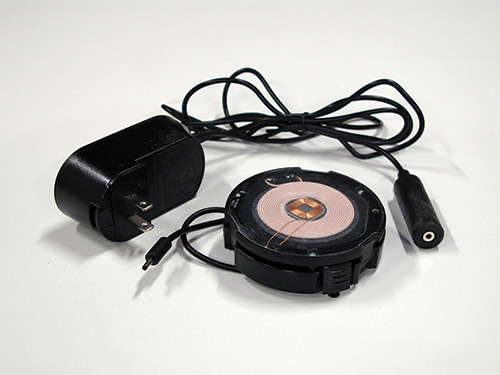
There was a time not so long ago when I refused to buy a cell phone. Now I sleep with mine. The nifty wireless charging unit we used in this table is easy to install and very handy. The critical thing to keep in mind is that it needs to be within 1/8″ of the surface of the table to work correctly.
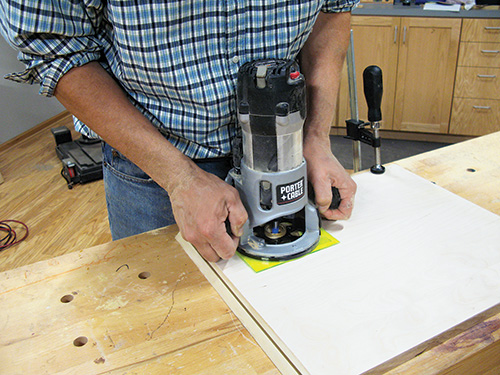
This is critical, so be sure to test the setup before you move on to the next steps. It is not important how I came to this piece of knowledge …
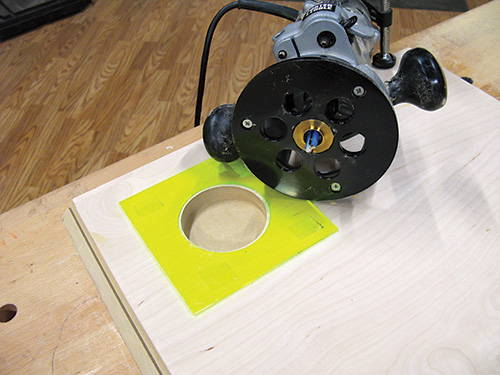
Because I work for a woodworking magazine and we own a home shop laser, I made my routing template from 1/8″-thick Plexiglas on the laser. A piece of 1/4″ hardboard would do just as well. Final thought here: you have the option of having the door open to the right or the left.
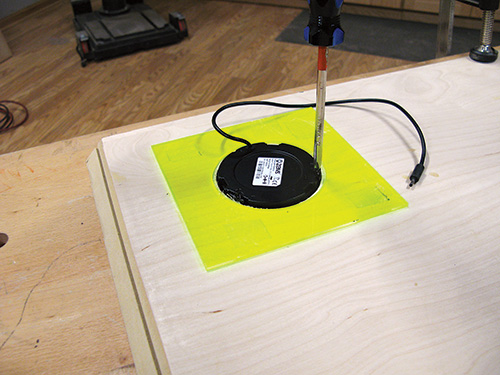
I suggest you place your charger on the same side of the carcass as the door opens. That will mean you can access the phone charger and the inside of the carcass from your side of the bed.
Two More Veneering Methods
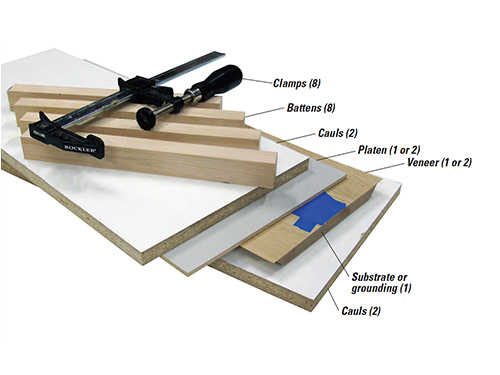
My favorite method for veneering is the old-school veneer press and lots of clamps. It is how I veneered the top and the door of this project. I do one thing out of the ordinary there and use blue masking tape to join my veneer. I also use traditional white glue.
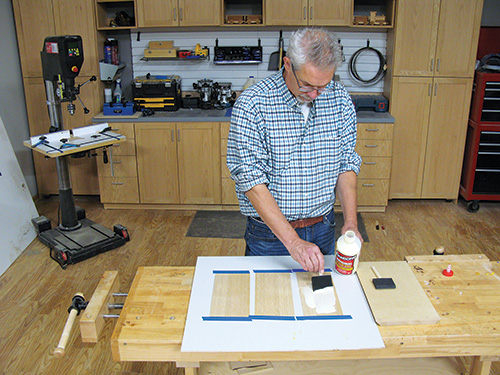
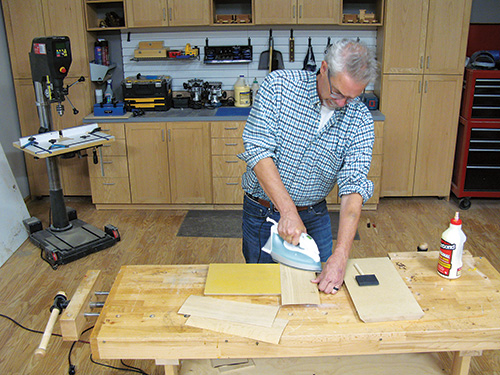
I employed a different technique when securing the white oak veneer pieces to the side panels. I created custom iron on veneer. How? By applying a coat of white glue to both the MDF substrate and veneer pieces and allowing them to dry (in this case overnight). I was then able to use a household iron set on its highest heat setting and simply iron the pieces to the substrate. I honestly don’t know why this works, but I assume it’s a science thing. It is a bit like magic when it works, and it is a great technique for small projects like boxes where you are using a single piece of veneer.
Where it has its shortcomings is on larger projects, like bedside tables. When covering larger areas using this technique, you need to place several sheets of veneer edge to edge. In the old-school method, you tape the edges together (after joining them to have two perfectly straight edges). The result is seams that are really hard to spot.
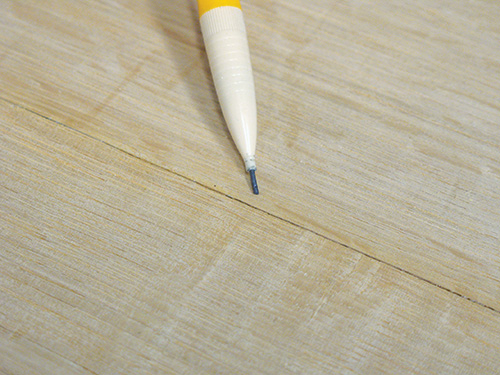
With the iron-on method, those seams are highly visible. They are not unsightly, but you can easily see them. As well, in my experience it is easy to not get a good veneer/substrate bond at the edges of the piece, which leads to some annoying and picky re-gluing and clamping. Even with these shortcomings, some woodworker might prefer this to the veneer press method.
Before you assemble the carcass parts, take a moment to rip 1/8″ by 5/8″ wide splines. Cut them to the length indicated in the Material List. I put blue masking tape at the corner joints to keep the glue squeeze-out from the veneer. Then clamp up the carcass parts making sure they are square in the clamps. The door of this table’s carcass is made of MDF with 1/2″ mitered edging. I laid up veneer on both faces of the door using the veneer press method. The “baked in” solid oak provides durable edges and allows enough material to easily fit the inset door.
A note about the veneer’s grain direction. You may have noticed that on the sides and door, I ran the veneer vertically rather than horizontally. I think this orientation provides an interesting look for the table that would be tricky to achieve with solid wood. I ran the top’s veneer front to back, and I placed the flake patterns to align with the patterns on the door. Small details, but I think they look nice.
Final Hardware Details
The small European hinges used to hang the door are installed just like the full-sized versions and have all the adjustability of their big brothers. The long-throw touch latch opens the door far enough that your fingers easily fit behind the door to fully open it.
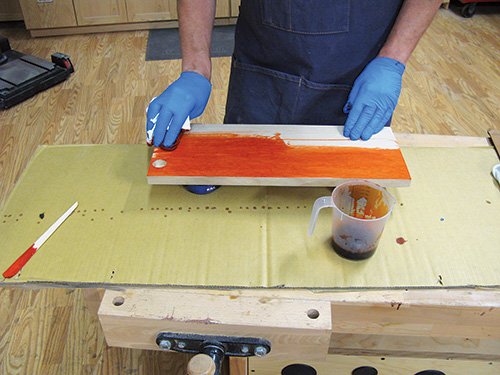
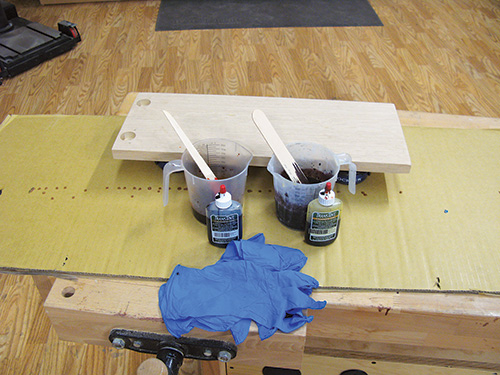
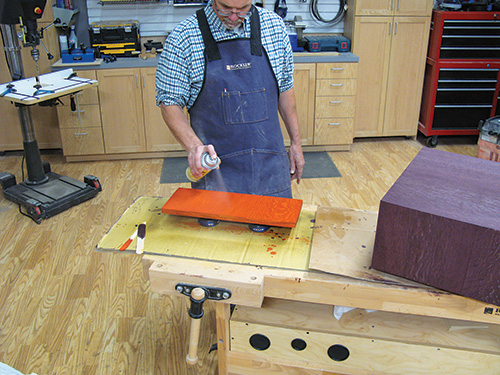
Finishing this piece added to its trendy look. By using dye rather than traditional stains, I was able to get some deep, intense colors.
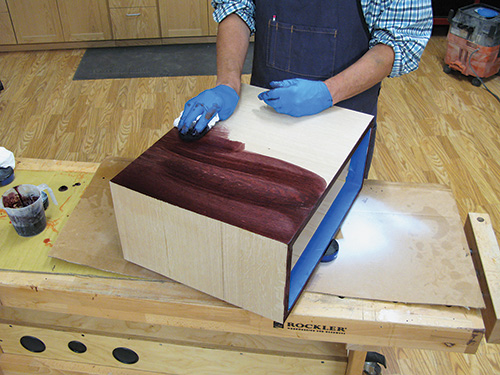
While color choice is quite subjective, I think these really work well.
Lastly, install the back panel in its rabbets and attach the steel legs to the carcass bottom with screws.
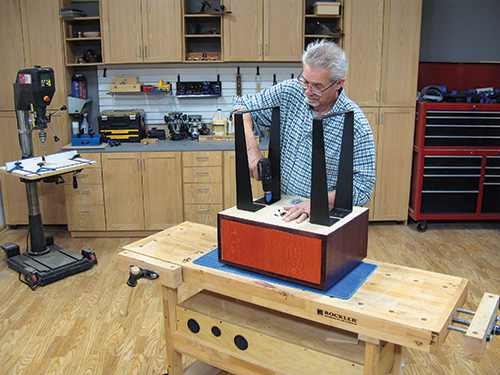
All in all, this was an enjoyable project. The wireless charger is a feature that fits our modern world, and the table’s overall look pushed my boundaries. Even though I too find veneering to be a bit putsy, it adds to the quality and overall attractiveness of the piece.
Click Here to Download the Drawings and Materials List.
Hard-to-Find Hardware:
Mini Blum 90° Clip-On Frameless Inset Hinge (1) #38411
Sugatsune ML-120 Long-Stroke Magnetic Touch Latch (1) #67568
Standard Side Table (Leg) Kit (1) #65719
Orange TransTint Dye (1) #22307
Cordovan TransTint Dye (1) #24397


