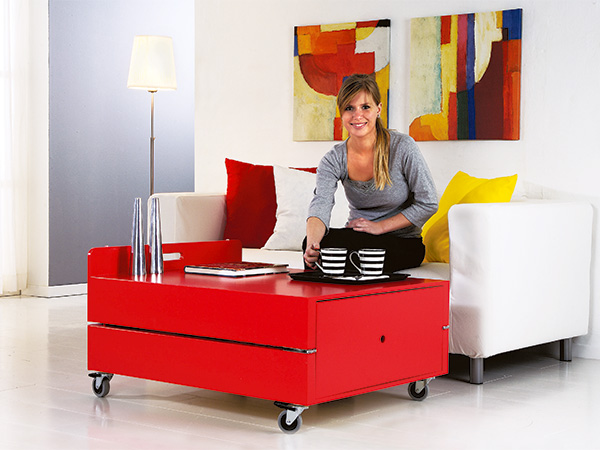
Whether it’s a visit from friends or relatives, or a child who wants to host a sleepover, an extra bed can really come in handy. And if space at your house or apartment is at a premium (as it is for most of us), here’s a unique way to stow that spare bed.
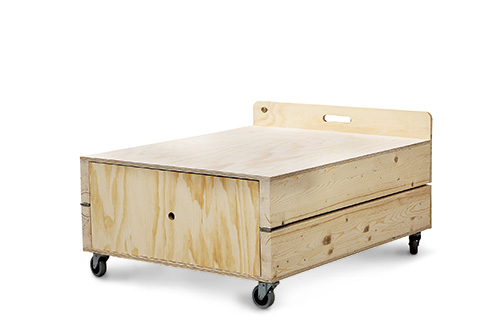
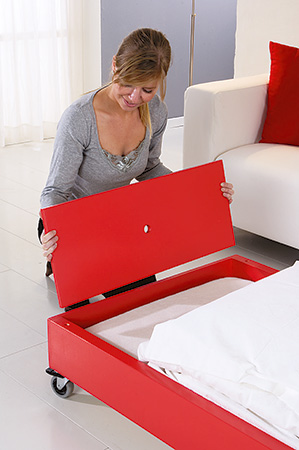
This coffee table conveniently rolls about on casters to wherever you need it. Then, it flips open into a bed that accommodates an average size adult. (If you are over 6′ tall, this bed is not for you … but for the rest of us, it is actually quite cozy.)
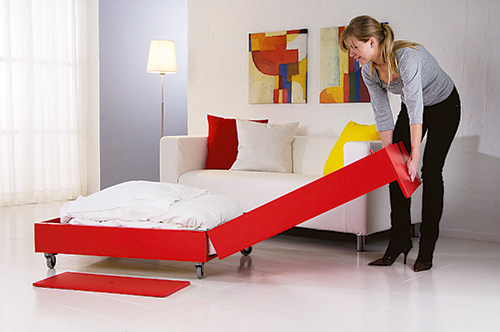
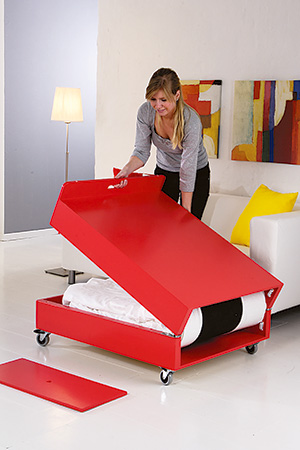
Conversion is easy. Just hold the handle, swing the top open 180°, and insert the headboard. The folded-up coffee table “box” contains it all — mattress, sheets, comforter and pillow. You make the mattress from high-density foam rubber, which is readily available from most upholstery shops or can be easily purchased online.
Making the Table/Bed
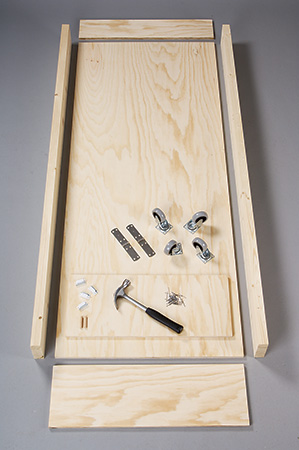
Begin work on this project by cutting all the parts to size. Although a fully outfitted workshop will no doubt make the job easier, this entire space saving project can be made with a couple of handheld power tools and a hammer. I decided on simple lumberyard 2 x 6s for the rails (pieces 1), although standard 5/4 stock would work just as well.
The height of the rails is calculated so there is about an 11″-deep storage area for mattress and bedding when the unit is being used as a coffee table. For the bottom and top (piece 2), footboard end (piece 3), headboard end (piece 4) and headboard panel (piece 5), I chose 5/8″-thick veneer-core plywood. A lower quality plywood can also be used, but be sure to fill any edge voids before finishing.
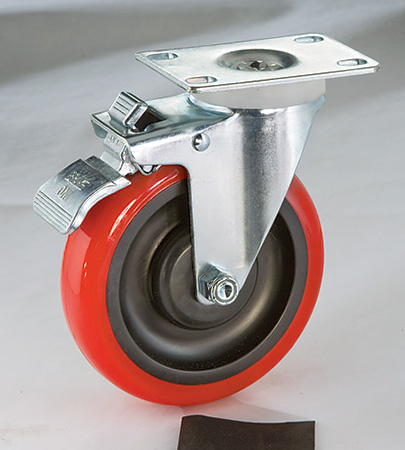
Before you cut the footboard end to size, buy the casters. You’ll need to know the exact height of your casters before cutting the footboard to final width. The footboard width equals the caster height plus another 6-1/8″.
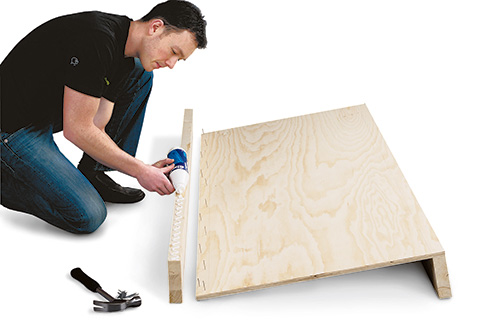
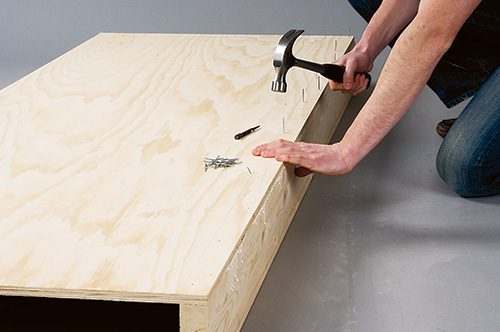
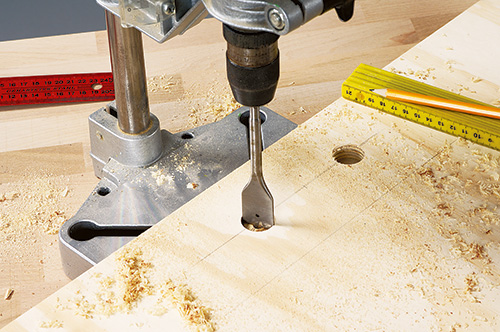
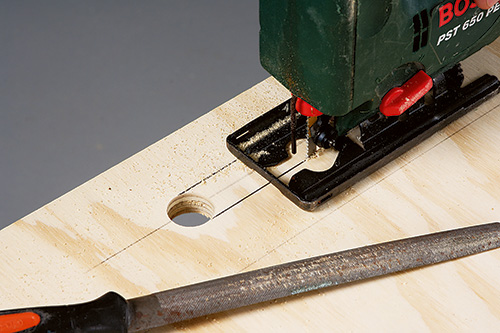
Machining the other details on this table/bed is pretty straightforward. I drilled two holes with a spade bit, then used a jigsaw to “connect the dots,” thus creating the handle openings. Put together the main subassembly with glue, finishing nails and clamps. While the glue cures, mark a centerline on the assembly in order to cut it in half, later.
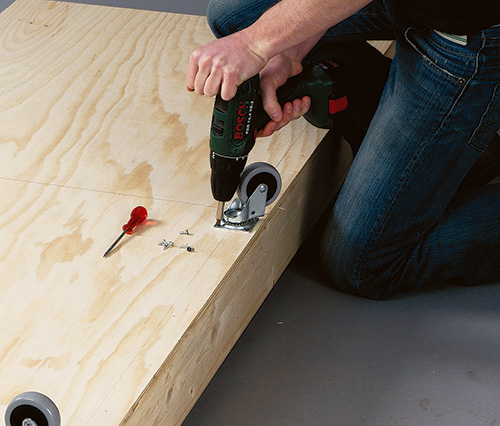
Next, install the casters. Use 2″ #8 flathead wood screws to secure the outboard sides of the casters to the bottom and top (piece 2) and rails (pieces 1). You’ll have to use 1/2″ #8 flathead wood screws to secure the inboard sides of the casters to the plywood, or else these screws would protrude into the bedding area.
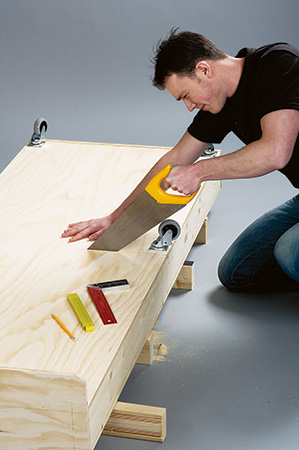
At this point, the “bed box” is still one piece. The next step is to cut the box in half. I decided to make use of my (just) sharpened handsaw to make this cut, because it’s a lot safer than using a circular saw or table saw for a large scale operation like this. The added control also makes splintering and mistakes less likely. Stand the unit on one rail and begin the cut. Then you can lay the box on 2 x 4 scraps, open side down, and cut across the plywood base. Finally, stand the unit on the already cut rail and make your final cut through the uncut rail.
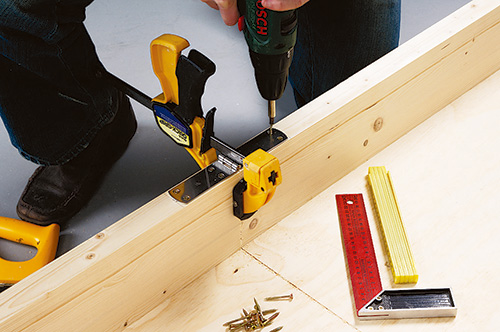
Rejoin the two box halves with two strap hinges (pieces 7). It is important that there is something solid to screw the hinges into, which is the main reason the rails are made of thicker stock.
Installing All-important Alignment Pins
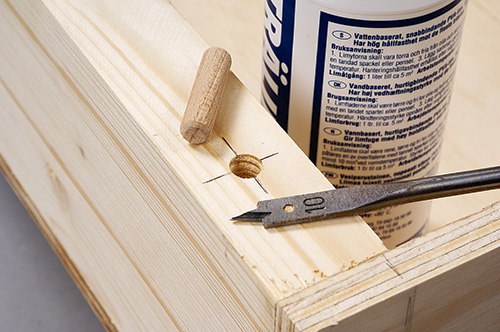
Two small but very important parts are the alignment pins (pieces 6). Made from 3/8″- diameter by 1-3/4″ dowels, they serve to keep the rails aligned and parallel when in coffee table mode. They also create a small gap between the rails to prevent the table halves from pinching your fingers when closing up the bed.
To install the pins, bore the holes to a depth of 7/8″. Then add a drop or two of glue to the holes and tap in the pins until they are fully seated. Mark for the opposing holes and bore them to a depth of 7/8″ minus the depth of the hinge knuckles.
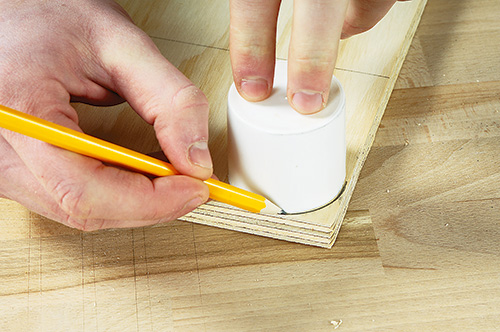
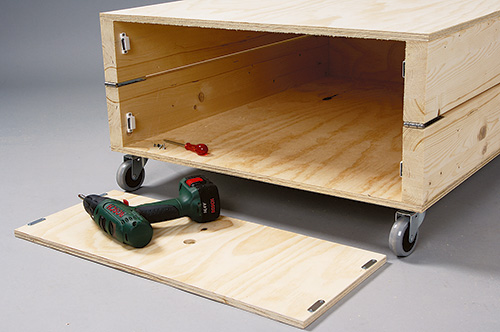
The removable headboard panel (piece 5) mounts to the folded-up coffee table configuration with magnetic catches (pieces 8). The steel plates are attached to the headboard panel, while the magnetic catches are screwed to the inside faces of the rails.
It is a clever way to hold the captured panel securely. You’ll also need to drill a 3/4″ or 1″-diameter finger hole through the headboard panel. That way, you can grab the piece more easily and pull it free of the table before you open it up into a bed.
To finish the project, sand the assembly until smooth. I started at 80-grit paper and worked my way through the grits until I got to 180-grit. Ease all the sharp edges and corners, too.
Cover any knots with a sealer such as shellac to keep them from bleeding through the paint, and then apply a coat of good quality primer. Allow the primer to dry and, if needed, apply a second coat. Lightly sand again with a fine grit before applying two coats of interior enamel.
You can choose whatever method you prefer to apply the paint, but I used a good quality bristle brush. Take your time and be systematic in your approach, and you’ll get great results.
Buying the Mattress
While you can use a ready-made camping or cot mattress or a yoga mat for this bed, it will be far more comfortable if you call a local upholstery company and have it cut from latex or polyurethane foam to the required size. Be sure to ask about density and compression when shopping.
The higher the density (best is 1.8 rating or above), the more comfortable. Compression ratings determine the degree of softness. You can also order a foam rubber mattress online at www.efoamstore.com. For a “greener” option, use a cotton or wool-filled mattress.
Simple but Useful
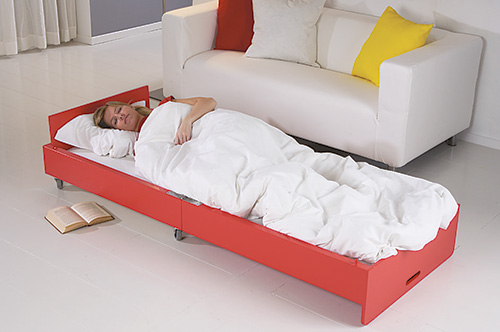
Whether you use this piece in your home or cabin, or even send it off to college with your children, its simple yet practical design will be useful for years to come.


