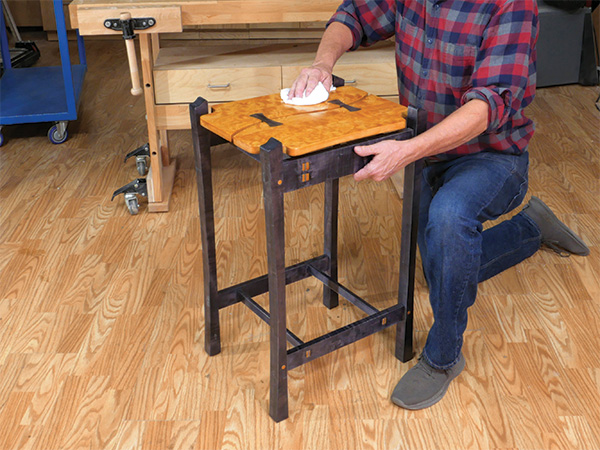
Contemporary is an interesting word. Victorian furniture would have been contemporary in the 1840s, Stickley furniture was contemporary to the 19-teens, and so on. When the Journal first published this table plan back in the 1980s, it was contemporary, but so is our new version of it! Senior editor Chris Marshall spotted this classic plan from our archives recently and liked its style. He suggested we reprise it and bring it up to date. Jeff Jacobson, our senior art director, and I looked over the project and made some changes. It’s identical in some ways but vastly changed in others.
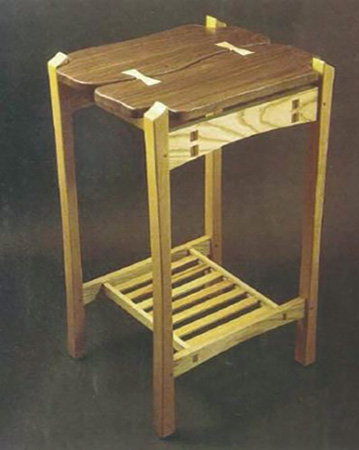
First off, I got rid of the “shelf” pieces at the bottom of the leg set. Everything else on the table was shaped and curved, yet those pieces were rectilinear. I wanted to round over the tops of each of the legs, but Jeff said no — the recurved ends complimented the shape of the tabletop. I also decided to dye the framework black. The dark base would anchor the tabletop with color accents at the through tenons, connecting the top and bottom. I had another reason for using dye that I will get to in a moment.
Click Here to Download the Drawings and Materials List.
For the tabletop, I wanted to make it from bigleaf maple in its very curly figure pattern. But even woodworking editors sometimes have trouble finding the stock that they want. So I chose some curly longleaf pine that had been in my shop for over a decade just waiting for a special use. Well, here it was. You’ll likely have trouble finding curly longleaf, but curly birch or cherry would work very well as substitutes.
Getting Started
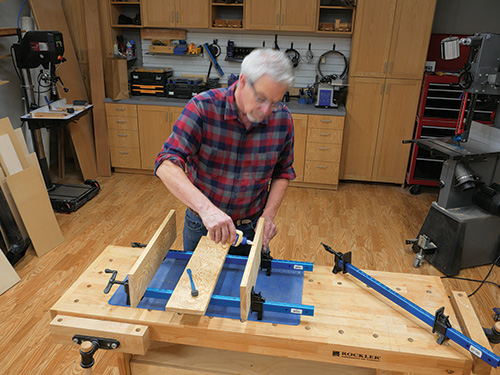
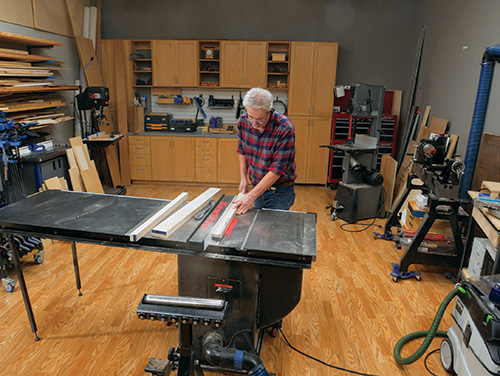
Because this plan already existed and I would not be changing any of the dimensions, I could get started by ripping the lumber to width and crosscutting it to length. You can find all the pieces and their dimensions in the Material List.
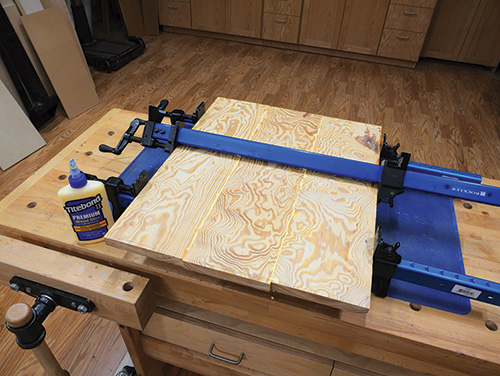
First, I cut the curly longleaf lumber to length and glued up the tabletop blank. I composed the figure to create the most attractive pattern I could (entirely subjective, I know). But I also had an eye to how it would look once I formed the two tabletop pieces with the 1/2″ gap between them. Once in clamps, I set the glue-up aside.
I chose to make the undercarriage from curly maple. Why curly maple when I was going to turn the wood black? Well, I’m glad you asked. By using dye for my coloring agent, I was able to turn the maple black (nearly impossible with pigment stain) and allow the curly figure to still be seen. It’s subtle, and you only notice it when you get closer to the table. But it adds a very nice grain detail.
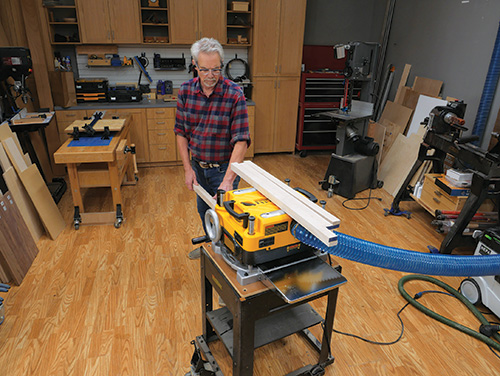
The legs are 1-1/2″ square in section, so I glued up two pieces of 3/4″ stock to make leg blanks. Once the glue had cured, I took them to a jointer and cleaned up one of the laminated edges, then I stepped over to a thickness planer and sized the legs to width. This ensured that they were identical with smooth faces.
The choice to laminate the legs did have a consequence. On each leg, two of the faces would show edge grain and two would show the curly figure. I decided to have the curly faces showing on the front and back of the table legs (the widest aspect of the table) and the laminated edges on the ends of the table. This became important during the next construction steps when laying out the joinery.
Mortise-and-Tenon Joints
As you can see in the Drawings, the table is held together with a combination of hidden and through mortise-and-tenon joints. There are many ways to form those joints, but I used a mortising machine and a table saw tenoning jig to mill them.
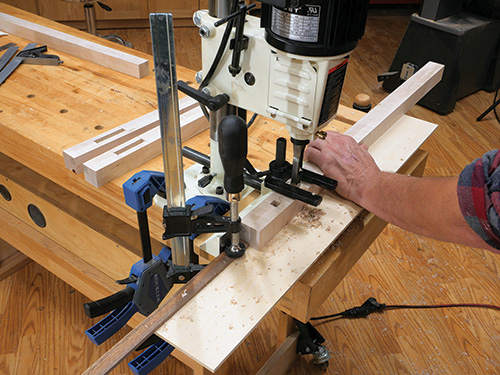
The key to success with mortise-and-tenon joints (and all other joints) is accurately marking them out. Locate the top and bottom edges of the mortises on the legs. You won’t need to mark a centerline for the mortise, as you will control that placement by setting the fence on the machine.
To be safe, use scrap lumber sized to the width of the legs to set up the fence and the hold-downs on the mortising machine. This also allows you to check the depth of the mortise cuts. Adjust the depth stop if required. When everything checks out, proceed with the leg stock. As I mentioned, I chose to have the curly face of the legs forward, which means I was chopping into the laminated side of the legs.
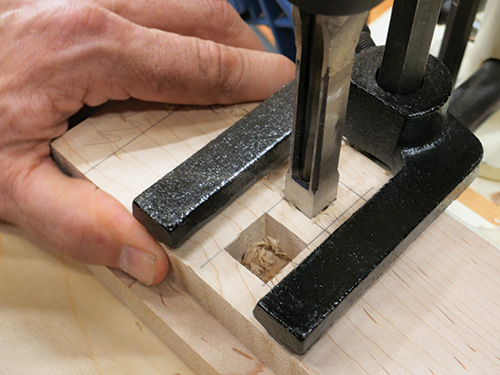
A trick one of our contributing builders once taught me is to chop the openings at either end of the mortise first. That makes sure that the top and bottom of the mortise are cut square to the surface of the leg. Then remove the rest of the mortise waste. If you’ve not used a mortiser before, you’ll notice that the bottoms of each cut won’t be smooth. You need to accommodate for this fact in one of two ways — making the depth of the mortise a bit deeper than required, or by cleaning the chatter up with a sharp chisel. On these legs, just add to their depth.
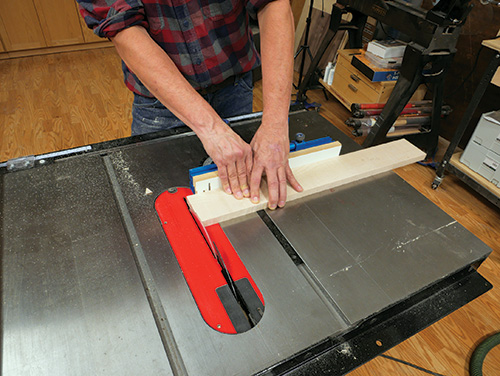
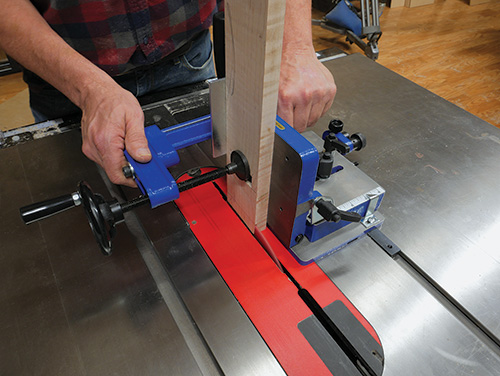
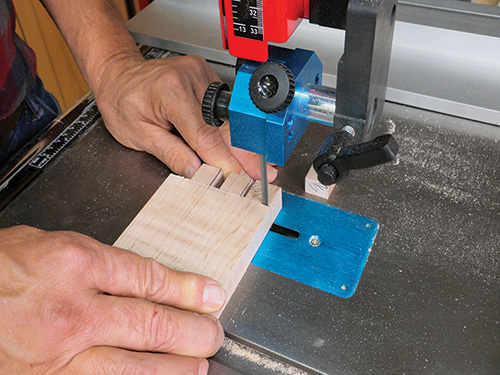
With the leg mortises formed, step over to the table saw and adjust the tenoning jig. The shoulders of the tenons on the stretchers are only 1/8″ wide. That means you can form them with a standard saw blade rather than mounting a dado head in your saw. Test your setup with scrap lumber. Remember that you are sizing the tenons to fit the mortises. When you are ready, mill the tenons on the stretchers. There is a notch at the top of each stretcher. I cut these on the band saw, which worked great.
Pushing Through
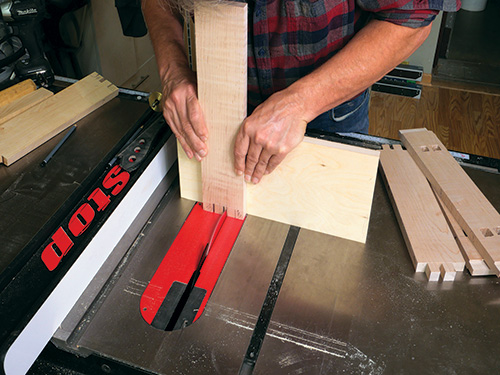
There are through mortises on the top and bottom stretchers, and I used the mortising machine for them too. Lay out their locations. On the top stretchers, the mortises are 3/4″ square, but I used a 1/2″ hollow chisel to remove the waste.
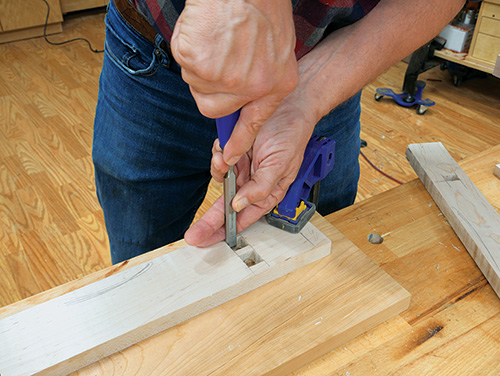
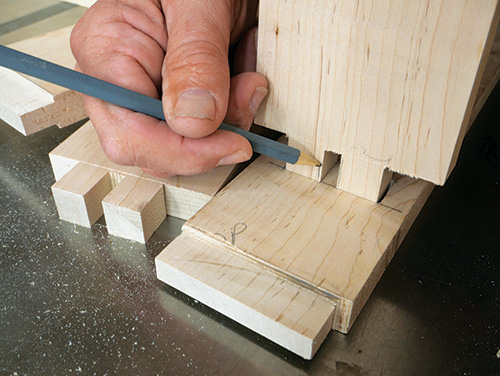
Looking back, I wish I would have marked the openings with a marking knife and not a pencil. I think the mortises would have been more accurate. I was disappointed with my results but used a chisel to clean things up. I used the through mortises to mark out where to locate the through tenons on the cross stretchers.
I nibbled away the waste between the tenons on the table saw using a miter gauge with a sacrificial fence. I removed some of the waste on the band saw. Then I refined the fit of the tenons. This took some patience, but they ended up fitting well.
Templating for Accuracy
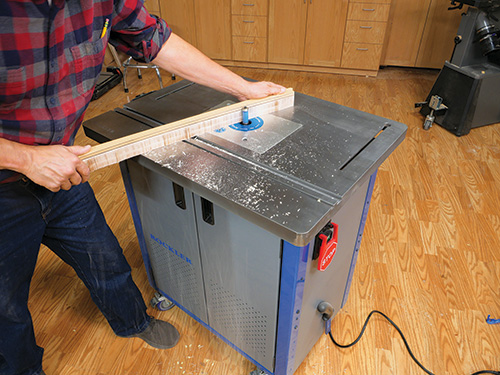
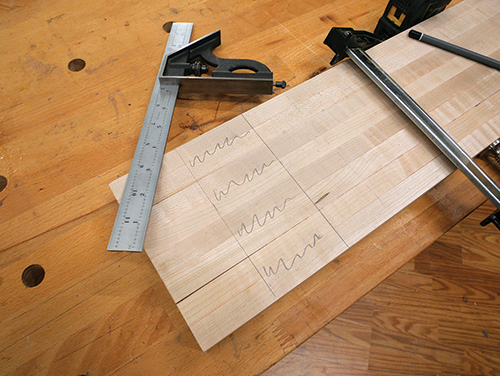
Next, there’s some template routing to do. Because there are few straight lines on the tabletop components or the legs, I made templates of the shapes. You can do so using the gridded drawings. The advantage of making the templates is, of course, that you can refine the shapes on your template material so you’ll have accurate shapes on all the maple and pine parts.
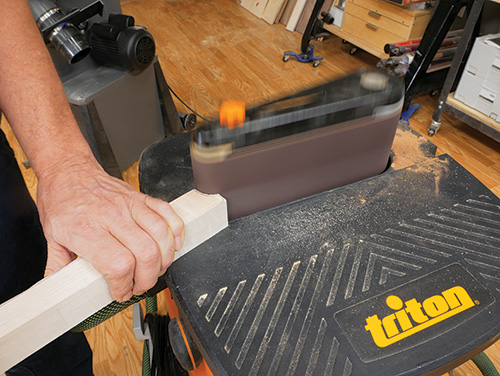
When I was happy with my 3/8″ MDF templates, I traced the shapes onto the legs and the tabletop blank. Then I cut out those shapes using my band saw, trimming as close to the pencil lines as I could without cutting into the lines.
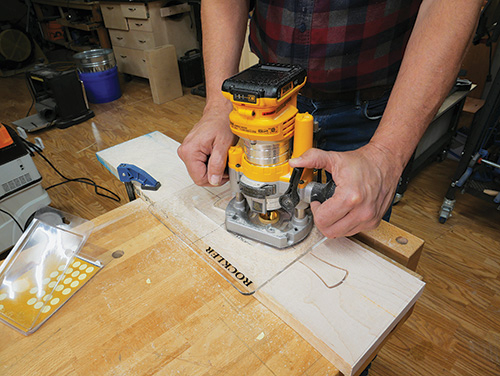
Next, I attached the templates to the blanks with Rockler’s 2-Sided Stick-It Dots — I love those things! — and moved to the router table. I installed a top-bearing flush trim bit in the router and machined the pieces to match the templates. I did not rout the ends of the table legs as I was afraid this end grain would tear out. Instead I cut them roughly to shape on the band saw and then sanded to the pencil lines. I did the same on the tabletop components.
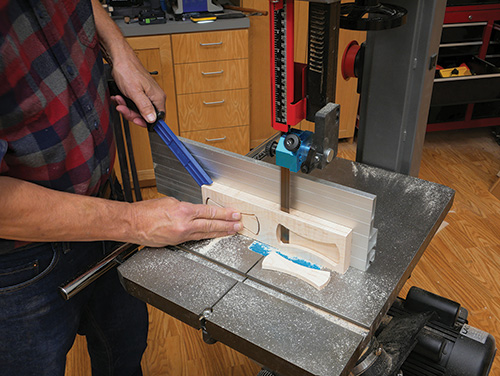
With that done, I cut the bottom curve of the top stretchers using the band saw. Then I formed the 1/4″ groove on the cross stretchers and again stepped over to the band saw to cut the curved segments away.
And now, the step that every woodworker looks forward to: sanding. I sanded all the undercarriage pieces up through 180-grit and the tabletop components to 320-grit. When I was finished sanding, I dry-fit the entire table together and was surprised by how well that went. My final bit of machining was to slice saw kerfs into the ends of the through tenons. I used a thin-kerf table saw blade for this task. I also cut some wedges for later.
Color to Dye For
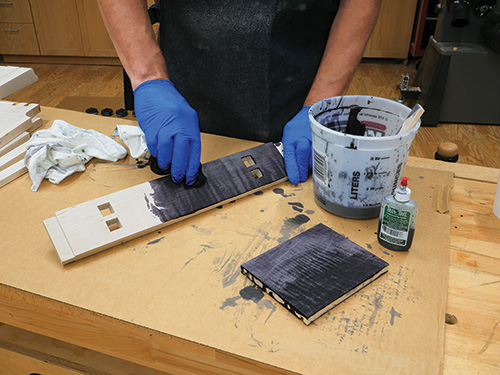
I mixed the dye into water, flooded it onto the maple and wiped off the excess. When the dye dried, I could feel that the water had raised the grain of the wood, so I polished the surfaces down with an extra-fine synthetic finishing pad.
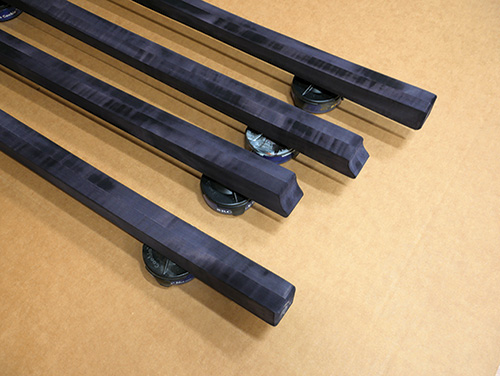
Finishing expert Michael Dresdner taught me that prefinishing before assembly is something to strive for when possible. So I applied lacquer sanding sealer and lacquer to the table pieces, this time taking care not to get the finish into the bare glue joint areas.
Tying the Top Together
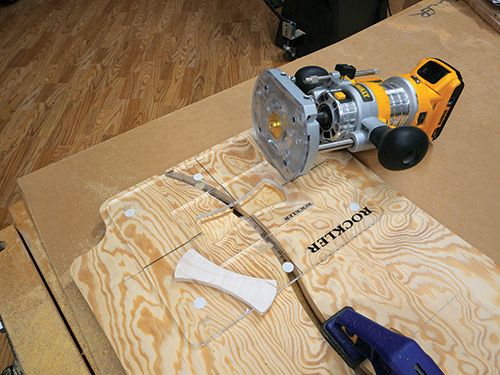
I used Rockler’s bow tie routing jig for this task. I first used the jig, specialized guide collar and recommended router bit to shape the inserts into a maple board. I then stepped to my band saw, installed a wide resaw blade and cut the bow tie pieces free. I set the cut so that the bow ties would be just a hair thicker than the pocket I would make. Next, using the same router and bit, I added the offset bearing to the guide collar on the router. Using my favorite sticky dots again, I placed the jig on the tabletop and formed the pockets to accept the bow ties. When inserted, the bow ties sat a little proud of their pockets, so I sanded them flush and did a final sanding on the whole tabletop. Then I dyed them black. After they dried, I glued the bow ties in place.
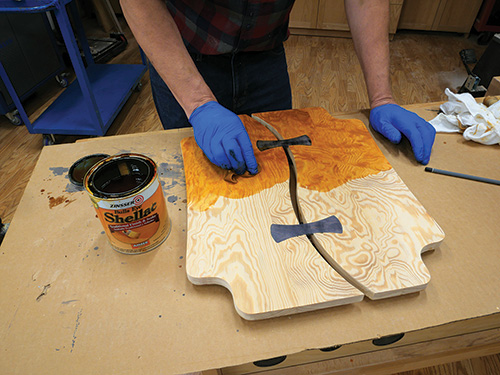
Next, I applied a coat of amber shellac to the tabletop. (I had put it on the ends of the through tenons before I dyed those pieces to keep the maple color free of dye.) The amber shellac evened out the figure of the curly longleaf and added a lovely color to the wood. When the shellac dried, I applied a coat of lacquer sanding sealer, sanded it smooth and followed with two coats of spray lacquer.
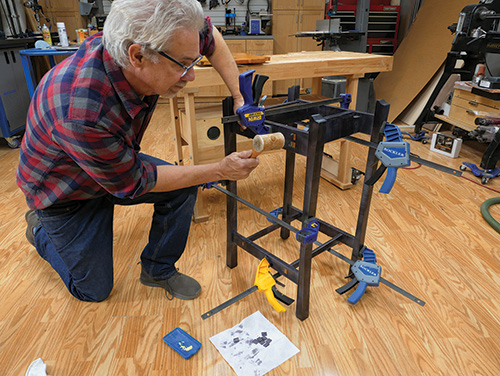
It was now time for final assembly. I applied generous amounts of glue to the various mortise-and-tenon joints. The squeeze-out was easy to wipe away from the finished wood. With the unit in clamps, I drove black wedges into the kerf cuts on the through mortises and secured them with a bit of glue. I also drove 1/4″ dowel pins into the leg/stretcher joints. I removed one of the cleats from the tabletop and then installed the top, putting the cleat back in place. And with that, the table was completed.


