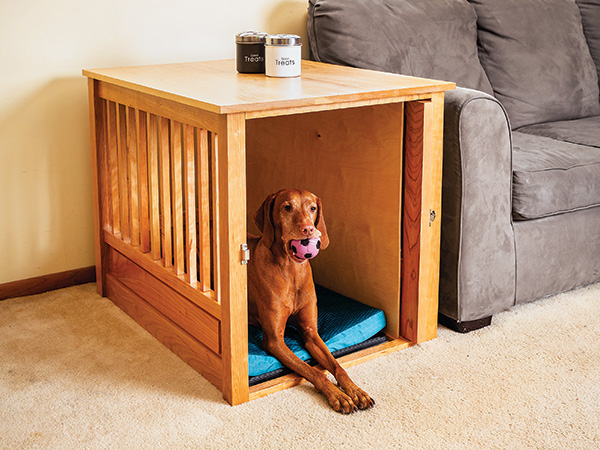
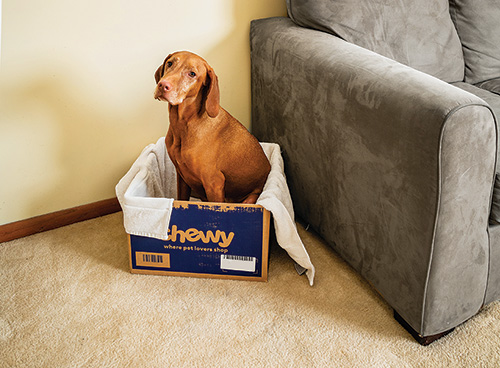
For those of us with dogs in our households, a dog kennel — the ubiquitous “crate” — can be a lifesaver. It’s basic equipment for dog owners, serving both as a comfortable, safe home for the pooch and a place to contain them as needed. Over the pandemic, many people decided that a dog would improve their lives, and many of those pet owners keep their canine buddies indoors most of the time. And while those plastic and metal crates and kennels are useful and practical, most of them are pretty ugly.
My kennel here is made of solid cherry hardwood. I think it looks like a piece of furniture. Its door flips open and slides into a pocket inside the kennel, using Rockler’s EZ Pocket Door Slides. The project is built around a plastic tray and a cushion, so there’s no wooden bottom to the kennel. That way, if something messy happens inside, it’s easy to remove the mess and clean the area.
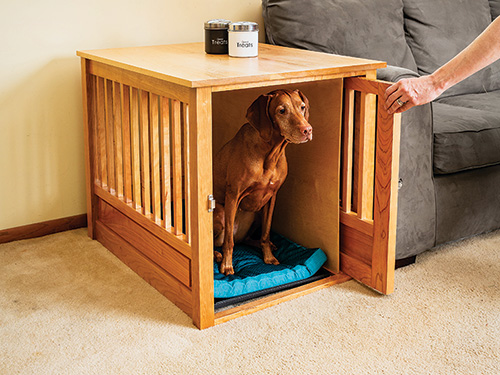
One detail here is either a benefit or a flaw: the kennel is obviously made of wood. If your dog is a chewer, this is not the best solution. But worse case scenario, the good news is that the slats are replaceable. Still, consider yourself warned, because this project takes a good bit of time and effort to complete, so evaluate your dog’s chewing tendencies before you build.
Get Ready for Some Table Saw Time!
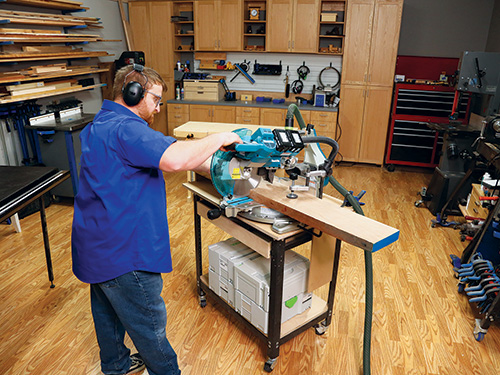
The kennel consists of 31 different pieces and 85 total parts, by my count. As my shop buddy, Woodworker’s Journal Senior Art Director, Jeff Jacobson, pointed out, the key to building this project is staying organized.
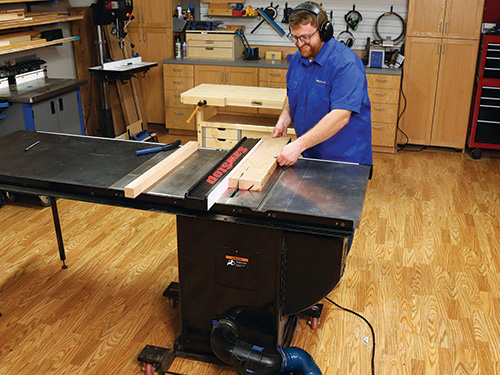
Nearly the entire kennel is built using the table saw to do the machining. I opted for 1-3/4″-thick cherry lumber, surfaced on two sides, for the lion’s share of the construction. You can purchase it in that dimension at Rockler stores as I did. Or you can order some 8/4 lumber and surface it to thickness. After using my miter saw to break the lumber down into manageable pieces, I jointed one edge of the boards and got busy on my table saw.
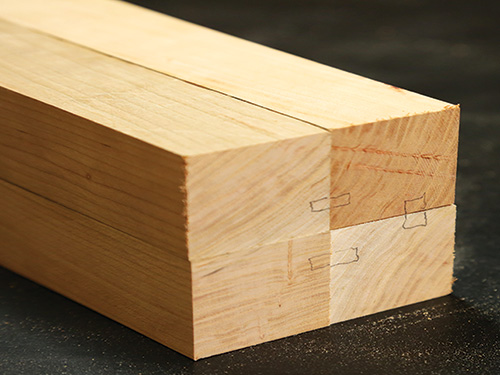
I ripped the side frame stiles to width before heading back to the miter saw to cut the pieces to their exact length. Repeat this process for making a pair of 1-1/4″-thick stiles for the end frame and door now, too. Then I examined the thicker stiles to see which ones looked the best and chose those for the front of the carcass, on either side of where the door will hang.
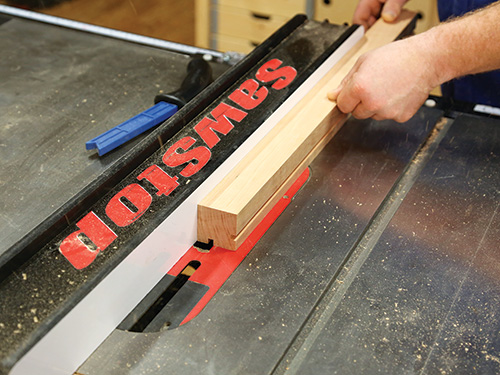
Next, I sketched where the grooves will be plowed on the stiles to help keep their orientation clear. Note that all the stiles have full-length grooves along their inside edges to fit the ends of the rails. The rear stiles of the side frames also have a groove on an adjacent face so they can attach to the end frame with loose tenons. The end frame stiles have a groove along both long edges — one groove to house the rails and another to fit the loose tenons. To plow all of these 1/4″-wide grooves, I switched to a full-thickness saw blade and made them each in a pair of side-by-side cuts. Those on the end frame and the door also need to be centered on the stock thickness.
Lots of Notches Come Next
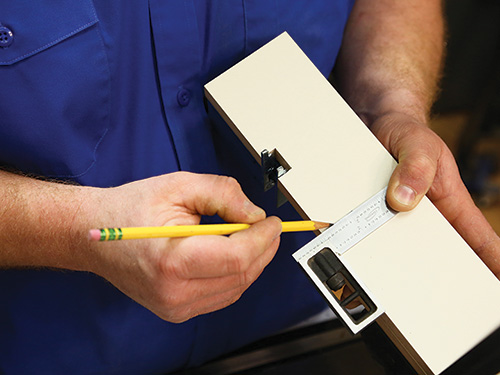
As I mentioned initially, the slats of the kennel are replaceable. To make the housings that hold the slats, I decided to cut 3/8″-deep notches into 5/8″-thick stock that would be used to form the top and center rails for the two side frames, the end frame and the door. Start with rail blanks that are overly long and twice as wide as the various rails will be in the end. After machining the stock, you’ll rip them in two and then glue them together into doubled-up rails with 3/4″-square, centered slat mortises. It’s a slick trick.
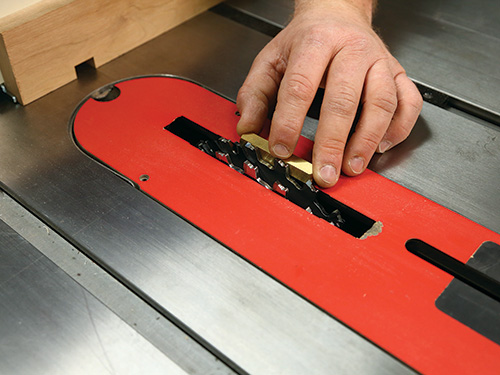
I used a Rockler Cross Lap Jig to form the slat notches. You will find the layout for the notches in the drawings. Mount a 3/4″-wide dado blade in the table saw and adjust the key on the jig to match the blade width. Offset the key by the 2″ space between the notches, and lock it in place.
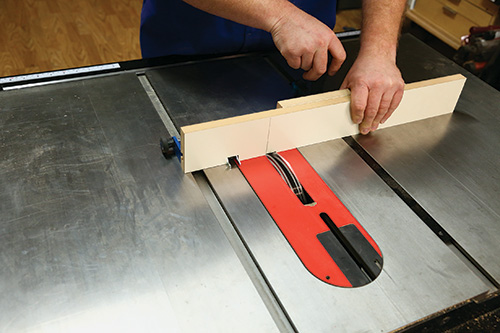
Now measure to the center of your first rail blank and mark a line. Mark another line in the center where the dado head cuts through the jig’s backer board.
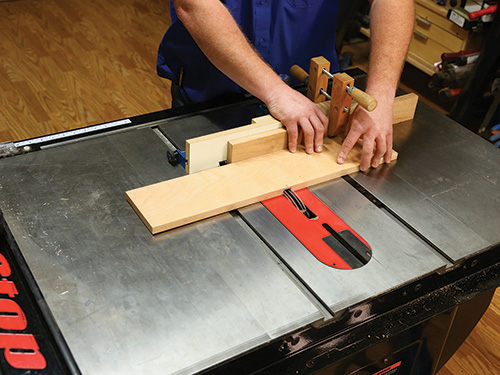
Put a piece of stock up against the jig face to clear the jig registration key, and cut the center notch on the rail material. Now, you can use the registration key to locate the remaining notches on the board.
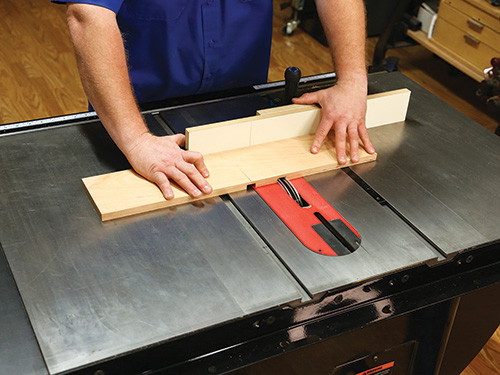
I recommend that you machine all the notches in all the rails while you have this jig set up on the table saw. That will help you stay organized!
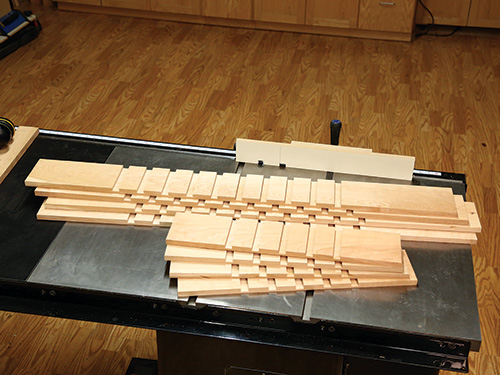
Set those parts aside for the moment so you can rip and crosscut the slats from 3/4″ stock, making certain that they fit the notches you just formed in the rails. They should slide easily in the notches; too tight and you will have trouble later.
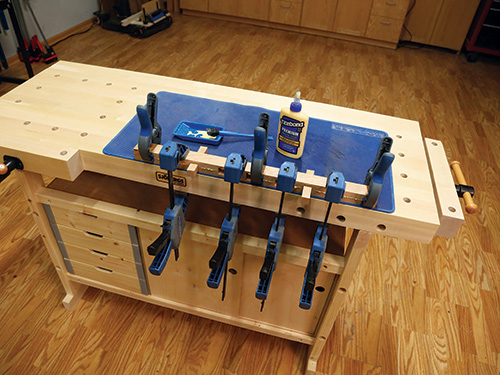
Now it’s time to rip those rail blanks in two and glue them together to form the rails. Glue up all the rails and scrape off the squeeze-out when it gets rubbery. Clear away any excess glue inside the slat mortises at the same time so that it won’t obstruct the slats.
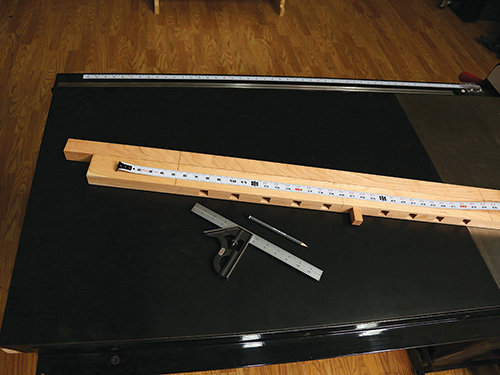
When the glue has cured, it’s time to carefully cut the rails to length, keeping the notches properly centered. I did that by inserting a “drop” piece of the slat material into the center slat mortise and then measuring half the length of the rail to each side of center.
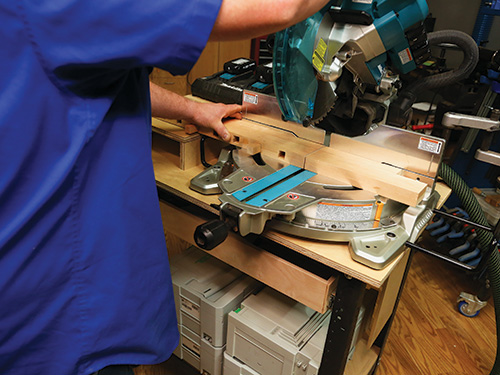
Once you have that marked, you can stick two matching rails together with the slat piece in their same mortises and cut the rails to length simultaneously. This gives you the proper sized rails and perfectly located mortises.
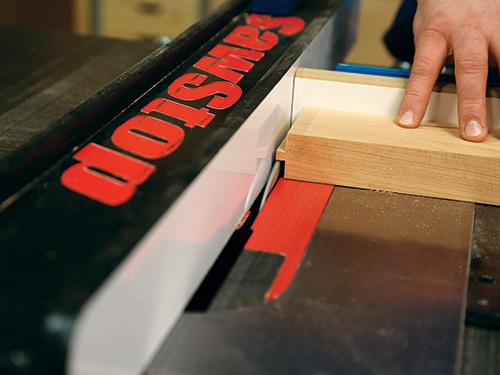
Remember those grooves you plowed earlier on the stiles? Now we’re going to raise some 1/4″-long, 1/4″-thick stub tenons on the rail ends (see the Drawings) that will fit into those grooves. This is another table saw task, although you could do it on a router table, too.
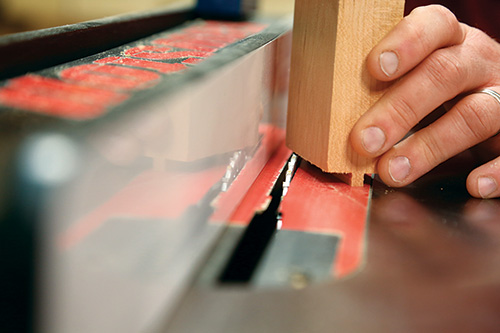
When that’s done, use the placement of those stub tenons to locate grooves in the bottom of the center rails and the top of the bottom rails. These grooves will capture the raised panels that we will be making shortly.
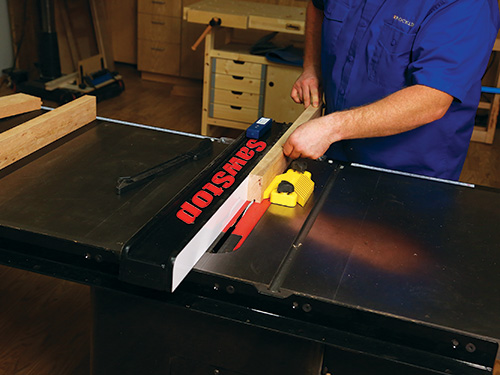
In addition to those grooves, on the top edge of the top rails you’ll need to form a 3/4″-wide by 1/4″-deep centered recess to accept the retaining caps. The caps will hold the slats down and in place.
Testing the Fit and Keeping Organized
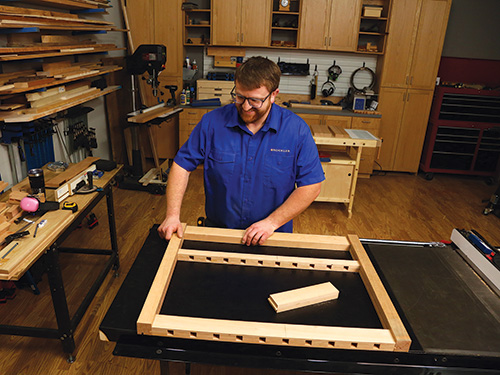
Next up is making the solid raised panels (pieces 6, 13 and 22) that surround the bottom of the kennel. Use 1/2″-thick stock and cut the various pieces to width and length. I raised a rectangular field in these panels in a two-step table saw process. First, I used a tenoning jig to slice across the grain on both ends of each panel.
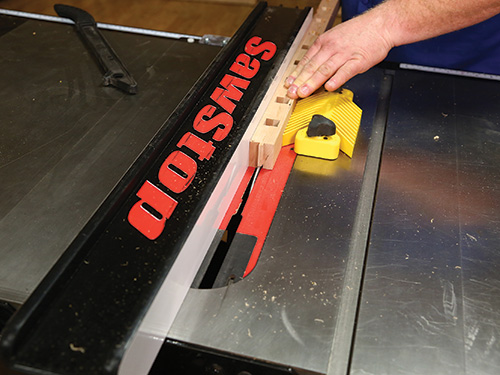
With that done on all four panels, I set up the saw with some featherboards and cut a pair of long rabbets along the length of the panels to complete the raised area. Sand the saw marks smooth and dry-fit the panels in their grooves.
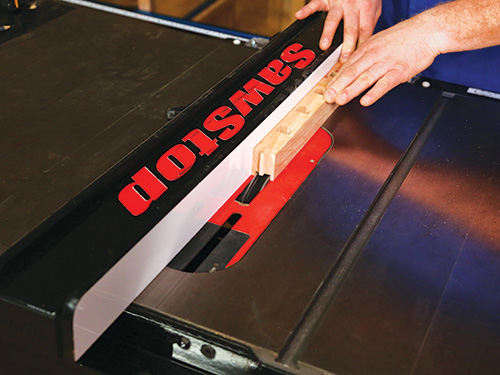
If all looks good, glue and clamp the rails and stiles of each frame together, but be sure to allow the raised panels to “float” in their bottom grooves without glue so they can expand and contract. Don’t put the slats in place just yet.
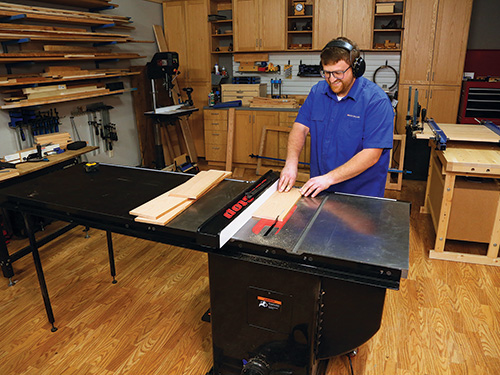
While you are waiting for the glue to cure, make the slat retaining caps (pieces 8, 15 and 24), filler strips (pieces 7, 16 and 25) and a pair of loose tenons (pieces 17) for attaching the end frame to the side frames. These are all 1/4″-thick pieces of wood, so some care needs to be taken as you cut them.
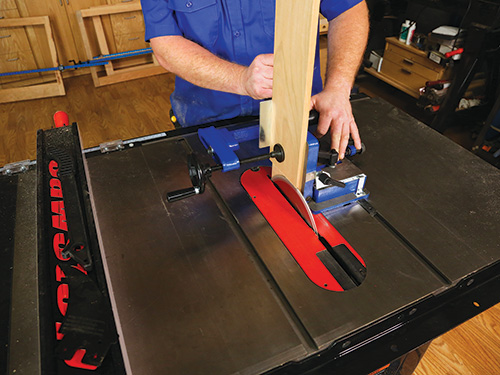
I used Rockler’s Thin Rip Tablesaw Jig, which kept the part thicknesses uniform. Don’t cut these pieces to length just yet. The front top and bottom rails (pieces 26) are next. Rip and crosscut them to length and width from 3/4″ stock, then use a pocket-hole jig to bore two screw pockets into each rail end.
Putting It All Together
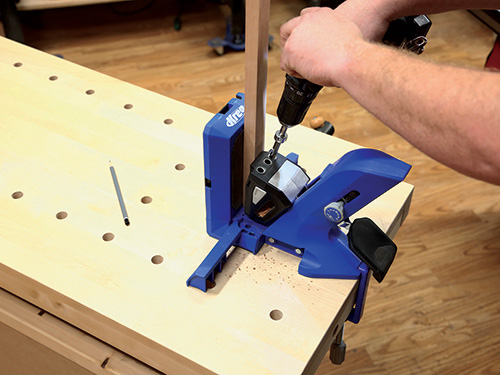
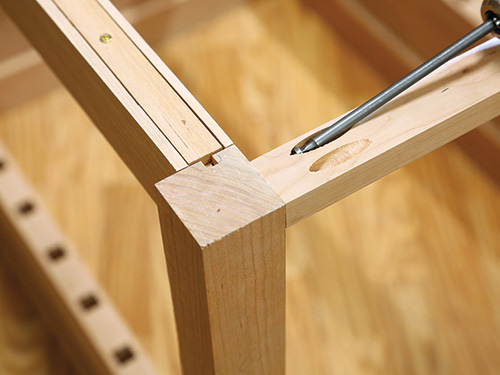
It’s time to assemble the carcass! Spread glue on the two loose tenons, insert them into their grooves in the end frame and then bring the side and end frames together with the tenons seating in their side frame grooves. Pocket-screw the front top and bottom rails to the side frame stiles, checking to be sure the carcass assembly is square.
As you wait for the glue to cure, it’s time to prepare the stock for the kennel’s top panel. I chose to make it out of solid lumber, as I wanted a real “furniture” feel to the project. But veneer- covered plywood with solid-wood edging would work just as well. Cut the cherry to rough length, and then use a jointer and planer to create 3/4″-thick pieces with flat, parallel faces and dead-straight 90-degree edges.
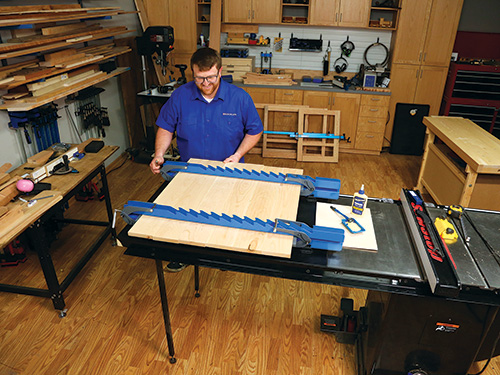
With that done, lay your stock out on a flat surface and “compose” the top. When you are happy with the grain arrangement, glue and clamp the top together. I used Rockler’s Deluxe Panel Clamps for this job, because they work great to keep the edges aligned and the panel flat.
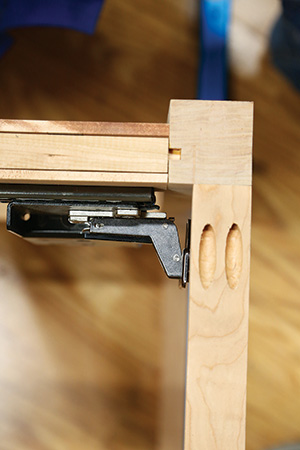
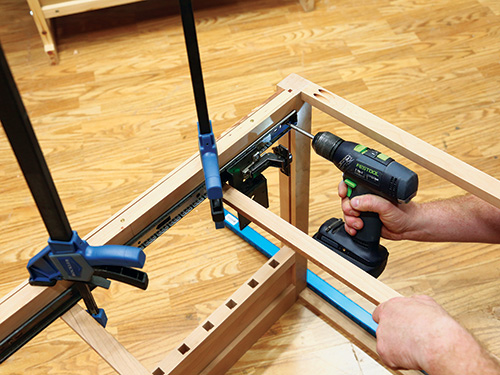
Unclamp the carcass when the glue dries because it’s time to hang the door on the EZ Pocket Door Slide hardware. It is pretty straightforward on this project, as you mount the slides right to the side frame rails. Choose whether you want the door to open on the left or right. After doing that, I positioned the slides and then eyeballed their setback. Attach the hinges to the slide mounting plates, then transfer the placement of the hinge cups to the door.
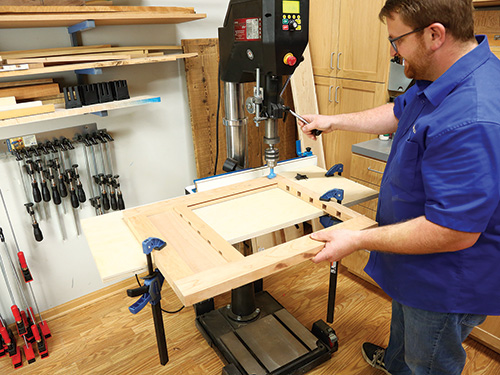
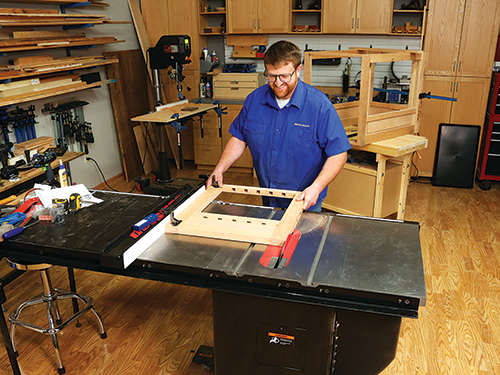
These are 40 mm-diameter cups for Rockler’s Thick Inset Pocket/Flipper Door Hinge Kit, and I bored them on a drill press. With that done, I temporarily mounted the door. It fit pretty well, but I wanted the reveals around the door to be even, so I took it to the table saw and trimmed it down just a hair. Once it fit perfectly, I completed the installation. I also crosscut and installed all the filler strips to fill the open grooves in the kennel’s carcass and door stiles.
You might wonder, will those slides and hinges get tangled up with my dog? The answer is probably yes, so we put a safety panel (piece 27) in place, mounted to two supports (pieces 28). The cherry supports have 1/4″ grooves plowed along their length to capture the safety panel and are secured to the carcass with pocket-hole screws.
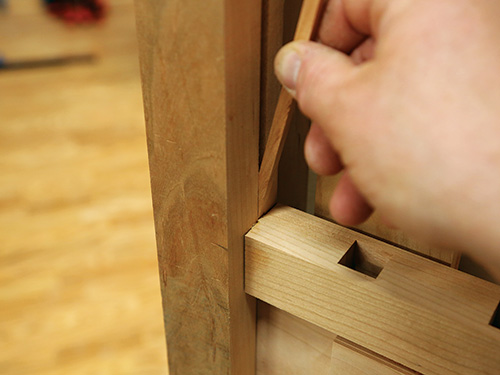
The panel is 1/4″-thick plywood. The panel is the last thing you mount in the kennel. Finally, cut a couple of cleats and glue them in place at the top front and back of the carcass. You’ll use them to attach the top panel. Drill elongated holes through them for 1-1/4″ screws.
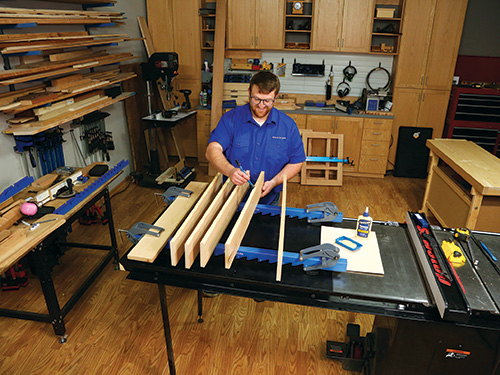
Cut the kennel’s top panel to final size and then get out the sander … yup, you are going to make some sawdust. Sand the top smooth and up to 180-grit. Take the door off so you can do the same thing to all surfaces of the carcass, door and slats.
When I got done sanding, I applied three coats of aerosol shellac to all the parts. Shellac is food-safe and worry-free if your little buddy decides to snack on some of the slats. Then I inserted the slats into their mortises and cut the retaining caps to length. I set those in place before attaching the top and door.
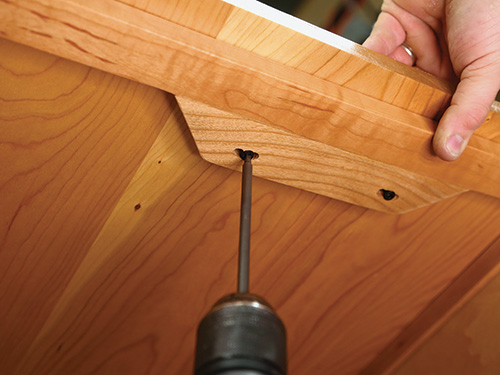
cleats to the end frame top rail and the top front rail, then drill elongated
holes through the cleats for attaching the top with #8 x 1-1/4″ screws.
I mounted a small catch on the door, but it turned out I needed a stronger one, because dogs can actually push pretty hard to get out. You’ll want to be able to latch the door securely.
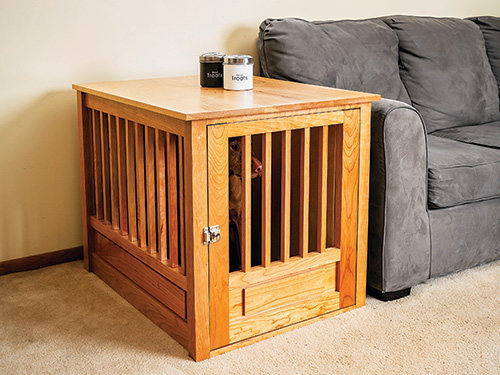
I’m pleased with this kennel’s furniture quality, and my dog has taken to the new digs without a bark of complaint!


