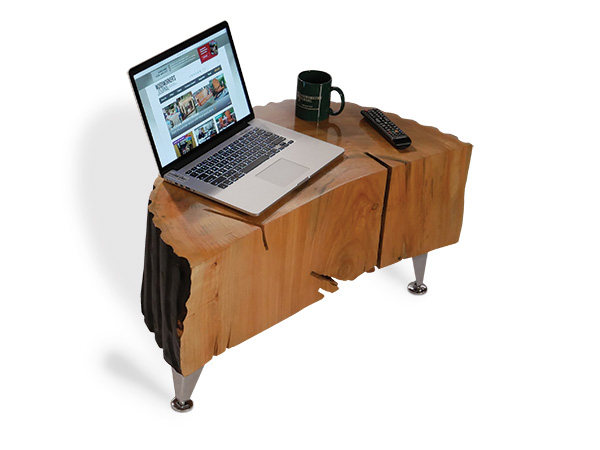
Woodworking has both changed and stayed the same over the centuries. We used to make so many things from wood — shoes, buckets, houses, weapons, windmills — a full list of its purposes would be both substantial and amazing. Today, the things we make from wood are fewer, and where we get our wood has changed as well. For instance, I’ve walked into a barn constructed in the late 1800s that was made primarily from black walnut. Walnut was the type of trees found on that Iowa farm, and the farmer built from what he had. In our modern world we often buy our wood products at lumberyards and big box stores, often already milled to specific sizes and dimensions and sorted by species. That’s real handy and useful.
But we can still find and prepare our own wood from trees as we find them. And we can still make what we want to from wood, even if it is not a typical usage. For example, I make a lot of bowls from wood. There are more practical bowls made of glass, plastic and ceramics in my cupboards, but I like to make wooden bowls. The stock I use to make those bowls often comes from chunks of tree trunks that are dropped off at a local municipal lawn waste disposal site. I love driving into the site, sorting through the logs and finding something that I can then turn into a bowl.

And that’s how I happened upon this huge chunk of cottonwood. I saw it and for some reason the shape of it struck me as a table — it was inspiring! I tried to lift it into my pickup, but it was way too heavy, so I talked a fellow scrounger into helping me lift it into the bed. That was last fall, and this cottonwood spent the winter huddling behind my garbage can until the thaw. Then it was ready for me to get started on its transformation. But the question was, how to do it?
An Odd Collection of Materials, Tools and Products
- A Huge Chunk of Cottonwood
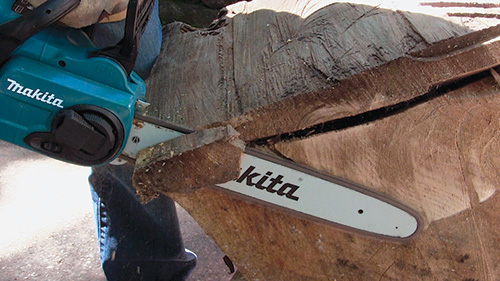
- Makita Cordless Chainsaw
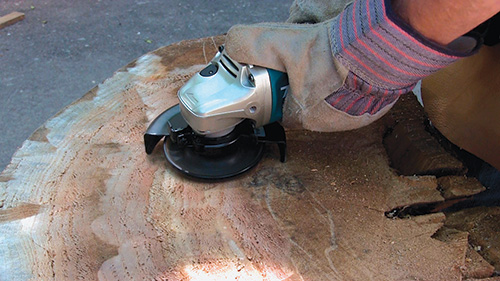
- Makita Cordless Angle Grinder
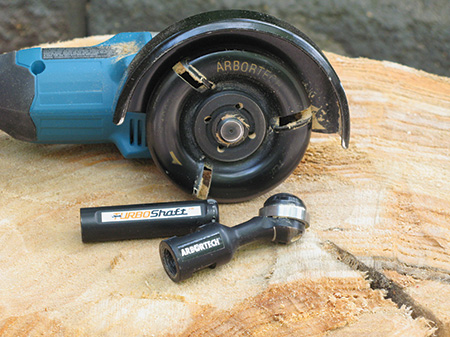
- Arbortech TURBO Plane
- Arbortech Ball Gouge, TURBO Shaft
- Propane Garden Torch
Power Carving and Chainsawing to the Rescue
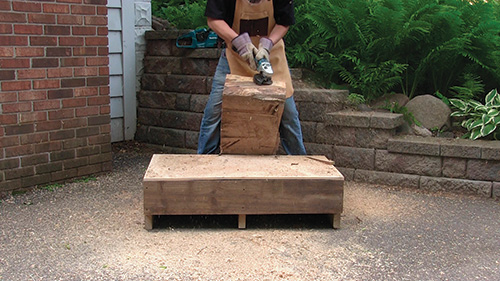
I had already been pondering the idea of using power carving tools from Arbortech™ to shape wood, and so that is where I started. But I also knew that I would need to remove a good bit of material, and for that my trusty cordless Makita chainsaw was just the ticket.
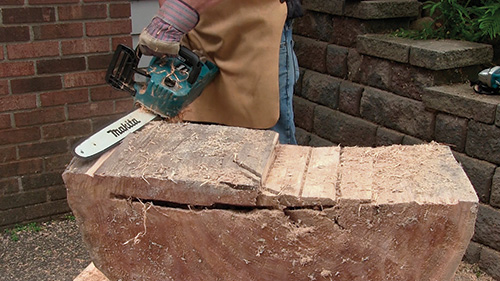
A concept for the table had been floating around in my head over last winter in countless sketches. I liked the basic shape of the log but wanted to refine it a bit.
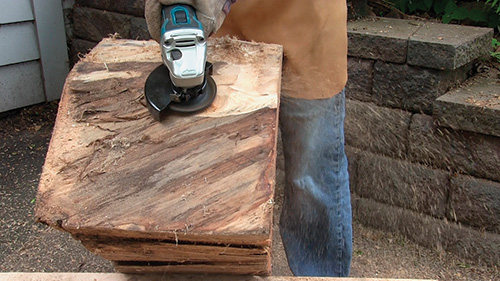
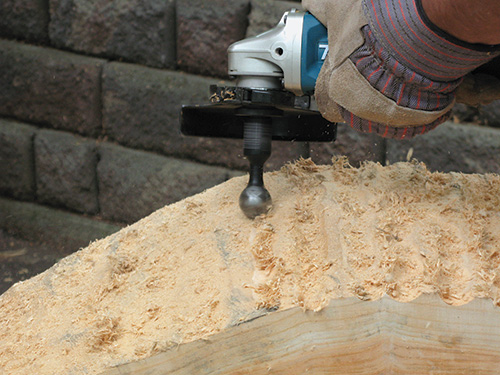
I was going to take the bark off of what I was considering the “back” of the table, then I wanted to texture that exposed curved face using a ball gouge carver. How much texture is something I would decide on as I worked with the piece.
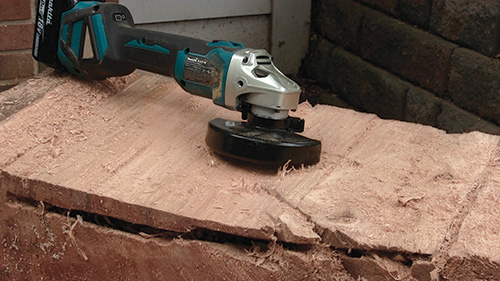
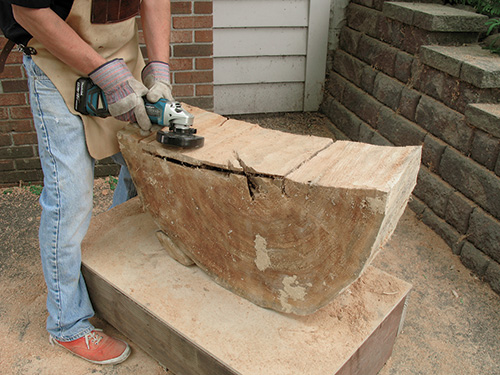
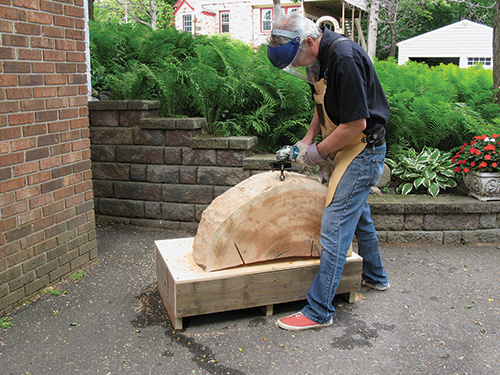
What I think of as the “front” of the table needed to be reshaped to a refined arc. There were chainsaw cuts and fracture voids in that front that I thought would look cool if they remained, but I still wanted the front facing curve to be shaped as smoothly as possible. I used Arbortech’s TURBO Plane™ to do that.
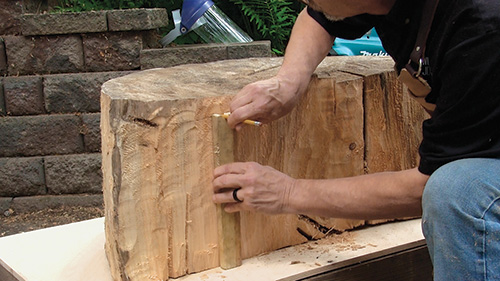
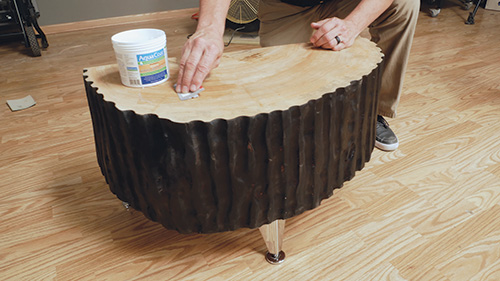
The overall concept was to have the top and front be super smooth with a gloss finish, and the textured back would feature a dramatic color difference.
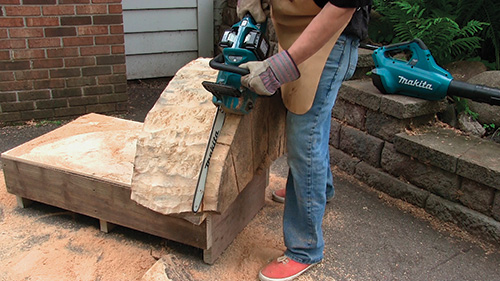
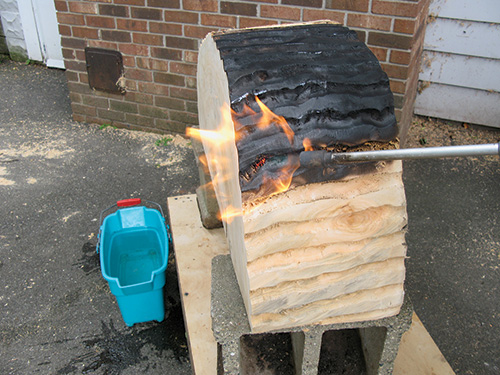
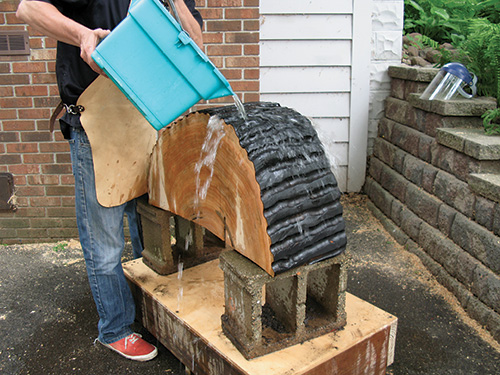
I decided that the back should be carbonized in a burning technique called shou sugi ban, then have a clear finish applied. With luck and some skill, the variation in texture, color and shape might just form an attractive if odd table.
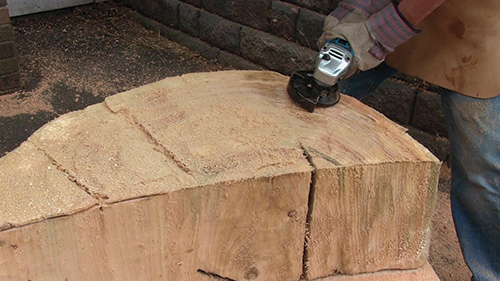
All of those choices worked out really well, in my opinion. But my first notion for the legs of my table was not so great.
Legs: A Less Organic “Plan B”
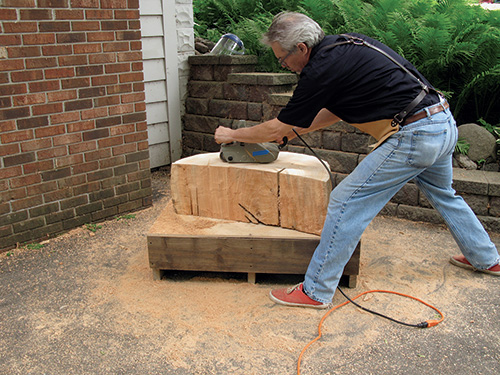
My initial leg plan was to use some of my other recovered wood — a long limb from an elm tree — chop it up and turn some short legs from it. I would then texturize and carbonize them, re-turn the bottoms of the legs to expose clean wood fiber and apply a clear finish.
So I did all of that and the legs looked, well, dumb. They were too stubby, there was too much going on and they were just plain awkward looking. Bad plan.
Which left me in a bit of a pickle, because a table without legs is just a chunk of wood on the floor. But it leads me to an important point. When you are designing a project, especially one like this that is centered on a material that is unique (you don’t find many huge chunks of cottonwood laying around), design choices need to be flexible.
So I asked for advice from my art director, and he recommended some chromed metal legs from Rockler. That turned out to be a great idea. It added one more different bit of texture and shape while also enhancing the overall modern look of the table.
I Know It’s a Bit Odd … But!
I am well aware that this project is unusual and, to be frank, odd. To some degree, it wants to be both a table and bench. And I can almost hear some of your questions and comments, so I will try to address a few of them here. Even so, I would love your full opinions about the project, so please send them in!
First question: Who would want this weird piece of furniture? Well, the reactions I’ve gotten so far have been hot or cold with little middle ground. Some would want it, and others would not.
Won’t that big chunk of wood keep shrinking and cracking as it dries? Yes, and that process will only add to its unique and somewhat distressed look.

How much does it weigh? Too much! Have you totally lost your mind? Perhaps, but that is really a different discussion altogether….
While this table undoubtedly raises more questions, I will end here. Some of them might be answered in my video showing all the techniques I used to make the project. You may be surprised by how much my woodworking skills and experience helped me complete it. I hope that this experimental project might help you move outside the bounds of what you regularly build in order to have a bit of fun by trying something different.


