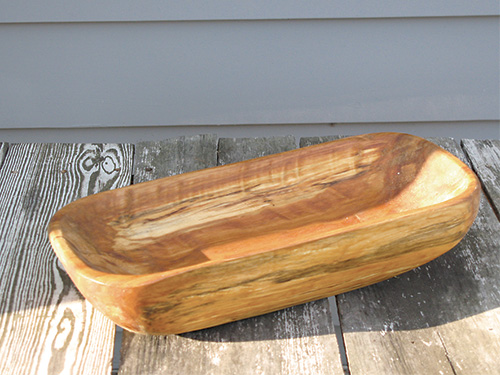
Time and time again in countless antique stores all around the United States, I have been drawn to various styles of dough bowls. Bread-rising bowls are long sections of wood, scooped out to form a trough, often with rounded ends. As you can imagine, years ago, bread-making was an everyday task for poor and working-class families of all stripes. Bread dough can be sticky, so a baker would rub oil or butter on the surface of the bowl to stop it from adhering to the wood. Additionally, many bread recipes have a fat component — butter, lard or an oil of some sort. All those applications of fat to wood created a lovely “finish” on its surface and a gorgeous patina. Even decades later, that smooth finish is still apparent on the antique dough bowl examples I’ve found.
Most of the antiques I’ve seen were made of maple lumber, although during my travels through southern states I have also found many made from what appears to be long-leaf pine. I have always assumed that this ubiquitous treenware was made from local trees. I would love to find one made of chestnut.
I am not sure why, but the local and individual manufacture of these items has increased my enjoyment of them. In the practical world where these essential products were made, form follows function. The similarities between all the examples I’ve seen is remarkable.
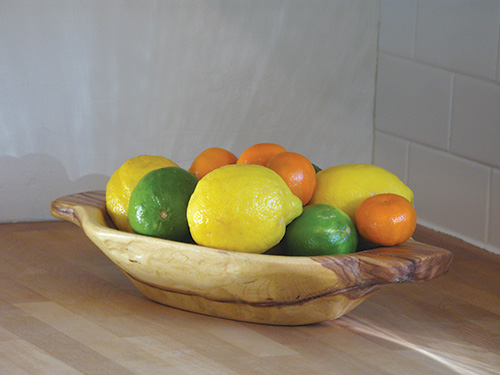
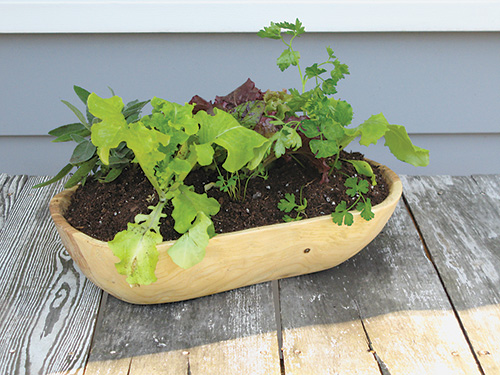
The occurrence of everyday at-home bread-making is never going to be as widespread as it once was. But if it ever comes to that, I will be ready. However, these bowls can certainly have other uses, and their practical beauty can enhance many decors. For that reason I set out to make a few of my own, inspired by examples from the past.
Logging In
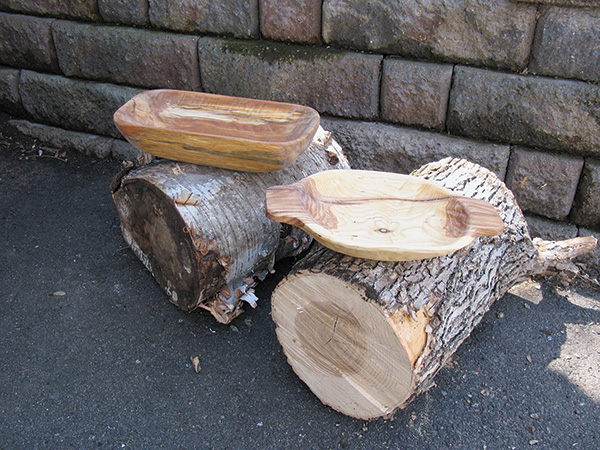
Luckily, there is a drop-off site nearby where our local government lets folks drop off their brush waste and cut tree sections. I “help” the site regularly by grabbing chunks of wood that will make great bowl-turning blanks — or in this case, power-carving blanks. I grabbed some 10″-diameter ash and birch logs. While they seemed very large to me as I was lugging them out of the site, it turned out that I wish I had found some with a 14″ diameter instead. That would have allowed me to carve bowls more to the scale of the ones I’ve seen in the antique stores. They tend to be 12″ wide, at least. With my 10″ boles, I produced bowls about 8″ or 9″ wide.
You don’t need to start with “firewood,” however. If you have some slab stock that is 4″ or 5″ thick and 9″ to 12″ wide, that will work great, too!
Sawyer Saturday
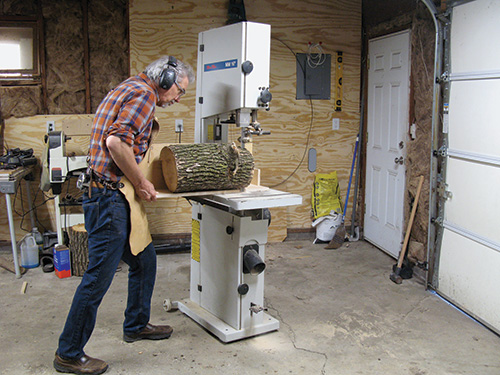
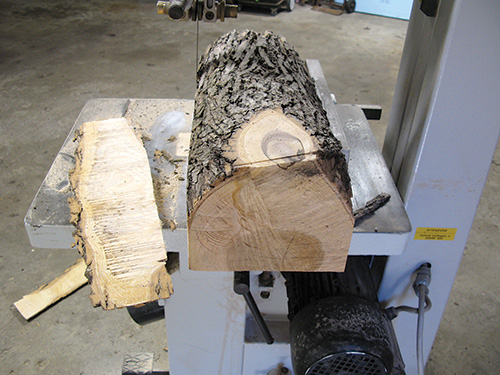
With my logs in hand, I set up my band saw to cut them into the blanks I wanted. I use a simple inverted T-shaped fixture to hold the log as I cut it.
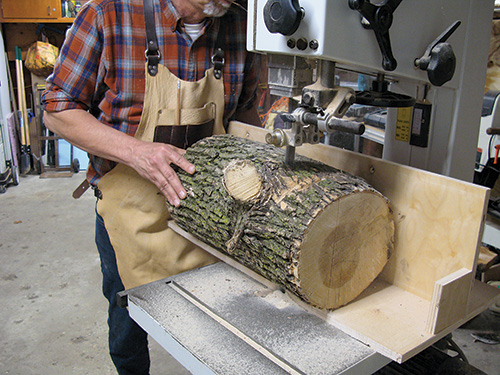
I drive screws through the upright piece of plywood to hold its orientation as I slice off a section.
I have broken band saw blades by not taking that extra step … purchasing a $100 resaw blade has made me more prudent. My band saw has the capacity to cut up large pieces like this, but if that is not possible for you, you can use a splitting maul and wedge to extract your blank from a log.
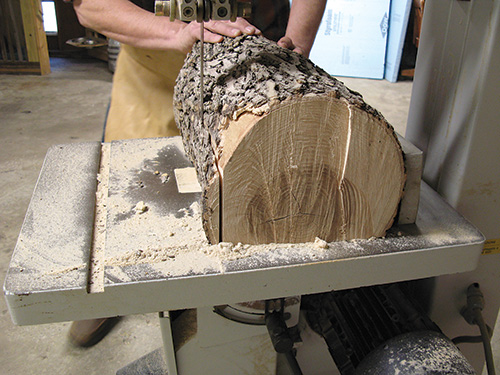
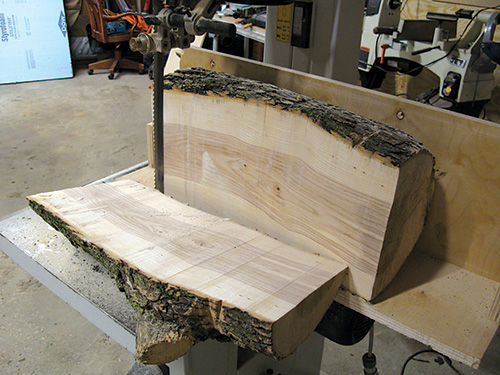
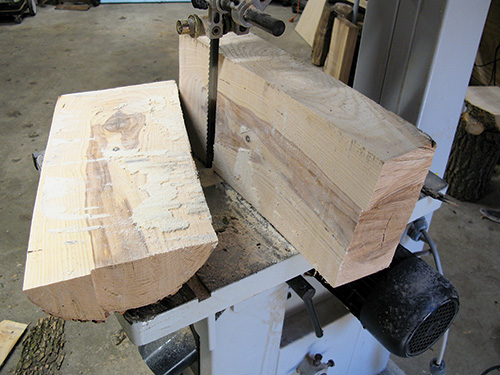
Once I have a flat surface, I can turn that face down and use my rip fence to complete the blank-cutting process.
But if the log has bumps or a curve along its length, then use the fixture once more to get two flat surfaces roughly 90 degrees to one another. At that point you are ready to cut out a rectangular blank that will serve to make your bowl.
If you are like me, you’ll want to do a couple more steps on the band saw, but it’s your call. Once I have the rectangular blank, I decide on the rough shape I want the bowl to become.
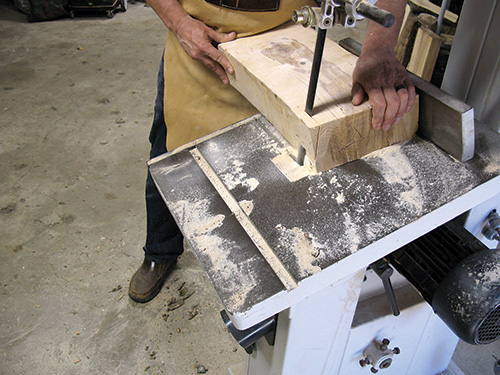
I sketch out the curved ends of the bowl and get an idea of slope of the sides. Then I step back to the saw and form those shapes and angles on the blank. With that done, I’m ready to start carving.
Wood Chips in the Wind
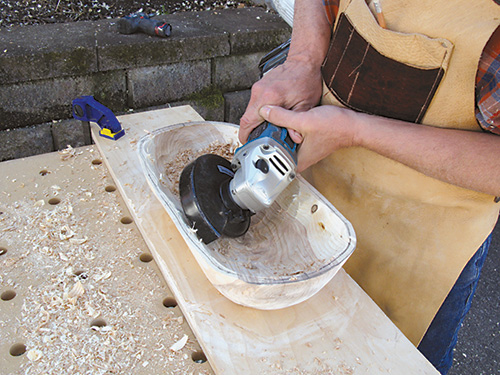
I use an Arbortech TurboPlane mounted on a Makita battery-powered angle grinder. I also prefer to do the carving outside. Power carving throws chips everywhere, so I employ a leaf blower to clean up my driveway. Since the chips fly off at considerable force, I use a face shield to protect my eyes. And while the machine doesn’t make a lot of noise, you’ll be running it for a quite awhile. My hearing has become more sensitive in recent years, so I wear hearing protection.
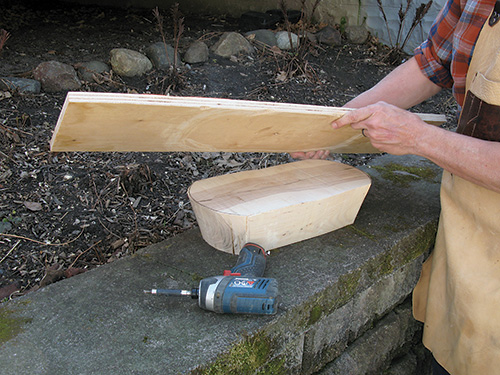
To keep the blank in place while I’m carving, I screw it to a narrow piece of plywood longer than the blank. Then I clamp the plywood to my workstation. The blank won’t go anywhere, and I can protect the surface of my workstation at the same time.
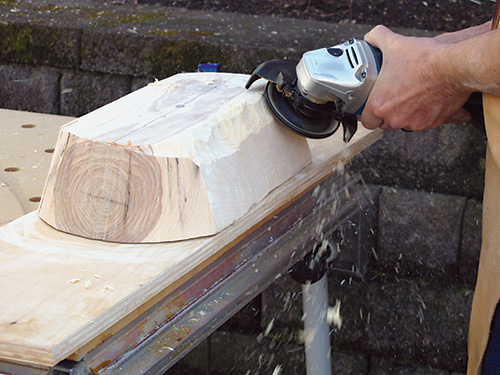
Carve the outside of the bowl first. The TurboPlane does a good job on end and straight grain, but you do need to hold the angle grinder securely. You will also come to learn which way the cutter does best in each area of the blank. I try to cut “into” the rotation of the cutter rather than pulling it “along” the grain. Work methodically, carving away stock in controlled strokes. I find it very useful to step back and look at the blank from a couple of angles to get a good idea of how the overall shape of the piece is emerging. It helps me keep the shape symmetrical and know where I’m headed with the overall design. I remove the clamps and spin the blank around, when needed, to keep the shape I am forming even and for easier access to the blank.
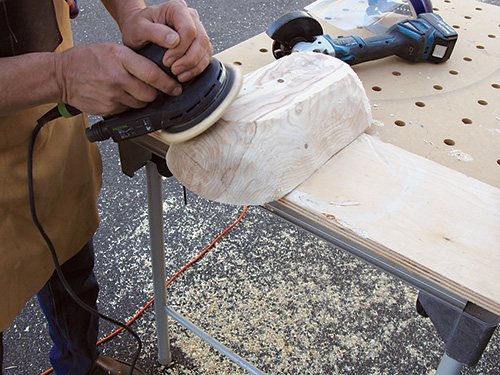
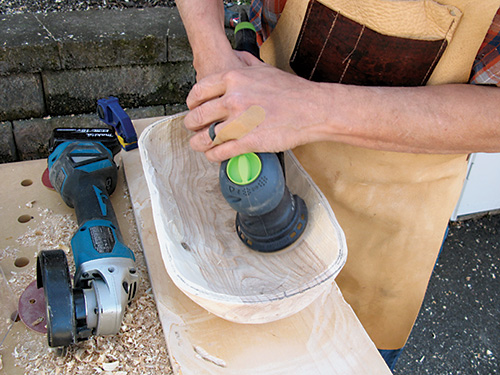
When I’m happy with the shape of the outside of the bowl, I sand it while it’s still secured. For my purposes, I want to leave uniform carving marks in the surface of the wood to mimic the chisel-carving marks I see in the antiques I admire. So my goal for sanding is to smooth the surface but not remove the irregularities of the cutter. I use a random-orbit sander to start off but finish sanding by hand.
Get the Inside Out
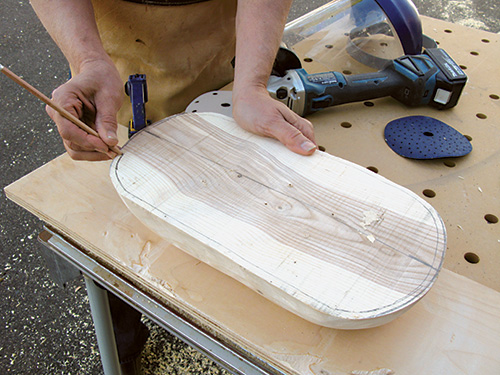
With the outside completed, I remove the blank from the piece of plywood and flip it over. Once again, I screw the blank to the plywood to secure it while I carve the interior of the bowl.
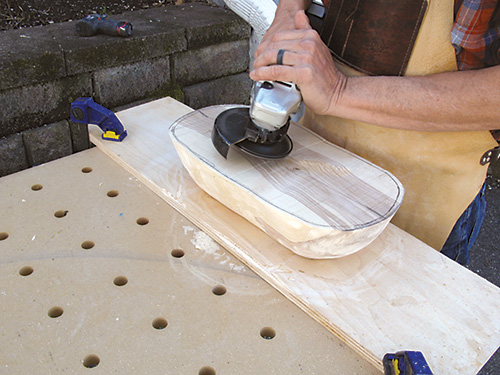
I sketch a lip for the bowl before grabbing the power carver. Removing material from the center of the bowl isn’t difficult, but I’ve found that rotating the blank end-to-end regularly helps the process go faster and more easily.
Just as if you were turning a bowl on a lathe, keep your eye on the thickness of the bowl’s wall. Carving through the wall would be a disaster, considering all the work you have put into it so far. Pay special attention to the ends of the bowl: the end grain will blow out more easily than the long grain.
In my experience, this is another reason green wood is best for this task, as the end grain seems more durable before it dries out. Keep carving until you are satisfied.
Finishing Details
Sanding the interior can be a little trickier than the bowl’s exterior. I use a smaller random-orbit sander and then switch to hand sanding.
I’ve used a few different finishes on my dough bowls, including boiled linseed oil, Watco oil and amber shellac. I used tinted Watco on spalted birch because I wanted to add some color to it. Linseed oil ambers the wood tone, but it takes forever to dry. My favorite so far was two coats of amber shellac, rubbed down with a gray synthetic abrasive pad. I put a coat of paste wax over the top of that and polished it with a soft cloth. I think it looked and felt great.
This is a fun project, and the bowls make great gifts — give it a try!


