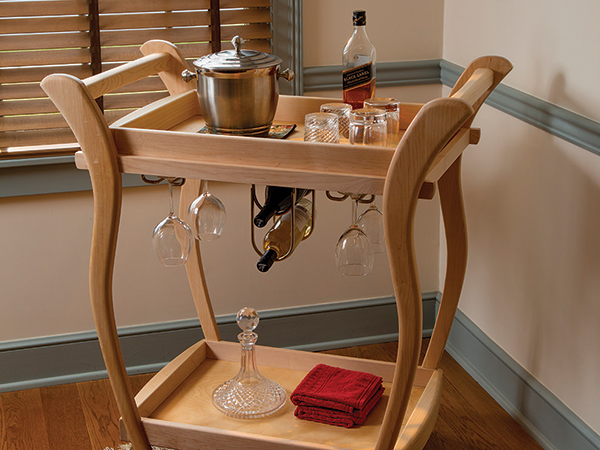
My cart’s design is inspired by an outdoor bar cart that my grandparents have had on their deck for more than a quarter of a century! We still use it for barbecues and picnics, and I have a flood of wonderful memories when I think about that piece of furniture.
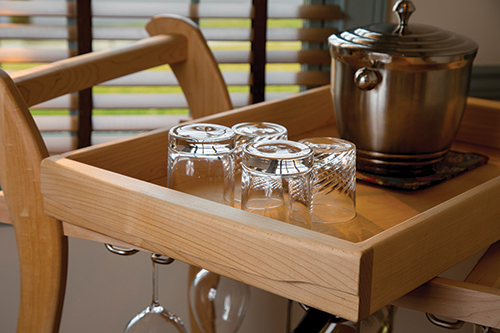
I built this version from maple. The metal holders for the stemware and wine bottles are attached to the supports beneath the removable top tray, and they have a brushed nickel finish; I think it goes well with the light-colored maple. The caster wheels are actually made of walnut. Their metal housings were originally zinc-coated, but I used 400-grit sandpaper to lightly sand the metal down to a silver finish. My cart will live primarily indoors, but if you want to keep yours outside, be sure to use an insect- and rot-resistant wood so it will weather many outdoor seasons to come.
Making the Legs with a Template
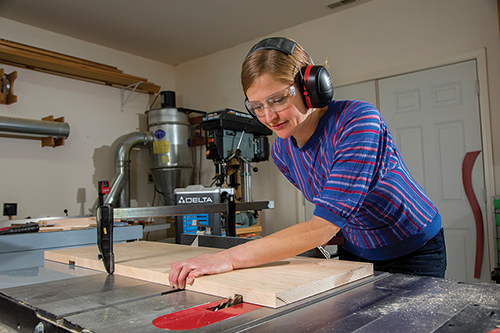
Start the leg building process by gluing up two 16″-wide blanks, 37-1/8″ long, so that you can “nest” two legs together per blank when laying them out. Then square up the ends of the blanks so that you have reference surfaces for marking dadoes for the top tray supports and the bottom tray sides.
The upper dadoes are 1-1/2″ wide. Mark them 29″ from the bottom end of the leg blanks. Mark the 2-1/2″-wide bottom dadoes at 2-3/4″ from the same end of the leg blanks.
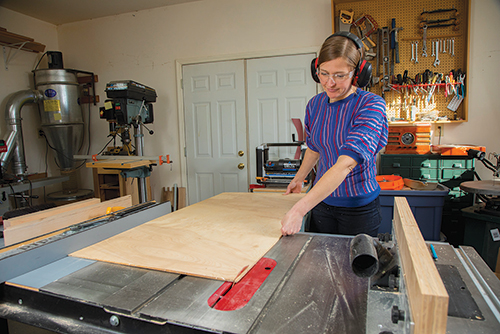
Then set up a wide dado blade in the table saw, and cut these 3/8″-deep dadoes carefully across both leg blanks. Make sure the bottoms of the dadoes are flat and square.
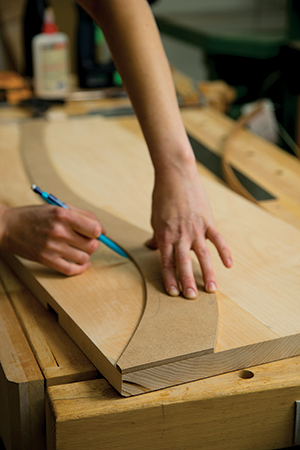
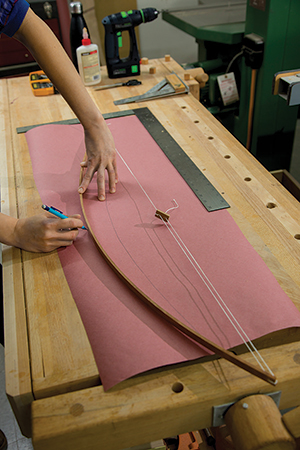
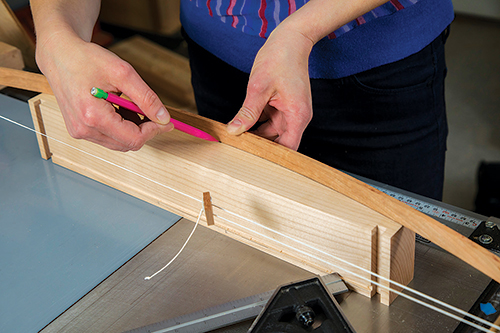
I developed the leg shapes from a series of sketches, then moved on to a couple of full-size paper mock-ups. A flexible scrap-and-string curve bow will be a big help in drawing these leg curves when you make a full-size paper template. Use the gridded Drawing to help you plot points on a full-size grid, then connect the dots to form your leg pattern.
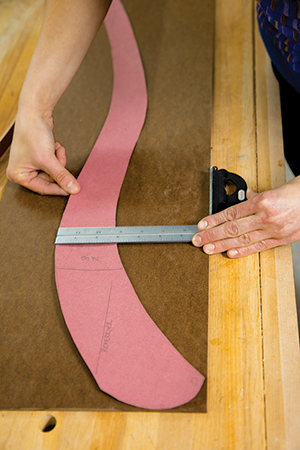
Next, mark the pattern with the dado locations, cut it out, and use it to make a rigid template from 1/4″-thick MDF or plywood. While the tops of the legs will end up curved, keep the top of your leg template flat so you can align it accurately with the dadoes on your leg blanks.
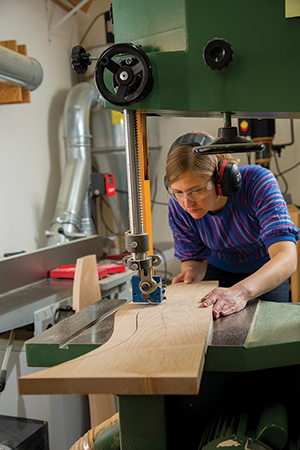
Now, draw the four leg shapes on your blanks and cut them out, but leave their top ends flat. Cut as close as you can to your layout lines without crossing the pencil line.
Don’t leave more than about 1/16″ of material next to the line, though, because you will be flush-trimming it away with a router, next.
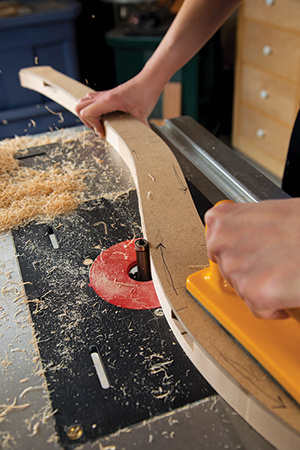
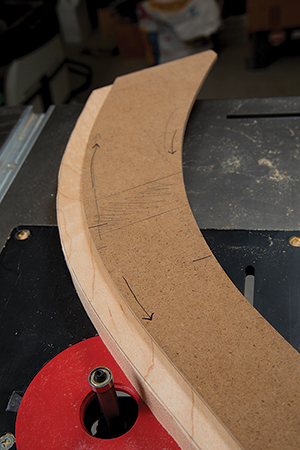
These curvy legs require that you know how to rout off the remaining waste with respect to the grain. When you are flush-trimming, you will need to study the grain on the legs and rout so that the cutter is combing down the fibers, not ripping them up.
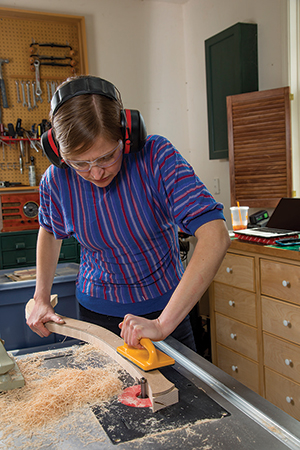
I looked at each leg individually, then marked my MDF template with arrows to help guide my routing direction. (Note: you may need to rout away part of the leg waste with the template on top of your workpiece, then remount the template to the bottom face to finish up the routing pass, depending on grain direction issues.)
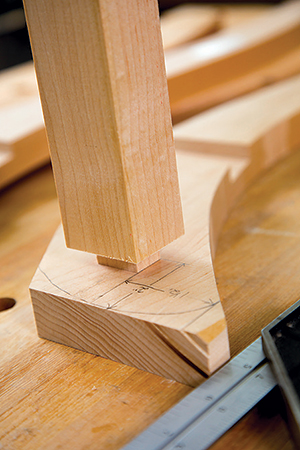
Attach the template with double-sided carpet tape, and rout the four legs flush to the pattern. Don’t try to rout around the end grain of the feet, or the bit might chip out chunks of wood. You’ll sand the feet smooth instead, to prevent mishaps here.
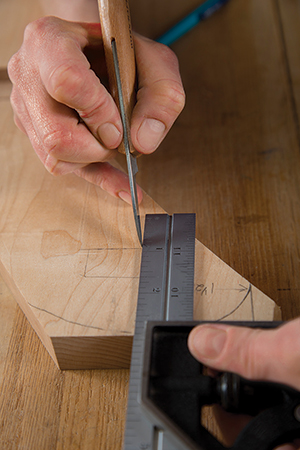
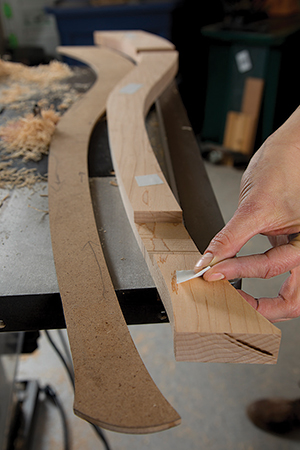
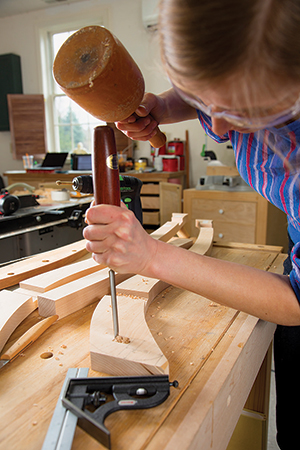
Grab your combination square and marking knife or pencil to lay out where the mortises will go for the bar cart handles. Drill out most of the waste in these mortises with a Forstner bit in a drill press. Then square them up with a chisel.
Next, clamp each leg upside down in your bench vise and mark where to drill it for the caster sleeve. I bored these holes with an electric drill that has a level in the end of it, and I set up a speed square next to the leg to help me, too.
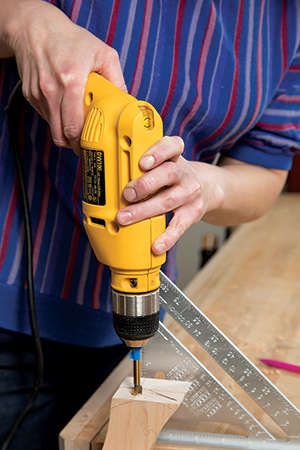
My casters required 3/8″-diameter, 1-1/4″-deep holes for their posts, which I drilled with a Forstner bit. With that done, you can finally doublestick-tape the legs together and cut and sand their top ends round so they match.
Tray Corner Joints
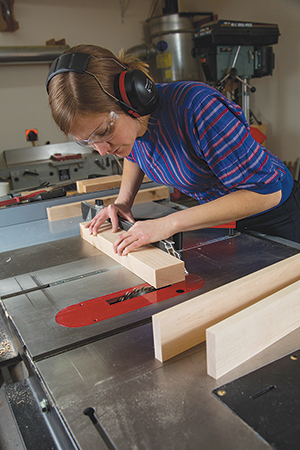
Follow the Material List to cut workpieces to size for the top and bottom tray sides and ends. I connected their corners with simple rabbet-and-dado joints that you can make with a 3/8″-wide dado blade, set to a cutting height of 3/8″.
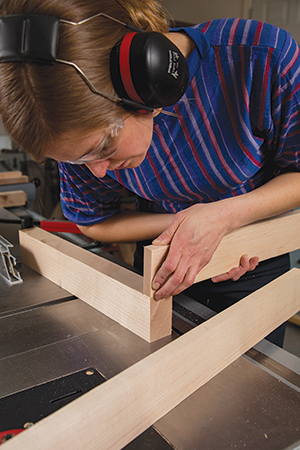
I cut the dadoes into the tray ends first, using a stop block on my miter gauge fence to set their position at exactly 3/8″ in from the part ends.
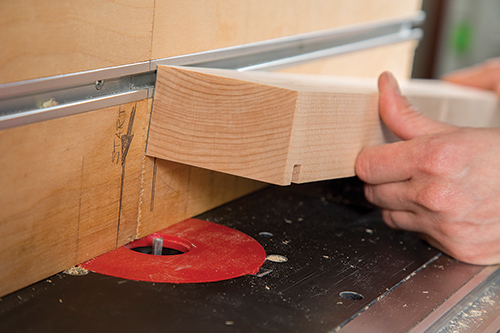
And to double check, I just nicked the bottom inside corner of the first cut and verified it against the thickness of one of the tray side pieces.
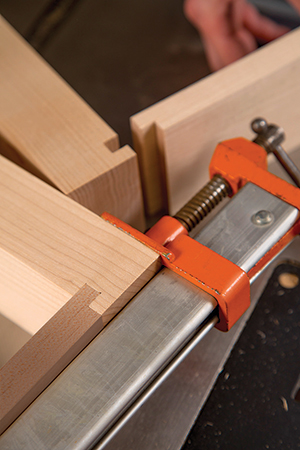
When the dadoes are finished, use the same blade setting to cut rabbets on both ends of the four upper and lower tray sides.
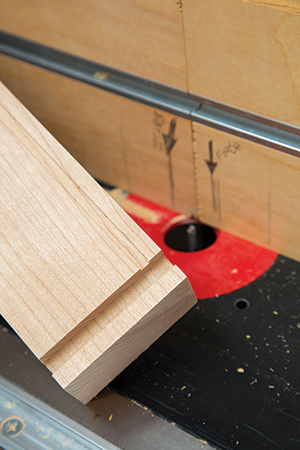
I used my miter gauge fence and stop block to back up these rabbet cuts, too. If the corner joints fit together well, set your curve bow again and draw the arched faces onto the tray ends — but don’t cut them out at this point.
Instead, it’s time to mill grooves along the bottom inside edges of the tray parts to support the plywood bottoms.
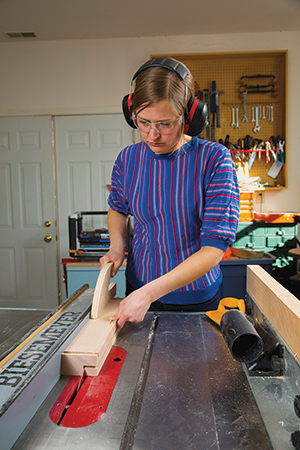
While these 1/4″-deep grooves run the full length of the tray sides, they need to stop at the dado locations on the tray ends.
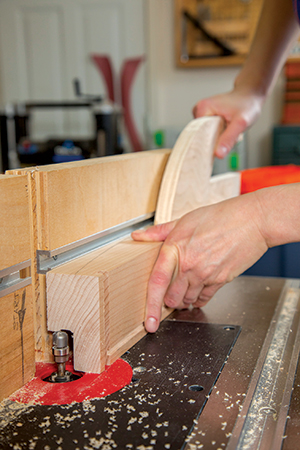
So, for this work, head to the router table and install a 1/4″ straight bit. Set the fence 1/4″ away from the bit’s inside edge, and rout the full-length grooves in the sides.
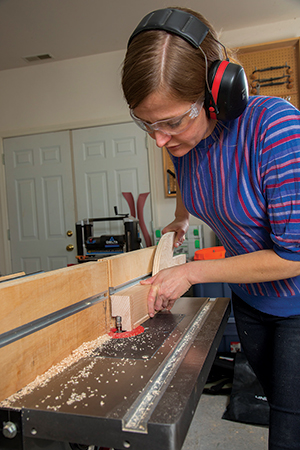
After they’re done, mark your router table’s fence so you’ll know where to start and stop the groove cuts in the end pieces without cutting too far. Make these “drop cut” style.
Sculpting the Top Tray Handles
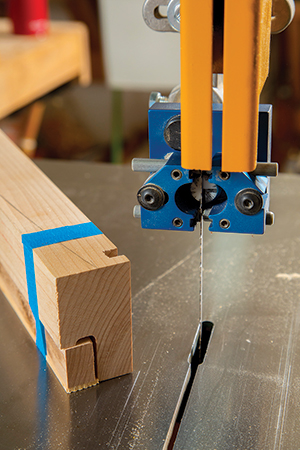
If you take a close look at the Drawings, you’ll see that the handles on the top tray aren’t separate pieces — they’re actually recesses that are cut right into the faces of the tray ends! This is why we didn’t cut the arched faces a few steps ago: to make these handles, the parts begin with flat faces. Begin the process by cutting a 7/8″ x 1″ rabbet along the face of the tray ends with two cuts at your table saw. Once this big piece of waste is removed, install a 1/4″-radius dish-carving bit with a shank-mounted bearing in your router table, and set the fence so the bit will follow the back face of the rabbet with the tray ends in their “upright” position. (If you don’t have this bit, a 1/4″ radius core box bit would also work for the operation.)
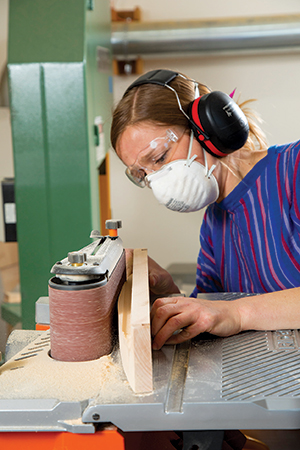
Raise the bit so it cuts slightly higher than the rabbet is tall to form a finger recess at the top. When this milling is finished, you can cut the broad arches into the four tray faces, and here’s a safety tip: tape the square offcuts from the rabbeted areas back into place to support the top tray ends so they won’t wobble or tip when you band-saw the curves. For this operation, a 1/8″ piece of scrap wood replaces the material removed by the saw blade. Cut the arches, and sand the surfaces smooth. I did this work on a benchtop belt sander.
Final Machining Details to Tackle
Set your tray parts aside for now and turn your attention to the rest of the mortises and tenons that remain to be cut. Since you still have the dado blade set up, cut 1/4″-long tenons on the ends of the four top tray support cross bars and the wine bottle holder mount. Dimension these tenons according to the Top and Side View Drawings. Once those were done, I laid out their mortises on the top tray supports by holding the parts in position and scribing around the tenons with my marking knife. Bore those mortises with a 1/4″-diameter Forstner bit in the drill press, and square them up carefully. Then cut 1/2″-long tenons on the ends of the bar cart handles, too, to match their leg mortises. With the mortises done, finish up the long tray supports by cutting and sanding their ends into gentle curves. And while you’re at it, carefully sand the top tray handles to make them smooth and to a thickness at the ends that you prefer.
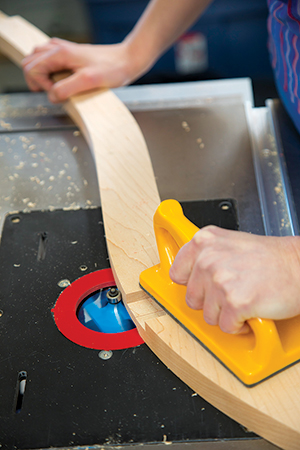
While we’ve taken care of some of this project’s routing steps already, there are still several parts that need their edges shaped before the final glue-up. I used a piloted table edge/handrail bit in my router table to shape the edges of the bar cart handles, ends of the trays and outside faces of the legs. If you do the same, be very careful routing the leg curves using a big profile bit like this, especially in the short-grain areas! Remove only about 1/16″ of material at a time, taking several rounds of passes to remove all the waste.
I switched to a 1/8″ roundover bit to ease the other sharp edges on the cart, but don’t rout the outside edges of the bottom tray or the top tray supports where they will fit into the leg dadoes, or there will be noticeable gaps where the parts come together after assembly. Then go ahead and thoroughly sand the surfaces of the legs, tray components and tray support pieces. I worked through the grits up to 220, using a 1/4-sheet sander and then a round of hand sanding with the grain. Dry-fit the top and bottom trays together, and take inside measurements across the bottom grooves so you can cut plywood panels for the tray bottoms. Sand those smooth as well.
With all of your cart parts now ready, it’ s time to get this project assembled! Start by gluing and clamping the two trays together with their bottoms in place. Glue and clamp the four top tray support cross bars and wine bottle holder mount between the two long top tray supports to form a subassembly.
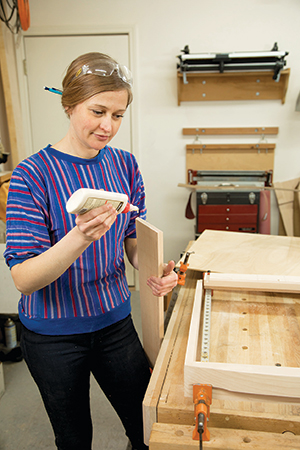
When the clamps come off of the trays and the support assembly, glue the cart together with the handles, tray support and bottom tray in place. After waiting adequate time for the glue to dry, smooth any rough or sharp spots that still remain.
Finishing Up with Water-based Poly
I decided to use spray-on Minwax® Polycrylic™ finish in a satin sheen. This water-based polyurethane satisfied my criterion for color preservation: I didn’t want to use a finish that would eventually turn yellow, in order to keep the maple as blond as possible. However, it ranks about in the middle of the finish options in terms of its water resistance. So, I may decide to use placemats and trivets on my bar cart for extra protection, just in case.
I sprayed on three coats of finish over a three-hour period. Between each coat, I sanded with 320-grit paper to remove any dust nibs or rough grain. Then, I waited a full 24 hours for the finish to cure all the way, before using #0000 steel wool and furniture paste wax to make the wood feel super-smooth. It’s a great buffing step! Just work the wax into the steel wool pad, then apply it in small areas so that you can buff the wax before it dries.
Adding Hardware
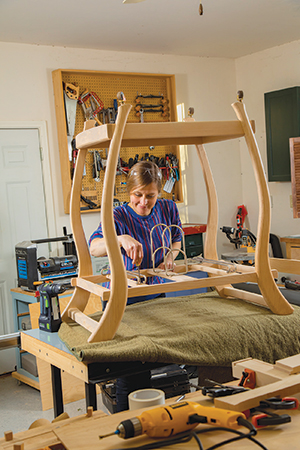
All that’s left to do at this point is install your hardware. Invert the cart on your workbench, so you can attach the metal stemware and wine bottle holders. Place and mark the hardware. Then drill pilot holes for their screws, using a piece of tape to mark your drilling depth. Install the screws.
I glued the caster sleeves into the leg holes with a bit of two-part epoxy for strength. Be careful to not get epoxy inside the sleeves. Once the epoxy cures, pop the wheels into the sleeves. Then you’re ready to load up your cart with all your favorite snacks and drinks. Happy partying!
Hard to Find Hardware
16” Stemware Holder, Satin Nickel #1001878
Double Bottle Rack, Satin Nickel #1001884
Hardwood Casters, Pack of 4 #43616
Rockler Table Edge/Handrail Router Bit – 2-1/4″ Dia. #34525


