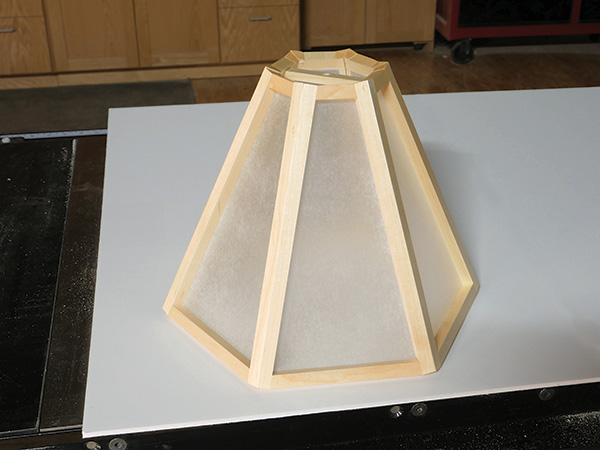
This six-paneled, maple and rice paper lampshade project will test your precision and patience. After experimenting with many different angle combinations for cutting the wooden parts, I was able to put together a list of measurements and a couple of assembly jigs to help improve your success in making a framed shade like mine. Note that the overall height of my shade is intended to complement the size of the box elder lamp Rob made.
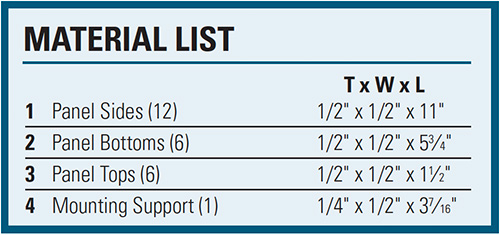
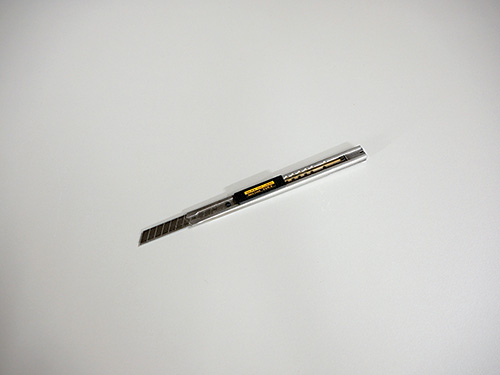
Using a Digital Angle Gauge
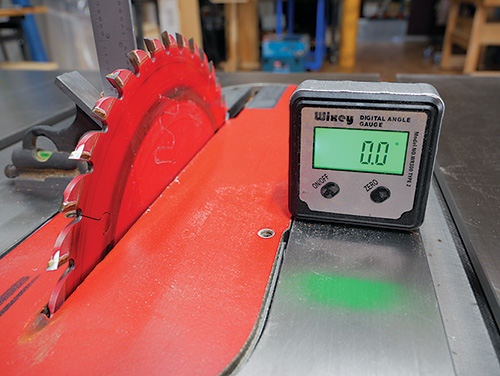
Wixey’s Digital Angle Gauge is a helpful battery-powered accessory for setting blade tilt angles without using a protractor or conventional bevel gauge.

It features an LED readout that reports angle settings to a tenth of a degree. To use the gauge, set its magnetized base against a saw blade and zero out the display.
When you tilt the blade, the Angle Gauge will report its exact tilt as it changes. For this lampshade project’s 29-degree bevels, the gauge’s simple and accurate operation came in very handy!
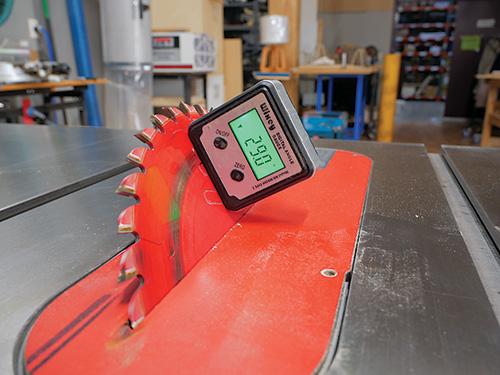
Cutting Panel Sides, Bottoms and Tops
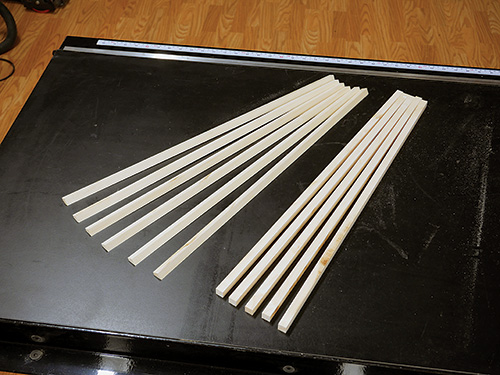
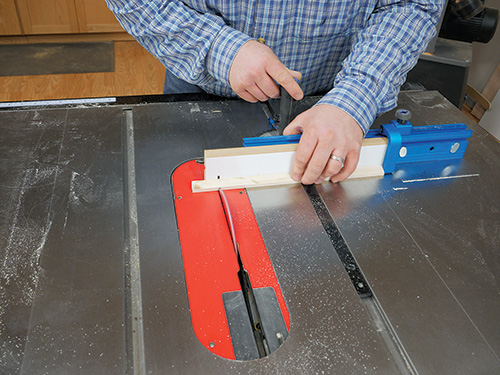
I started by ripping a piece of 1/2″-thick maple stock, measuring 5″ x 24″, into six long strips that would become the 12 side pieces for the shade’s six panels.
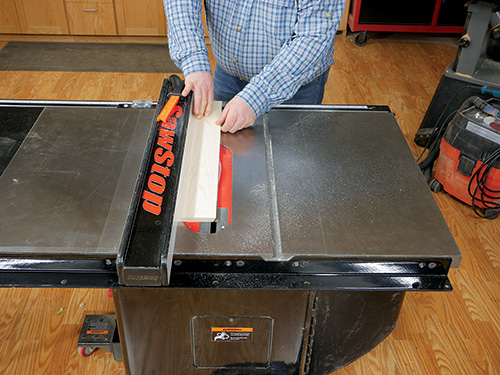
To do that, I tilted my table saw blade carefully to 29 degrees using a Wixey Digital Angle Gauge, and bevel-ripped both long edges of the board.
Returning the saw blade to 90 degrees, I then ripped two 1/2″-wide x 24″-long strips with the bevel cuts on one edge of each. Repeat this process to make four more long strips with one beveled edge and one square edge.
Now take what remains of this piece of stock and rip it into six more 1/2″-wide strips with your blade kept at 90 degrees.
Each of the bevel-edged strips you just made will become two panel side pieces. Using a miter gauge on the table saw, I cut a dozen of these panel sides to 11″ long, carefully squaring up their ends.
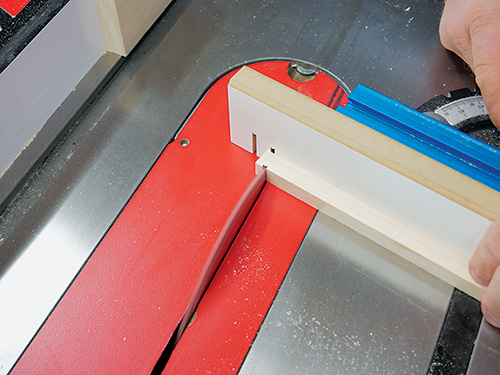
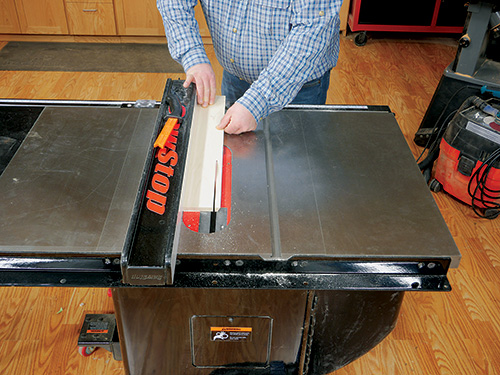
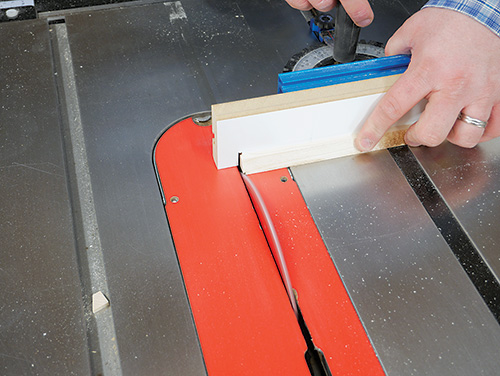
You’ll use the remaining six long strips with square edges to make the panel top and bottom pieces. To do this, swivel your miter gauge to 12 degrees and cut six pieces for the panel bottoms to 5″ long. Cut six pieces for the panel tops to 1-1/2″ long.
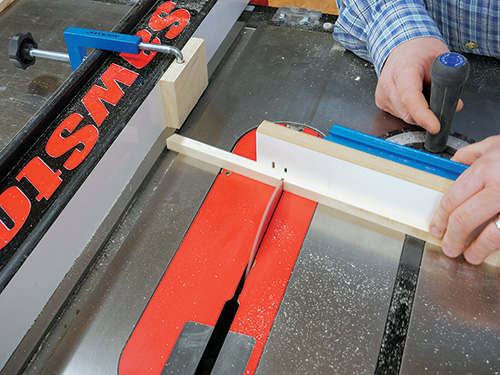
Use a stop block clamped to your saw’s rip fence to control the length of these long and short parts.
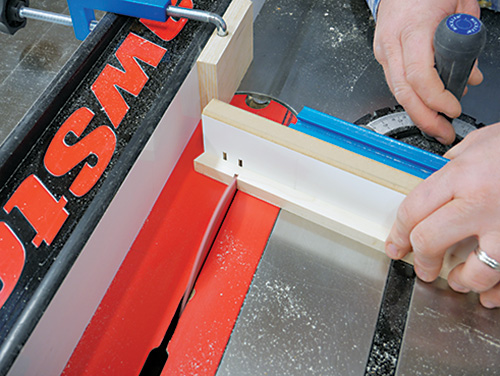
And when you’re orienting the angled cuts on the ends of each bottom or top workpiece, cut them so the angles are facing one another. Finish sand all the wood parts you’ve made so far.
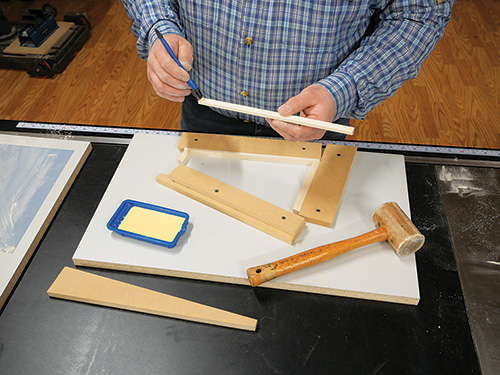
Panel Gluing and Clamping Jig

Gluing and clamping these side, top and bottom pieces together to form panels will be a lot easier if you use a simple jig. It consists of three fixed pieces of 1/2″ MDF that will form an outer frame around the panel when you assemble it. A wedged piece slides along one of the jig’s frame pieces to provide clamping pressure. I used a large piece of melamine as the base for my jig, because glue won’t stick to it. Cut three 2″-wide pieces of MDF for the jig frame parts. Bevel one edge of one piece to 29 degrees, and crosscut it 11″ long. Fasten this piece to the jig base with screws so its square edge is flush to one of the base’s long edges. Orient its beveled edge down so it will press a panel side down and flat when in use. Now miter cut the ends of a second MDF frame piece to 12 degrees, and make it 8-7/8″ long. Keep its long edges square.
Attach this frame piece to the jig with screws so one of its angled ends aligns with the same edge of the jig base as the first frame piece did and so it forms an angle with the first frame piece. The third frame piece I attached was the wedged clamping side. I first beveled the edge of this MDF frame piece to 29 degrees, then split the workpiece across its diagonal with the blade at 90 degrees to form two wedges.
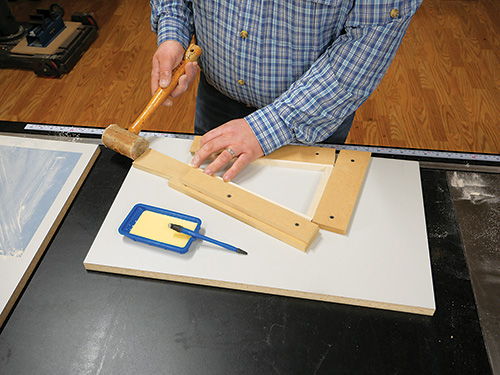
Attach the wedge without the bevel to the jig base so the other wedge (with the beveled edge) can slide along it to provide tension against the panel parts as you glue them up. Cut and screw a cleat over the fixed wedge to hold down the sliding wedge during clamping. Then use your jig to glue and clamp two side pieces, a top and bottom to form each of the six panels. When you install the maple parts in the jig, face the bevels on the panel side pieces so they engage the bevels on the jig’s side and wedge. Gently tap the wedge into place.
Second Jig Combines Panels into a Shade
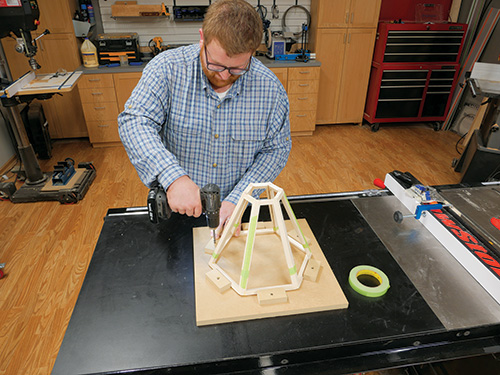
Once the glue dried on my shade’s six panels, I created another quick jig from MDF that would be used to glue the panels together in an upright position. To arrange the jig’s six blocking pieces into a hexagon shape, I simply taped the panel frames together temporarily, butted the blocks against them and attached the blocks to the jig base with screws. I cut a shallow bevel along the inside edge of each block to improve its hold-down ability.
Ready to Install Rice Paper
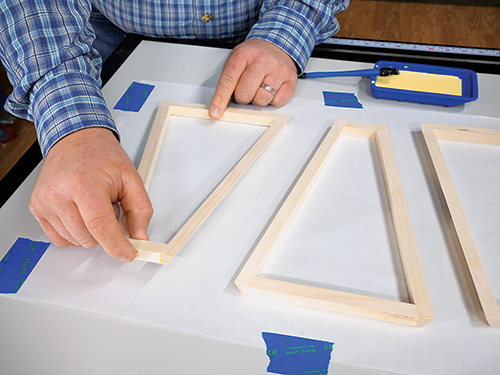
The best way to adhere the rice paper to the panels, I learned, is to use a mixture of wood glue and water thinned to the consistency of white school glue. I brushed glue onto the narrower (inner) face of each panel, making sure to not get any glue on the frame edges.
I then carefully set the panel down onto flattened rice paper I had taped to a larger melamine surface, making sure there were no ripples in the paper. I found it easiest to place the bottom down first and then gently set the top down.
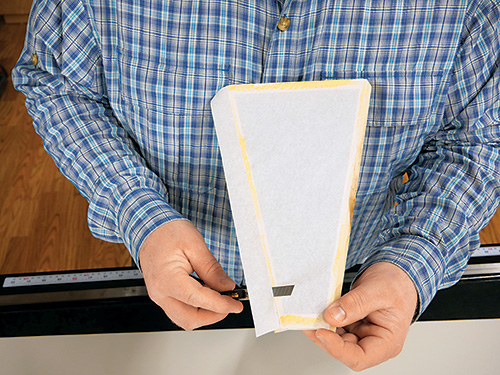
When gluing the panels to the paper, make sure they don’t sit too long, or the glue could soak through to your work surface. As soon as the glue tacks up, trim the rice paper overly large and turn the panels paper-side up. Allow the glue to dry for a few more minutes, then trim off the rest of the extra paper flush to the wood edges.
Final Assembly, Finishing and Hanging
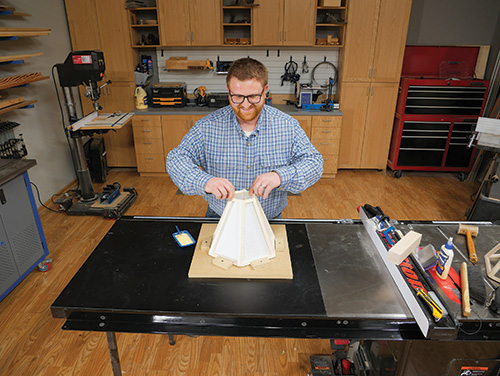
When the paper joints are fully dry, you can proceed to glue the six frames together along their beveled edges, using the upright clamping jig and blocking to align and hold the parts in place. A second set of hands can be helpful for this step! Adjust the joints carefully as you position the six frames on the jig, and don’t overtighten the blocking pieces in case you want to make slight adjustments before the glue sets. After the glue on my lampshade frame joints dried overnight, but before I did any touch-up sanding, I sprayed a very light coat of aerosol lacquer to the inside and outside of the shade. I did this to help prevent any sanding dust from attaching to the rice paper. When that dries, sand the frame where you need to, and touch up any bare wood with more lacquer.

Every lampshade needs to have a support to hang from. For that, I used a simple 1/4″ x 1/2″ strip of maple with 21-degree bevels cut on each end. Drilling a slightly larger hole than the threaded post on Rob’s lamp harp, I was able to make a simple yet effective support for hanging it and wrapping up this project.
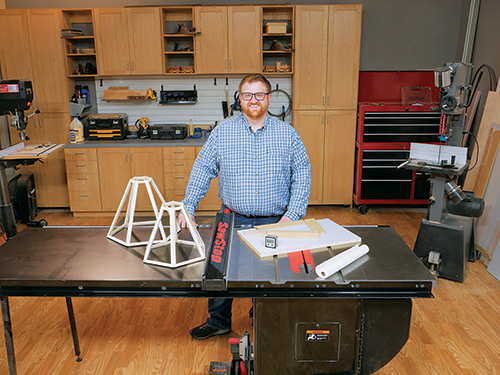
Nick Brady is a relatively new builder and project designer in Rockler’s shop at company headquarters, but he’s been a hobbyist woodworker for a long time and formerly was a middle-school band teacher. This lampshade project proved to be a bit of a mathematical brainteaser, but Nick says he enjoyed the challenge it presented!


