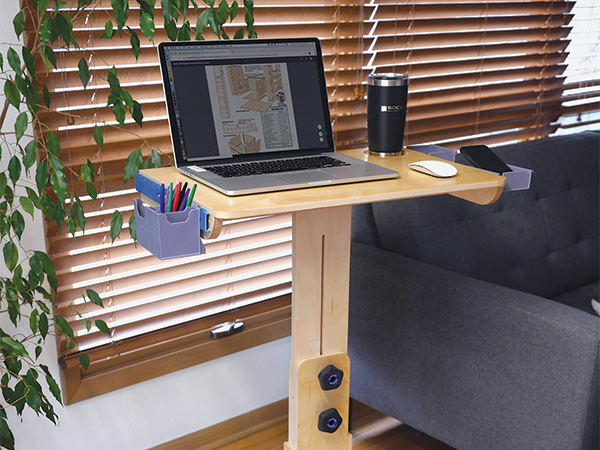
In an effort to keep people healthy and safe last spring, most of us were spending more time at home. This was definitely true at my house, and one of the side effects was that between my wife and I working and our kids doing school from home, we found it a lot more challenging to find separate workspaces. My solution was to build an adjustable-height mobile desk that could be used in a variety of ways and fit just about anywhere. Once the plans were ready, I built mine in about a day. It’s the perfect size to park a laptop computer, prop up a tablet, work on crafts or even enjoy a meal while binge-watching a favorite TV series.
Design and Material Choices
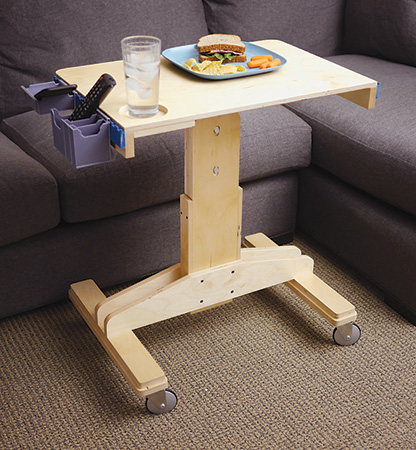
My intent was to make this desk easy to build from materials that are readily available and relatively inexpensive. It’s made from 1/2″- and 3/4″-thick Baltic birch plywood. I’m providing Plywood Cutting Diagrams in the drawings that show you how to cut all the parts from three 24″ x 30″ pieces of plywood.
The range of desk heights is determined by a few factors, including the lengths of the adjustable post, base post and post slot as well as the size of the casters. The dimensions I’m providing in the Material List make the lowest desk height setting roughly 27-1/2″, which is perfect for sitting on a couch. The highest height setting is 37-1/4″, which works well as the standing height for my wife and daughter. It would be better for my son and me if the desk could extend a few inches higher, but that would change the lowest setting, which was more important for our family.
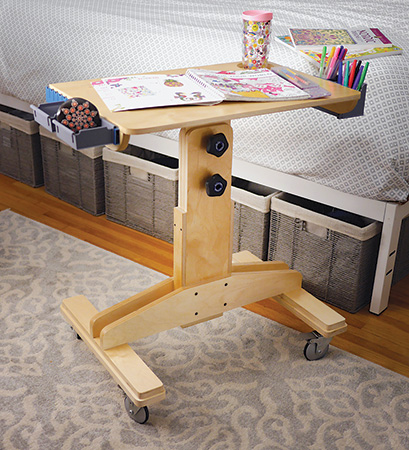
Of course, you can change the dimensions of the above-mentioned components to influence the range of heights that better suit your needs. If you choose to use different-sized casters than I did, be sure they feature brakes for at least two of the casters. If none of the casters have brakes, you may find yourself unintentionally pushing the desk as you work and slowly chasing it around the house.
Cutting the Parts
Use the Material List and Drawings to lay out and cut all of the parts. Most of the cuts you’ll need to make are straight and can be done easily on a table saw or circular saw. The tapers and various curves on the base legs, top side rails and base posts can be cut with a jigsaw or band saw. In a pinch, you could make all of the cuts with only a jigsaw. It’s easiest to cut the cup holder hole with a drill press and 3-3/4″ hole saw, but a jigsaw will also do the job.
Forming the Slot and Bolt Holes
While I experimented with a few mechanism options to adjust the desk height, I decided to keep it simple and go with a slotted post and a couple knobs to secure it in the base. The downside of this mechanism is that it leaves a slight risk of the desk dropping if the knobs loosen.
The top half of the desk is so lightweight that it hasn’t been a concern for me. But if you have young children at home that might loosen these knobs when you’re not there to support the desktop, then I advise adding safeguards of some sort, such as drilling locking pin holes at commonly used heights or replacing the knobs with hex nuts that can’t be loosened by hand.
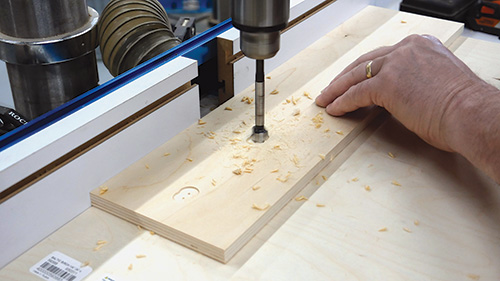
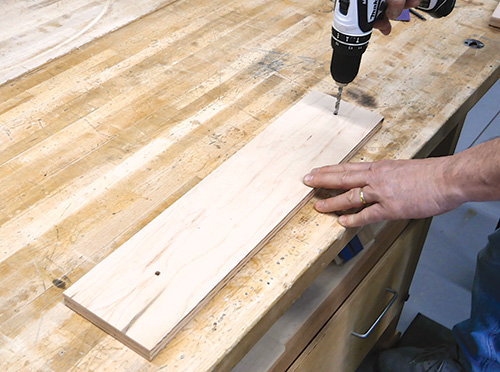
Drill 5/16″-diameter holes through the adjustable post at each end of where the slot will be located. The Adjustable Post drawing on the next page provides these locations.
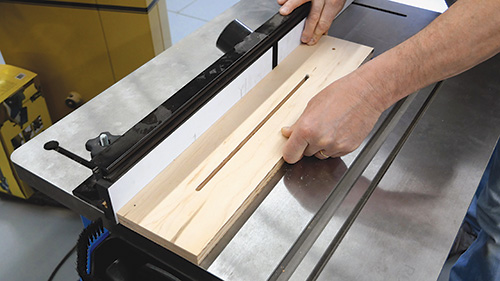
Then rout a 5/16″-wide slot connecting the two end holes. If you don’t have a router table, you could also use a jigsaw or a handheld router guided against a straightedge to cut this slot instead.
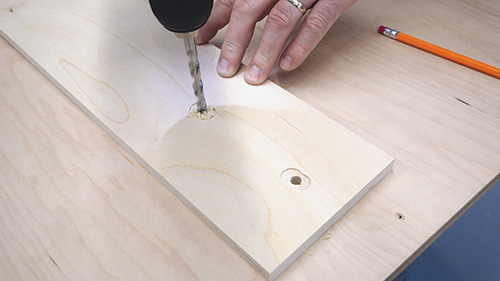
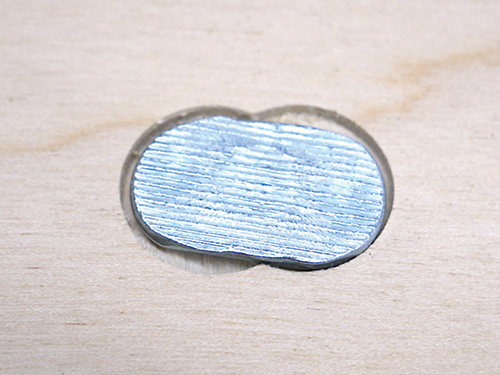
The knobs thread onto T-bolts. I cut recesses in the back of the base post to capture the heads of the T-bolts and prevent them from spinning freely. To do this, use a 1/2″-diameter Forstner bit to drill two 1/16″-deep overlapping holes. Then, drill a 5/16″-diameter hole through the center of these recesses.
Assembling the Desk
Round over all of the sharp edges and smooth the part surfaces with a sander and 120- or 150-grit sandpaper. Then assemble the desk parts with wood glue and #8 x 1-1/4″ screws, following the Exploded View drawing as a guide. Drill countersunk pilot holes for the screws to recess their heads. Start with the base parts, using the adjustable post as a spacer between the base posts when attaching the base post sides. There should be slight friction between these components, but the adjustable post should still slide freely inside the base assembly. Next, assemble the top parts of the desk and attach them to the adjustable post. I didn’t use screws to install the cup holder base on the top. Instead, I just glued and clamped it to the underside of the top.
Apply two coats of water-based polyurethane or the finish of your choice. This desk would also look nice painted, but I would not paint the adjustable post and inside faces of the base posts, because their painted surfaces would likely stick together and impede their ability to slide past one another easily.
After the final coat of finish has cured, attach the four casters to the bottom feet with panhead screws that are no more than 1-1/4″ long, to prevent the pointed tips from breaking through the top feet. I mounted the two locking casters on the front side of my desk so the brake levers are easy to access.
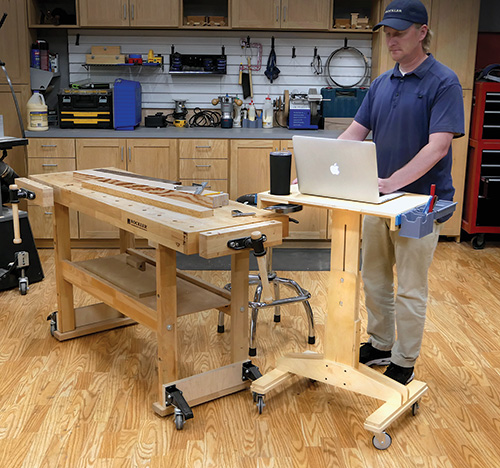
Finally, slide the adjustable post assembly down into place. Install the T-bolts in their holes in the base and through the post slot, seating their heads in the recesses. Secure the bolts with washers and star knobs, then raise the desktop to whatever height you need and tighten the knobs.
This project has worked better than expected around our house. Now the problem is deciding who gets to use it. I just might need to make another one…
Click Here to Download the Drawings and Materials List.
Hard-to-Find Hardware:
1/2″ Baltic Birch Plywood, 24″W x 30″L (1) #63446
3/4″ Baltic Birch Plywood, 24″W x 30″L (2) #63453
2-1/2″ 1/4-20 T-Bolt, 5 Pack (1) #37295
Rockler Easy-to-Grip 5-Star Knob, Female Threading (2) #58085
3″ Aluminum Caster with Polyethylene Tread (2) #64837
3″ Aluminum Caster with Polyethylene Tread and Brake (2) #60876
Wall Brackets for Rockler Lock-Align Drawer Organizer System (1) #52058
Bins for Rockler Lock-Align Drawer Organizer System (1) #53186
Rockler Utility Caddy (1) #52562


