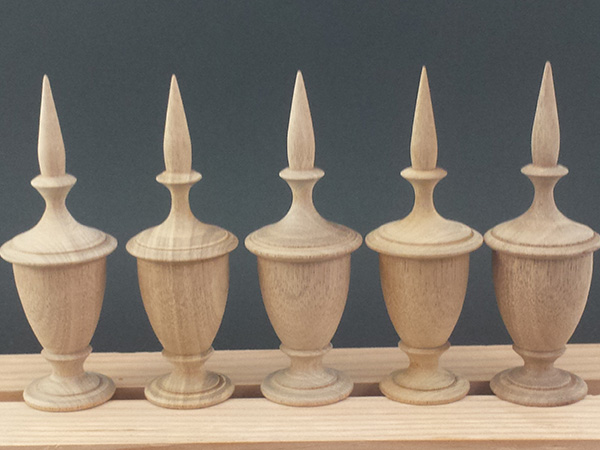
This article, “Pro Tips for Turning Duplicates,” is from the pages of American Woodturner and is brought to you by the America Association of Woodturners (AAW) in partnership with Woodworker’s Journal.
Do you break out in a sweat if you have to make two or more turnings the same? Have you turned down project requests because you don’t know how to turn duplicates or copy a broken spindle? If so, I will take the mystery out of the process by introducing you to story sticks, the measuring and layout tools used, and the “point-to-point” turning process. With the right knowledge, you can take the stress out of turning duplicates, whether it is one or 100 identical parts.
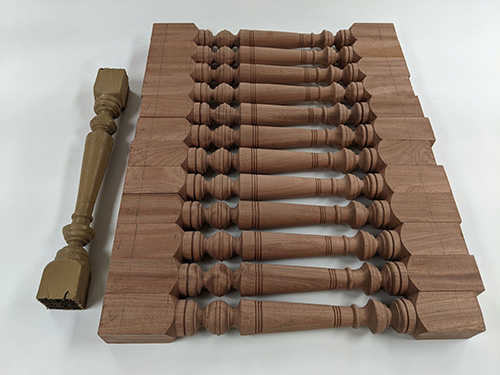
Why turn duplicates? Maybe you need one duplicate turning to replace a broken item such as a baluster or chair stringer. Or you may have a project that requires more than one identical part such as table legs. Turning duplicates is a good way to develop new skills, it’s fun, and you can make money in woodturning if you know how to do it.
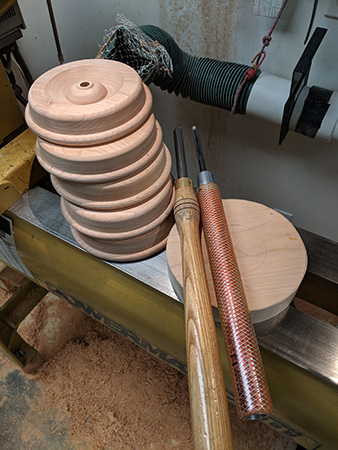
notice slight differences
in diameters, say on a
set of balusters or table
legs. However, variances
in vertical distances stick out like a sore thumb.
Turning duplicates is easy if you break down the steps and keep it simple. This begins with an understanding that there are ultimately only three shapes in woodturning: straight (flat), convex (bead), and concave (cove). These shapes are combined to create more complex forms. Duplicate turning can be applied to both spindle and crossgrain work.
Story Sticks/Templates
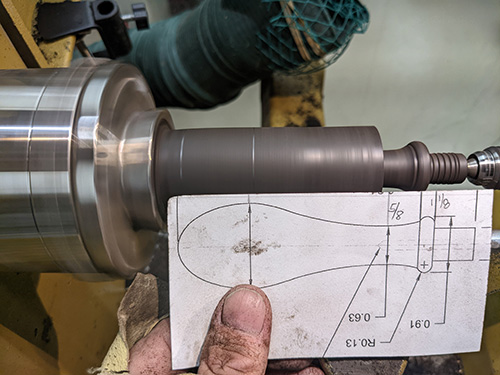
Story sticks, or templates, are necessary in turning duplicates. I make them out of everything from paper, cardboard, chipboard, plastic laminate, wood sticks, laser-cut plastic, and sheet metal. I determine the material by the size of the job. Is it a one-off project? Do you need ten or 100 pieces?
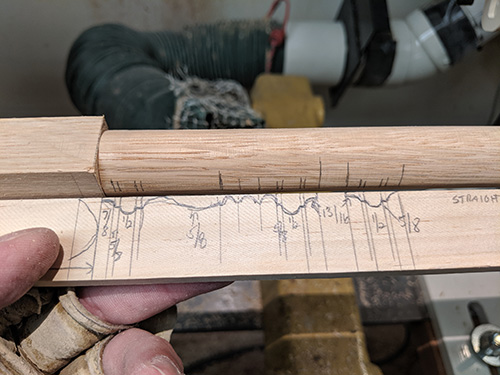
The higher the volume, the harder the template material. If it is a long spindle project like a porch column, I will make a printout of the full post, plus small templates for detailed areas.
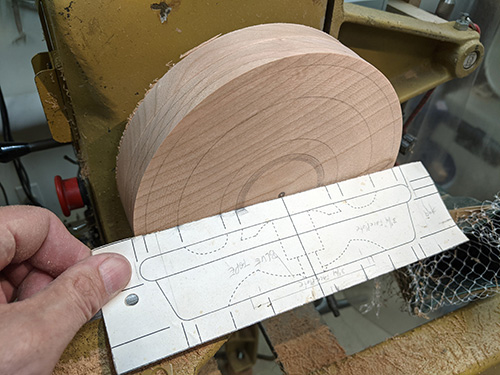
Be aware of scale issues when printing out templates. I recently printed out the computer-aided design (CAD) drawing of a screwdriver handle that was supposed to be 4″ (10cm) long. But when I measured the handle on the printout, it measured about 1/8″ (3mm) short.
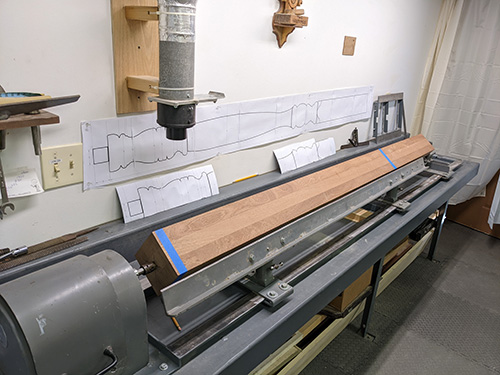
So I did the math, scaled up the drawing on a photocopier, and reprinted it at the correct (full) scale. Always measure your story sticks before you start turning. As the old saying goes, “Measure twice, cut once.”
Design
Simpler is often better when you are creating a design that requires duplicates. If you examine most balusters, you will find that there are only two to four different diameters. The fillet, or flat, transitions between details are often all the same diameter. Beads and other convex shapes on one spindle often have the same diameter. Coves of course will represent the smallest diameter. Note: I generally turn coves last to keep as much supportive material in the blank as possible until the very end.
When it comes to designing with a CAD system, just because you can doesn’t mean you should. I was contacted by a local custom furniture maker. He had an initial design of some bed posts laid out on a CAD system. The posts featured about fifteen different diameters! After I consulted with the furniture maker, he redesigned the posts with only four different diameters. The new design was more pleasing to the eye and easier for me to turn in multiples, resulting in lower costs and a very happy customer.
Be aware that our eyes don’t tend to notice slight differences in diameters, say on a set of balusters or table legs. However, variances in vertical distances stick out like a sore thumb. That points to the importance of using a good story stick to position transitions consistently from one spindle to the next.
Google images is a great resource for design ideas. Also, there are some wonderful books on woodturning design and architectural shapes. If you are looking for inspiration and design ideas, I highly recommend Classic Forms, by Stuart E. Dyas (Stobart Davies Ltd, 2008), and Turned Bowl Design, by Richard Raffan (Taunton Press, 1987).
One last thing to consider when designing a project for a customer or to sell is to think about how you will pack and ship the item. Will it fit easily in a typical post office box? Can you reduce the length to fit in a box with a known size, rather than having to potentially pay more for a longer box? As a production turner, I care about shipping costs for my customers.
Layout Tools
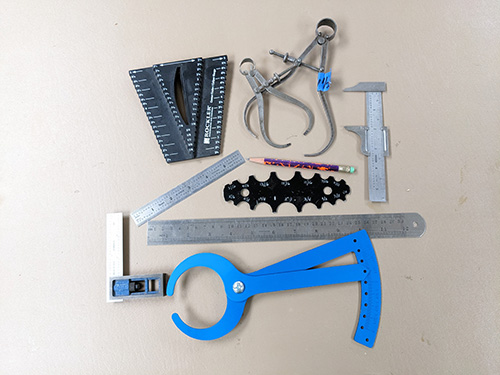
Accurate layout of design elements is an important early step in making duplicates at the lathe. I use a variety of tools when laying out my design and making story sticks. The story stick material is selected for the job at hand. It could be paper, cardboard, wood, or plastic. Rulers and tape measures are used to lay out vertical, or long, dimensions. A variety of calipers and other gauges are used to measure diameters. I use a small engineering square to mark key transition points on the story stick and a triangular file to cut notches for a pencil point to lay in, which improves accuracy.
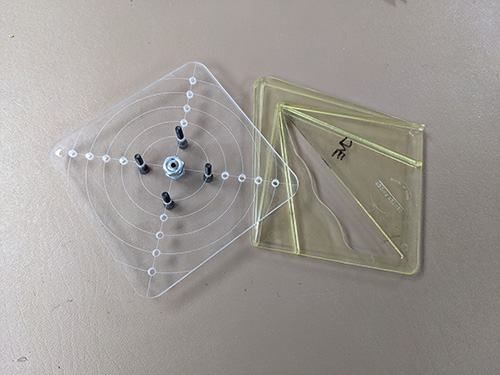
I also use two types of center finders. If I am duplicating just a few spindles, a plastic center finder or a ruler marks the ends of the blanks by spanning from corner to corner. But if I have many pieces to turn, my shop-made center drill gauge is used to quickly locate the center for drilling a 1/8″ hole to be used with a friction safety drive.
Drives
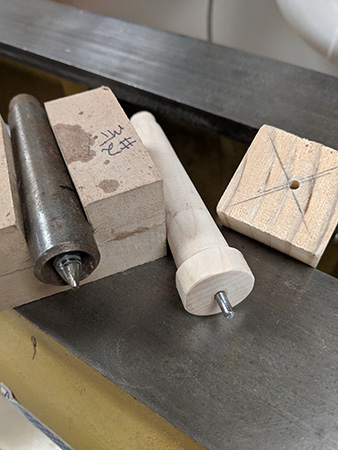
An old-fashioned cup center is my preferred drive center, as it allows the blank to stop spinning if I get a catch or cut too aggressively when roughing a square blank to round. If I’m turning several identical parts, I use a shop-made friction safety drive. It is made of wood and has a short metal pin made from a nail that fits into a centered, pre-drilled hole in the end of the blank.
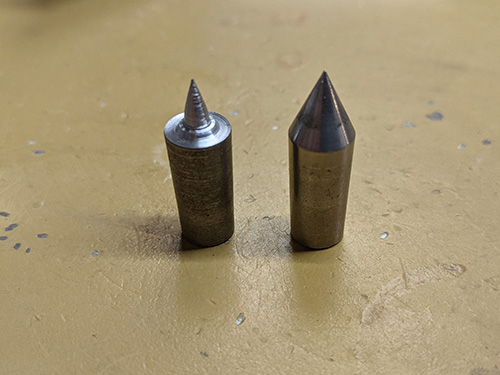
Live rotating centers with interchangeable tips are preferred at the tailstock end. I modify the tips to be smaller in diameter for thin projects, as the standard 60-degree tip can split your turning blank.
Toolrests and Steady Rests
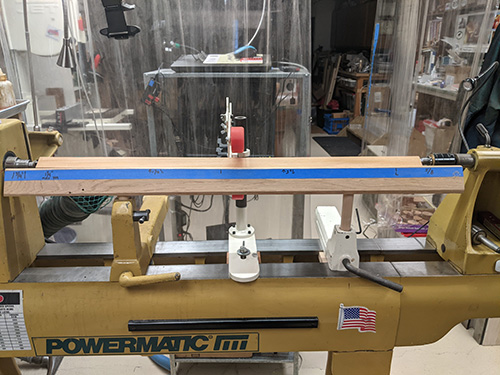
If you are turning long projects such as balusters, a long toolrest is very helpful. A long toolrest will require having a second banjo for your lathe and can be made from metal or a strong wood such as oak. I’ve used wood toolrests several times when I had a shortrun job of long spindles. The main advantage of having a second banjo and long toolrest is that you won’t have to move the toolrest as often (or at all). Another advantage is that when using a steady rest, you won’t have to remove everything from the lathe to move the banjo to the other side of the steady rest and then remount everything.
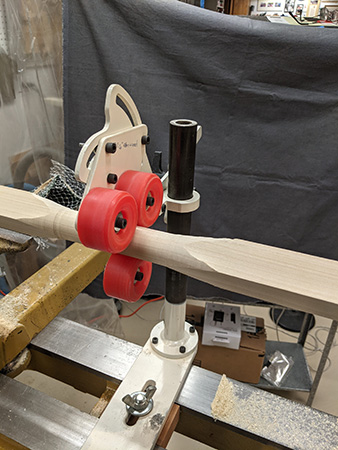
Depending on the projects you have made, one lathe accessory you may not own is a steady rest. Steadies are used when turning balusters, porch columns, or anything long and thin that could flex during turning. Recently, I had a job of turning 30″ (76cm) balusters out of 3/4″ (19mm) square white oak. Needless to say, without a steady rest, it would have been like turning a jump rope! Steady rests can be purchased or homemade.
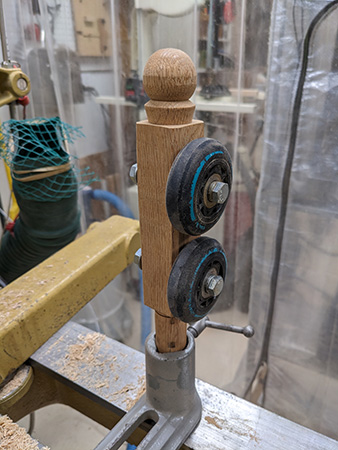
I’ve used two rollerblade wheels mounted on a post that mounts in a spare banjo. Some turners use a simple stick with a V-notch. Remember, you are just using a steady rest to prevent whip and flex. It just has to capture the blank lightly.
Duplicate a Stool Leg
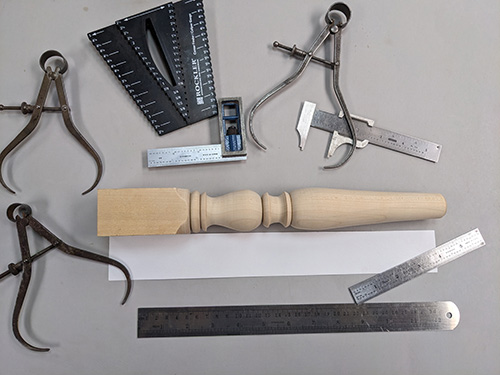
Let’s look at duplicating a stool leg as an example. I find that a point-to-point approach helps when making duplicates because it breaks the project down into manageable steps. When you simplify the sections of a turning, repeatability gets easier, and the overall project becomes less daunting. If I were duplicating a stool leg with a square top section, I would follow this process:
Preparation
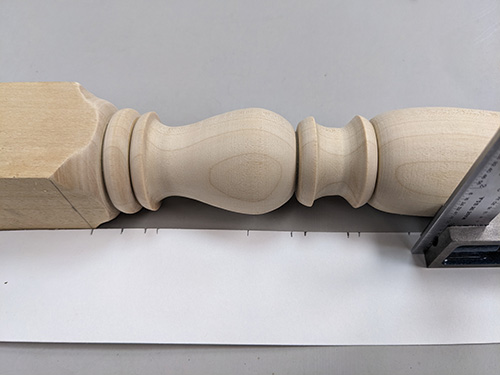
1. Select the material for a story stick, mill your stock to size, and grab your layout tools.
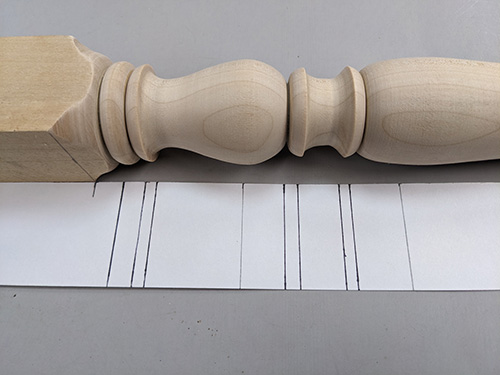
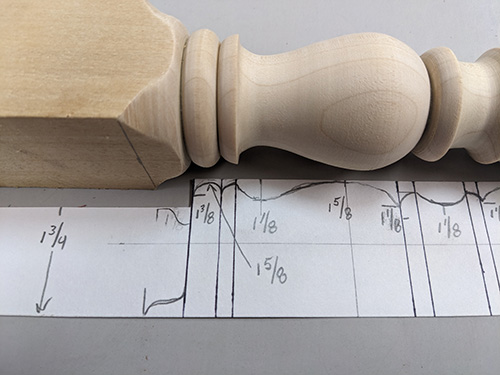
2. Using a square, locate and draw all the transitions on the story stick. Then mark the diameters of each detail on the story stick, sketching the design from one transition point to the next.
3. I use multiple calipers, each set to a different diameter. To make it easy to identify which caliper to use where, mark each one with a piece of tape.
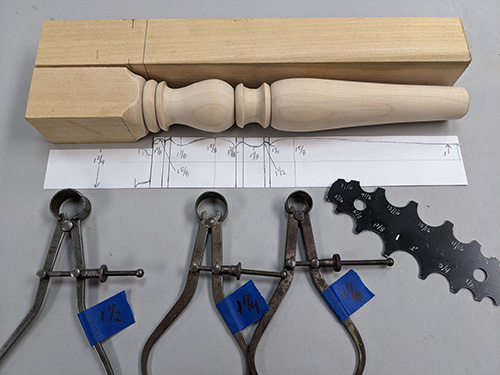
At this time, I usually draw the layout lines on the spindle blank where the elements transition from square to round (called a pommel). Now you have your blank, story stick template, and calipers all set, so you can start turning.
Point-to-point Turning
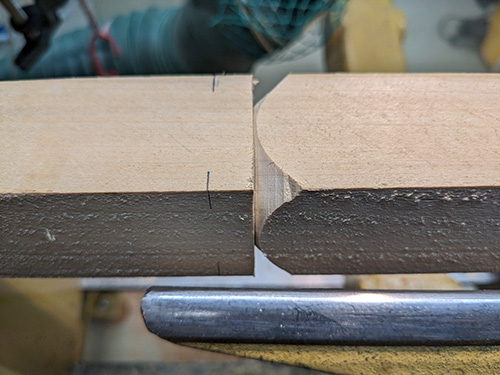
1. Using a skew chisel, work your way in from the waste side of the pommel (tailstock side) until you have completely cut around the blank. Then using a spindle roughing gouge, turn the blank round and size it to the maximum diameter needed.
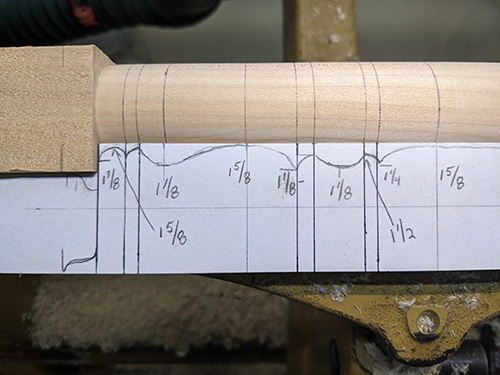
At this time, use your story stick and mark each of the transitions on the blank.
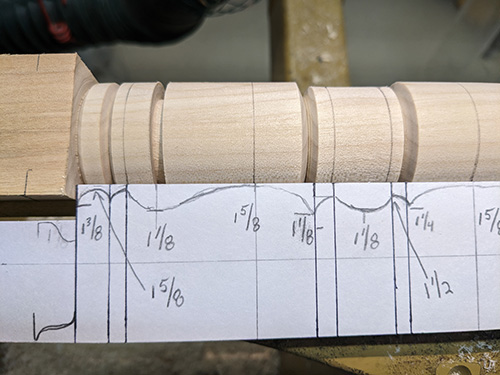
2. Using a parting tool and diameter gauge, establish all of the required diameters on the spindle. I use a skew to make V-cuts between beads and round details.
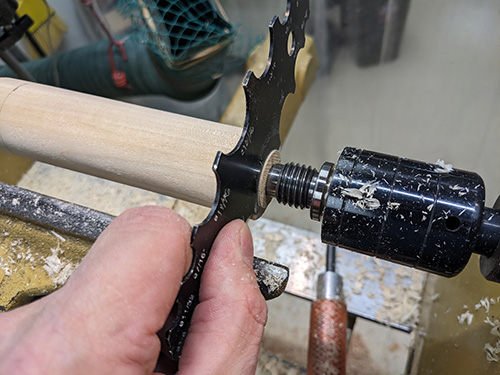
Note that on this design, the top of the cove diameter is smaller than the maximum diameter. I have sized that section and redrawn the two transition lines.
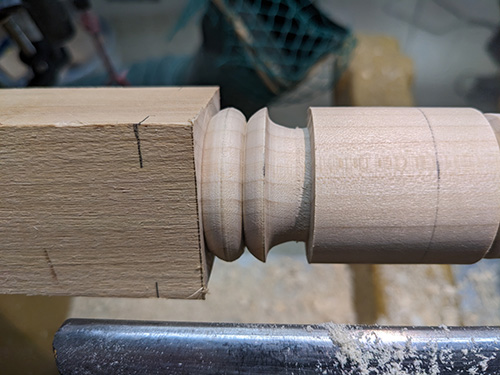
3. Now that the transitions have been marked and the different diameters and V-grooves turned, I now focus on rough-turning the details, going from one point to the next.
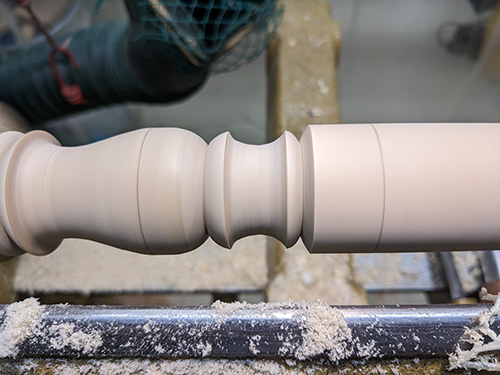
By breaking down the project into little elements of straight, convex, and concave shapes, it becomes easy and much less daunting.
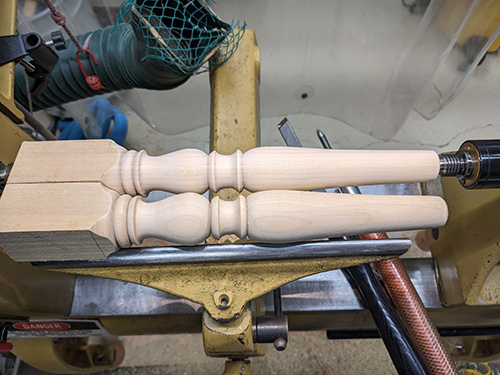
4. Now that the stool leg’s features are rough-turned, begin refining the curves and shapes. Holding the original up for comparison will show where to make minor adjustments. Because this is a stool leg, the last step is to turn a small chamfer at the bottom. This helps to prevent chipping when the stool is slid across the floor.
Summary
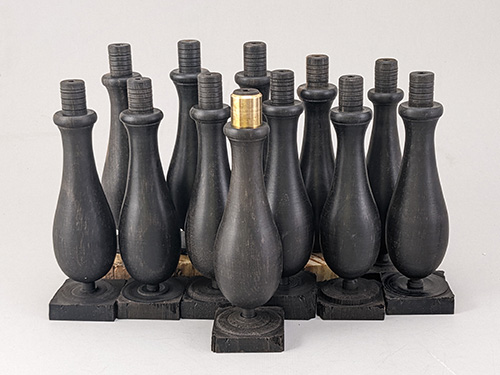
Remember there are only three shapes—straight, convex, and concave. It helps to recall these shapes as you lay out the various elements on a story stick. Mark the transitions and work from the largest diameter to the smallest, using the point-to-point method. You’ll be amazed at how your work production increases as you become familiar with each step by repetition.
With more than 45 years’ experience in custom woodturning, writing, demonstrating (Live and IRD), and teaching, Jim Echter specializes in production turning and makes products for spinners and fiber artists around the world. He is well known for his custom and architectural restoration work. Jim was the founding president of the Finger Lakes Woodturners Association, an AAW chapter. For more, visit www.tcturning.com.


