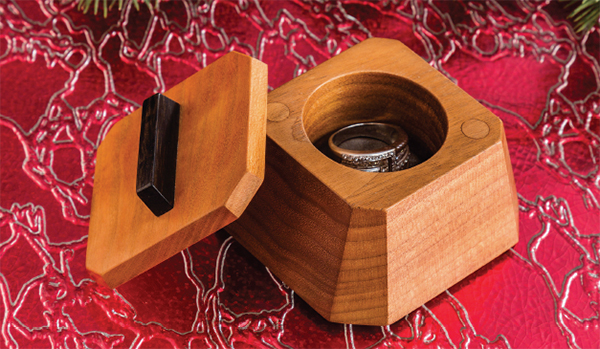
Few gifts are as well-received as those that are handmade. Here’s a handsome and clever keepsake box with a walnut base, a cherry lid and an ebony handle. There’s no latch, hinge or closure holding the lid. Instead, there are hidden magnets embedded in the lid and base and, like magic, the lid “snaps” in place due to magnetic attraction. The design, the varied woods and the leather-covered bottom insert all combine together to create a rich and dramatic piece that’s sure to please.
The construction is simple, but making this box requires a high level of precision. I’m amazed by how as projects get smaller, the required attention to detail seems to go up exponentially! It’s probably because a small goof stands out like a sore thumb on a small project. You can reduce this effect by making sure your machines are well-tuned, and by taking extra time to finely craft the box or boxes you make. Making three of these boxes at once is nearly as efficient as making one. And since machining the stock and drilling the large holes must be done on pieces at least 12″ long or longer (for safety reasons), I suggest you make at least three boxes. You can figure it like this: making one box may take three hours, and making three boxes may take four hours. As the quantity goes up, the time per box goes down. This is because so much of your time is spent on machine setups, not the machining itself. If you make more than one box at a time, be sure to label all the parts as you work so bases, lids and handles don’t get mixed up.
Magnetic Attraction!
Rare-earth magnets are used to hold the lid to the base. These are small but powerful magnets. I balanced the attraction force by using different thickness magnets set at a certain depth. It took a bit of trial and error, but the setup described and shown here works well.
I oriented the embedded magnets so the lid sits on the base only one way. Doing this eliminates the need to be absolutely dead-on perfect in positioning the magnet holes. Here’s how it works: Every permanent magnet has both a north and a south pole. Opposite poles attract; like poles repel. For this project, you don’t need to know which sides of the magnets are north or south, you just need to know the magnets are oriented one pole up in the left magnet holes, and the same pole oriented down in the right magnet holes. I’ll tell you how to set them up in the section on making the lid.
Construction Notes
You’ll need the following tools to make the box: table saw, drill press, band saw, and a stationary belt or a disc sander. You’ll also need three Forstner bits (a 1-5⁄8″, a 5/16″, and a 1/4″) and a 5/16″ plug cutter, a 1/8″ brad point drill bit, and a pair of dowel centers. The diameter of the dowel centers needed depends on the type of dowel centers you use. If your dowel centers are the short type, then you’ll use 5/16″-diameter centers inserted in the base’s plug holes. If your dowel centers are the long type, then you’ll use 1/4″-diameter centers inserted into the base’s magnet holes.
Do not use an orbital sander for finish sanding. The parts are too small for that, and doing so will “crown” the flat surfaces, and destroy the crisp edges. Instead, finish-sand the parts using your stationary belt or disc sander with 120-grit sandpaper, then 180-grit, and then 220-grit. Complete the finish sanding using hard and flat sanding blocks with 240-grit sandpaper, and then 320-grit.
Test your machine setups on scrap wood prior to committing the operations to your workpieces. Also, use extra caution: machining small parts means your hands need to get closer to the cutting tools than when you machine larger pieces.
Making the Base
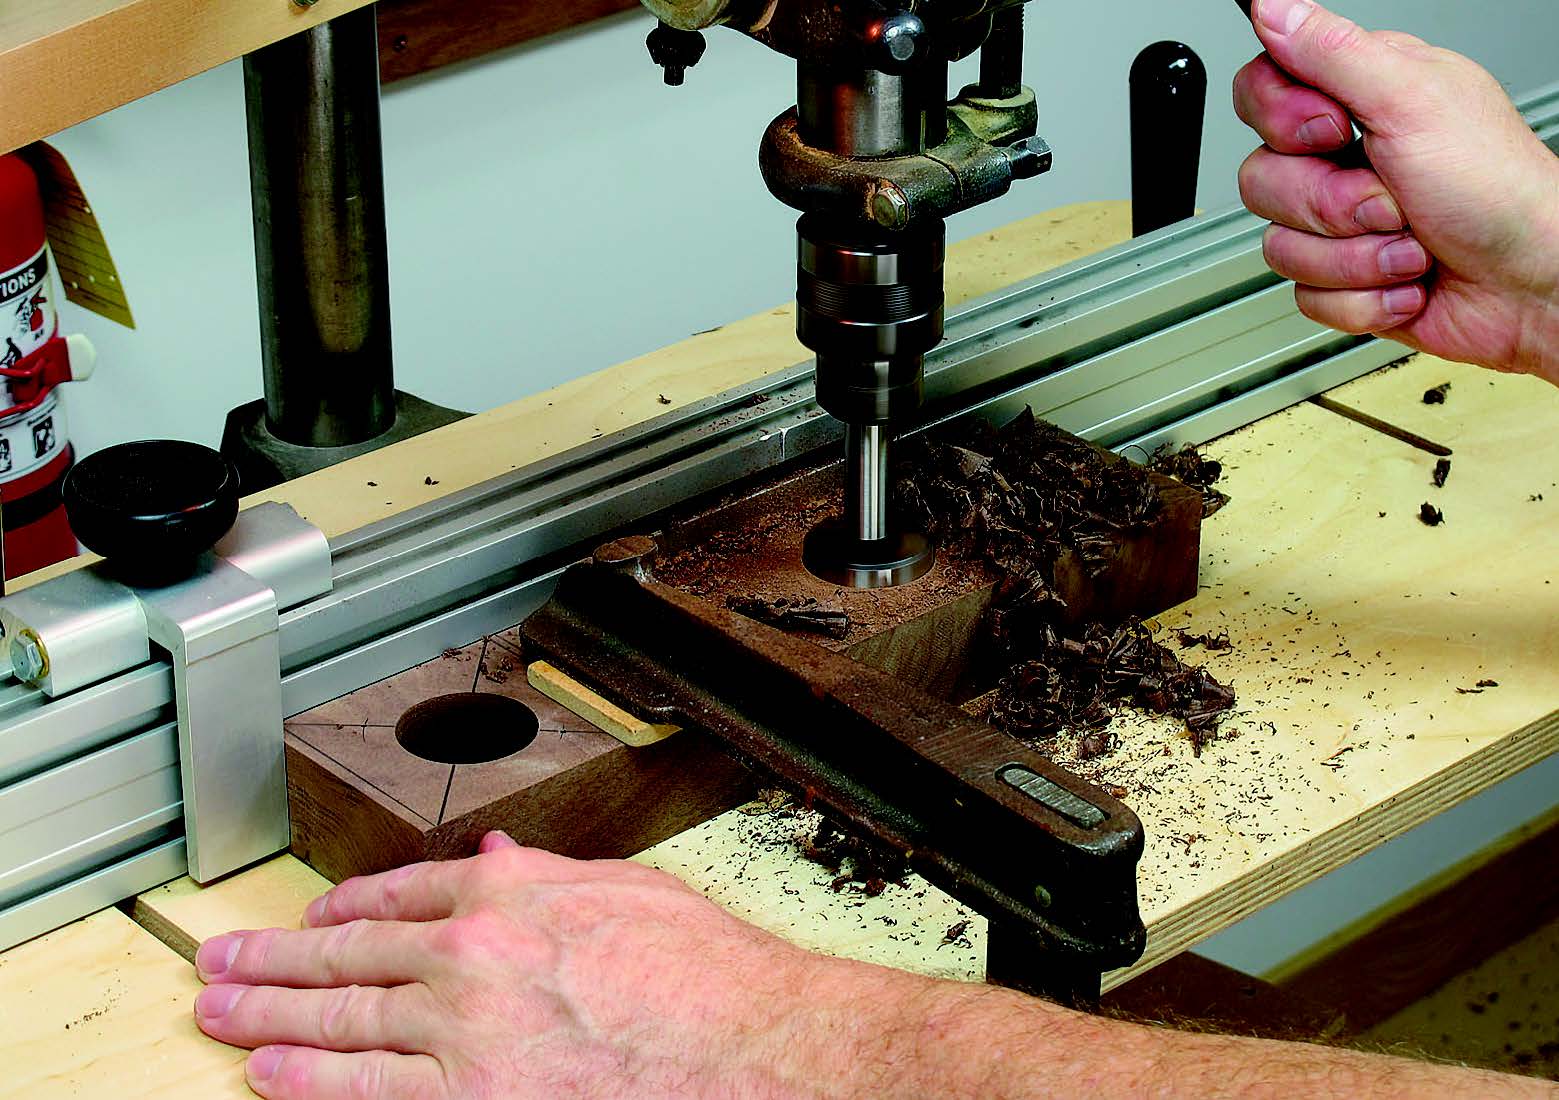
Cut a piece of walnut to 1-1⁄2″ thick x 3″ wide x at least 12″ long. The base (piece 1), or bases, will be cut from this stock. Draw the base layout (see Drawing) on the top of the base piece blank. Using a drill press, drill the 1-5⁄8″-diameter x 1-1⁄4″-deep center hole, or holes if you are making more than one box. Then drill the 5/16″-diameter x 3/32″-deep plug holes, the 1/4″-diameter x 1/8″-deep magnet holes and the 1/8″-diameter bottom hole. That last hole is there so that you can reach in from underneath, using a small diameter tool, and push the bottom insert out, should it ever need to be removed.
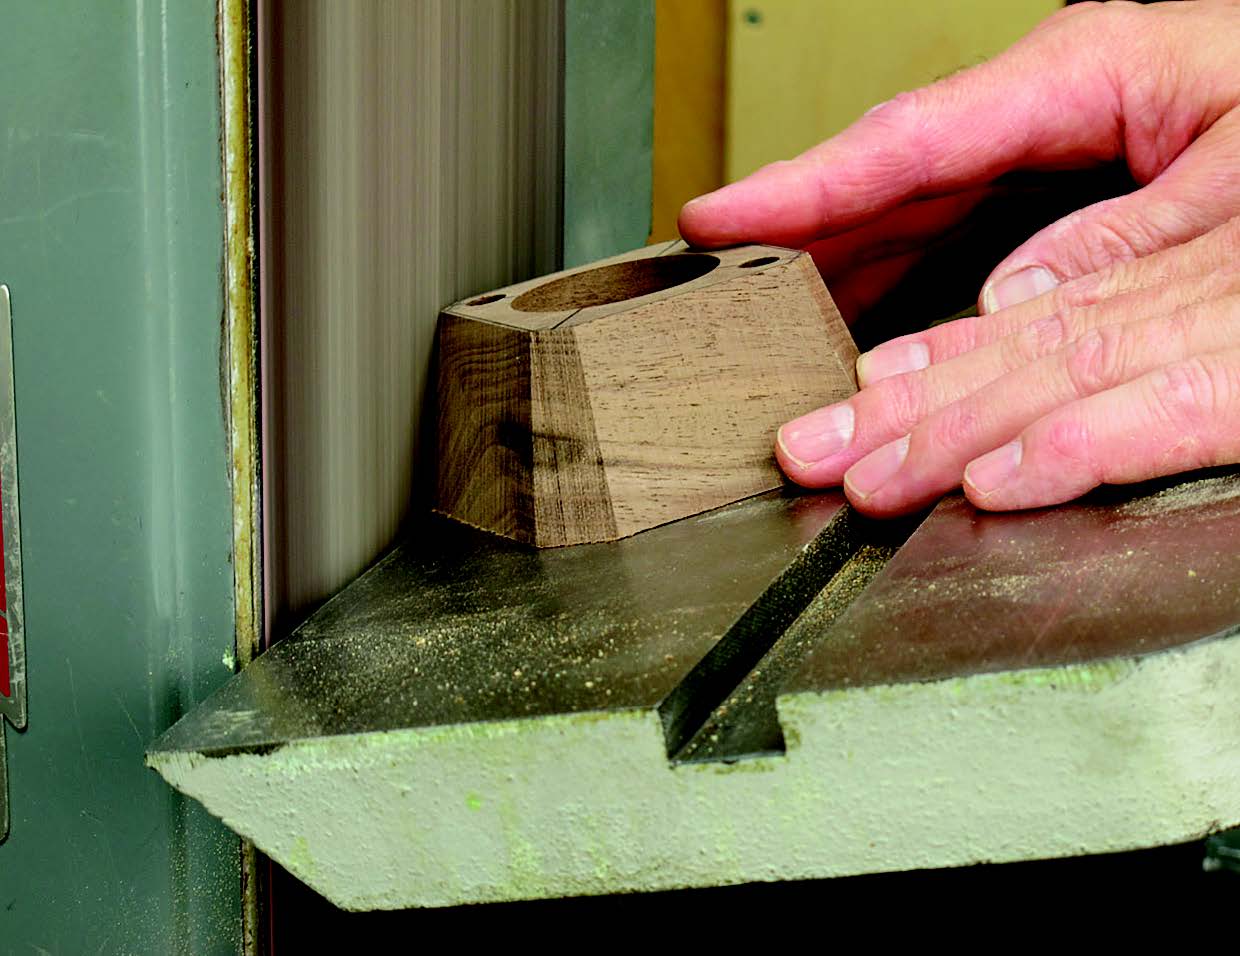
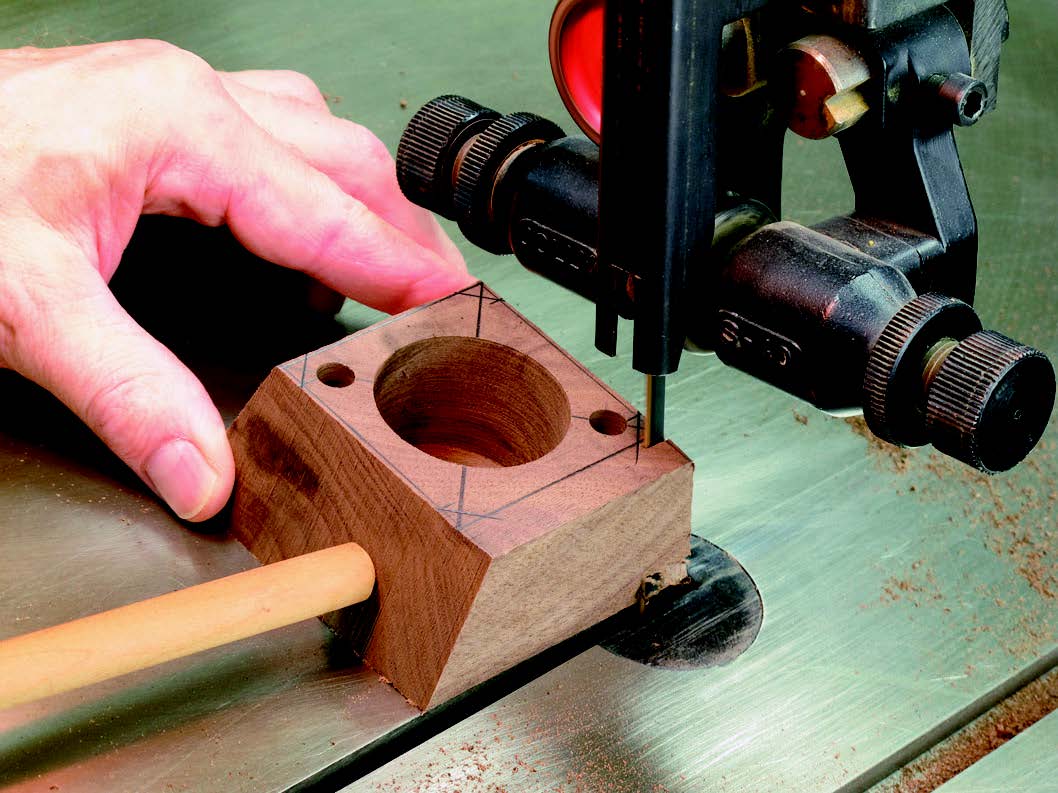
Use a band saw to rough-cut the base shape, and then sand the sides and corners of the base. Sanding with fine grits on a stationary sander will get you extremely close to done, leaving just a bit of hand sanding for later.
Making the Lid
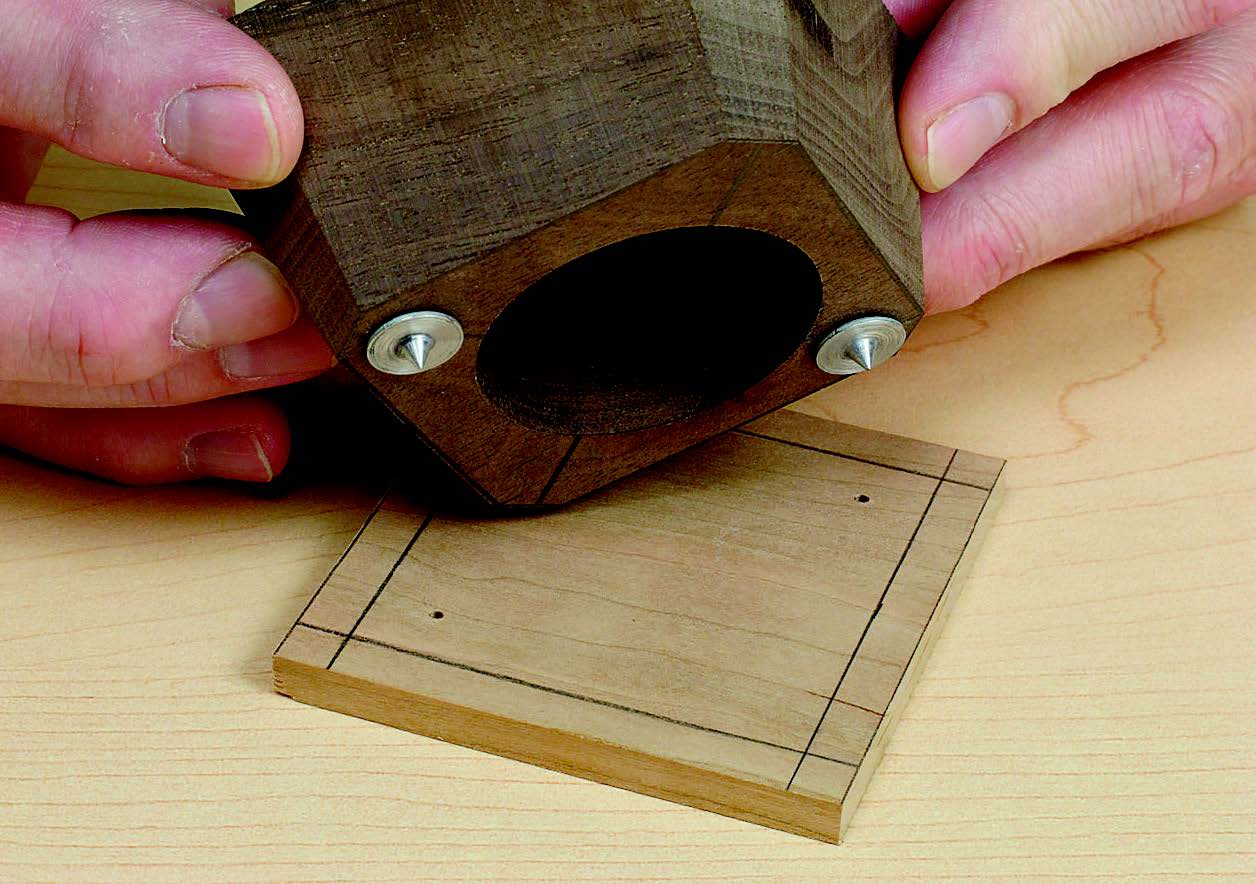
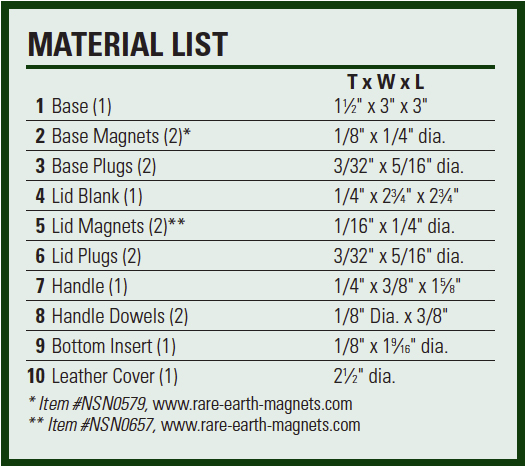
Cut the lid blank (piece 4) to size. It’s initially made oversized so its shape can be traced from the top of the base. Draw a 2-1⁄4″ centered square on the underside of the lid. Insert dowel centers into the plug or magnet holes in the base, and mark the magnet hole locations on the underside of the lid blank. Drill the 5/16″-diameter x 3/32″-deep plug holes in the lid blank, and then the 1/4″-diameter x 1/16″-deep magnet holes.
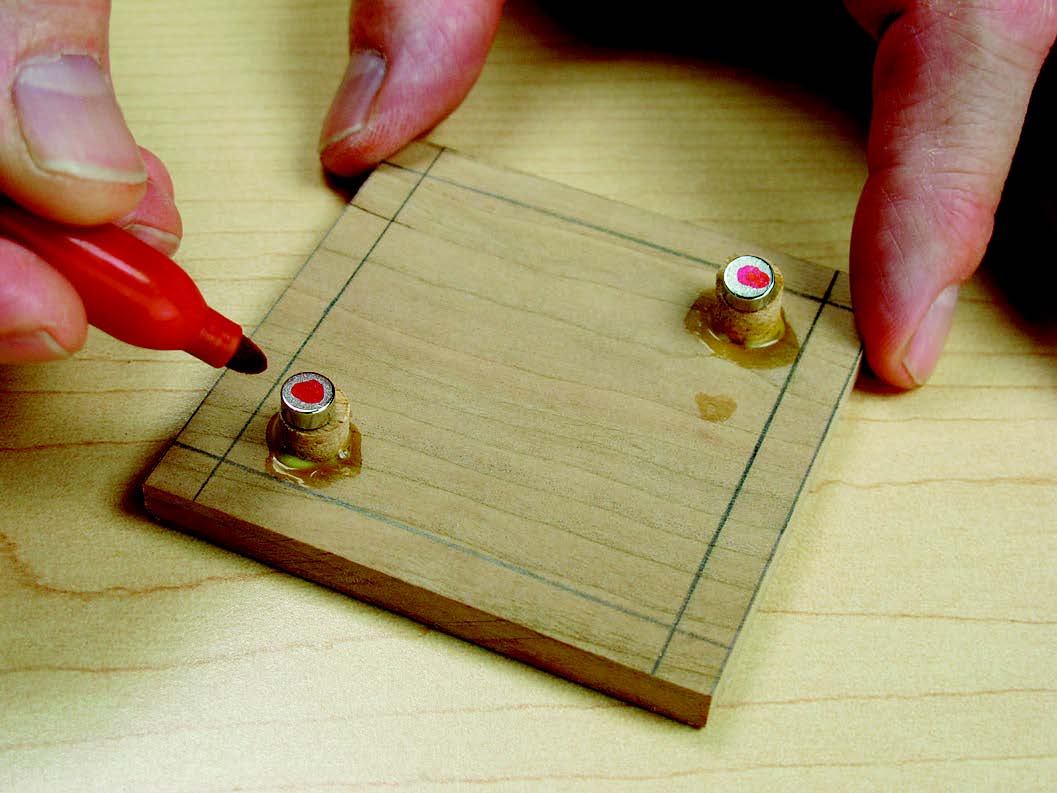
Now to determine the lid magnet orientations: Stack the two 1/16″-thick magnets (pieces 5) together; they will grab and join together due to their magnetic attraction. Now you know that the same pole, whether that is north or south, is up. Use a marker to label the “up” side of both magnets. Insert the magnets into their holes in the lid with one mark up, and the other with its mark down and hidden.
Make the lid plugs (pieces 6) using a 5/16″-diameter plug cutter. Glue and gently hammer the plugs in place, covering the lid magnets. Orient and then insert the base magnets (pieces 2) into the base. With all the magnets oriented correctly, the lid will be attracted to the base one way, and repelled from the base if flipped 180˚.
Complete the Base and Lid
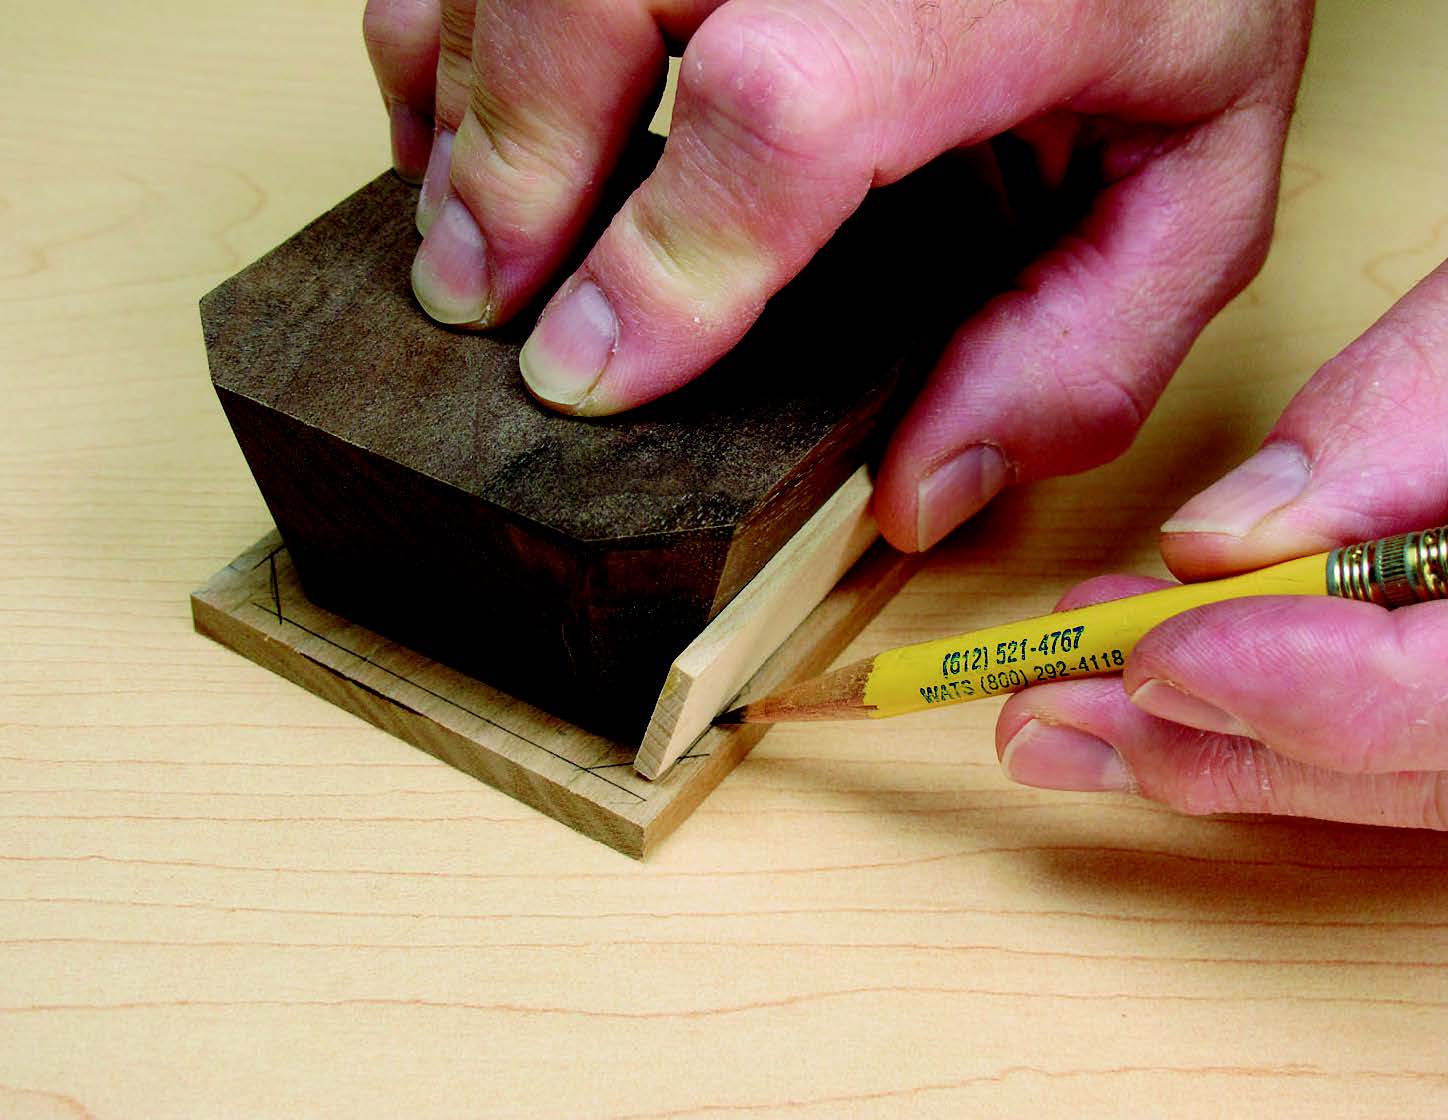
Make and insert the base plugs (pieces 3). Flush-trim the lid and base plugs. Finish-sand the base using hard sanding blocks. Set the base on the lid so the magnets hold the parts together, then lay out the lid shape. Cut and finish-sand the 14˚ beveled edges of the lid.
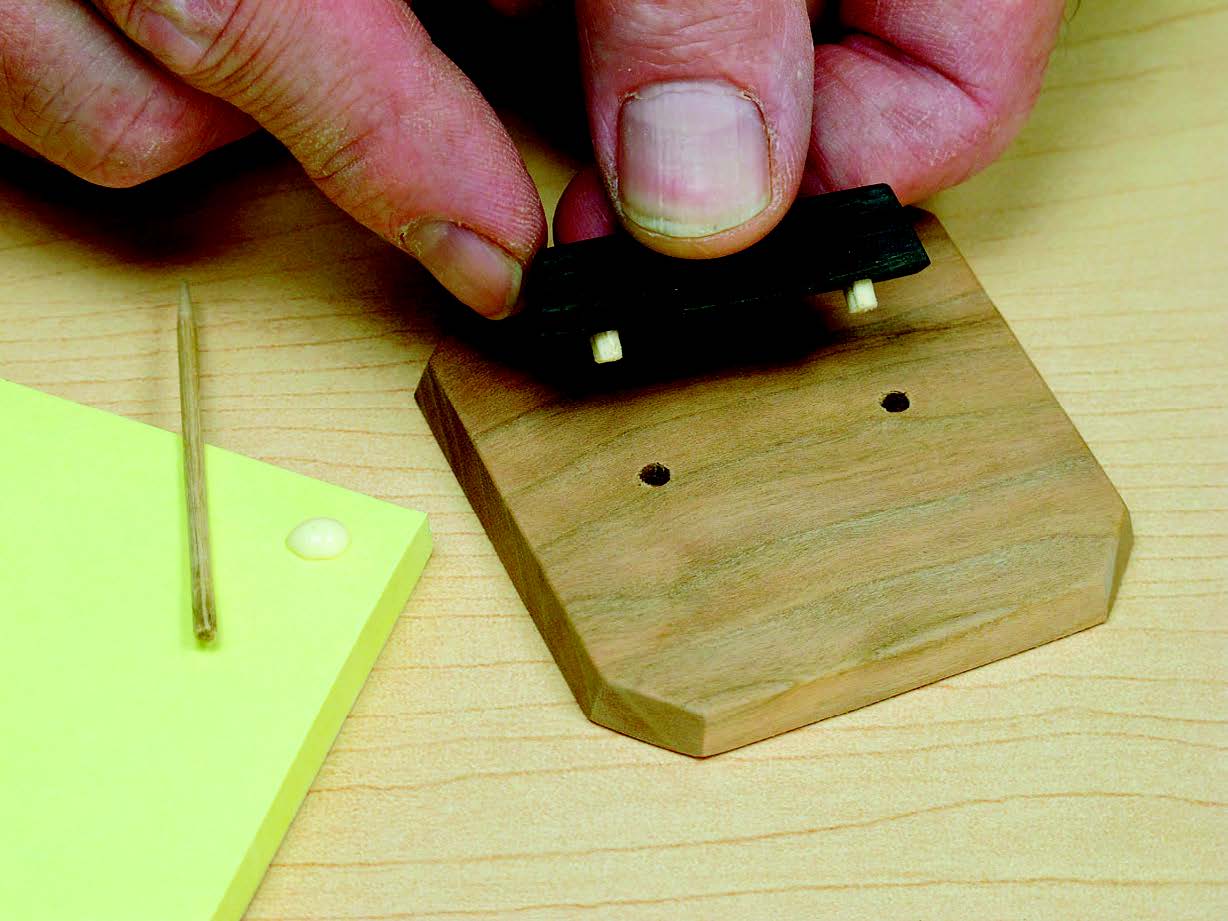
Make the handle and dowels (pieces 7 and 8). Drill the handle dowel holes in the handle and lid. Sand the handle and lid, and then glue the handle to the lid.
Finishing Up
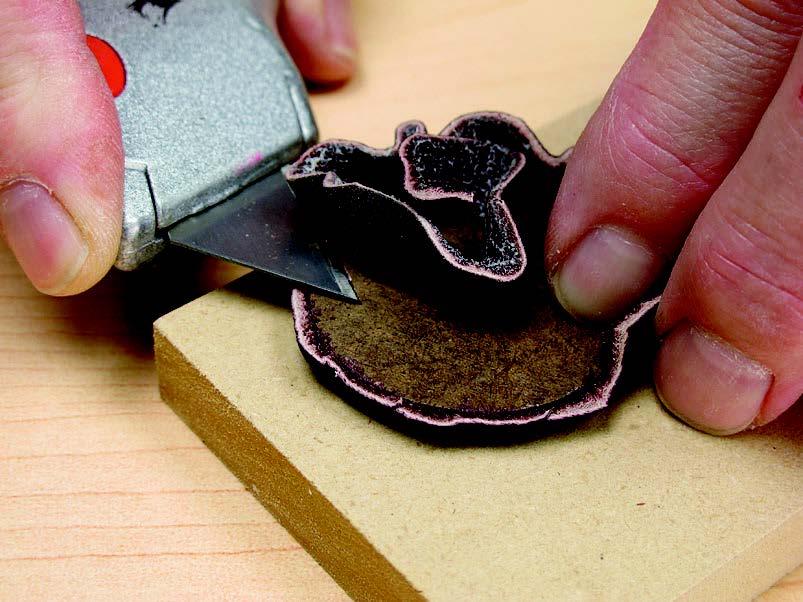
Use hardboard to make the bottom insert (piece 9), and then cover it with leather (piece 10). The diameter of the bottom insert depends on the thickness of the leather used. Test the fit prior to adhering the leather. The bottom insert with the leather attached should fit slightly snug in the hole.
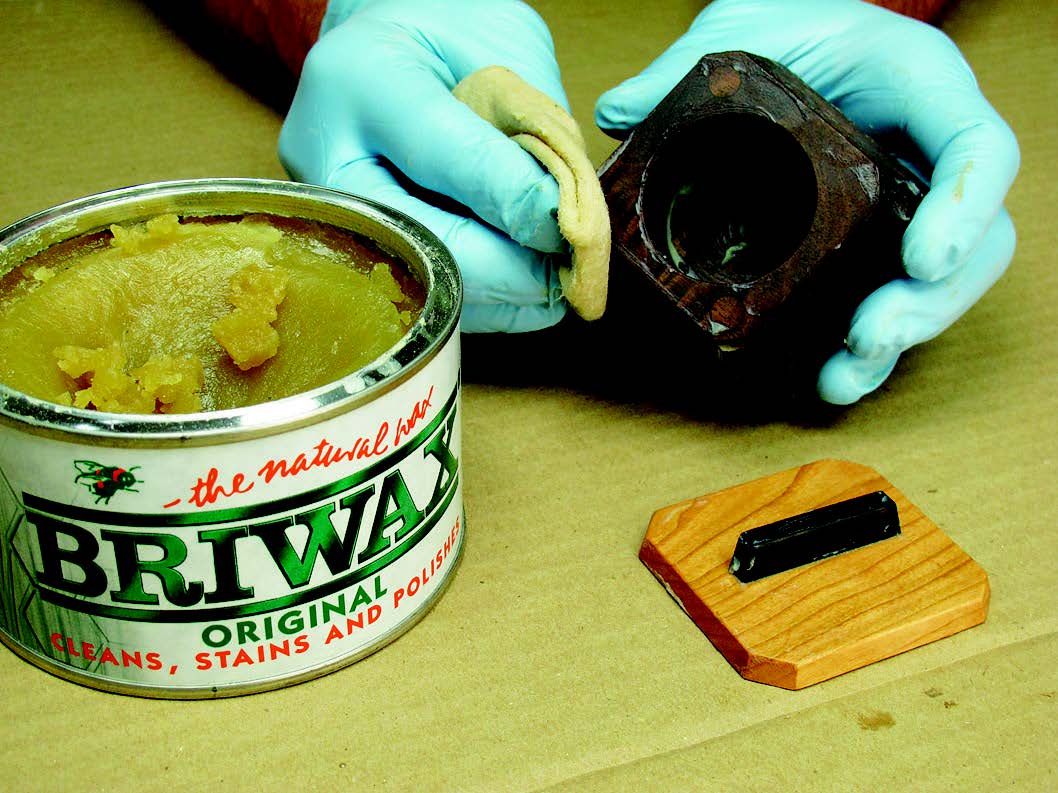
Apply finish to the wood, and then insert the leather bottom. Now you’re ready to wrap the box, give the gift, see the smiles, and listen to the accolades!
Click Here to download a PDF of the related drawings.
