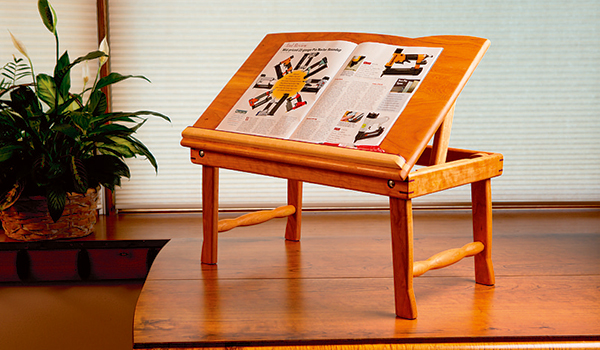
While laptop computers are common items these days, I still prefer to keep these gadgets at “arm’s length” when possible. (There are debates, for instance, about “harmful rays” they may emit.) The lap desk I’ve built in this article gives me some protection — whether necessary or not — against such rays, and it helps to keep my computer cooler. Plus, I can type away on articles like this one while sitting outside under one of my favorite trees (a 35-year-old red maple).
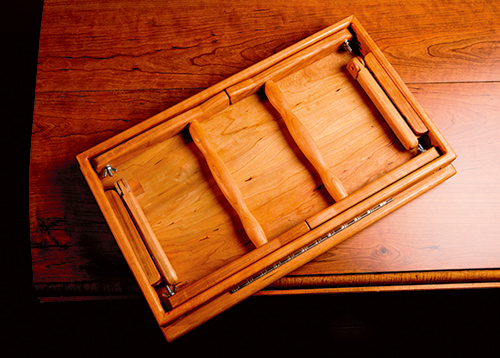
The design includes wooden hinges and a small tray that make reading a hands-free affair, plus folding legs that tighten with wingnuts and allow the desk to pack away nicely when not in use. I started this project with some sketches, focusing on the functions I wanted the piece to perform. Then I converted the boring, functional version into something more appealing to my aesthetic. For me, this is one of the highlights of making things: working with the design to make it visually more interesting. If you make your own lap desk, I’d encourage you to add your own interpretation to the lines of the desktop, the shaping of the legs, and the form of the spindles.
Start Cutting and Begin Your Shaping
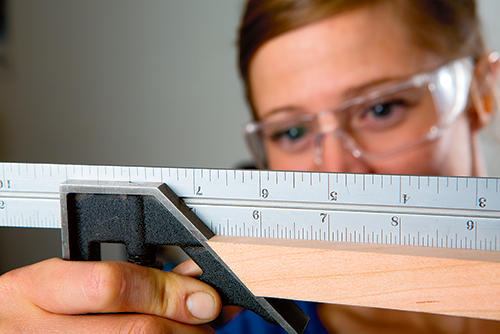
Once I had my design completed, I started construction by milling the wood for the top, propping hinges and legs to 3/4″ thick. I made the apron stock 5/8″ thick just to keep the whole thing a bit lighter. Then I glued up the top (piece 6), taking care to match the grain of the panel in an interesting way.
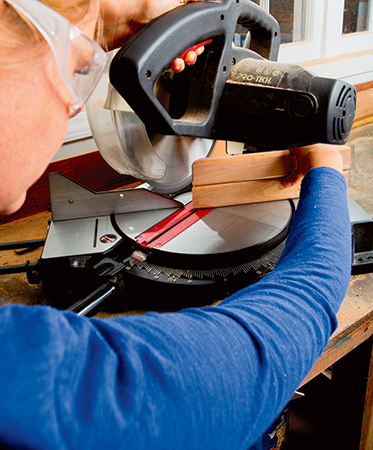
The apron frame is simply mitered and splined. I ripped the wood for the apron, then mitered the corners of the aprons on the miter saw. Next, I set up a fence and stops at the drill press to countersink the 5/16″ holes for the bolt heads using a Forstner bit. I directly followed that by drilling the 1/4″ bolts hole all the way through. (You can see the location of these holes in the Wedges and Apron Side View Drawing.) After you’ve drilled your holes, glue up the apron frame box and let it sit about 24 hours before you move on to cutting the grooves for your splines.
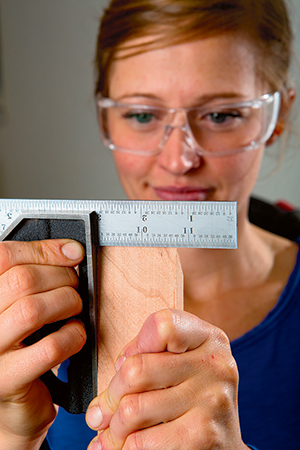
In the meantime, start on the legs by ripping them to width and crosscutting to length. Then drill the 1/4″ holes for the bolts and the 3/8″ holes for the crossbar spindles, using the Leg Side View Drawing to assist you in placement.
Now the fun begins with the shaping! You want to make sure that the tops of the legs are either rounded or mitered so that they can swing freely. Then you can either leave the remaining portion of the legs straight or give them curves like I did. You can cut a pattern out of paper for your chosen leg shape or, if you are confident of the shape you want, you can draw directly onto one leg. Create your first shaped leg by cutting along your (paper or drawn) pattern on the band saw, then smoothing on the sander. If you’re happy with that one, trace it onto the other three legs and shape them, too. Don’t shape the bottom of the legs until you see how they sit on a flat surface when mounted to the frame.
Creating Pieces for the Propping Hinges
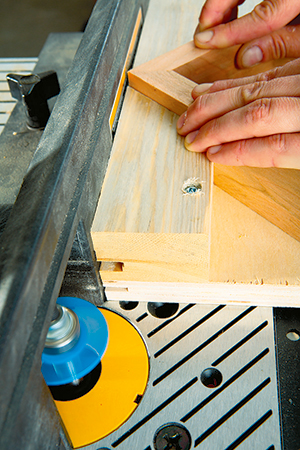
Now it’s time to start on the propping hinges, which are an assembly made up of hinge arms (pieces 7), stops (pieces 10) and stationary pieces (pieces 11). When you rip pieces 11, keep them long so you can machine them in a tenoning jig. Drill your holes in the arms, stationary pieces and stops using the dimensions and locations in the Drawings above as a guide. Use a dado blade and tenoning jig to form the slots on pieces 11. While the dado blade is set up, go ahead and cut the grooves in the stops (pieces 10), referring to the Drawing for details. Then cut stationary pieces 11 down to size. As a nice trick, I used a Forstner bit to reduce the thickness of the hinge arms (pieces 7), as shown in the Drawings. It leaves a radiused shoulder on the tenon. Note that you don’t center the Forstner bit on the dowel hole.
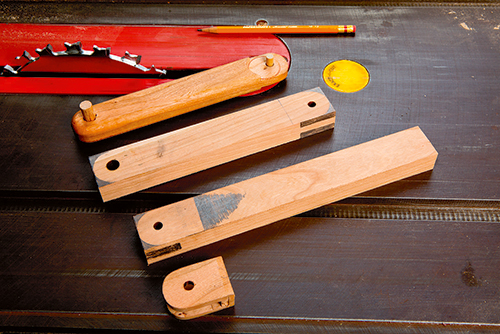
As you test-fit the propping hinge subassembly, leave about a paper’s thickness between the moving joints. You want the wood to touch but not get stuck. A little sanding and wax will help the hinges glide, if necessary. Glue the 1/4″ dowels in place, making sure to not get glue where the dowels must swivel. The 3/8″ dowels can be glued in place, too.
Next, you will want to mark where the piano hinge will go on the long apron (piece 2) that is the back of your apron frame, and use a straight bit on the router to cut a groove so the hinge is flush with the top of the apron frame when closed. I used a self-centering bit to pre-drill for the screws that will attach this hinge: it makes the job easy.
By now, your desktop (piece 6) should have had time to properly dry. If so, cut it to size and round over the edges. I used the dado blade to hog out most of the material for the dovetail groove that will hold the small tray. After that, I placed the ledge (piece 4) on the router table and used the dovetail bit and router fence to make the edges on the ledge the right shape, too. Before you glue it in place, flip the top over and line it up with the apron frame to mark where the piano hinge will go. Once again, use the self-centering bit, with the piano hinge in place, to pre-drill for the screws — this time on the desktop (piece 6).
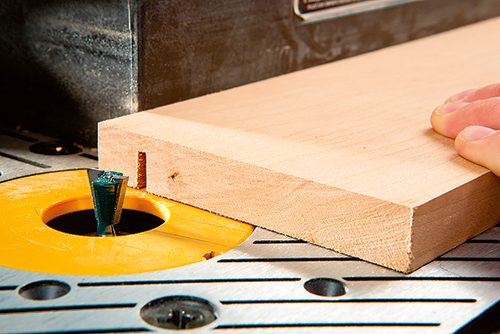
While working with the desktop, I chopped 1/4″-deep mortises on the bottom of the desktop to hold the propping hinge stationary pieces. Use the predetermined dimensions (see Drawings) to line up where to place the mortises, but make sure you use your actual stationary pieces to scribe around for your layout. Then get busy and chop away!
That done, it is time to glue the ledge in its dovetailed slot. Let the glue set up before moving on to trim the ends: I used a sharp chisel and sandpaper to match the ends to the desktop.
You can also round over the edges of the wooden hinges and the stop blocks on the router table and sand them smooth. Now, glue and clamp the stationary piece of the wooden hinge in its nice, tight mortise. It is also a good time to go ahead and mount the stop blocks for the wooden hinges on the apron frame.
Leg Shaping and Final Assembly
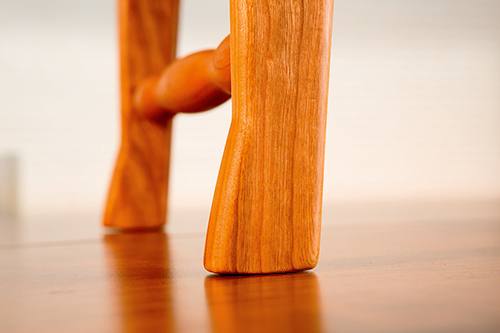
If you didn’t already try it out of curiosity, go ahead and attach the legs using the bolts and wingnuts. The first time you do this, you will really want to wrench them on pretty tight so that the square part around the bolt head will dig in properly. (But don’t go too crazy with the force!)
At this point you can decide if you want to change how the ,bottom of the legs intersects with the surface below it. Set the desktop in place, even though it isn’t screwed on just yet, to get a good look at how the form is coming together. Try to visualize what your spindles should look like, and measure the distance in between the legs for where they will go, in case your dimensions are slightly different than mine. Take the legs off, make changes if you’d like, and rout the edges. I used a small roundover bit.
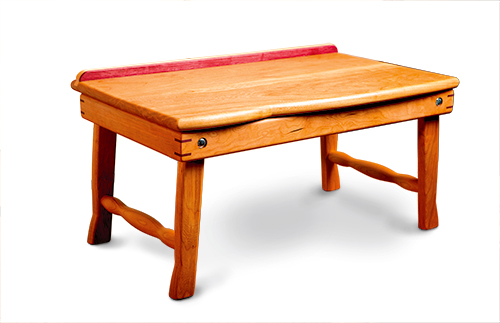
Turning the spindles (pieces 12) is the next step. I left a 1/8″ shoulder on mine for extra strength. The use of calipers and a tape measure made this step a breeze. Glue these spindle crossbars in place.
Sand this project starting with 100- or 120-grit sandpaper and work your way up to 220-grit. I wet the surface of the desktop to raise the grain and double-checked for any spots that needed more sanding. Once it was dry, I knocked the hairs off with 320-grit paper. For the finish, I used clear shellac. After it cured, I waxed and buffed the surface to make it feel really nice.

Now it is time to put it all together! Even though you have been checking along the way to see if everything is lining up properly, this is usually a very rewarding step!
My lap desk has turned out to be quite helpful. It lets me work comfortably pretty much anywhere. And I don’t have to worry about any harmful rays, because I am on the safe side of my desk!
Click Here to Download the Drawings and Materials List for This Project.


