Using your band saw to cut bridle joints quickly with repeatable results.
Mortise-and-tenon joints are not only the strongest of woodworking joinery methods, but because they can take several forms they’re among the most versatile. Besides traditional mortise-and-tenon, they can be “loose” joints made with dowels or floating tenons, elongated to create tongue-and-groove joinery, or open like the bridle joints we’ll take a look at here. Also known as “slot” mortise-and-tenons, bridle joints feature an open slot on the end of one workpiece that fits bridle-like at 90 degrees over a traditional tenon on the mating workpiece. As with all joinery, measurements must be made carefully. However, when you cut bridle joints on the band saw, only a few key measurements and markings are needed — the band saw fence handles all the repeat cuts.
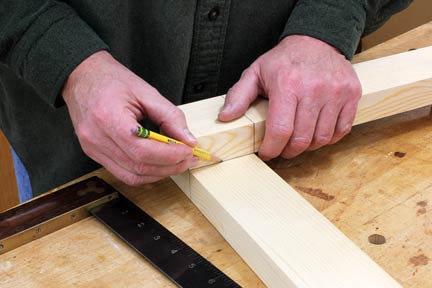
STEP 1: Begin by using the width of the workpieces to lay out cut lines (photo above). In reality, these perpendicular marks are “stop” lines: For the mortise piece, these lines define the mortise depth, while for the mating piece they set the tenon length. While it isn’t strictly necessary to run the lines all the way around the workpieces, I always do — they serve as a good means of visual guidance from any angle while working.
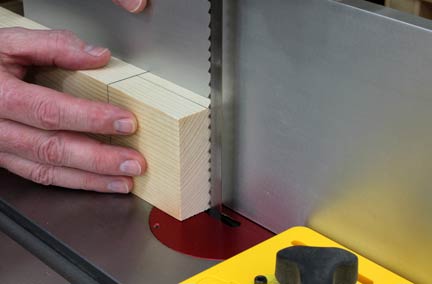
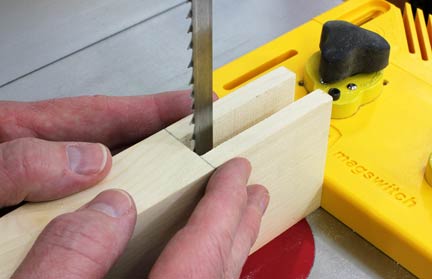
STEP 2: Cut the mortise first. As with all mortise-and-tenon joints, the rule of thumb is for the width of the mortise (and the matching thickness of the tenon) to be about 1/3 the thickness of the workpiece itself. Now, what’s great about cutting these joints on the band saw is that you only have to draw a single lengthwise layout line atop just the mortise workpiece. Line up the blade with that cut line (photo above), then bring up the band saw fence and lock it down — since a mortise like this is really an exercise in resawing, a resaw fence is ideal. With the fence set, move the workpiece so that the perpendicular “stop” line is even with the blade, and place a stop on the table to ensure that each cut you’re about to make will be exactly the same. In this photo I’m using the edge of a magnetic featherboard as my stop, but a clamped-on stop of scrap wood is fine.
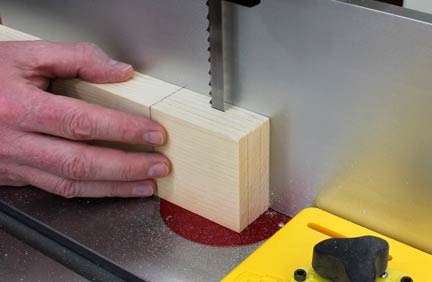
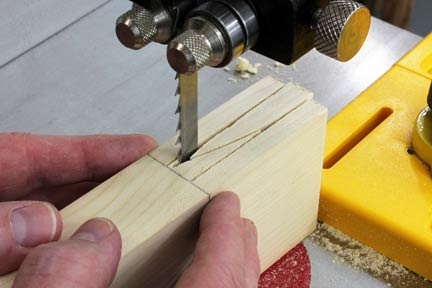
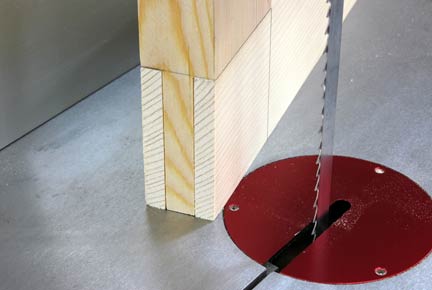
STEP 3: Fire up the band saw and make the first cut on your penciled cut line. Back the workpiece out of the cut and simply flip it over so the opposite edge is on the table, then make a second cut (photo above). This completes the mortise cut in this workpiece and we’ll move on to the tenon for this single-joint exercise, but if you’re cutting multiple joints it’s best to make all your mortise cuts now. When you’re done, leave the table stop in place.
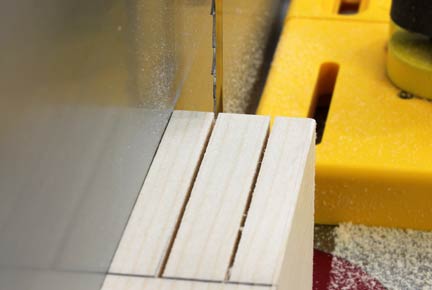
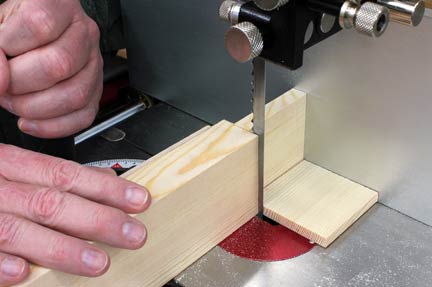
STEP 4: To set up the tenon cuts, position the mortise cut nearest the fence so the edge of the blade clears the kerf of that cut (photo above). Since the tenon needs to be snug, you can’t use the same setting as before — the width of the kerf has to be taken into account — so you’ll need to move the fence closer to the blade by the width of that kerf.
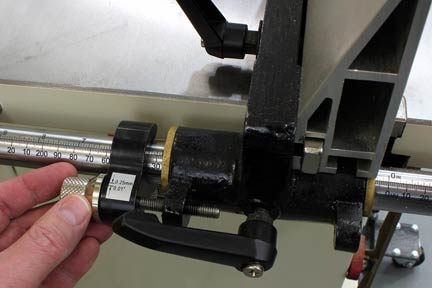
STEP 5: Adjust the fence as needed so the blade lines up exactly with the fence-side edge of the mortise cut. A micro-adjust on the band saw fence is a tremendous help in getting the placement just right (photo above). With the fence set, lock it down. Set the mortise workpiece aside for the moment and make the tenon cuts on the matching workpiece exactly as you did with the mortise cuts — first one side, then flip and cut again.
STEP 6: We’ll come back to the tenon in a moment, but for now bring the mortise workpiece back up on the table to remove the waste. With the stop still in place, rough out the waste (photo above). The stop prevents you from accidentally cutting too deeply when getting the waste material out.
STEP 7: The cutting process of removing waste will leave the bottom of the mortise a bit rough. No problem. When you’ve removed most of the waste, rest the workpiece against the magnetic stop and slowly sweep the bottom of the mortise across the moving blade (photo above). The set of the blade’s teeth allows it to cut sideways across the rough bottom of the mortise, smoothing it nicely. With the mortise complete, set it aside and remove the stop.
STEP 8: To set up for cutting the tenon shoulders, line up the perpendicular “stop” line with the band saw blade, then bring up and lock down the fence to act as a guide. With the fence in place, it’ll regulate the shoulder cuts so each one is the same. Slide a miter gauge into the band saw’s table slot, hold the workpiece against the gauge with the tenon end against the fence, and make the shoulder cut until it joins the earlier cut, freeing the side waste and creating that side of the tenon. Now, just flip the piece over and do the other side the same way (photo above).
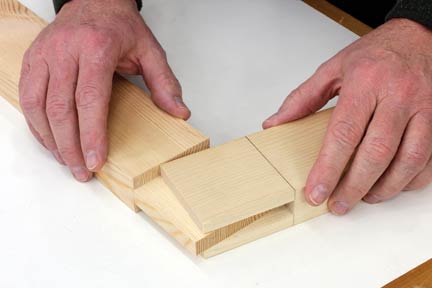
STEP 9: To assemble the joint, place both pieces on a flat worksurface (photo above), and slide the two pieces together. If the joint’s too tight, some light sanding of the tenon cheeks — sand equal amounts on both sides — should free it up for an easier, yet still-snug fit. Glue the finished bridle joint as you would any other mortise-and-tenon joint. For extra strength or for a nice detail, you can drill and install wooden pins through the bridle for a rock-solid joint.
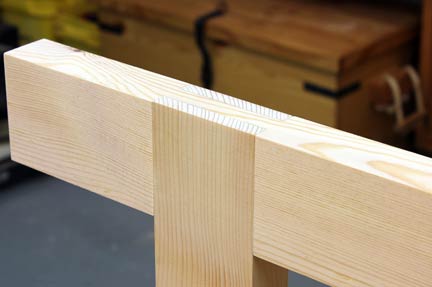
STEP 10: The bridle joint we’ve illustrated in the steps of this article is a “corner” bridle joint, useful for framing and other tasks. However, you can make these joints just about anywhere on a workpiece. Placed somewhere in the middle, (photo above), and combined with corner bridles, you can create an incredibly sturdy framework for heavy doors, gates or large panels. When oriented vertically as in this photo, you can use bridle joints to mount the legs for a massively strong workbench, table or even decking. When used in this manner and assembled with bolts instead of glue, an extra bonus is that whatever you build can be disassembled for transport.
