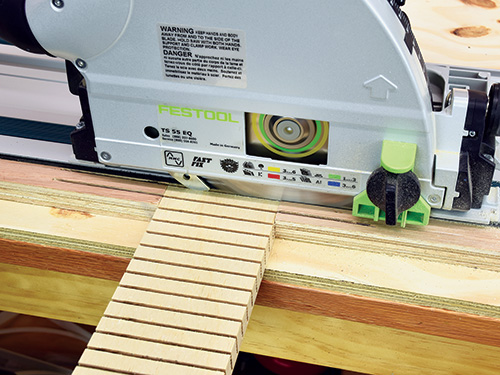
When steam-bending isn’t an option, especially for sheet goods, the traditional way to create curved workpieces is with kerf-bending. The method is simple: Cut a series of parallel kerfs on the back of a workpiece nearly all the way through the material, which enables it to bend easily. This works especially well for plywood.
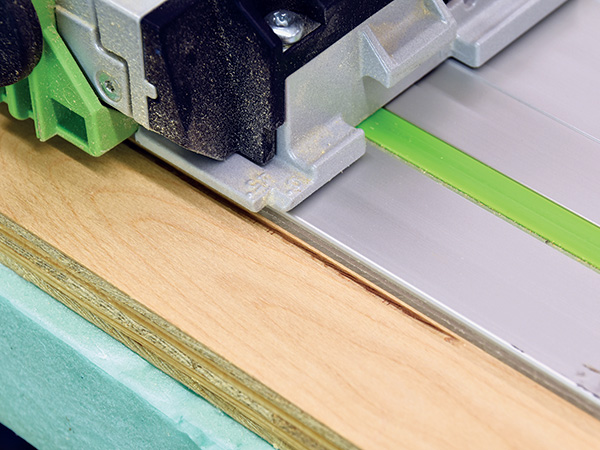
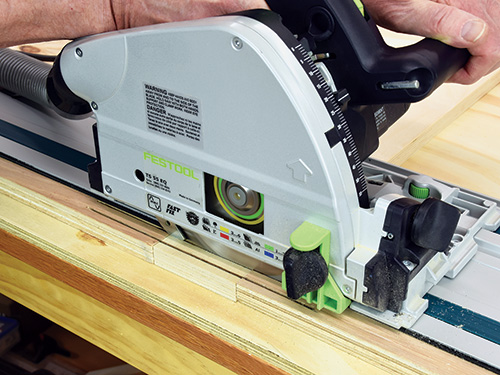
Again, this could be done on the table saw with smaller workpieces. But when the stock becomes exceptionally long or wide, it’s better for the work to be stationary and fully supported on a workbench or other surface. A regular circular saw used with a clamped guide is a possibility, but a track saw’s plunge action speeds the operation up considerably and delivers better cuts with less splintering.
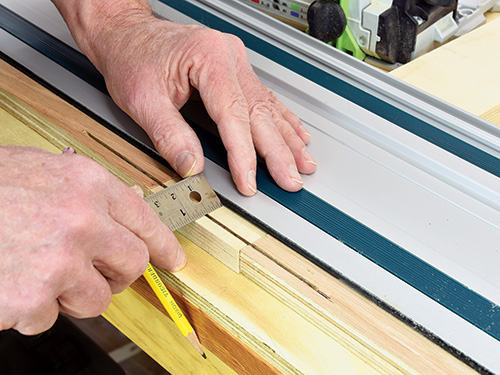
The key is to set up an easy jig. Here, I’ve simply pin-nailed a pair of 3/4″-thick guides to a sheet of ply, spaced so my 3/4″-thick workpiece can slide smoothly between them, while the track has a nice, wide surface for support. With the workpiece lined up to the edge of the jig guide, I made a starting cut near the workpiece end that extends slightly across both guide pieces. This becomes the registration cut.
Now, without moving the workpiece in the jig, reset the track for the second cut at the desired spacing between the kerf cuts, ensuring that it’s parallel to that first cut. Make the second cut and let the saw spin down. Slide the workpiece forward until the new cut lines up with the registration cut and make another pass. Continue the cut/slide/ cut/slide process until the workpiece kerfs are complete.
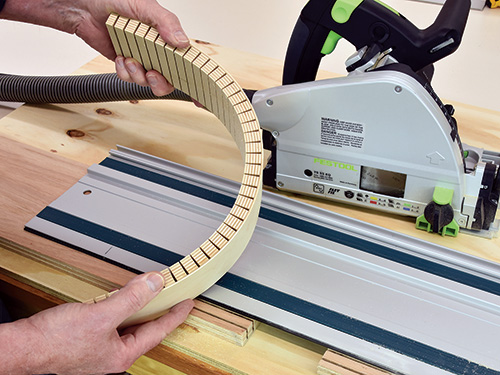
The finished workpiece bends with little effort, and the outside surface of the curve is nice and smooth. Keep in mind that a tighter bend radius requires narrower spacing between the kerfs, while a larger radius can get away with wider kerf spacing.


