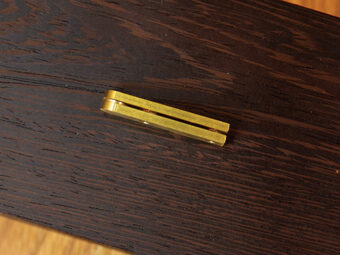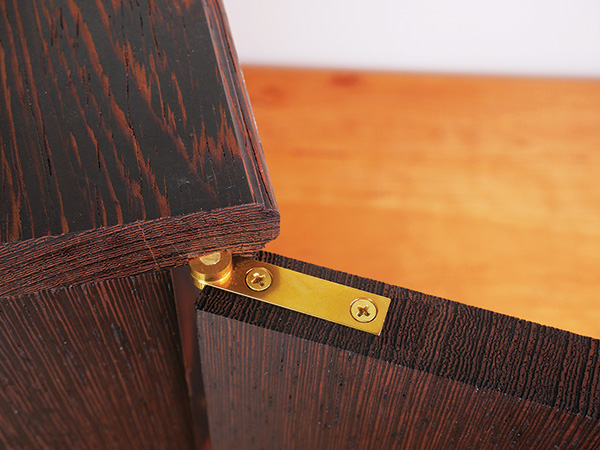
Installing knife hinges is not complicated in concept, but it needs to be precise in execution. For that reason, laying out the mortises you will create for the hinges is the most critical step, as well as sizing the door accurately.
|
|
|
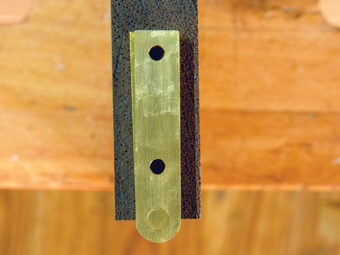
There are a few things to keep in mind. With a full-overlay situation like this one, you will want a slight space — a scant 1/16″ — between the back face of the door and the front edges of the cabinet carcass to allow the door to swing freely. You achieve that by slightly offsetting the location of the hinge leaf in the door.
|
|
|
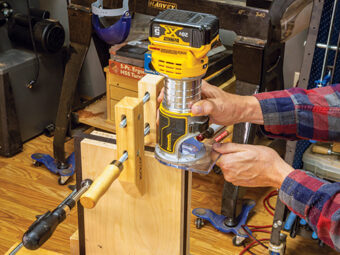
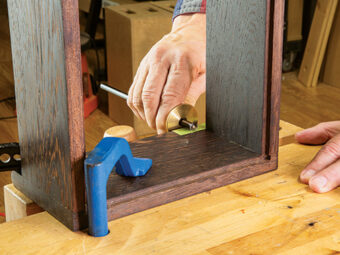
First use a cutting gauge to scribe the long edges of the mortise and then a marking knife to cut the end of the mortise into the wood. On the door, you can use a router bit narrower than the hinge mortise (1/4″ for this 3/8″-wide mortise) to set the depth and remove some of the material.
|
|
|
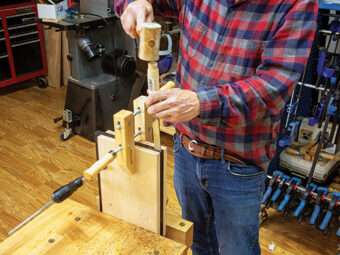
Clamp the door between two pieces of plywood to provide a wider surface for guiding the router. A wood screw clamp is useful for stopping the router before it cuts beyond the end of the mortise. Then clean up the mortise with a 3/8″ chisel and a wider one.
|
|
|
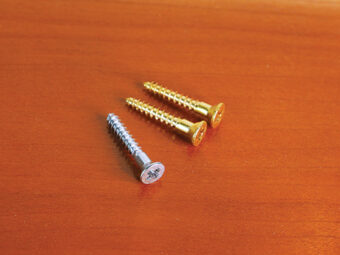
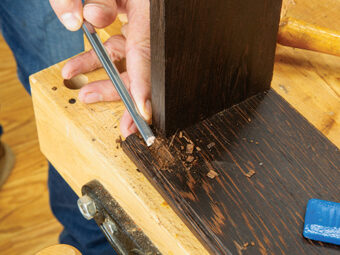
To chop mortises into the edges of the cabinet, lay out the location again using a cutting gauge to ensure accuracy. The vertically chop a series of lines about 1 mm apart in the mortise with a 3/8″ chisel. Pare the chopped area away and clean up the edges with a wider chisel. Do this until the mortise is at the proper depth and fits the hinge leaf neatly. Attach the hinges to the door. (Use a steel screw to help tap threads for pilot holes if the hinges come with softer brass screws.)
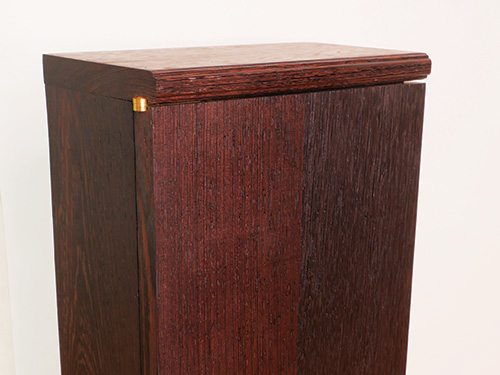
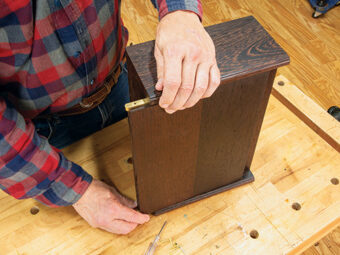
Finally, slide the door and hinges into place to check its alignment. Then carefully open the door and fasten the hinge leaves to the edge of the cabinet to finish up the installation.
