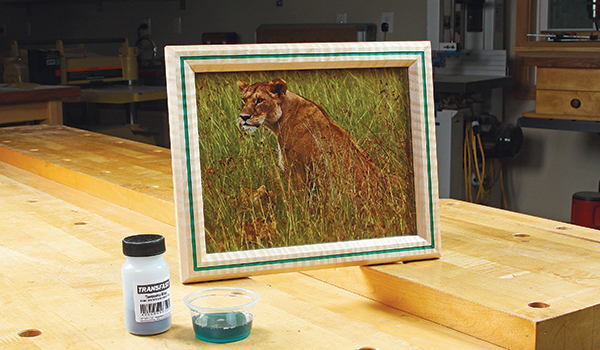
Picture frames are often simple projects, but that doesn’t mean their style has to be humdrum. We’ll make sure that doesn’t happen here! This 8×10 frame features an eye-catching inlay that you can make with a mixture of wood dye and two-part epoxy. Once it’s poured into a saw kerf in the frame parts and planed flush, you’ll have the look of a colored pinstripe with very little fuss. So, grab a piece of special stock from your scrap bin that measures at least 3/4″ thick, 2-1⁄4″ wide and 24″ long. Ordinary epoxy and either a water- or alcohol-based dye will work fine for the inlay.
Milling the Frame Parts

Start by surfacing your frame stock to 1-3/16″ thick; we’ll plane it down to 3/4″ after the inlay is poured. Rip the blank to 2-1⁄4″ (if it isn’t already). Notice in the Drawing, that the inlay is centered on the frame pieces. To cut those shallow grooves, raise a 1/8″-kerf table saw blade to 1/8″, and set the rip fence 7/16″ from the blade. Rip two long kerfs into the best-looking face.
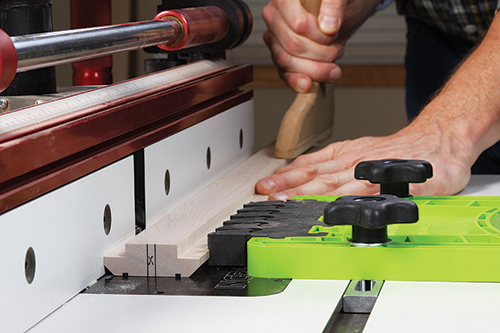
Mix and apply the inlay in the grooves. While it may be tempting to rip the stock into narrow rails and stiles next, it’s safer to form the 5/16″ x 1/2″ rabbets on your wider workpiece to house the glass and a back panel. Tackle those now at your router table or table saw. Make sure to mill the rabbets along both edges into the face opposite the inlay. Finish this profiling stage by routing a 1/4″-deep, 45° bevel into the edges beside the inlays. Now split the frame stock into a pair of long, 1″-wide strips. Each will become both a top or bottom rail and a side stile for the frame.
Tinted Epoxy Inlay
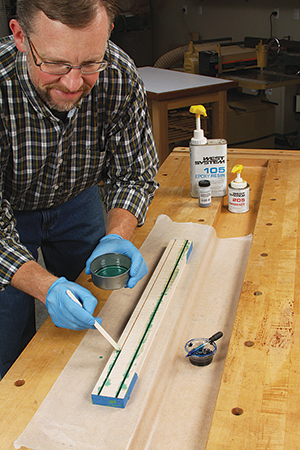
Mix the resin and hardener according to the manufacturer’s instructions. For one picture frame, you’ll only need about an ounce of prepared epoxy. Stir three to five drops of dye in and check for color: the lighter and more transparent the inlay is, the better light will penetrate it to make the frame color really pop!
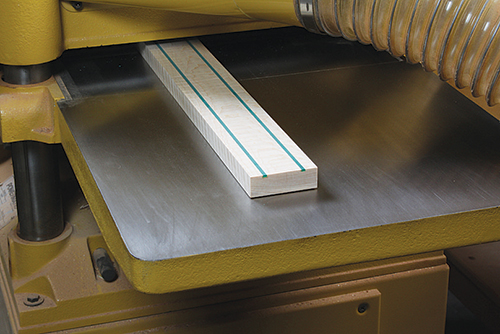
Drizzle the liquid inlay mixture into the kerfs with a small paddle, filling them to the top. When the epoxy cures hard, run the wood through a planer to remove the excess and reduce the stock thickness to 3/4″, leaving crisp, clean color lines.
Mitering and Assembly
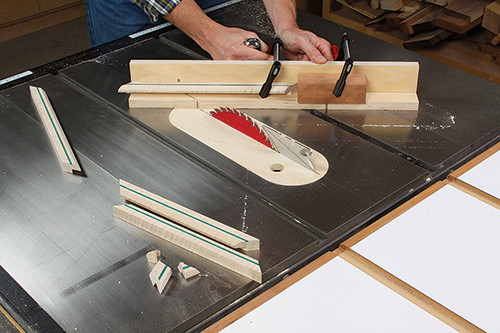
Miter-cut the top and bottom rails to length at 45° and so the inside edges are 9″ long. Make the inside edges of the side stiles 7″ long when you miter-cut those to size. I made these precise cuts with my workpieces resting on an “L”-shaped jig screwed to my table saw’s miter gauge. Swinging the miter gauge to 45° one way or the other set the correct miter angle directions. A clamped stop block ensured matching-length parts.
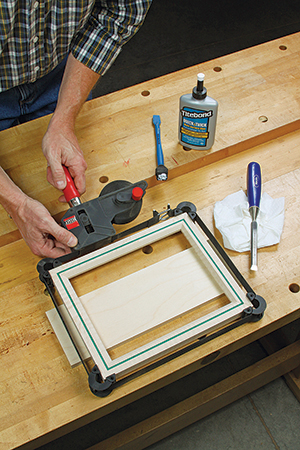
Glue and clamp your frame together. On a frame this small, glue alone is strong enough for the miter joints. I’ll recommend Titebond’s new “Quick & Thick” formula. It tacks up fast, doesn’t drip and relies more on surface adhesion than soaking in to form a strong bond: three good attributes for these end-grain butt joints. When the glue dries, rout a bevel around the perimeter of the frame to match the inside bevel detail, then give a careful hand-sanding.
Finishing Up
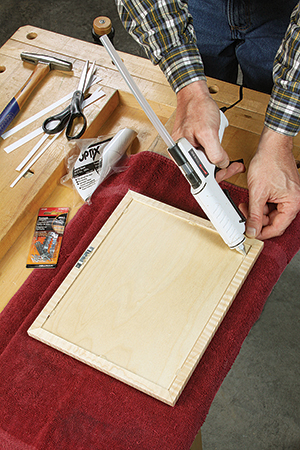
Spray can lacquer dries fast and makes an attractive clear finish here. I bought precut 8×10, .080″-thick acrylic at a home center for the “glass” and used a piece of 1/8″ plywood (found in craft stores) for a back panel. You can secure the frame’s back panel with brads, but a few dabs of hot-melt glue are easier to apply and seem to hold just as well.


