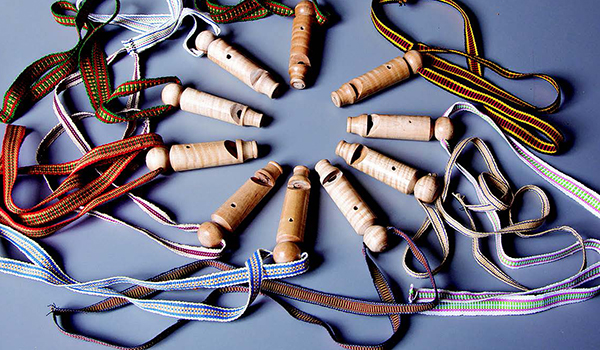
Whistles are an easy project that requires little material but does demand precise measurement and layout. It is an ideal project for a young turner and is useful for hikers and dog owners.

You need a hard, durable wood for a whistle. I use curly maple, but cherry or birch would also be good. Recorder flutes are routinely made from pear wood, so if you have any, this would be an excellent choice. You need to saw a blank that is 1″ x 1″ x 5″ long. Our finished whistle will be 4″ so the extra inch is for chucking.
Before You Turn
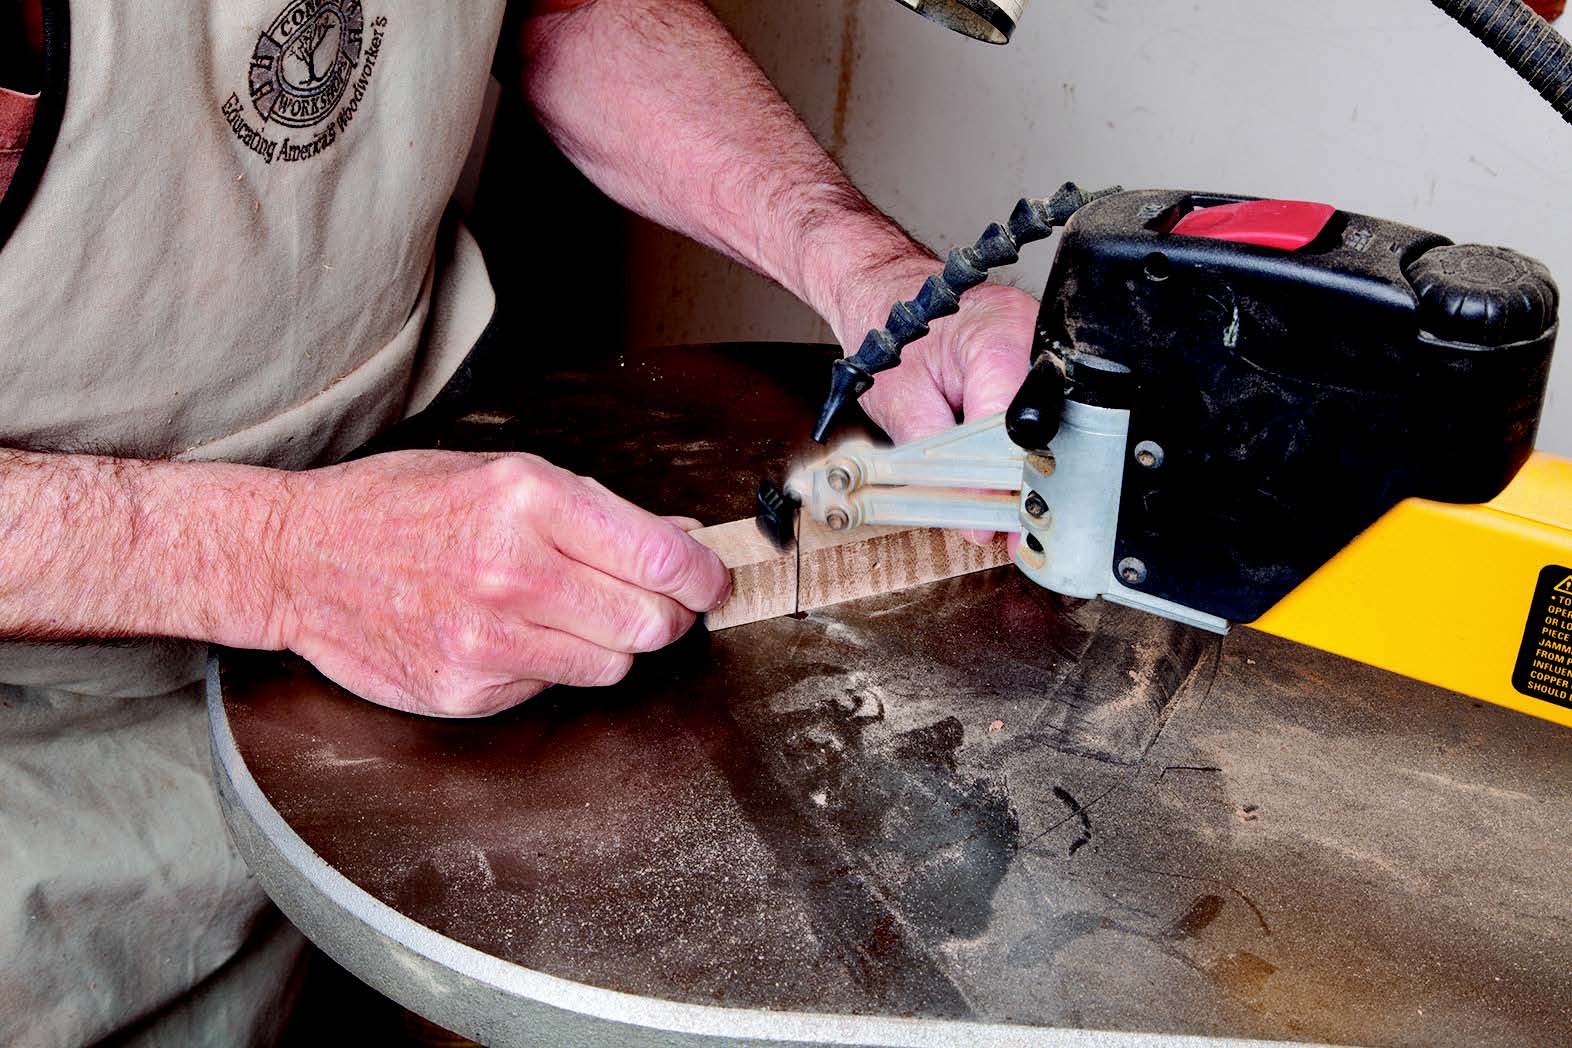
Before turning, it is important to saw the V-shaped opening for the tone generator. Although either hole can be drilled later, it is also much easier to drill the 3/16″ cross-hole for a lanyard and the 5/32″ second tone hole before turning. The second hole only goes halfway so as to intersect with the main bore. This ensures that the lanyard hole is at right angles to the notch so that the whistle hangs against the user’s chest in the correct orientation for instant use. It also aligns the tone hole at exactly 12 o’clock, where it should be.
The easiest way to cut the notch for the tone generator is with a scroll saw, which will leave a smooth finish. It can also be cut with a band saw or a small back saw but will require smoothing the ramped side and the square shoulder with a sharp chisel.
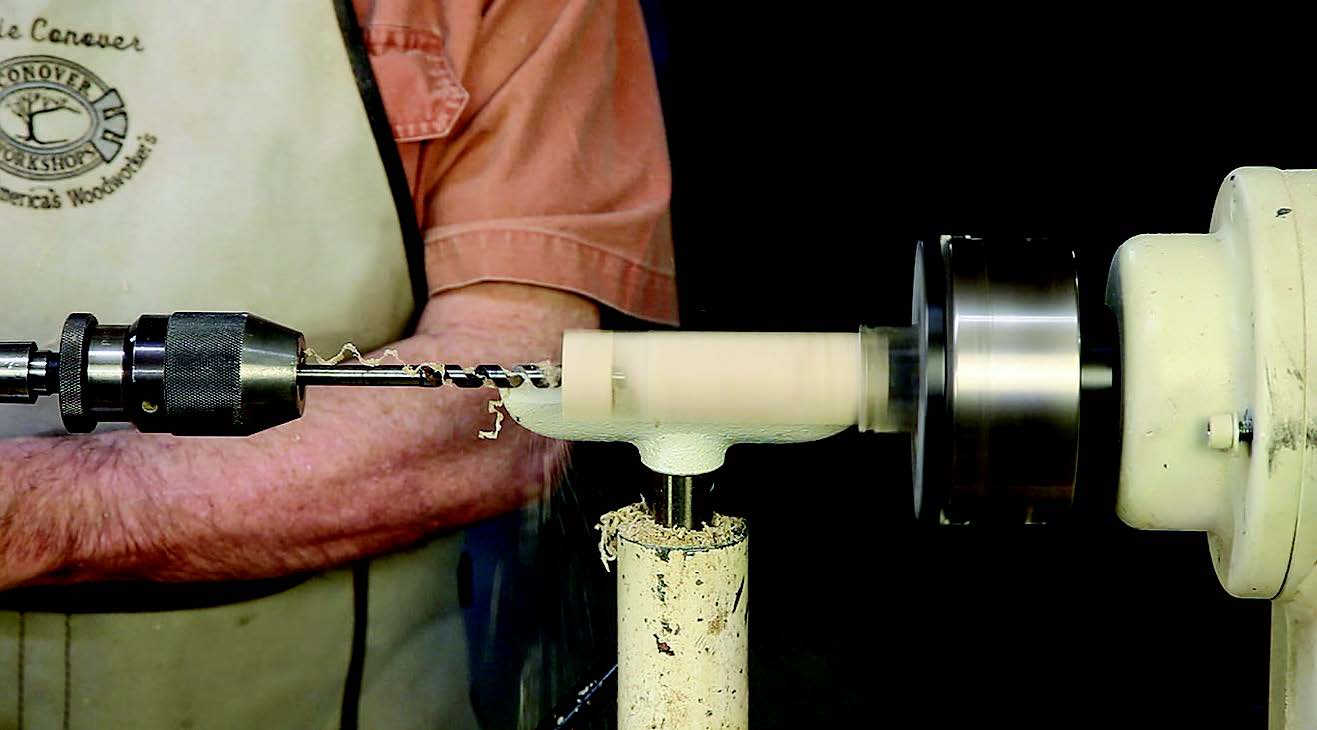
You also need to drill out the tone chamber, which is 3/8″ in diameter by 27⁄8″ deep. If you have a four-jaw chuck, that is the easiest way to hold the blank during drilling and turning. Mark an exact center on both ends of the blank and secure it in the chuck while supporting the opposite end against your lathe’s live center. This ensures the axis of the blank is on the centerline of the lathe. If you do not posses a four-jaw chuck, mount the drill chuck in the headstock and push the blank against the drill with the live center against the opposite center of the blank. To protect your hand, hold the blank with a small screw clamp while drilling and use a slow speed of 400 to 500 rpm.
Time for Turning
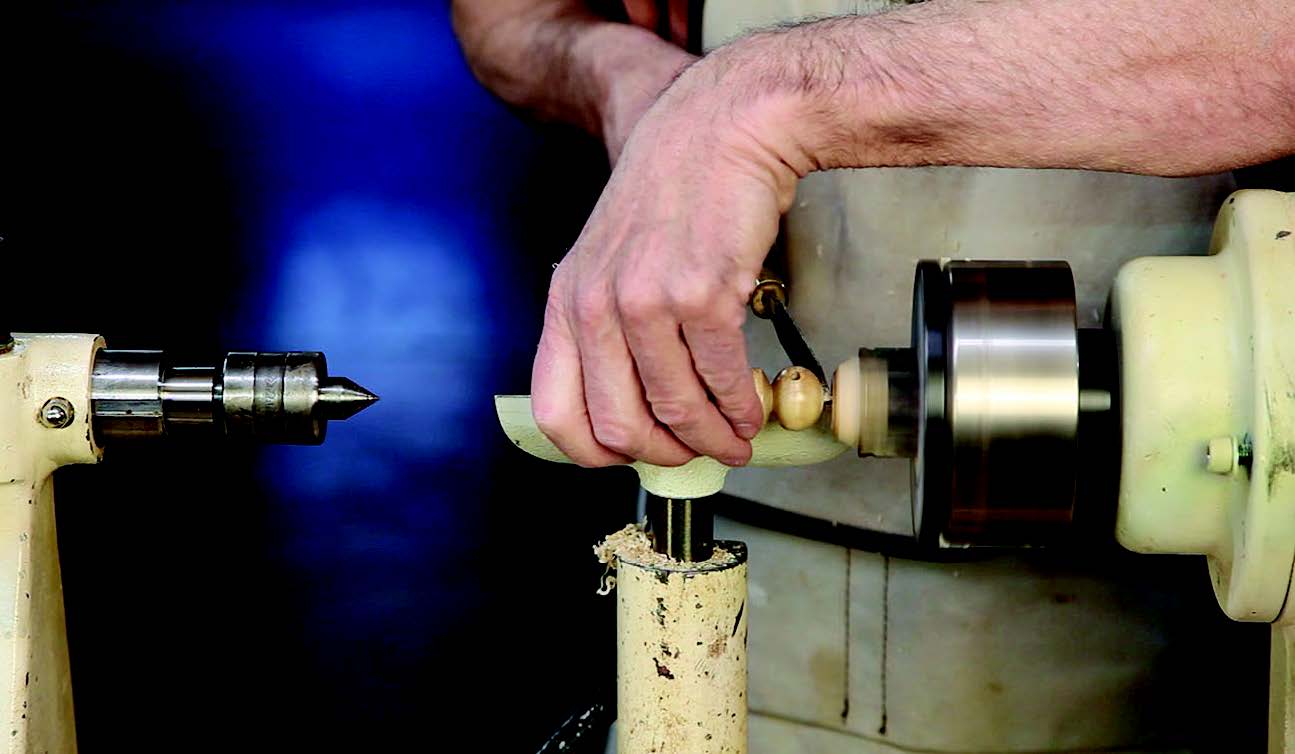
Turning the body of our whistle is straightforward spindle turning. I use a spindle roughing-out gouge to get things round and to put a bit of taper toward the mouthpiece. I then clean this taper up with a skew and turn the mouthpiece and the bead around the lanyard hole with a spindle gouge.
Turn the bead down to about half the diameter of the blank and part off. The end can be hand sanded and finished off of the lathe.
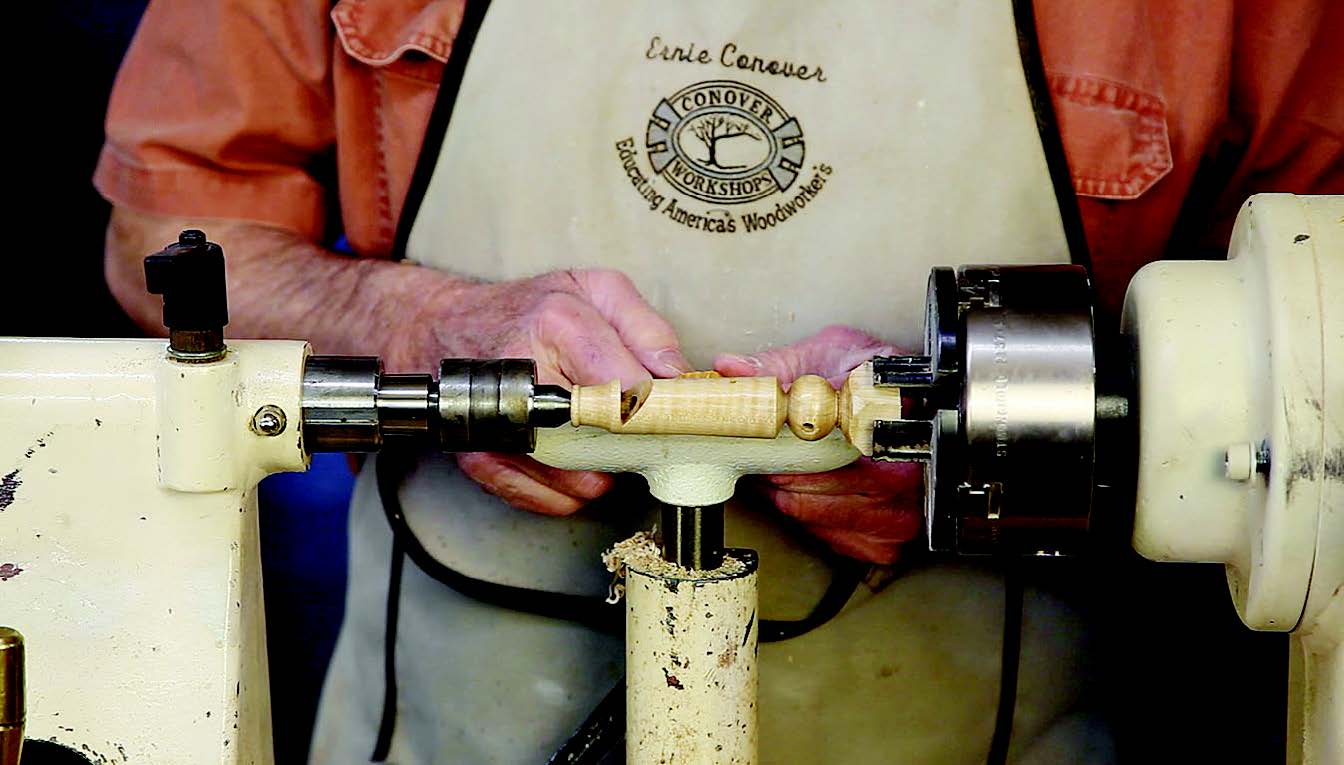
I like a decidedly nontoxic finish on a whistle, so use either walnut oil, which can be purchased at a grocery store, or carnauba wax. Oil is simply wiped on and the wax is crayoned on in the lathe and burnished with a piece of paper towel. Another great option is no finish at all.
Fipple: Fine-tune the Fit
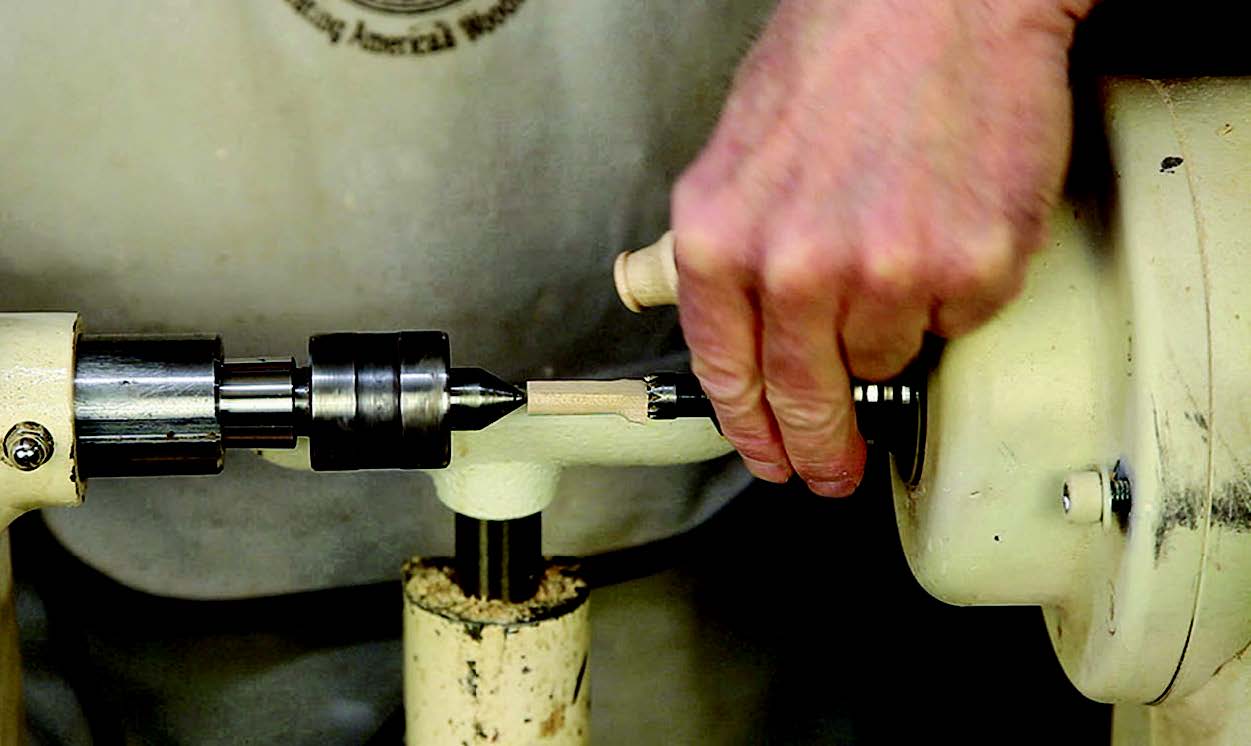
The airway must be restricted by inserting a 3/8″-diameter by 3/4″-long dowel called a fipple with a 3/32″ flat spot on it. This causes the air to go directly against the sharp 45°angle edge of the notch (called the labium or blade), which generates the tone. You can simply sand a flat spot into a 3/4″ long section of dowel. I prefer to lay out the blank off-center so that you turn the plug with a flat spot. The flat spot is 3/32″ off of the 3/16″ radius of the dowel.
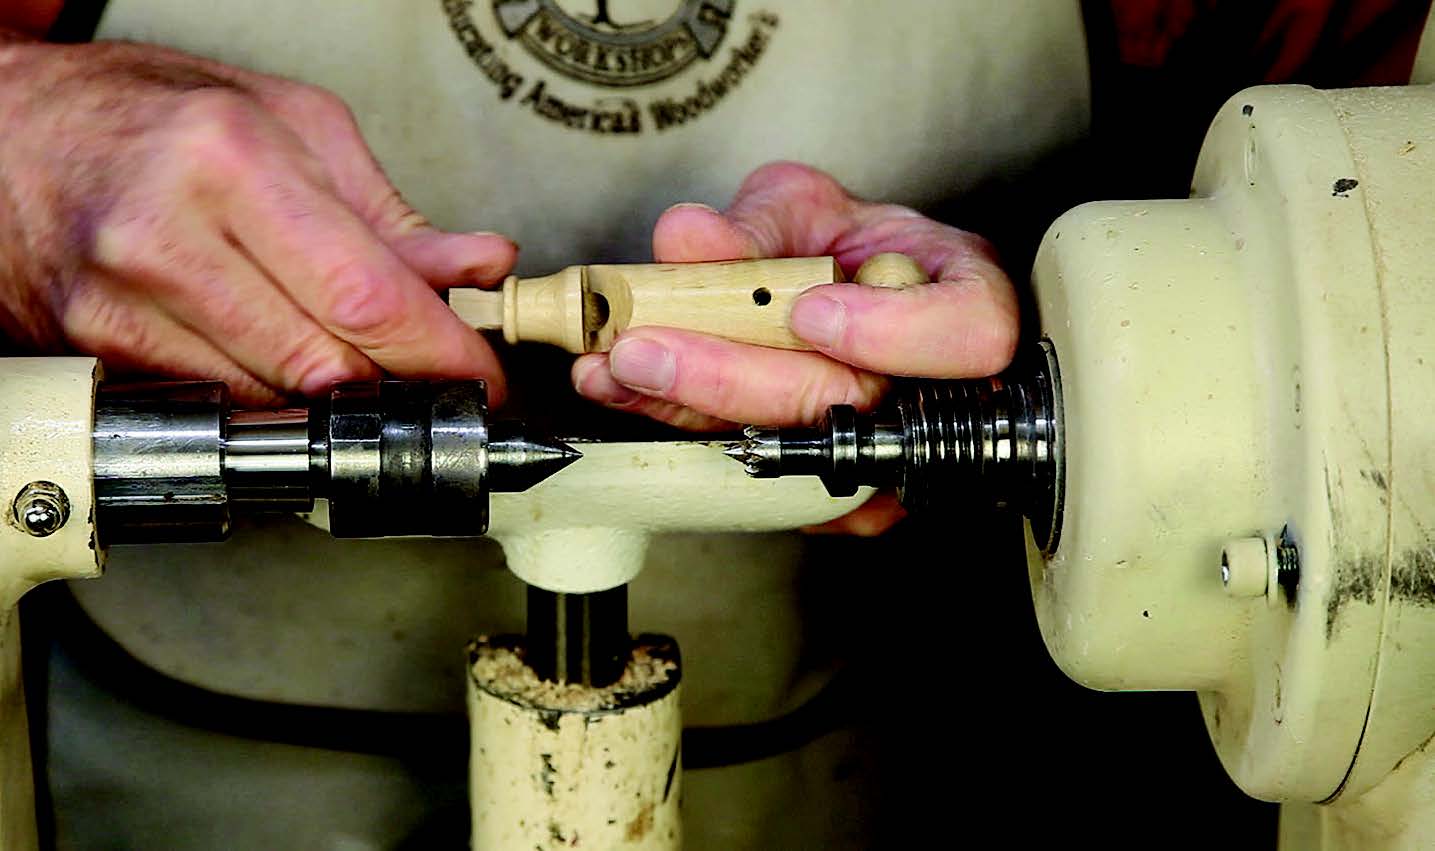
you to adjust it to get optimum tone out of your whistle. The diameter should be a tight slide fit with the bore.
I make the fipple 1-1⁄4″ long and adjust the diameter until it is a tight slide fit with the bore. It should take some effort to insert it or turn it. This allows the fipple to be adjusted to get optimum sound, which takes some trial and error.
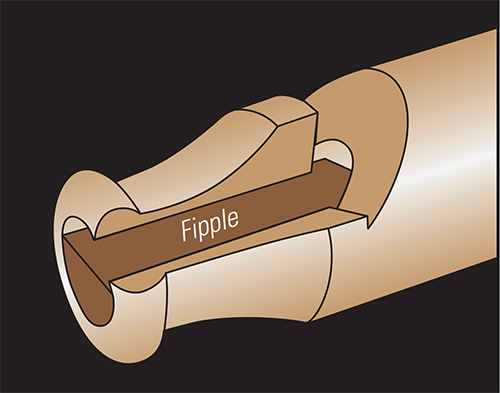
The end of the fipple should be perfectly square; do not chamfer it. However, chamfering or rounding the edge of the flat spot may improve sound. It should be pushed forward until its face is in exact alignment with the vertical shoulder of the notch. The flat spot should be horizontal, making it direct an equal air quantity on all parts of the blade. It can be cut off with a saw in place or removed, shortened with a parting tool in the lathe and reinserted. If removed, a pencil line for realignment is a good idea. The fipple can be removed by prying with a small flat blade screwdriver if things go awry.
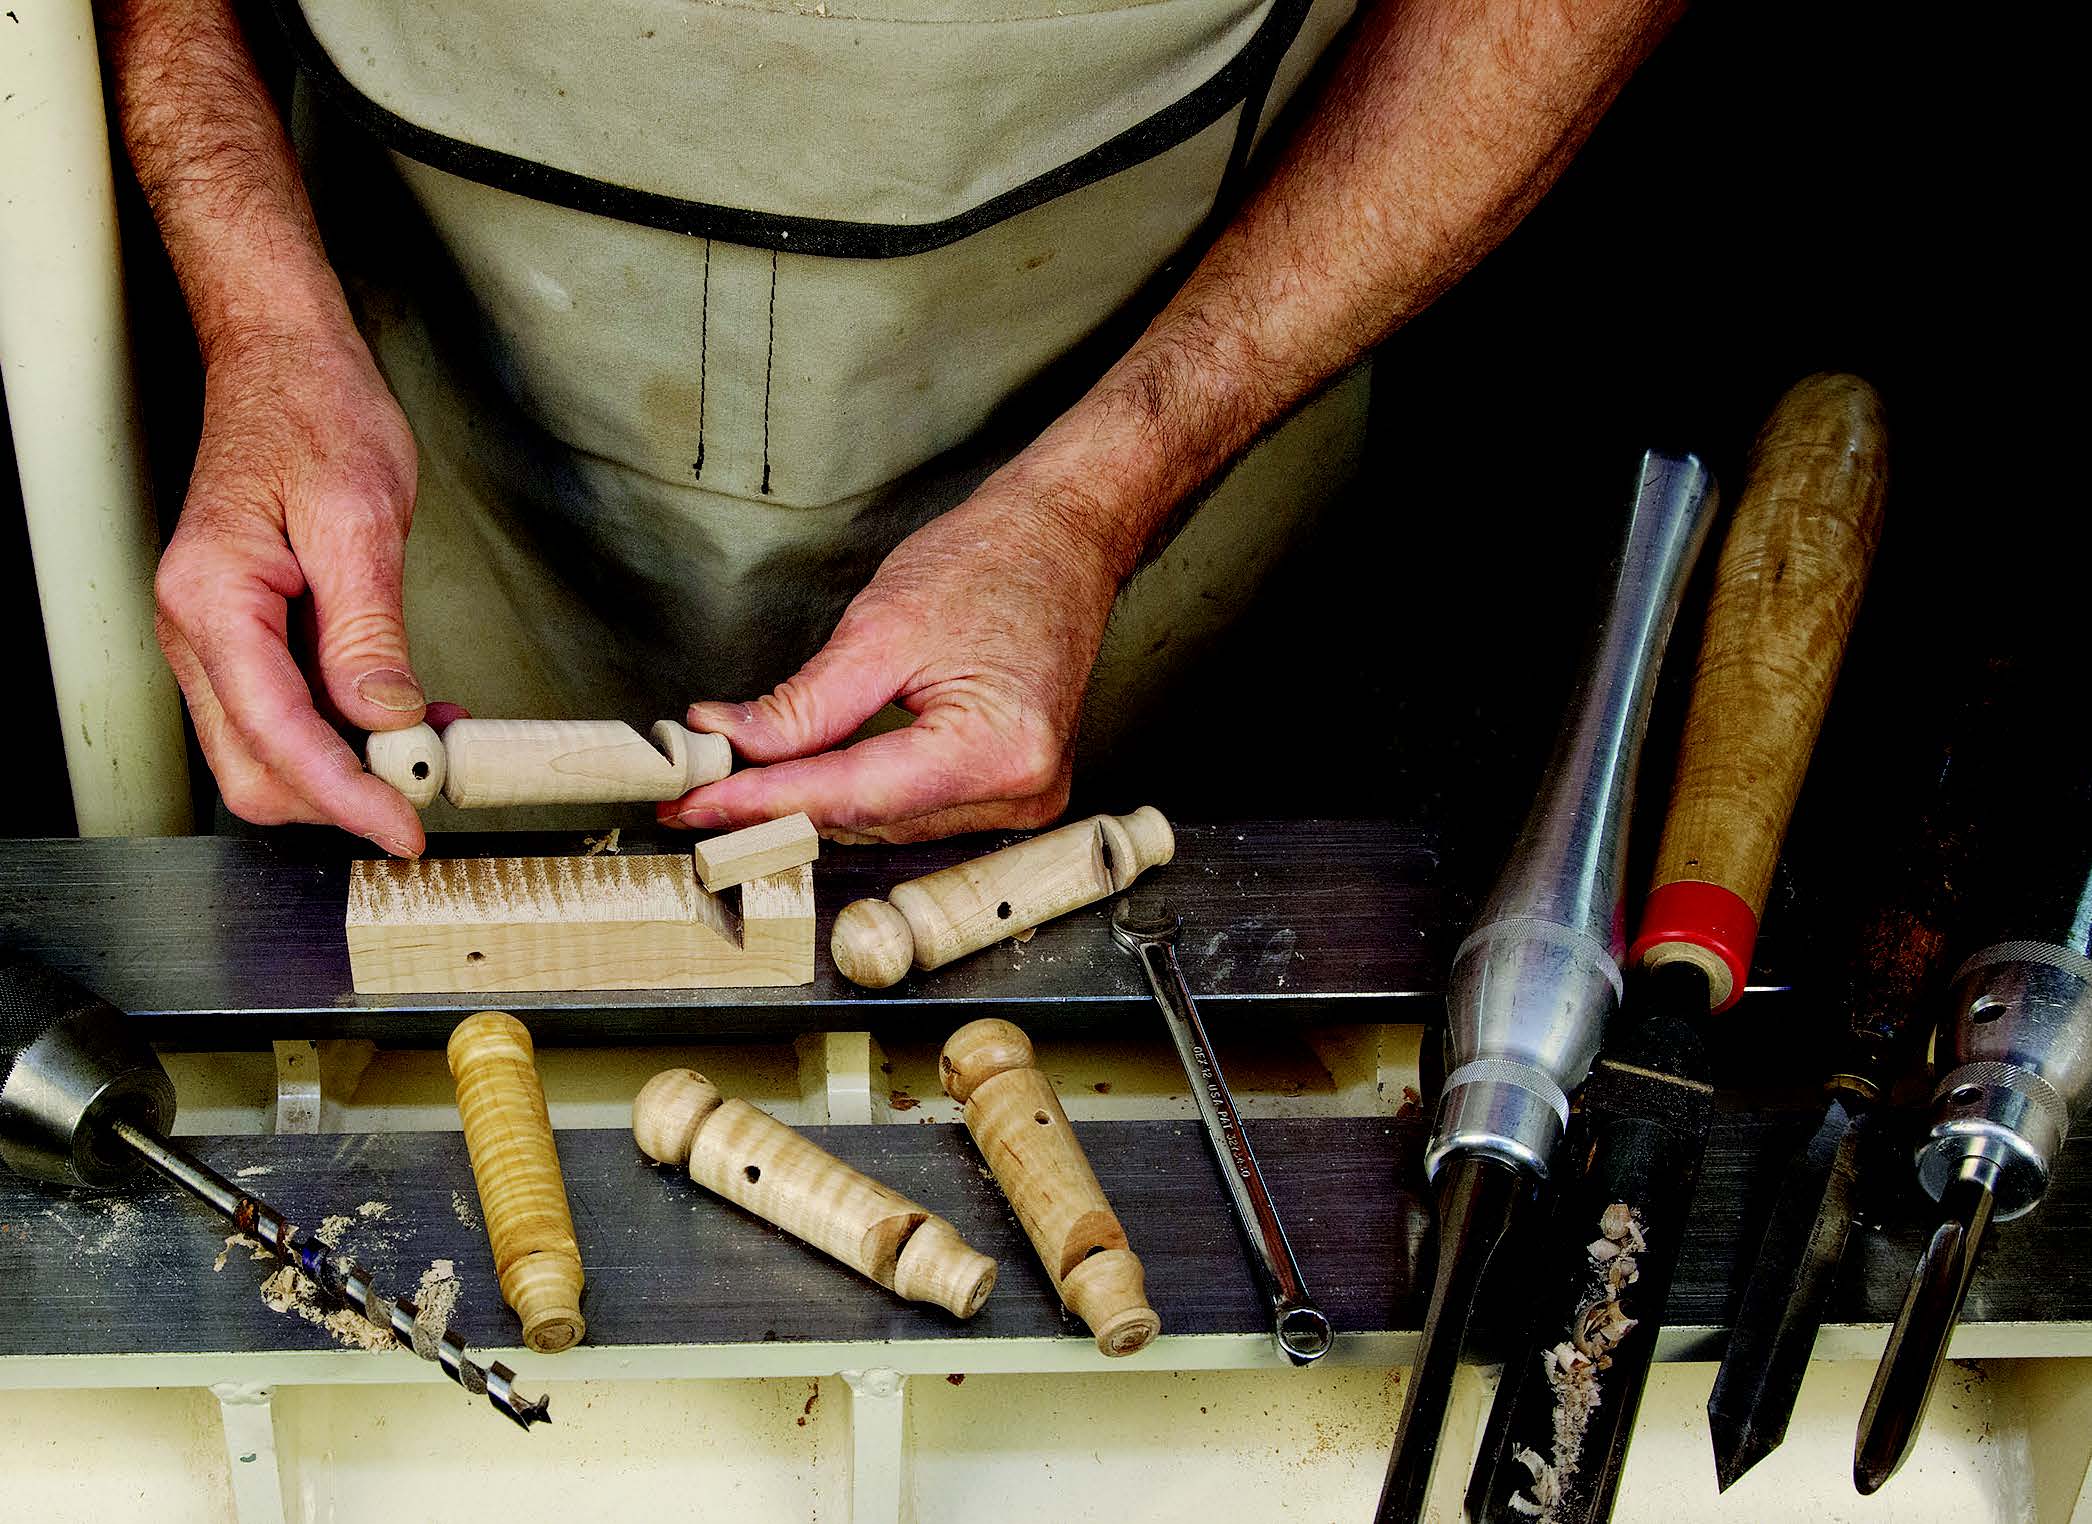
My fipples are tight enough that I do not glue them but, if necessary, a couple of drops of glue make up for fit.
It is important that there not be any fuzzy edges on the bore of the whistle. This is especially true of the 45° side of the notch (the blade), but it also applies to the tone hole and the fipple. All burr and fuzz needs to be eliminated. I roll up a small piece of 220-grit sandpaper and lightly sand the bore to get it smooth and fuzz-free. The old saying “clean as a whistle” must come from this. Dirt, fuzz and whistles do not get along.
With that, you are finished — and it is time to go annoy the neighbors and their dogs.
Click Here to download a PDF of the related drawings.


