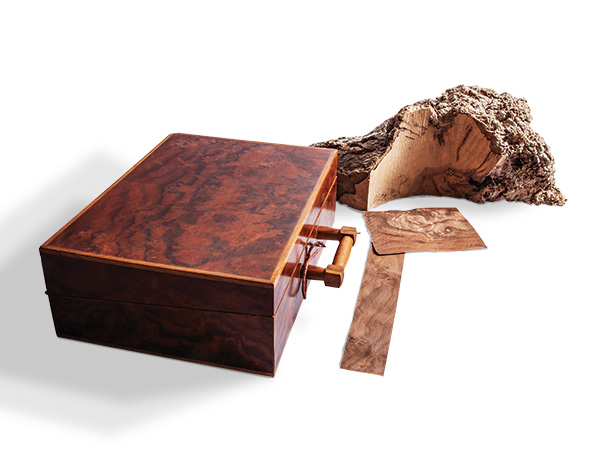
Burls are abnormal tree growths that can occur on a tree’s stem (bole), on the roots or on a branch. Their cause is not completely understood; theories include a genetic tendency or a reaction to either a virus or a fungus. Possibly, all of these factors contribute to a varying degree. Some sources also attribute it to injury.
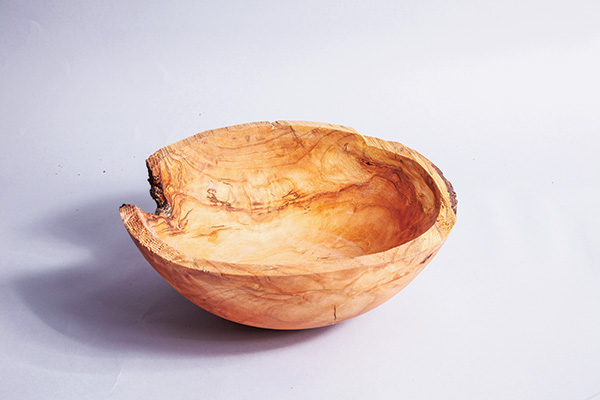
Burls range in size from one that a turner would be hard-pressed to get a 6″ salad bowl out of to thousands of pounds, big leaf maple and redwood being examples of the latter. Today, these huge burls are often slabbed for live-edge furniture.
The comparative rarity and unusual appearance of these wood growths contribute to their appeal for woodturners (and other woodworkers) — but, before you can work with a burl, you have to find it and acquire it.
Finding Burls
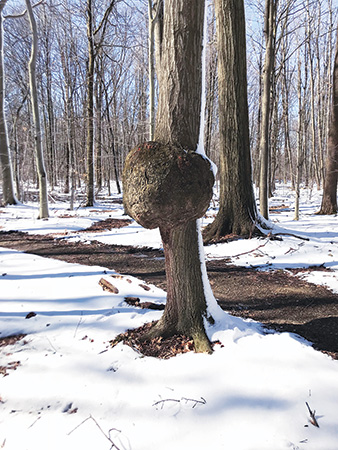
Many burls occur on the roots of a tree but go largely undetected for the simple fact that 60% of the biomass of any given tree is underground. If they occur at about the same rate on the roots as on the aboveground portion of the tree, the chances are 10% higher to have a root burl.
The lumbering industry does not harvest the roots of trees in either selective or clear cutting, leading to many burls going undetected. Nowadays, burl hunters dig up the roots of trees noted for having root burls, such as manzanita, rhododendron and laurel. All of these species are shrubs, making root harvesting easier. A certain number of root burls that are partially visible at the root knees get harvested as well.
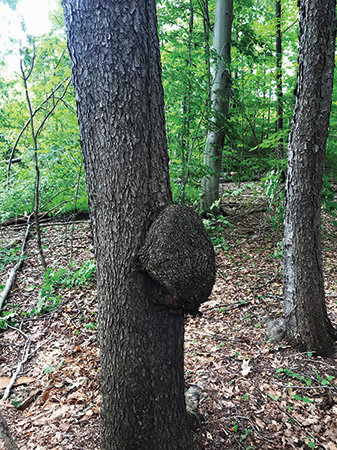
A watchful walk through any hardwood forest will invariably turn up a burl or two. In northeastern Ohio, cherry, maple, oak, buckeye (the Ohio state tree), ash, willow, locust and walnut burls are common.
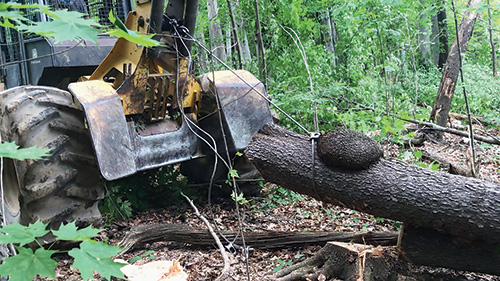
Cherry burls are usually a prominent mound on the tree’s stem anywhere from ground level to just under the canopy. Burls of other wood species vary from a mound to almost surrounding the tree and can extend far up and down the stem as well. Sometimes the tree’s stem is completely covered with burls — a common condition of willows.
Burls are also common in yard trees, such that looking at roadside trees on any drive will turn up quite a number. Tree surgeons frequently encounter them, making these good people for turners to befriend.
Process of Harvesting
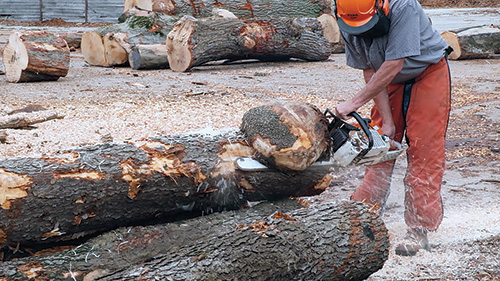
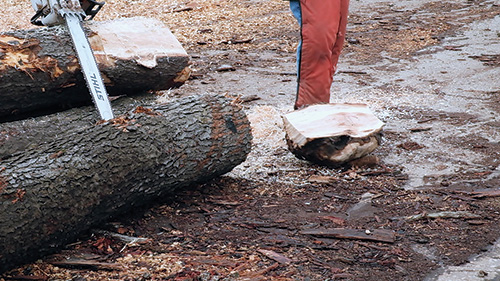
Removing a small burl from a tree is straightforward: simply cut a little below where the burl is attached. Larger burls are not so easy. It is my feeling that harvesting burls is somewhat like cutting diamonds: there is a knack to it.
As you can see on the huge oak burl in the photo, there are three visible lobes to this particular burl. A chainsaw cut down each of these fault lines would be the first order of business. Then the sections would be parted from the tree stem. They end up being like slices of an orange. Each section would be further sawn down to usable blanks or sent to a veneer mill.
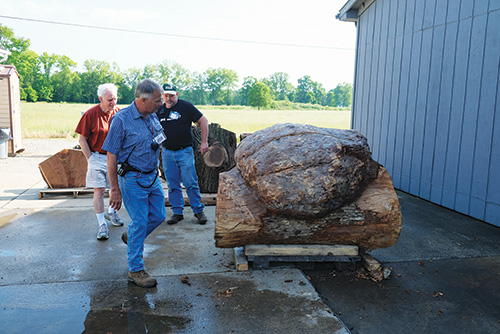
For 35 years, I have bought both kiln-dried wood and burl from Doll Lumber Company, a forestry and sawmill operation which is located about 10 minutes from my shop. In my online video for this article, Jim Doll shows his company’s process for harvesting burl.
Working With Burls
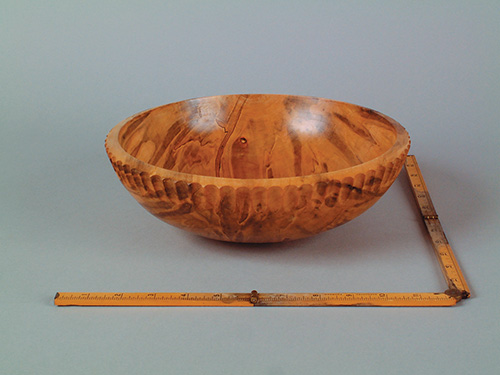
When it comes to working with wood from burls, there are a few things to keep in mind. Burl differs greatly from normal wood in that burl grain grows randomly in interlocking circles. This means that burl can be turned wet but does not change shape much from shrinkage during drying. Because the wood is essentially homogenized, it shrinks fairly equally in all directions.
Sharp tools always are a must, but you can cut in any direction, and scrapers work very well.
Because burl is expensive wood, many turners will make several nesting bowls out of one burl by making cone separations. A very large parting tool (or special curved cutters mounted in a fixture) is employed to cut into the bowl at approximately a 45° angle until only a small tenon is holding the cone, which can then be broken away by inserting a pry bar in the kerf and applying some force.
(I’ll discuss these processes by actually coring several bowls from the cherry burl harvested in this article in my next installment, and I’ll show how to complete the final turning of these cores in a subsequent article.)
Burl must be sanded well. Start with 80-grit and work to 180-grit in small steps.
I finish burl bowls with multiple coats of oil finish, waiting 24 hours between coats and sanding each new coat with finer paper. Second coat is 220-grit with the third and all subsequent coats at 320-grit.
Turning burls is great fun, and I encourage you to give it a try!


