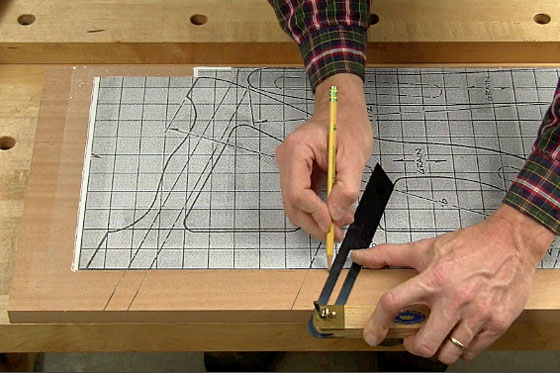
What is the best way to transfer a grid pattern from a schematic to the stock?
Sandor Nagyszalanczy: The old-fashioned way to do this was to simply draw a grid of lines on the surface of the stock that match the “scale” the object’s “schematic” was drawn in. For example, say you want to enlarge a drawing of a decorative plaque up to full-size from a drawing that’s done in 1/4 inch = 1 inch scale. You’d draw a grid of 1 inch squares on the surface of the workpiece, then painstakingly transfer each line and detail from the paper drawing into each of the corresponding square grids on the workpiece.
Fortunately, there are less tedious ways to tackle this chore. If you own or have access to a variable-enlarging copy machine (copy centers, such as Kinko’s, have these), you can simply take your drawing there, and use the machine to enlarge it to its correct full-size. If the copy machine can’t be set for a great enough enlargement in a single pass, you may have to re-enlarge your enlargement two or more times to get up to full-size. Use a tape measure to confirm that the final enlargement is the correct dimensions. Obviously for large pieces, you’ll likely have to enlarge your drawing in several separate sections that can be taped together.
A better method for enlarging big pieces, like a sofa frame or credenza, is to use an opaque projector. You may find one of these at an art supply store, or borrow one from your local college or vo-tech school. You place the machine over your drawing, and it projects the image onto a flat wall, where you tack up your paper for the full-size pattern. Changing the distance between projector and wall changes the amount of enlargement.
Carol Reed: Copy your pattern on an office copy machine, then lay the copied surface face down on the stock and use a warm iron to iron it on.
Richard Jones: If it’s on paper, and already the right size, cut out the pattern and attach it to the wood with spray adhesive. It’s handy to have a copy of the original pattern in case there’s a complete screw-up.


