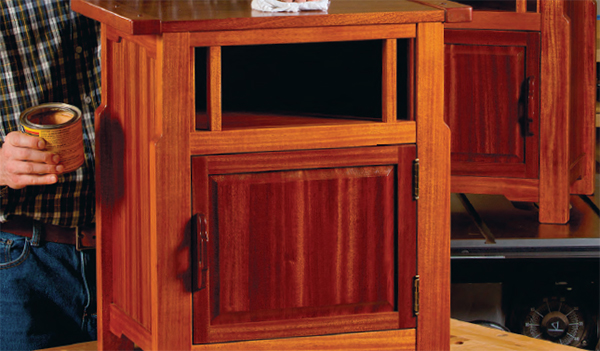
When I delivered my client Jo Ellen her Greene & Greene bed, she soon asked about other pieces that could fill out her bedroom suite. So, this custom nightstand is the second installment. I used quartersawn mahogany to capitalize on its handsome ribbon-stripe grain pattern, which also gave me the chance to try my hand at vacuum-bagging the side panels’ special quarter sawn veneer. In all, it’s an ambitious and fun project that’s well worth your effort.
Making the Legs
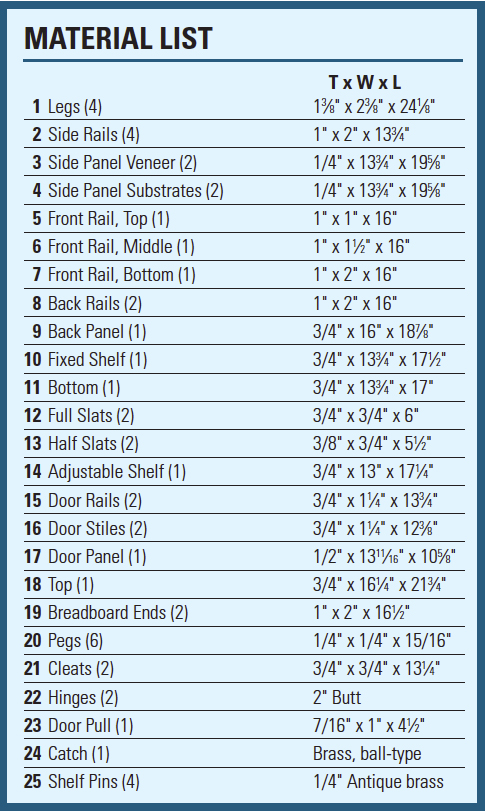
The Material List lists quantities for one nightstand, and that’s how I’ll describe the building process here. Double the part list if you build two. Round up some 6/4 stock for four legs, and mill them to final-sized blanks, then study the Drawings carefully. You’ll see that the side panels fit into long grooves, and the fixed shelf and bottom panel slip into shallow dadoes that intersect those grooves.
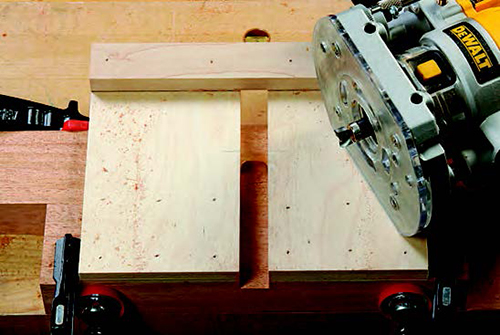
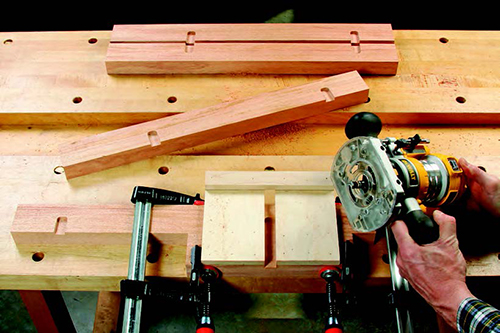
So, start with those pairs of short dadoes. I routed mine using a simple shop-made, slotted jig. Mill these 1/4″ deep. Be sure to mirror the dado orientations on the front and back leg pairs. Then, head to the router table to rout the 1/4″-deep side panel grooves with a 1/2″ bit. Stop them 2-1⁄4″ up from the leg bottoms.
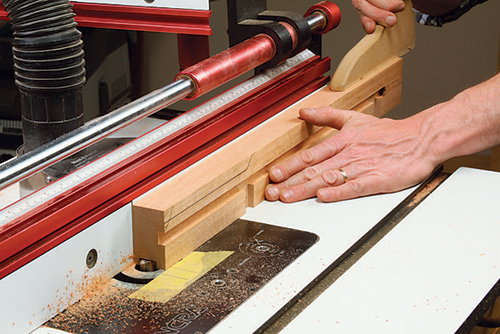
While you’re still at the router table, and with the same bit, you can cut 1/4″- deep mortises on the inside edges of the front legs for the top, middle and bottom rails. The 3/4″-long top rail mortise is open at the tops of the legs, while the middle rail’s 1″- and bottom rail’s 11⁄2″- long mortises are closed on the ends, as usual. Position them all 3/8″ back from the front faces of the legs.
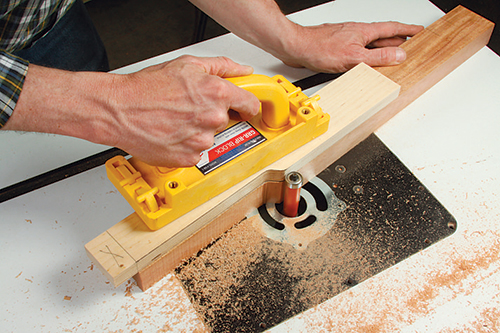
This project’s back panel is 3/4″ thick, so switch to a router bit appropriate for your plywood thickness (I used a 23/32″-diameter undersized plywood bit) and mill the back panel grooves 1/4″ deep. Set your router table fence so these grooves are located 1/4″ in from the outside faces of the back legs. Stop them 1-3⁄4″ up from the leg bottoms. With the leg joinery now tackled, you can chisel all the groove and mortise ends square. Then, make a short template of the legs’ cloudlift shape from scrap, and use it both to trace leg profiles for initial rough-cutting at the band saw, then to template-rout the cloudlifts to final form. Drill some shelf pin holes in the legs now, too — those will be much tougher to do later.
Building the Side Assemblies
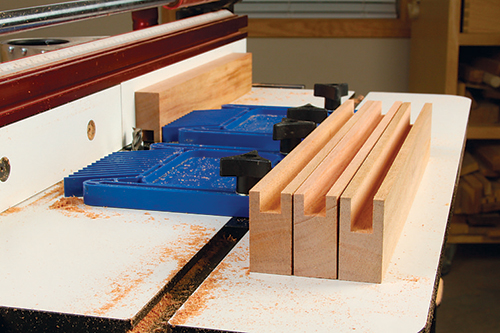
The side rails are your next order of business. Cut four blanks to size, and head back to the router table to mill their side-panel grooves. Notice that, while these centered grooves are all 1/2″ wide, the bottom side rail grooves happen on top and are 1/2″ deep, while the top side rail grooves are situated on their bottom edges at 3/4″ deep; label your rails and work carefully. Once the grooves are cut, raise 1/4″ tenons on the rail ends at the router table or table saw. Then, make a double cloudlift template so you can mill these shapes onto the bottoms of the rail edges, too.
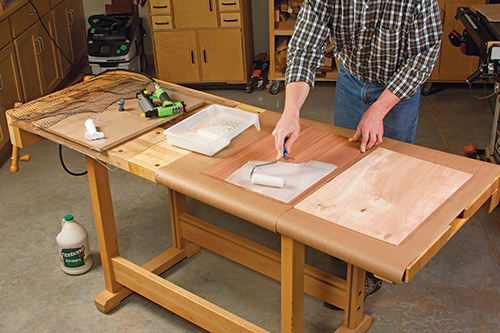
Given the striking pattern of the door and top’s ribbon-stripe figure, it would have been a shame for the side panels to be made from mediocre-veneered plywood stock. Why not make these side panels showstoppers, too?! So, I resawed and glued up some 3/8″-thick panels of quartersawn mahogany for the side panel veneer, then planed those down to 1/4″ thick. I cut backer panels for these veneers from 1/4″ mahogany plywood, which fattened the overall side panel thickness to 1/2″.
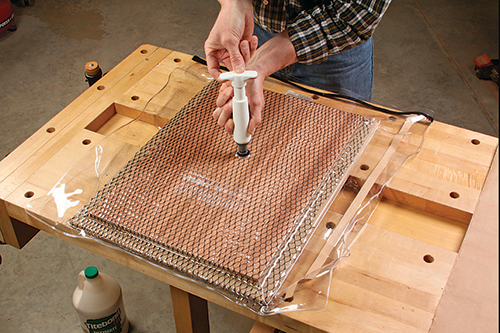
You could use a conventional veneer press and armloads of clamps to glue and press the veneer and substrates together, but when I laid up these two panels, I tried a 26″ x 28″ Thin Air Press™ Kit from roarockit.com instead. Vacuum pressure alone does the clamping work beautifully.
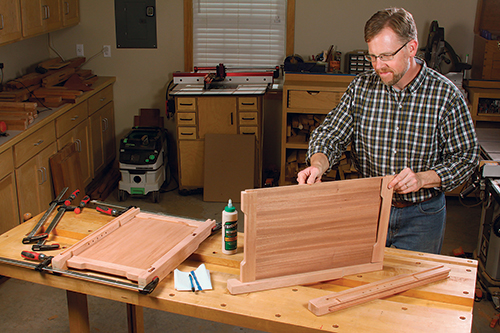
Once my two custom-veneered panels were out of the bag, I trimmed them to final size. Final-sand and glue up the legs, rails and side panels into two side assemblies. Set them aside for now.
Assembling the Carcass
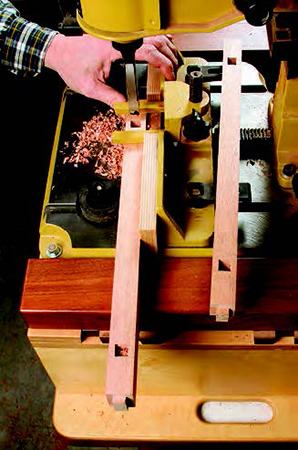
There’s plenty left to do while the side assemblies dry. Continue on by following the Drawings to make top, middle and bottom front rails with 1/2″-thick, 1/4″-long tenons on their ends to match the front leg mortises. The bottom front rail receives a cloudlifted bottom profile. The middle and top rails will also need a pair of 1/2″ x 1/2″-square mortises, cut 1/4″ deep, along their inside edges to house the full slats, yet to come.
Make two back rails now, as well. These receive centered, 1/4″-deep grooves along their inside edges to house the plywood back panel. Cut the grooves carefully: their width needs to match your plywood thickness, and the walls of the grooves are just 1/8″ thick. When the grooves are done, mill 1/4″-long tenons on the back rails; their thickness must match the groove width on the inside faces of the back legs. Then template-rout a cloud lift profile along the bottom edge of the bottom back rail to match the front bottom rail.
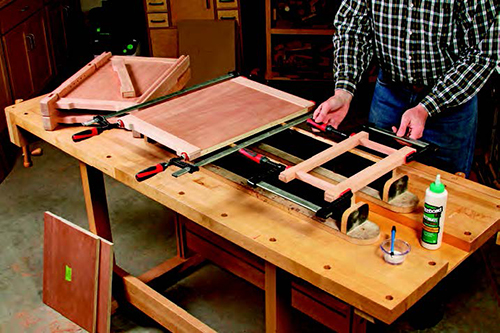
You’re ready to cut plywood blanks to size for the back panel, fixed shelf and carcass bottom. After a light sanding with 180-grit paper, bore pocket screw holes into the bottom faces of the fixed shelf and bottom panels along their front edges: they’ll connect to the rails, later.
Create blanks for the two 3/4″ x 3/4″ x 6″ full slats next, then form 1/4″-long tenons on their ends to fit the top and middle front rail mortises.
It’s time to dry-assemble the rails, slats, back, fixed shelf and bottom on the side assemblies to check the fit of all the carcass parts. If everything registers well, glue the back panel into the back rails to create a third subassembly. Form a fourth glue-up of the top and middle front rails and slats.
Bring the four subassemblies together again in another dry fit. Rip and crosscut two half slats to fit against the legs between the top and middle front rails. Glue them to the legs to wrap up the last of the carcass parts you’ll need. At this point, stain and topcoat these big components while you can still lay them flat.
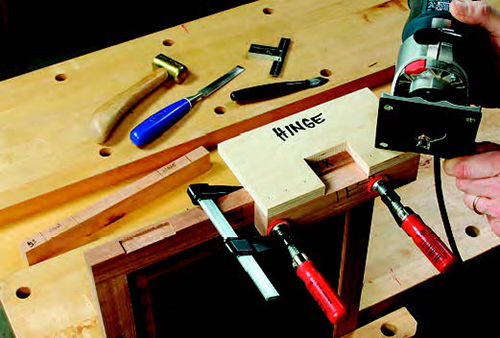
When the finish cures, cut the two hinge mortises on the inside edge of one front leg, depending on which way you want the door to swing. You can rout or chisel these shallow mortises; I made a simple clamp-on routing jig for this job and routed the hinge mortises with my piloted hinge-mortising bit.
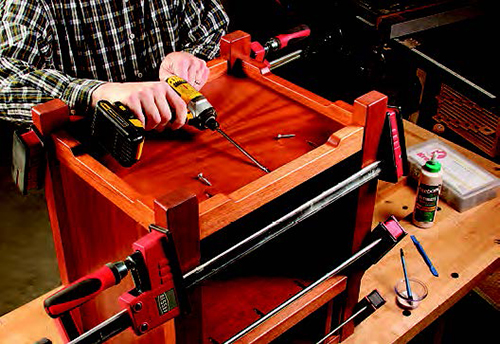
You’re finally ready to glue and clamp the carcass together, with all the parts you’ve made so far. While you’re at it, drive 1-1⁄4″ pocket screws through the fixed shelf and bottom panel to draw these panels tight to the front rails.
Glue up a panel of solid wood for the adjustable shelf next, and trim it to final size. Check its fit inside the carcass before you sand, stain and apply finish.
Making the Door
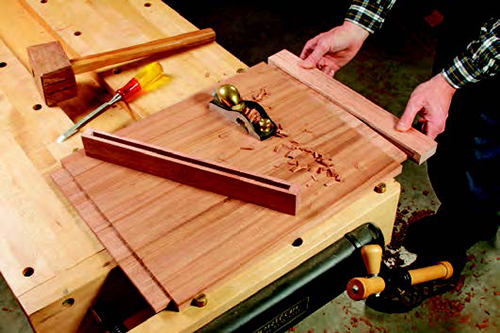
The door’s construction is stone-simple cabinetry work: stub tenons on the ends of the rails fit into the grooves in the stiles that also house the center panel. Start by milling stock for the door rails and stiles. At your router table or table saw, plow 1/4″-wide, 3/8″-deep continuous grooves along the inside edges of all four door frame parts for the center panel. Then machine 3/8″-long stub tenons on the ends of the rails using a dado blade in your table saw or at the router table. Lastly, glue up a 1/2″-thick panel of solid wood for the door panel, and trim it to fi nal width and length.
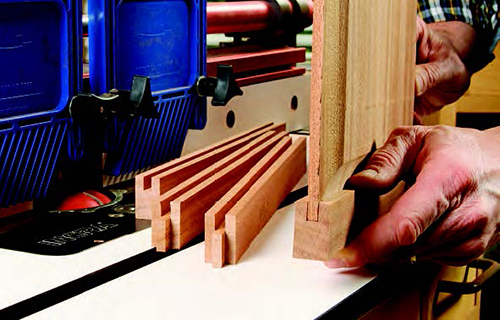
I used a cove-shaped, raised-panel cutter in the router table to add curved profiles around the front face of the door panel, and to reduce its edges to slip into the frame grooves. (It’s the same bit I chose for the bed’s two center panels.) Shape the panel in several rounds of passes, raising the bit about 1/16″ each time, to minimize burning.
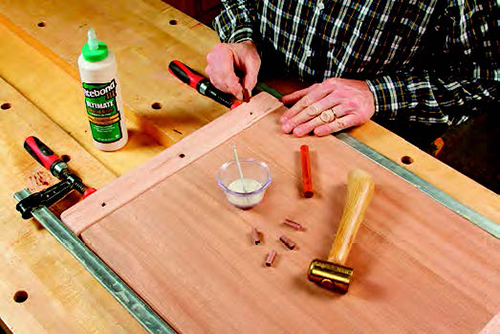
Sand the door frame parts and panel, then go ahead and stain and finish the door panel now. When that cures, glue up the door frame with the panel installed: this enables you to trim the “raw” frame to fit its opening, scrape or sand the corner joints fl at, if needed, and cut the door hinge mortises. Once these tasks are done, stain and finish the door frame to complete it.
Forming the Top
Breadboard tops with thicker ends are quite common on Greene & Greene furniture, and the ends of this top provide 1/8″ “step-ups” that add attractive shadow lines where they meet the thinner center panel. Glue up the top’s 3/4″ center panel, and cut a pair of 1″-thick blanks for the two end pieces.
Since my panel is made from quartersawn mahogany, its cross-grain wood movement will be minimal. So, I resolved that its tenons could be continuous, rather than divided up — an otherwise typical necessity for wide breadboard panels made of more reactive, flatsawn stock.
I started by routing 3/8″-wide, 1-1⁄4″-deep continuous mortises in the breadboard ends, stopping them 1/2″ short of each end and centering them on the part thicknesses. The panel received matching tenons at the table saw, followed by a quick trip to the band saw to trim their end shoulders 5/8″ shy of the panel edges. After rounding their corners, I installed the breadboard ends with a bead of glue along just the middle 6″ of tenon length, and three 1/4″ x 1/4″-square pegs driven into mortised holes through the tenons. The center peg fits tight in the tenon, but the two outer pegs are nested into 1/2″-long slotted holes in the tenons that run cross-grain. This enables the panel to expand and contract while still staying centered on breadboard ends. I gently sanded the top ends of the pegs to “pillow” them before tapping them home. Their tops protrude 1/16″ above the faces of the breadboard ends — a nice tactile detail.
Finishing Up
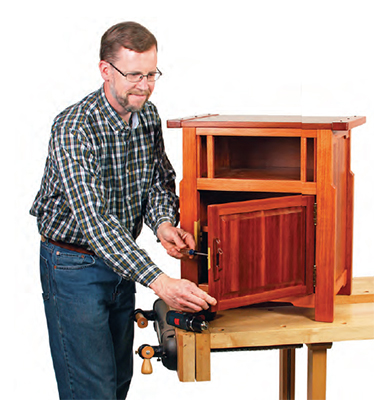
Once you’ve applied finish to your top, install it with a pair of cleats screwed to the top insides of the side rails. I used four attachment screws for the top: the front two are driven into round pilot holes in the cleats and the back two fit in slotted holes.
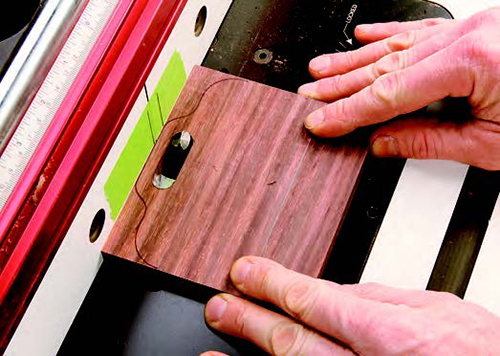
After hanging the door on its hinges, I made a cloudlifted pull for the door and mounted it with a pair of countersunk #8 x 1-1⁄8″ wood screws. A ball catch came last to hold the door closed. Rest the adjustable shelf inside on its shelf pins, and your graceful nightstand is ready for bedside sentry duty. Jo Ellen’s are next to hers now.
Click Here to download a PDF of the related drawings.


