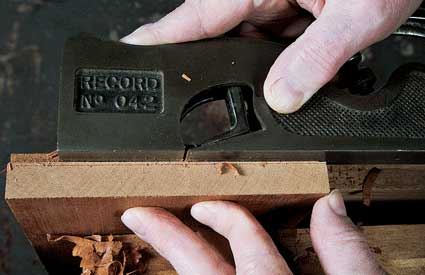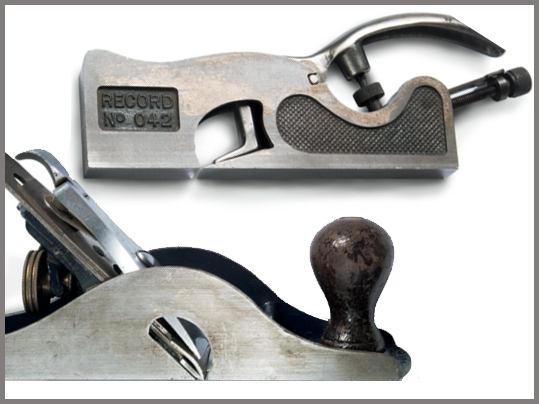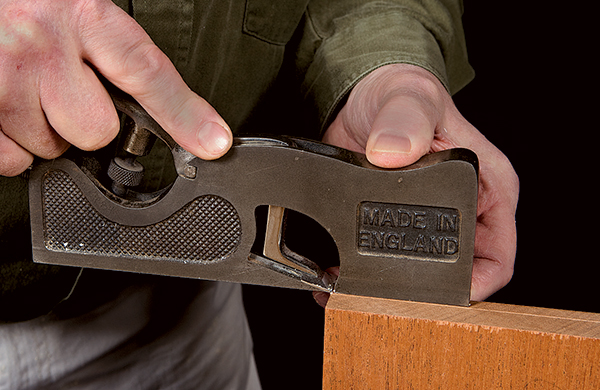
A shoulder plane’s blade is as wide as the sole of the plane, making it perfect for removing material in the corner of a rabbet.
The shoulder plane and its more robust cousin, the coachmaker’s plane, differ from a bench plane in one significant way — the cutting edge of the blade is as wide as the sole of the plane. This means that they can remove material in the corner of a rabbet, a very handy woodworking task, regardless of the mode of operation.
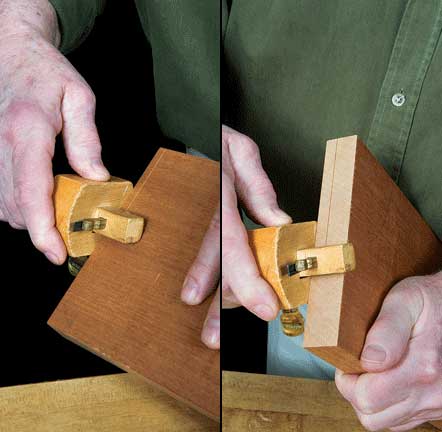
Begin by preparing the workpiece with the end square to the face and edge. Then mark out the width and depth of the rabbet with the cutting edge for both the end grain and long grain.
1. The cutting gauge is fitted with a knife sharpened on one side only. The bevel side of the knife must face the fence of the gauge so that the edge of the rabbet is marked square by the flat side of the knife. If the knife were reversed or a marking gauge were used instead, the upper edge of the rabbet would have a small chamfer.
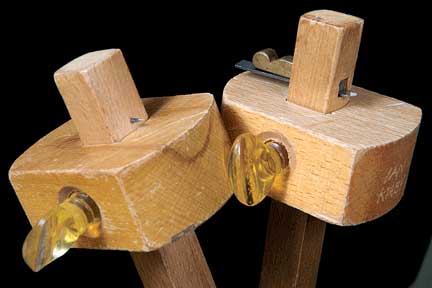
2. Marking out an end-grain rabbet (photos 2) is done in much the same manner as marking out a single-lap dovetail — and the cutting gauge is the best tool for the job.
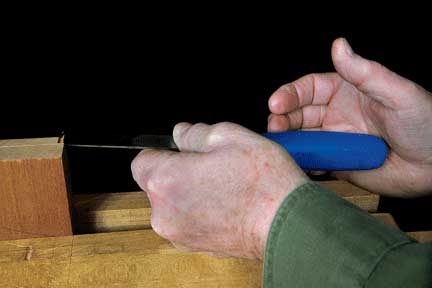
3. To prevent tearout, position the workpiece in the vise and chamfer the end of the rabbet right down to the finish line. Turn the chisel flat face up, position the edge halfway down the rabbet, and give it a smart tap with the heel of your hand.
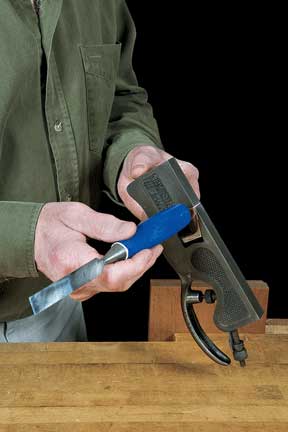
4. Because the blade is a good 1/64″ wider than the sole, you must set the blade so that its edge is aligned with the side of the sole. With the end of the handle of the chisel, tap the blade to be in line with the edge of the sole. Neither blade nor handle are damaged by this operation.
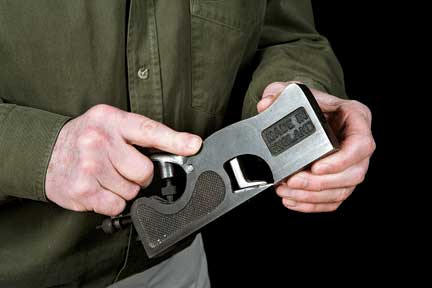
5. You are ready to cut. The grip is fairly intuitive. Three fingers of your right hand go through the handle to meet the thumb. The index finger, like the grip on most tools, points forward. The left hand holds the front end of the tool, thumb on top in the depression, fingers under the sole ready to act as a guide fence. Proper setup and grip precede the practice cuts.
6. The first pass is critical: you have to stay on your side of the line — but this is not a time to be timid. What is required is a lot of controlled propelling pressure from the right hand, a lot of downward pressure from the left hand, plus a tight grip so the guide fingers on the sole present a firm buttress to keep the tool on track. All this is performed in slow motion.
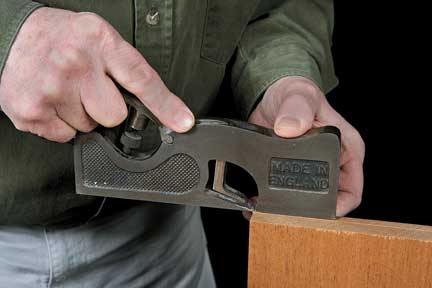
7. Once you have established a shoulder, you can move along at a pace that gets the shavings coming quickly, as seen in the photo.
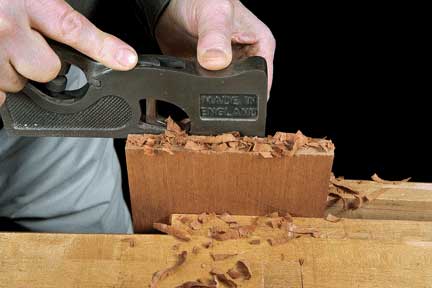
8. When you near the line, it’s time to clean up the vertical wall. Setting the blade flush as we did at the outset will not give a clean vertical wall. In fact, you never try to cut both walls at once. This sloping “vertical” wall is just as it should be. You now turn the body of the plane horizontal and cut the vertical wall.
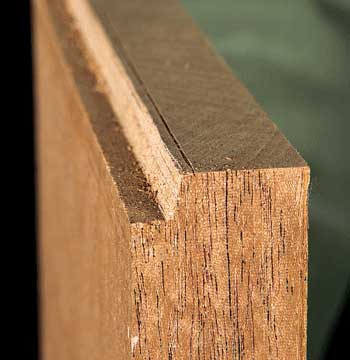
9. To make this cut, hold the plane in the right hand. (The view of the photo is from the top of the board looking down.) The left hand acts as a steady in contact with the workpiece. Once you have removed the bulk of the waste, set the blade to remove fine shavings. Planing down to the line and getting a right angular corner normally requires alternately removing a shaving or two from the vertical face and the horizontal face.
