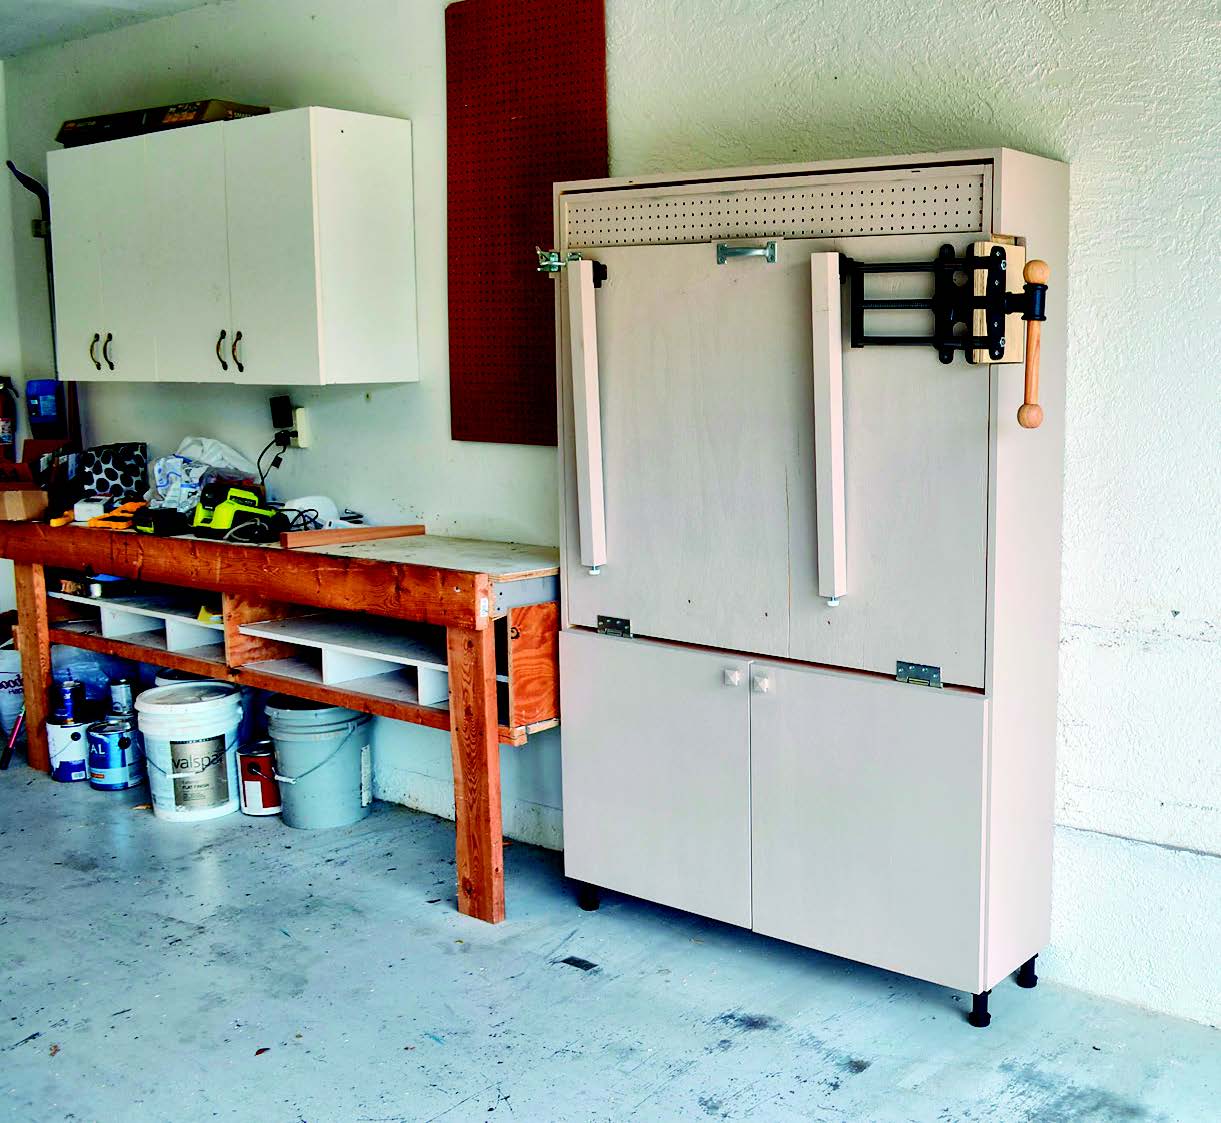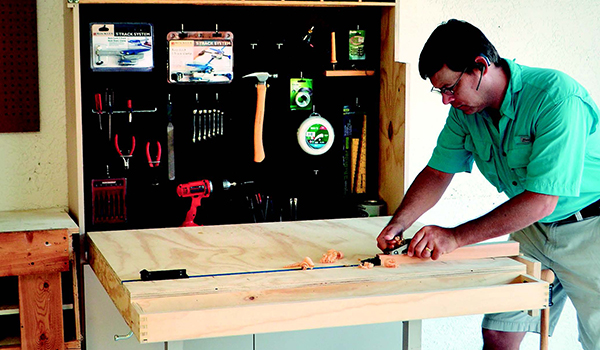
These days, my shop is in a rental space, but there are still plenty of projects to do around my home, so I needed to come up with a functional workbench that would not take up parking space when not in use. The obvious solution was to create a foldaway bench.
The result is this article. The 4-ft.-wide by 3-ft.-deep workbench is built as a torsion box to make it strong, stiff and light. The cabinet is bolted to the wall to keep it secure and stable, and the work surface covers the tools and upper storage area when closed.
Cutting the Parts
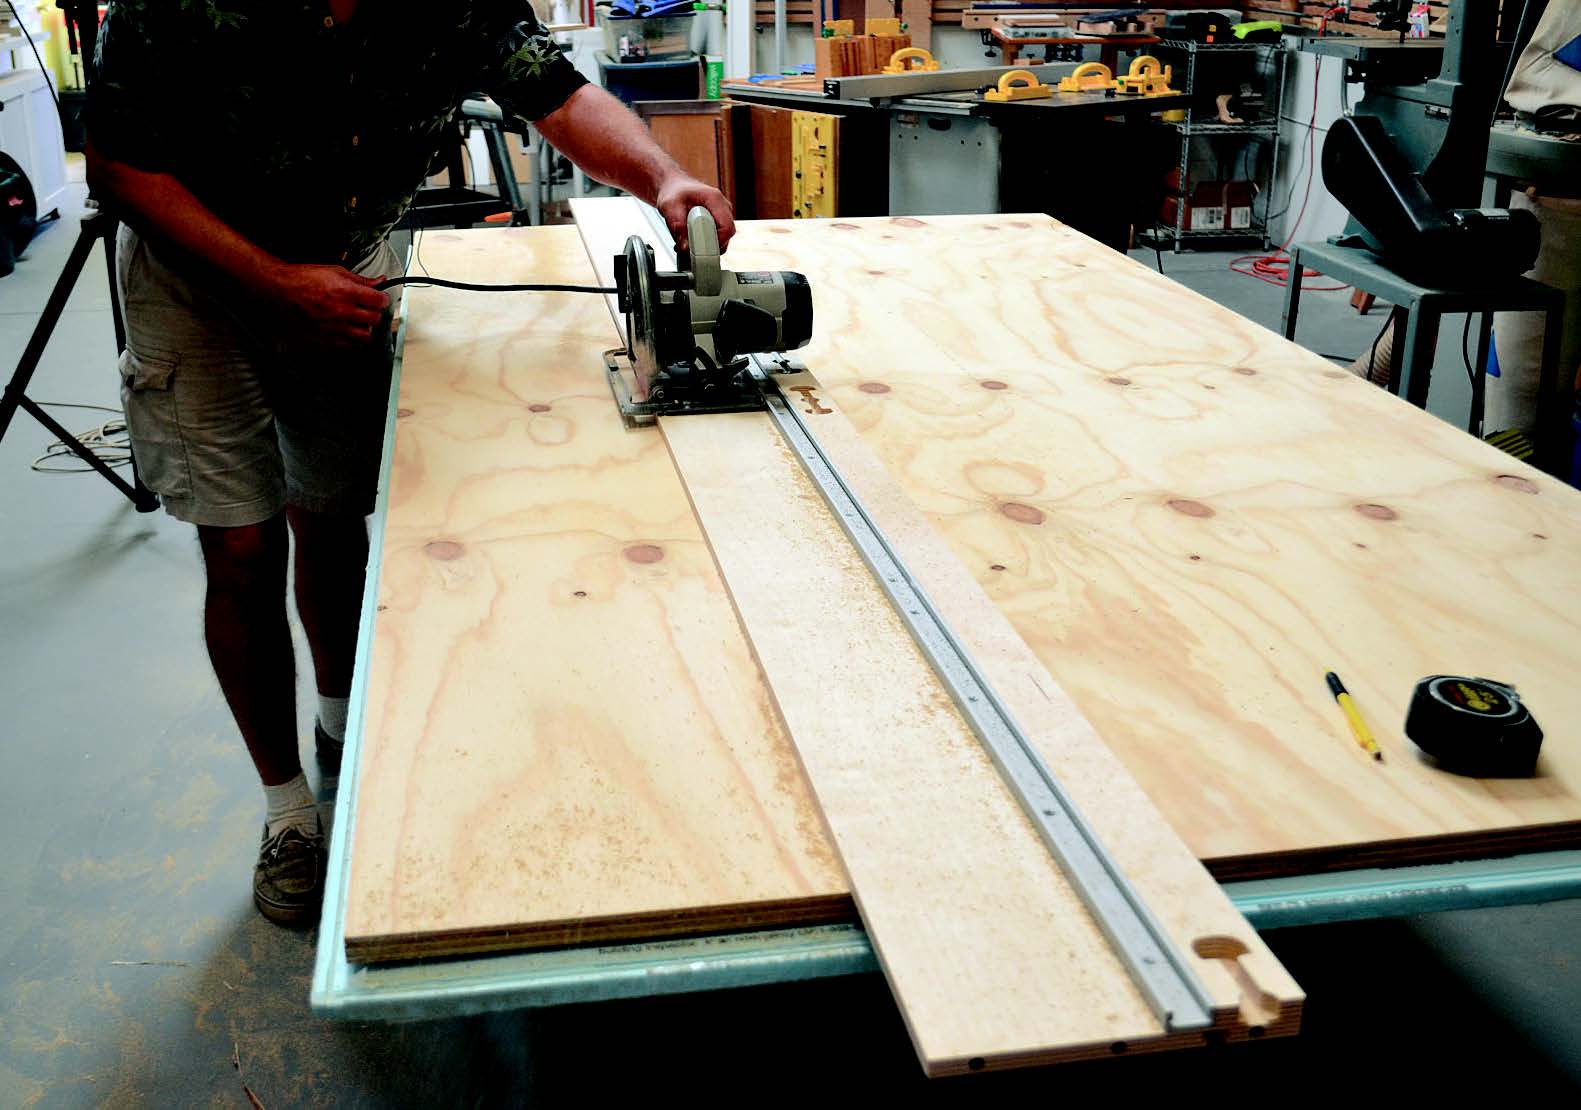
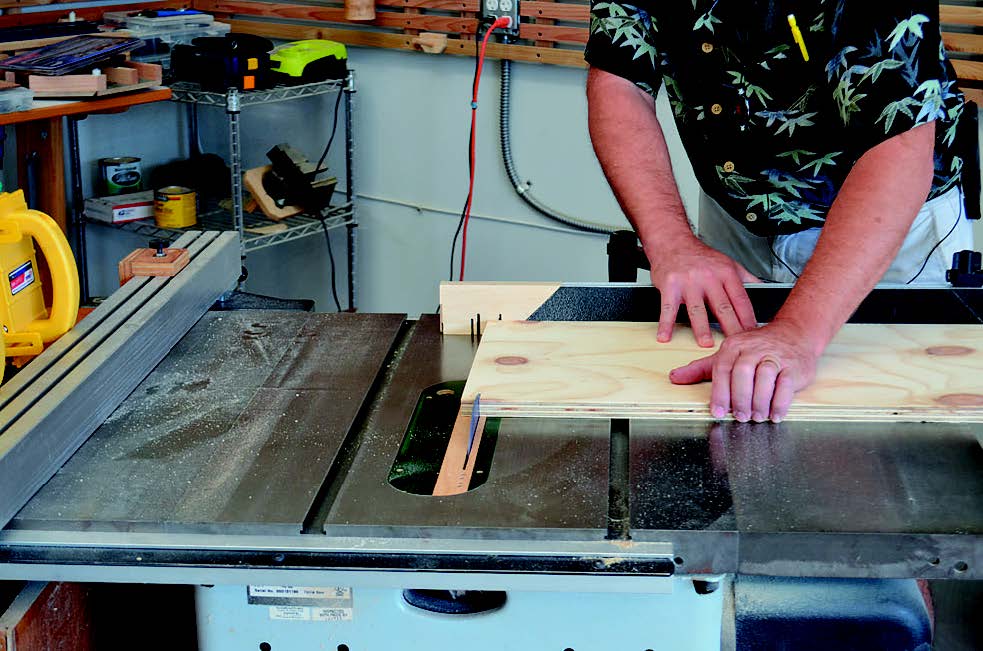
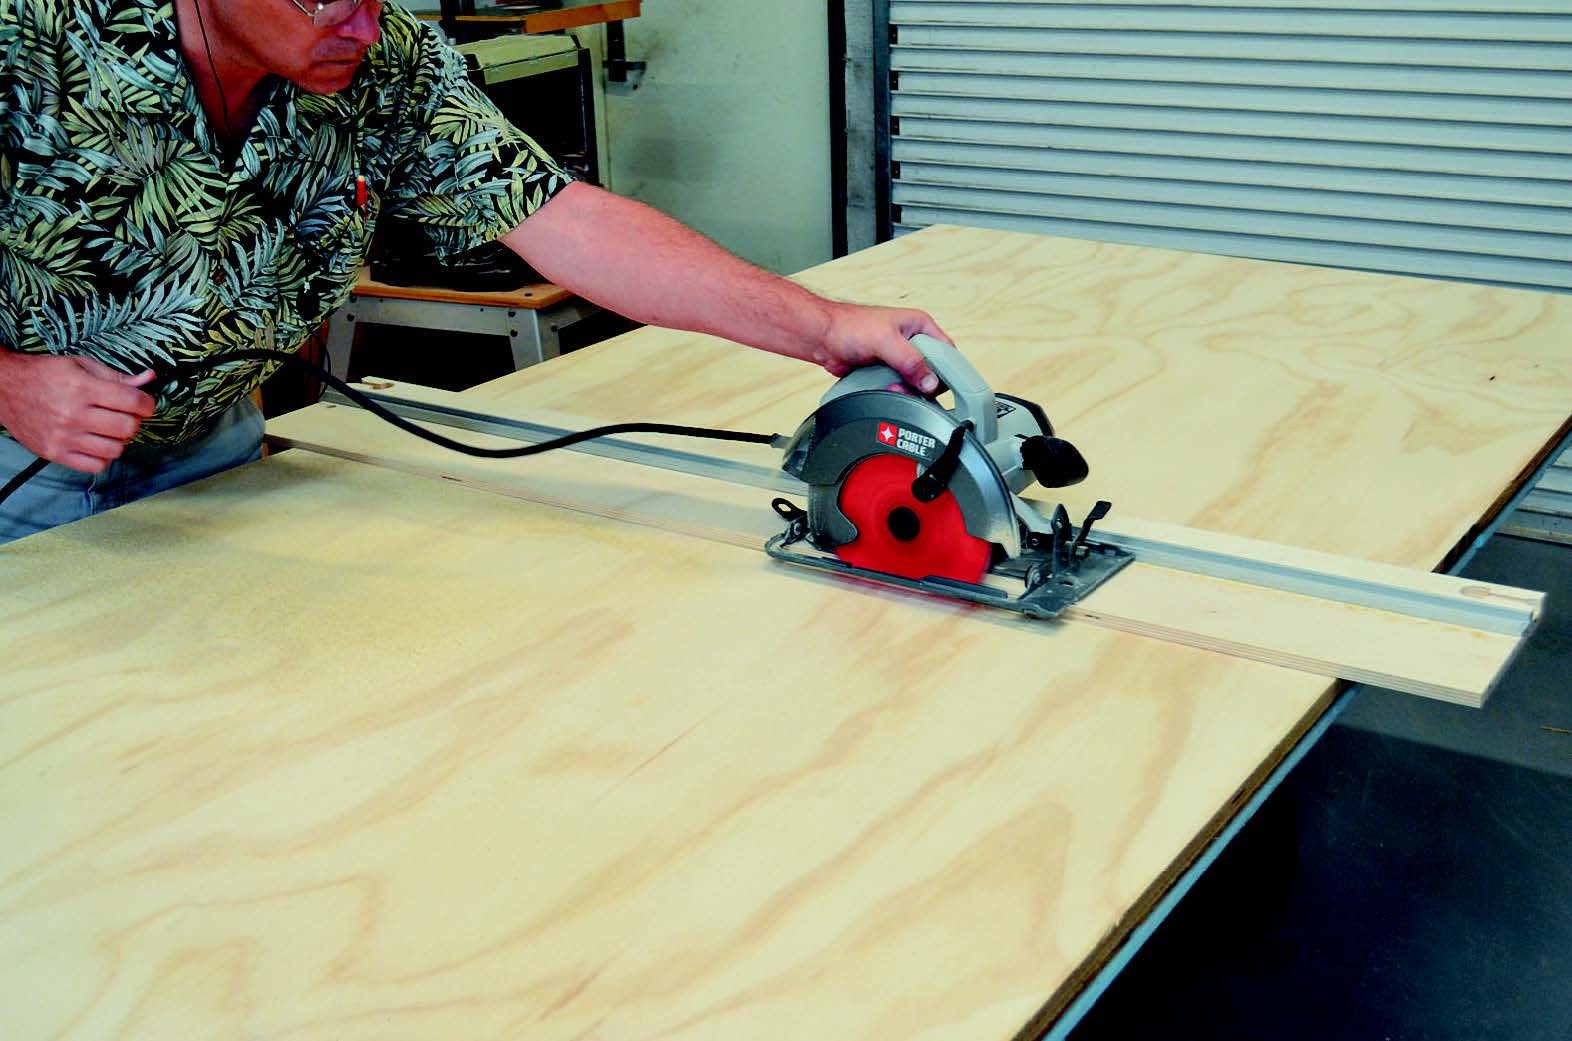
I prefer to use a circular saw and straightedge to reduce full sheets of ply as much as possible prior to final trimming at the table saw. The first step is to cut the cabinet sides. Set your straightedge to cut two 113⁄4″-wide strips, and crosscut the two sides to 68″ long.
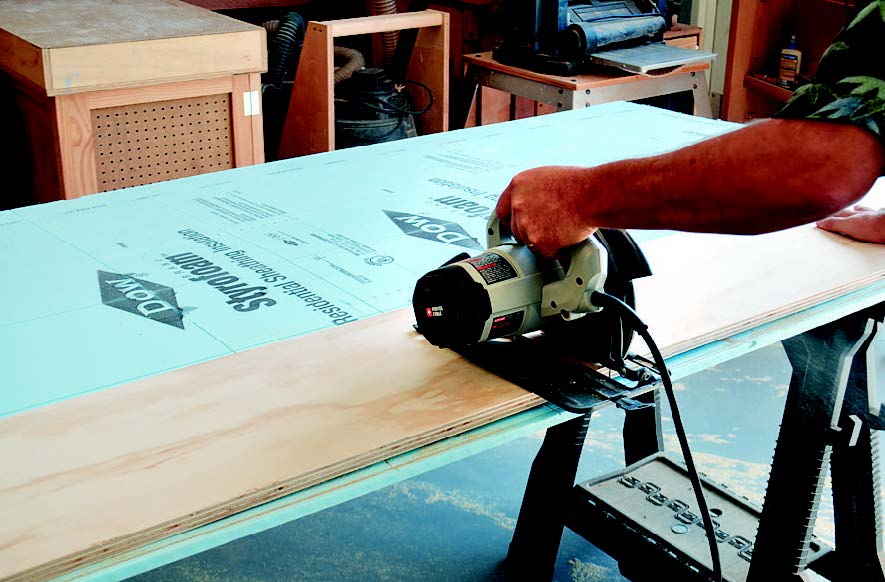
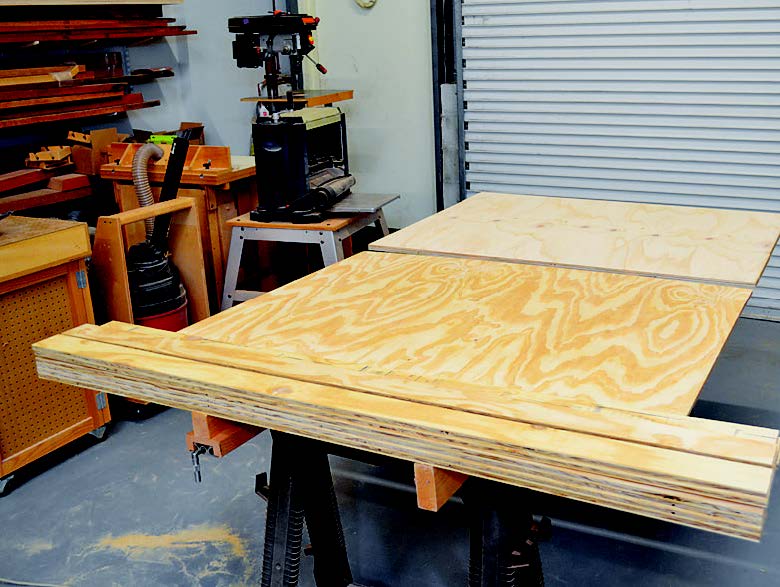
The rest of the large parts can be cut at the same time. The bottom, top and shelf are cut from the same sheet. The back is cut from one of the 1/2″ sheets. The top and bottom of the torsion box will be trimmed to size after assembly, so they simply need to be rough cut to the size listed in the Material List.
Making the Torsion Box
The work surface folds into the cabinet, so it needs to be as light as possible, but strong and stiff. A torsion box is the perfect solution. A grid framework is covered top and bottom with plywood. This gives the stiffness, but not the weight, of a solid bench top.
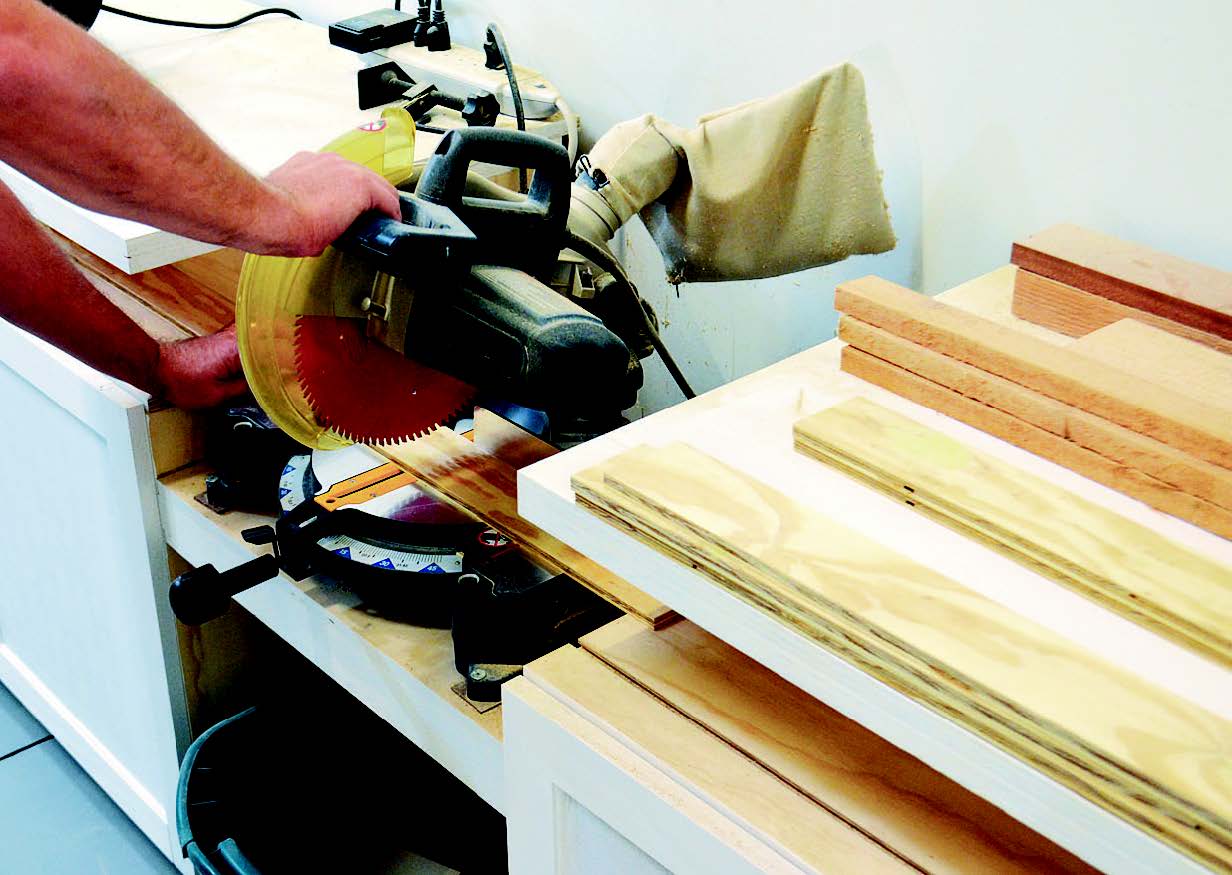
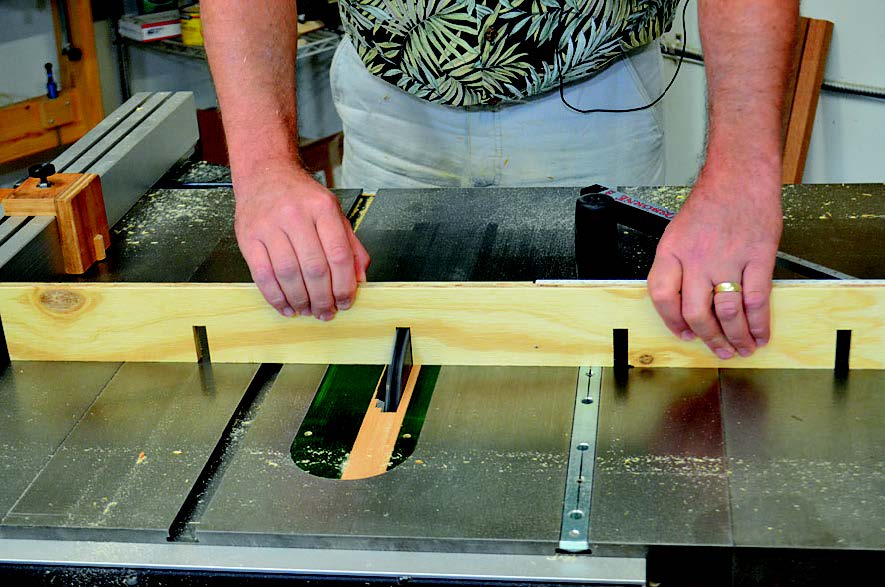
The ribs and sides are cut from the remainder of the 1/2″ sheet. These all need to be the same height, so rip them all at the same time. Crosscut both the upper and lower ribs to final length. The ribs are half-lapped to form the internal grid. Cut all the half-laps in the upper ribs at the same time, then cut them in all the lower ribs.
Dry-fit the framework so the sides and ends can be crosscut to exact length. Wrap the sides and ends around the ribs, marking and cutting them to exactly fit around the assembled grid. Building the torsion box can now begin.
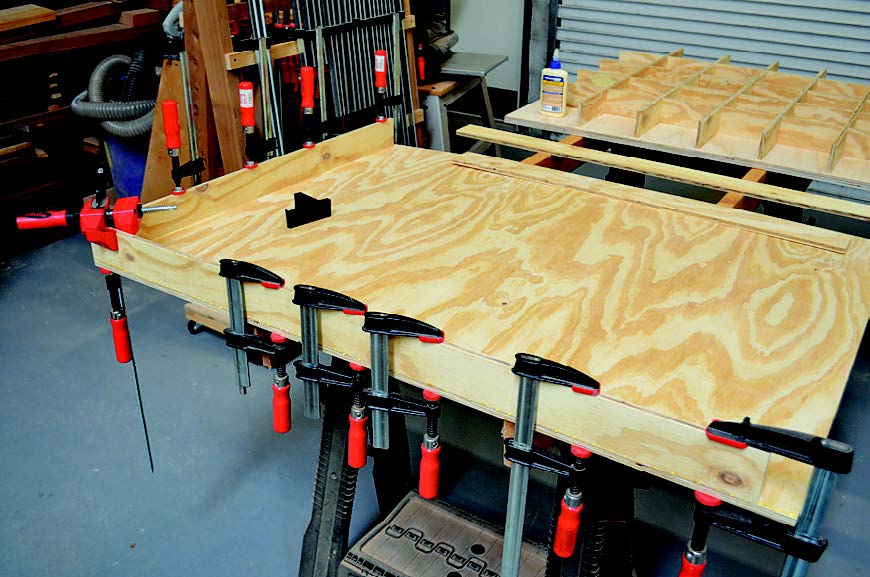
Start by gluing and clamping one of the long side parts to the 1/2″ plywood torsion box base. The base and top are cut oversized to be trimmed flush with the grid after assembly, so the side is attached just inside the edge of the base. Next, glue and clamp one of the ends, forming a square corner from which to work.
Now attach the lower ribs to the base one at a time with the half-laps facing up. Clamp the upper ribs in place to keep the lower ribs properly oriented as you work. Glue along the lower edge of the ribs and up the edges that meet the side.
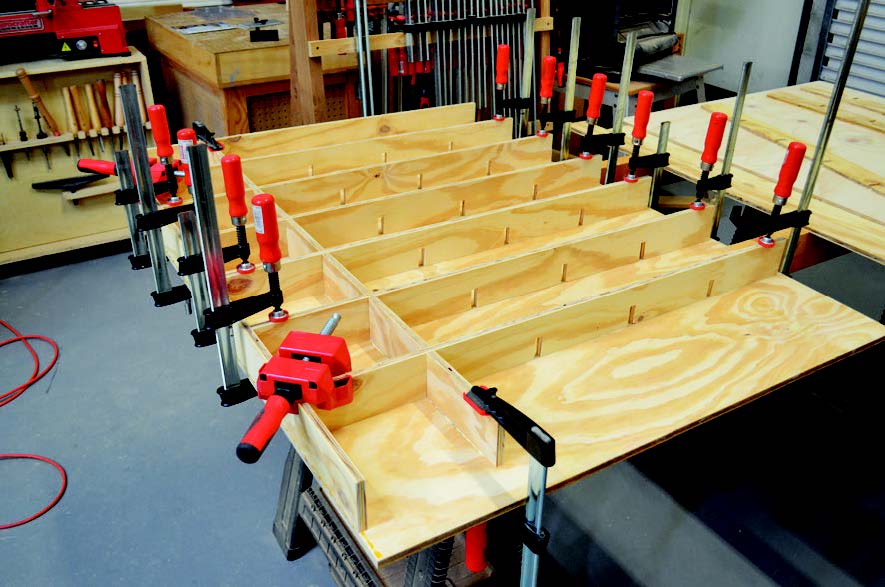
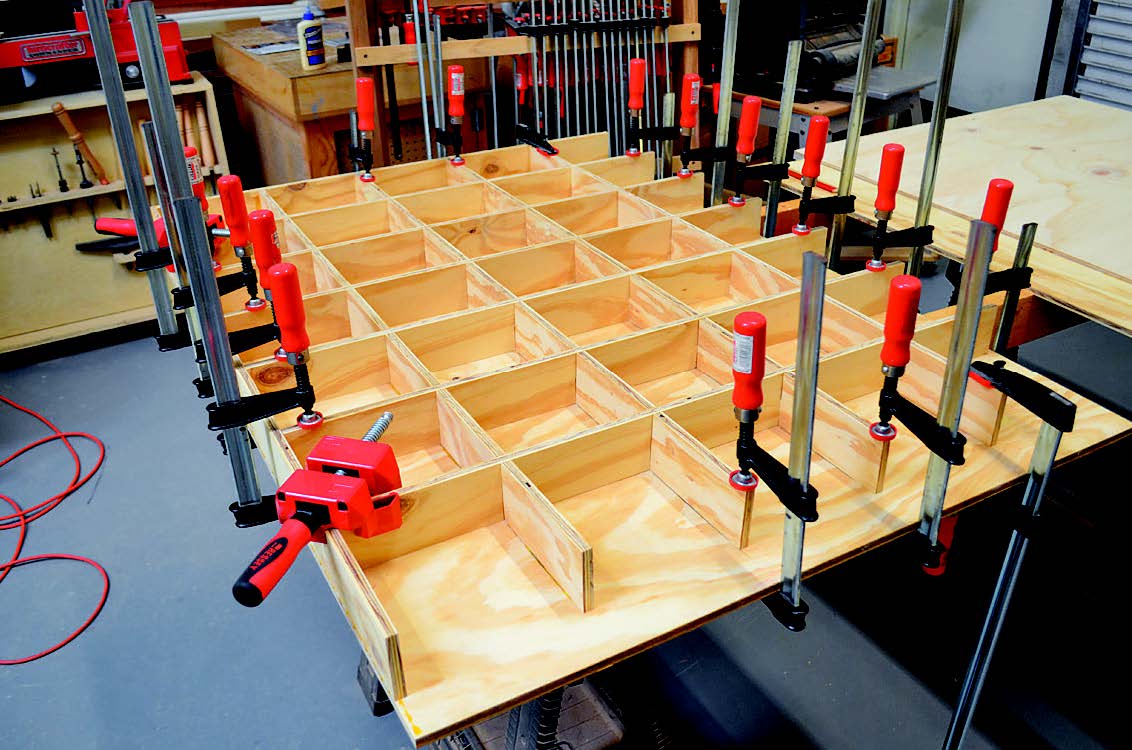
After all the lower ribs are in place and the glue cures, add the upper ribs. These should just drop into place since they were used to locate the lower ribs. Again, glue the lower edge and the end of each rib as it is set in place and clamped. This is where the phrase “you can’t have too many clamps” becomes real!
Glue and clamp the remaining sides in place. The final step before securing the top is to add some blocking for the vise to bolt to. The vise can be added to either the right or left front corner as you prefer. Cut scrap pieces to fit inside the four spaces that make up the corner you want to mount the vise to. Two layers of 3/4″ material glued to the bottom and to each other will provide all the structure needed. Mark this corner so that later you’ll know where the vise goes.
I used construction adhesive to adhere the top, rather than yellow glue, since there is a LOT of glue to lay down at one time. Run a bead along the top of all the ribs and sides, then set the 3/4″ top in place and clamp it down. It is oversized, so it does not have to be set exactly square. Just ensure that it ovehangs the sides all the way around.
For clamping the center of this large assembly, I set two five-gallon pails full of water on the center. This adds 80 pounds to the center, and it ensured that the surface came out flat and smooth. Once you remove the clamps, trim the top and bottom flush to the sides with a router and flush-trim bit.
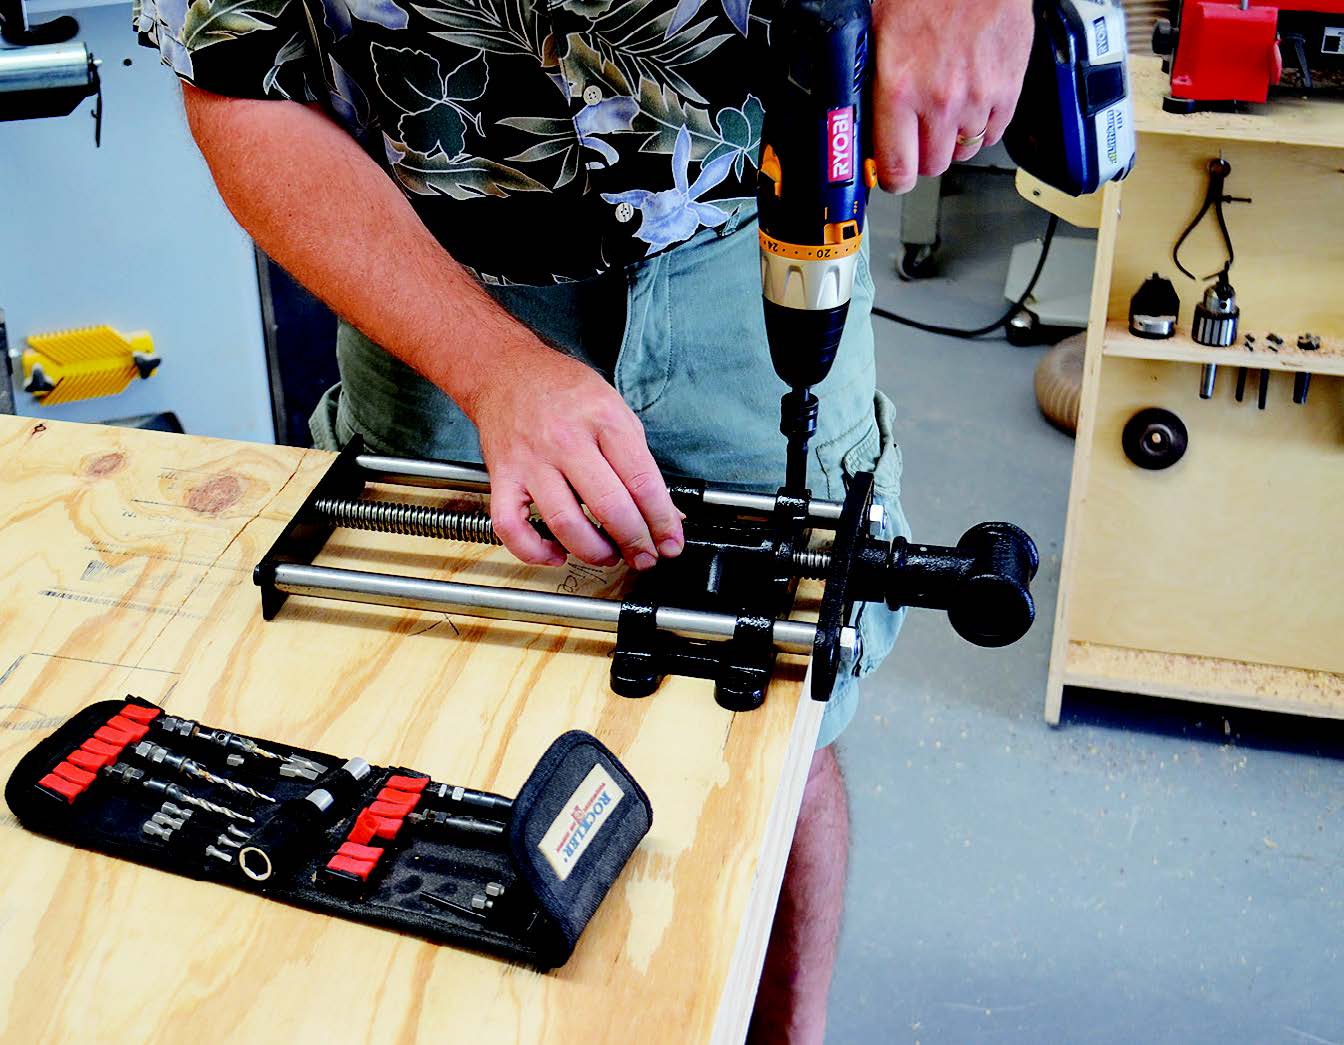
Add the vise next. This simply surface mounts to the bottom face of the torsion box. Locate the corner with the blocking inside (you did mark it, right?), drill pilot holes and screw it in place as recommended in the manufacturer’s instructions. The two layers of blocking and 1/2″-thick base should give you 2″ of solid material to screw into.
Once the vise is mounted, locate and rout a dado for the T-track. The track required a 3/4″-wide, 3/8″-deep dado, which I plowed using a straightedge to guide the router base.
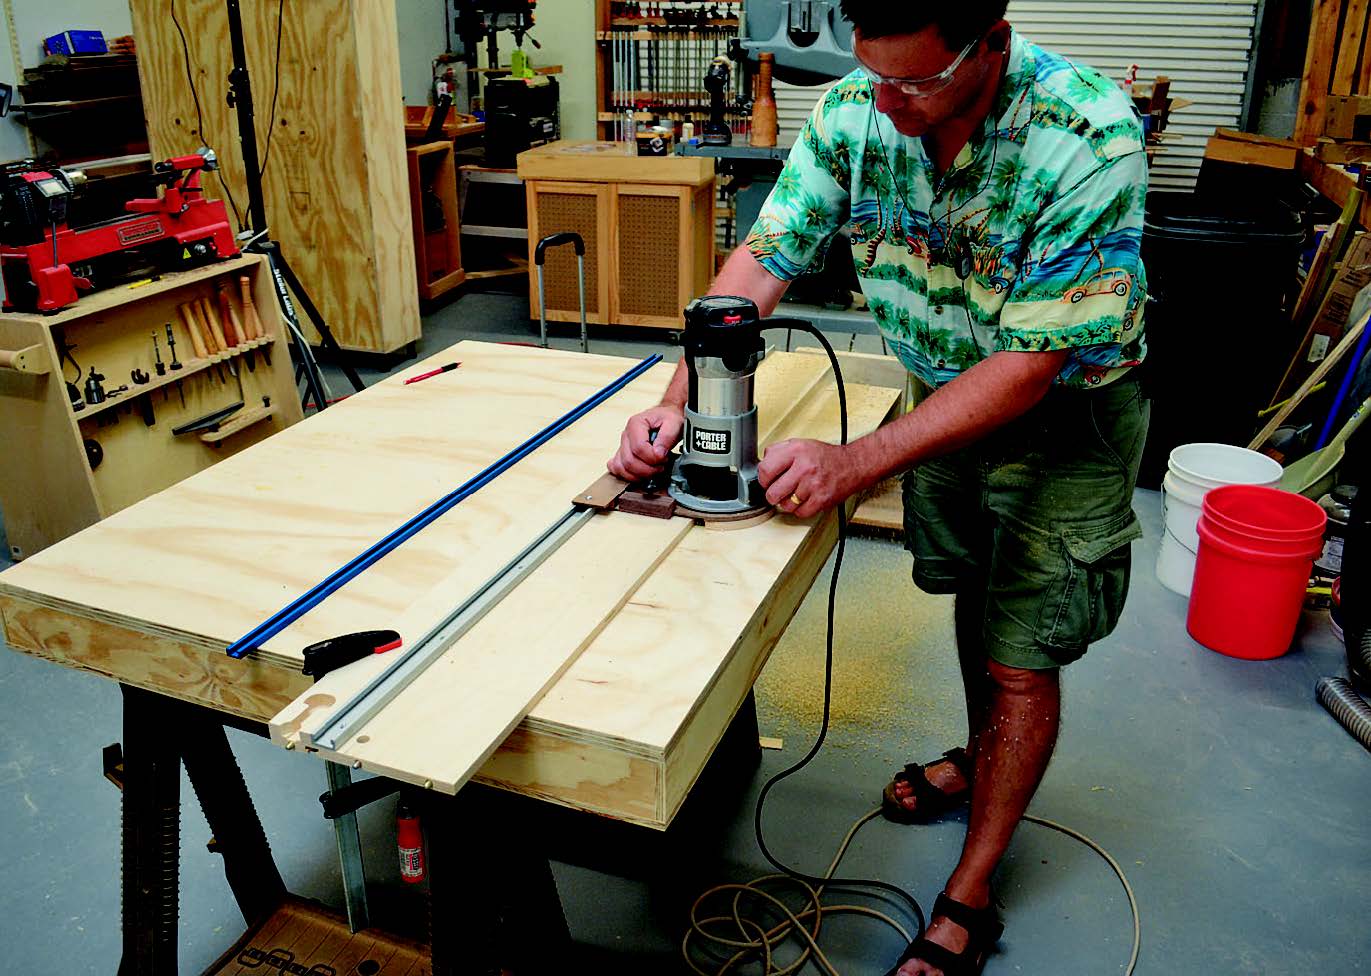
I centered it on the top to have screws as close to the ends as possible, then trimmed and filed the ends flush. Your work surface is now complete and ready to mount to the cabinet.
Building the Cabinet Assembly
The cabinet is just two sides with top, bottom, one fixed shelf and a 1/2″-thick back. The back slides into a 1/2″-wide by 1/2″-deep groove in each side. Cut these grooves with a router while you still have the sawhorses and straightedge out. Locate the groove 1/2″ in from the back edge of the sides to allow for the mounting cleats.
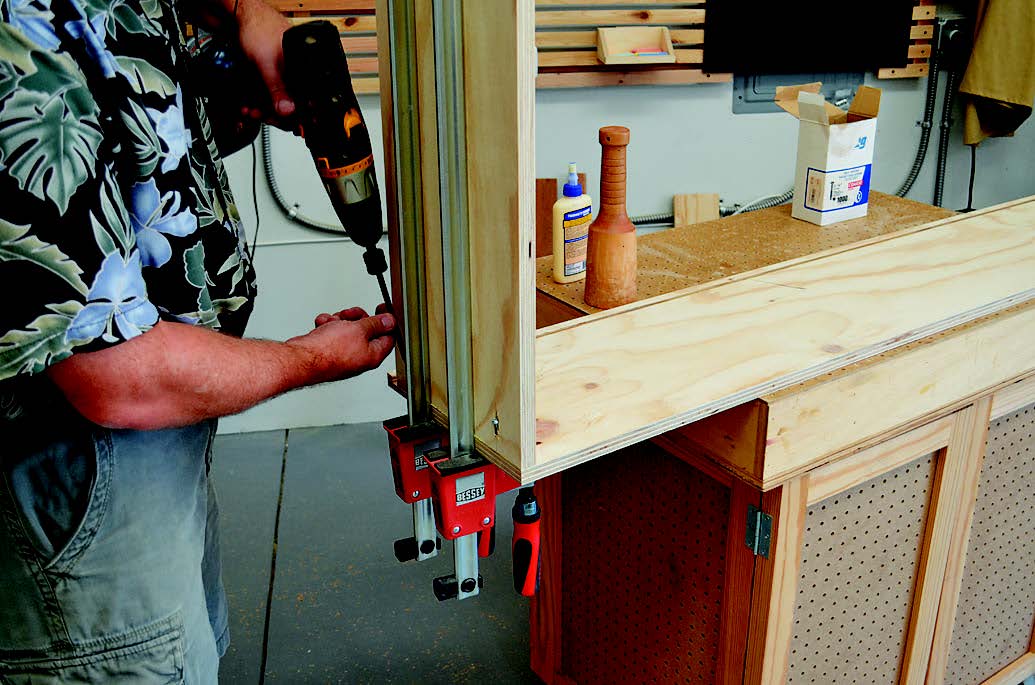
Attach the bottom to the sides at the bottom edge and flush front to back. Install the top flush with the top edge of the sides and front, and so the back edge just meets the back groove. Screw the shelf between the sides 42″ down from the top face. I added the leveling legs next. They are centered about two inches in from each corner.
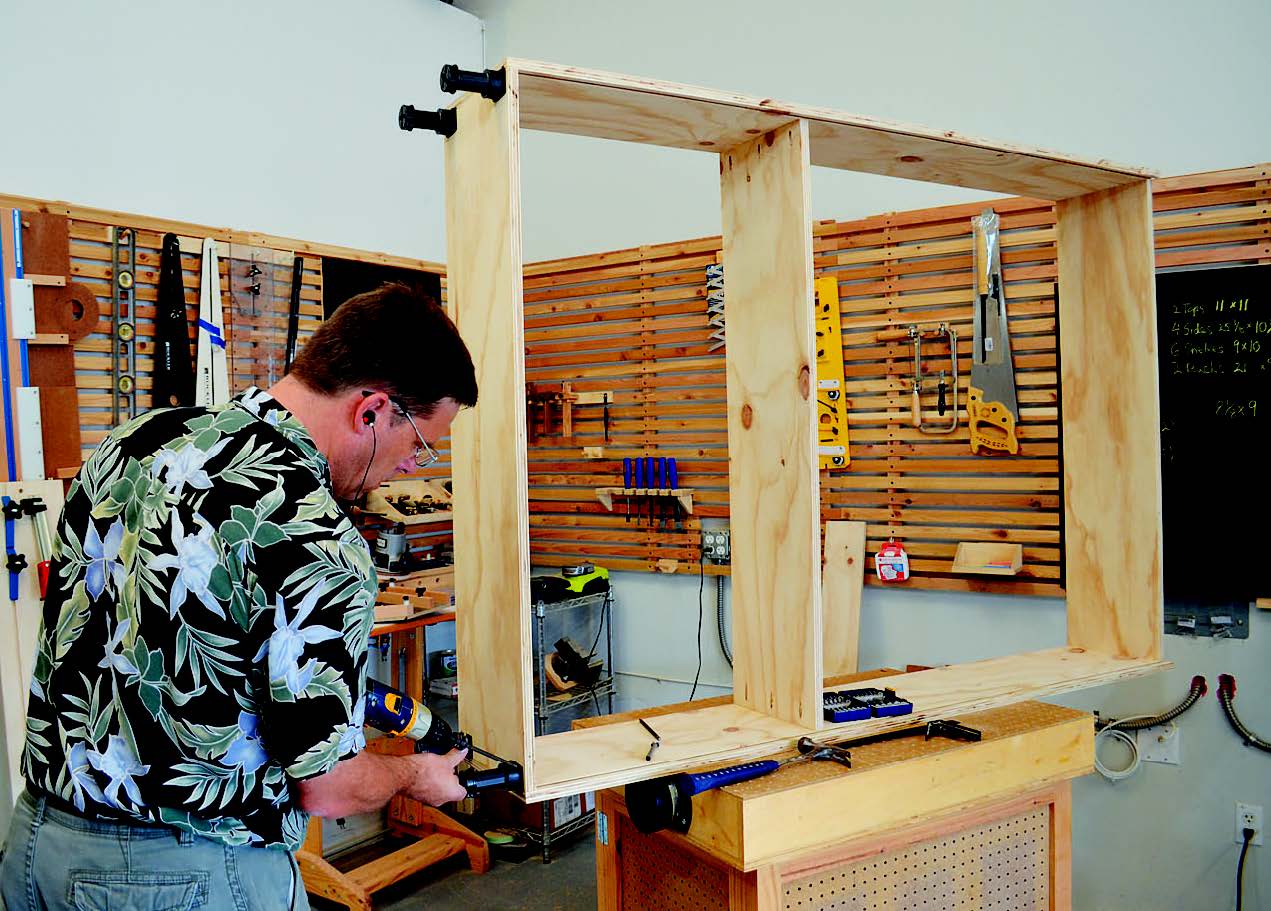
Now fit the 1/2″-thick plywood back into the grooves in the sides. It rests on the bottom, stiffening the cabinet and keeping it from racking. Once the back was in place, I ensured the assembly was square by measuring the diagonals, then secured the back across the bottom, shelf and top.
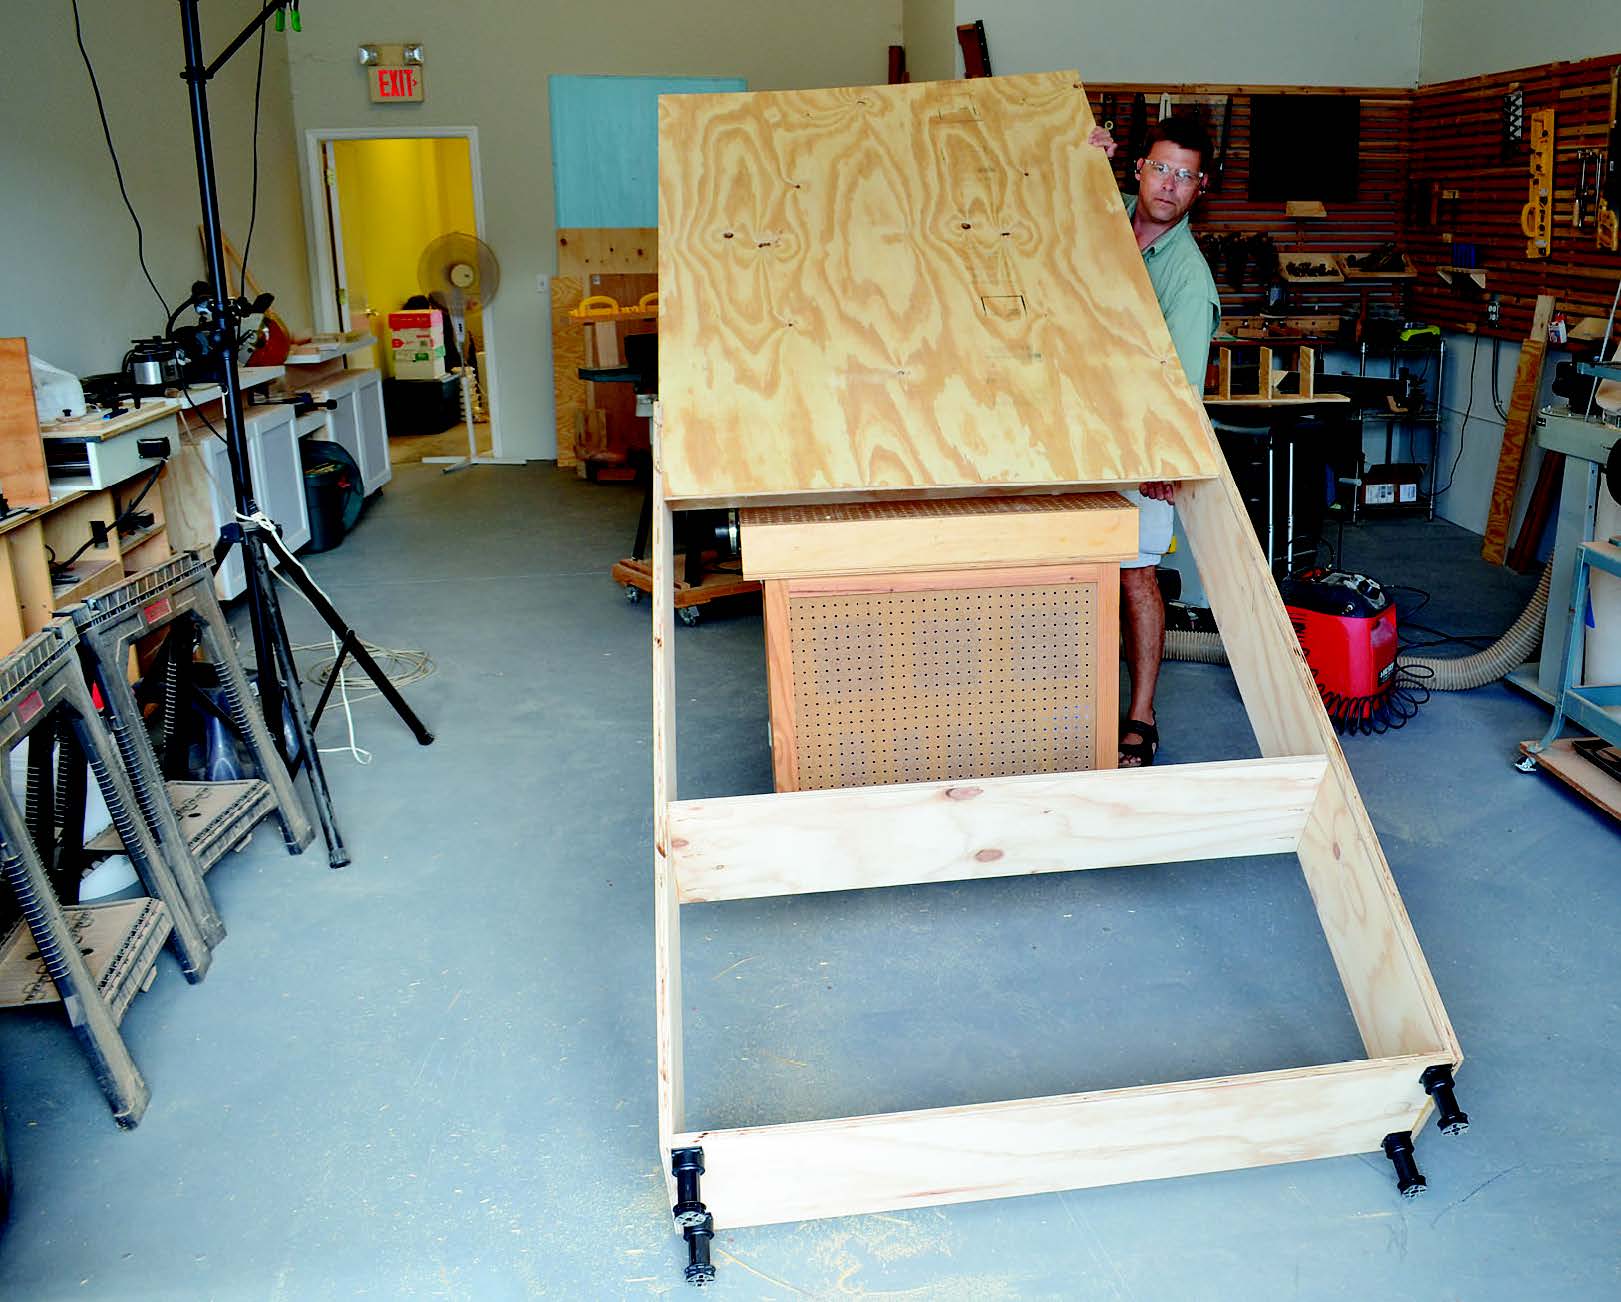
Lastly, add the 1/2″ plywood cleat across the top of the back to provide support for anchoring the cabinet to the wall during installation.
Outfitting the Storage Area
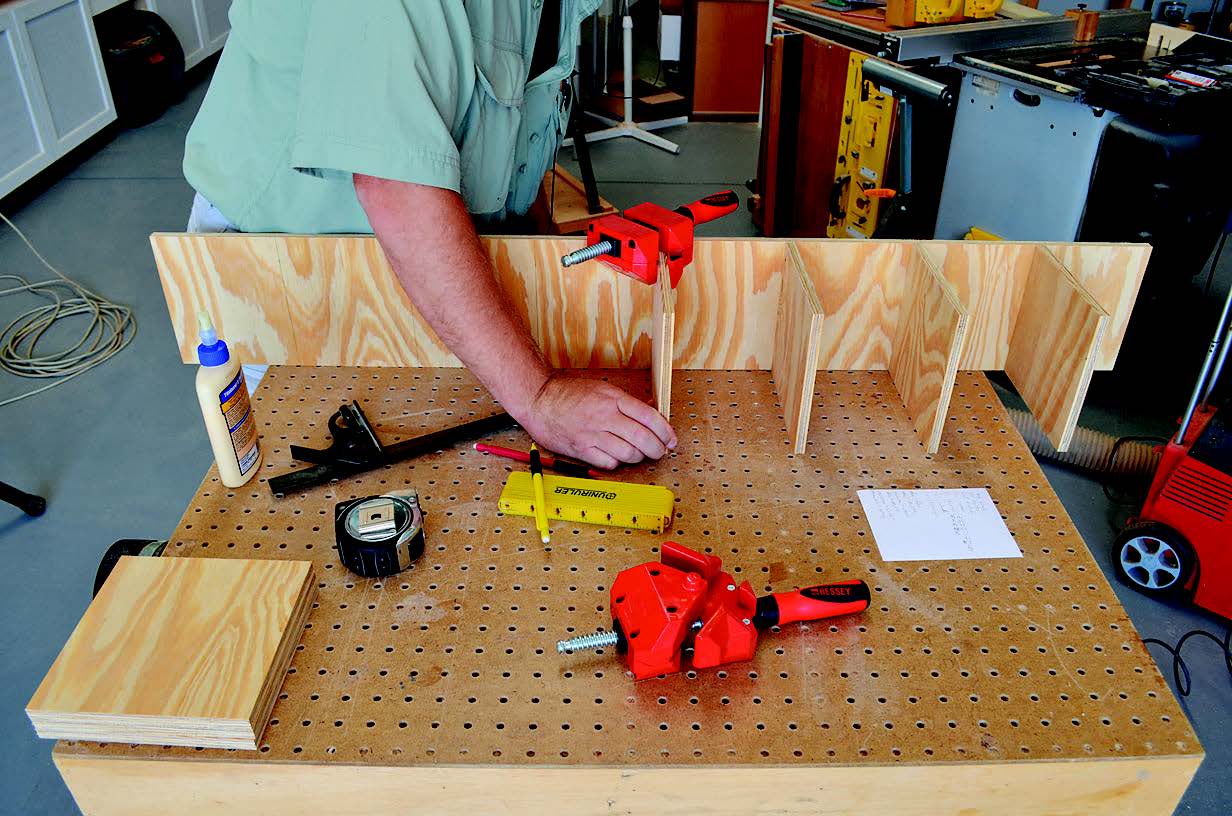
The work surface folds into the upper section of the cabinet, but it leaves an empty space about 7″ deep that can be used for storage. I wanted to store both hardware and tools, so I chose the combination of boxes and pegboard shown in the photos and Drawings. You can tailor this space to fit your needs, but nothing should block the work surface from closing.
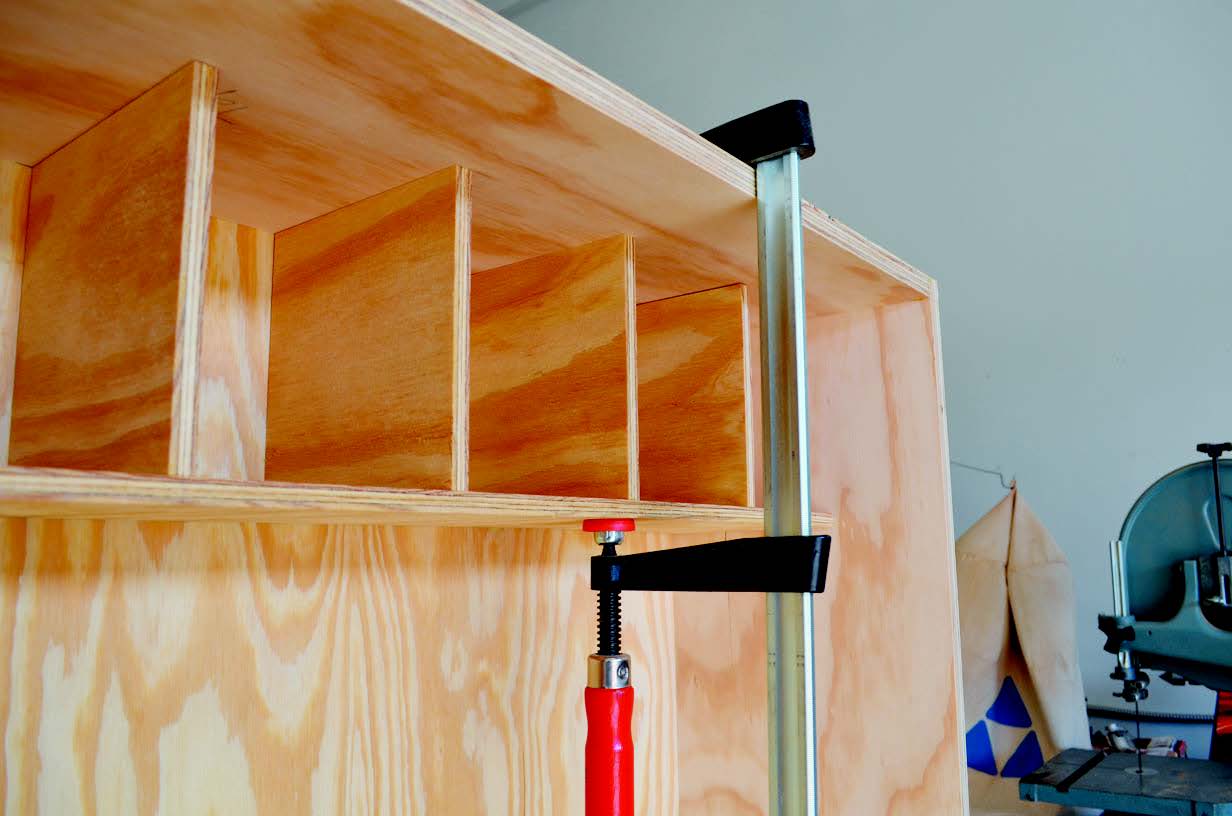
of the cabinet, you can attach it through the cabinet back and top with nails or screws.
The boxes sit in a set of pigeonholes mounted under the cabinet top. I cut the shelf and dividers from 1/2″ ply and assembled them with glue and nails. In my work station, the pigeonholes are spaced 5-3⁄8″ apart. The cabinet’s shelf is glued and screwed in place through the back, so first trace the shelf and dividers with a pencil. Remove the shelf and drill pilot holes centered in the tracings, then clamp the shelf back in place and add screws.
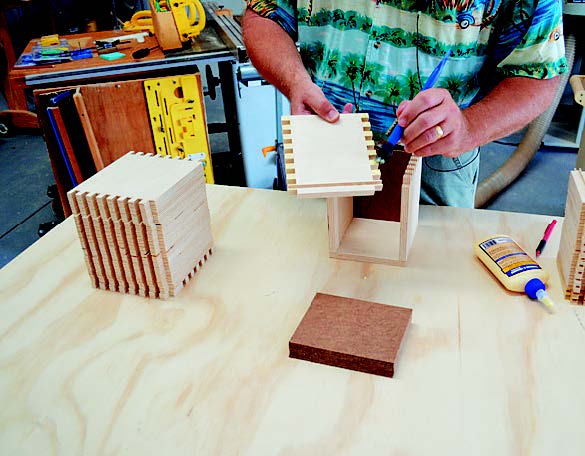
Make boxes for the pigeonholes from 1/2″ ply as well. Cut all the sides and ends. Each gets a 1/4″-wide, 1/4″-deep groove in the lower edge to accept a bottom. After that, cut finger joints in the ends and assemble the boxes: they just slide into the pigeonholes.
Attaching the Work Surface
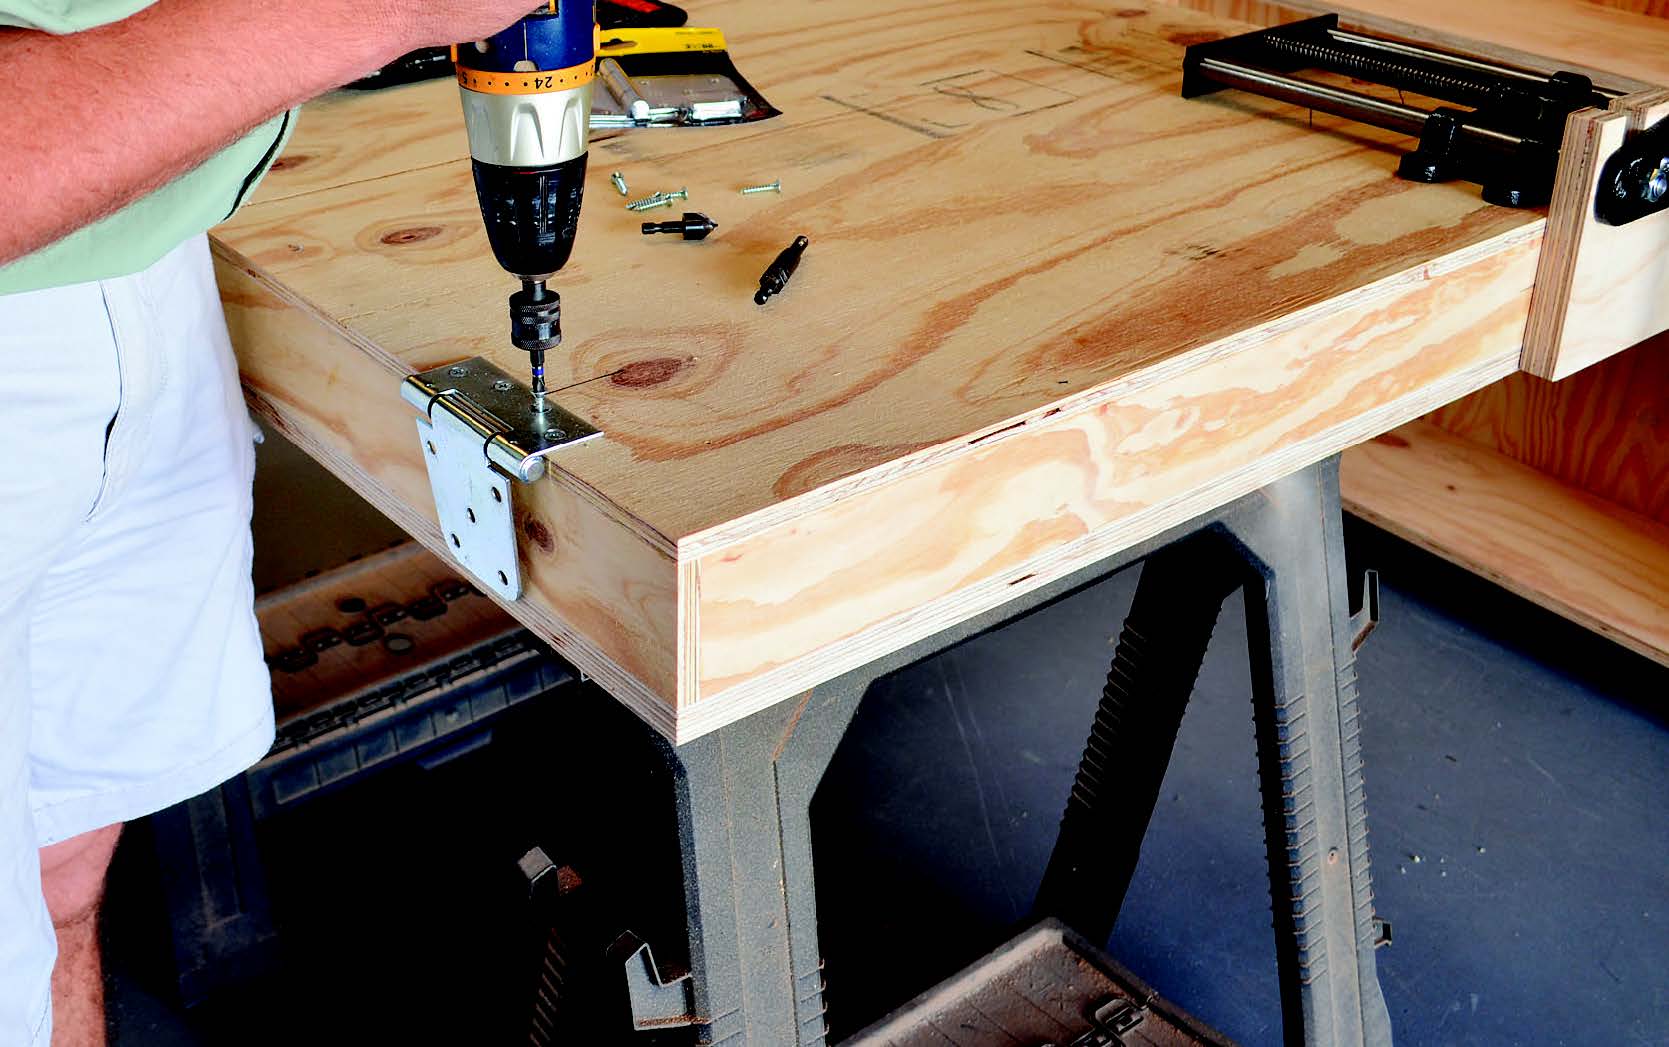
The torsion box work surface is simply hinged to the fixed shelf of the cabinet. Surface-mount the 4″ gate hinges to the bottom back edge of the torsion box with the barrel against the back edge.
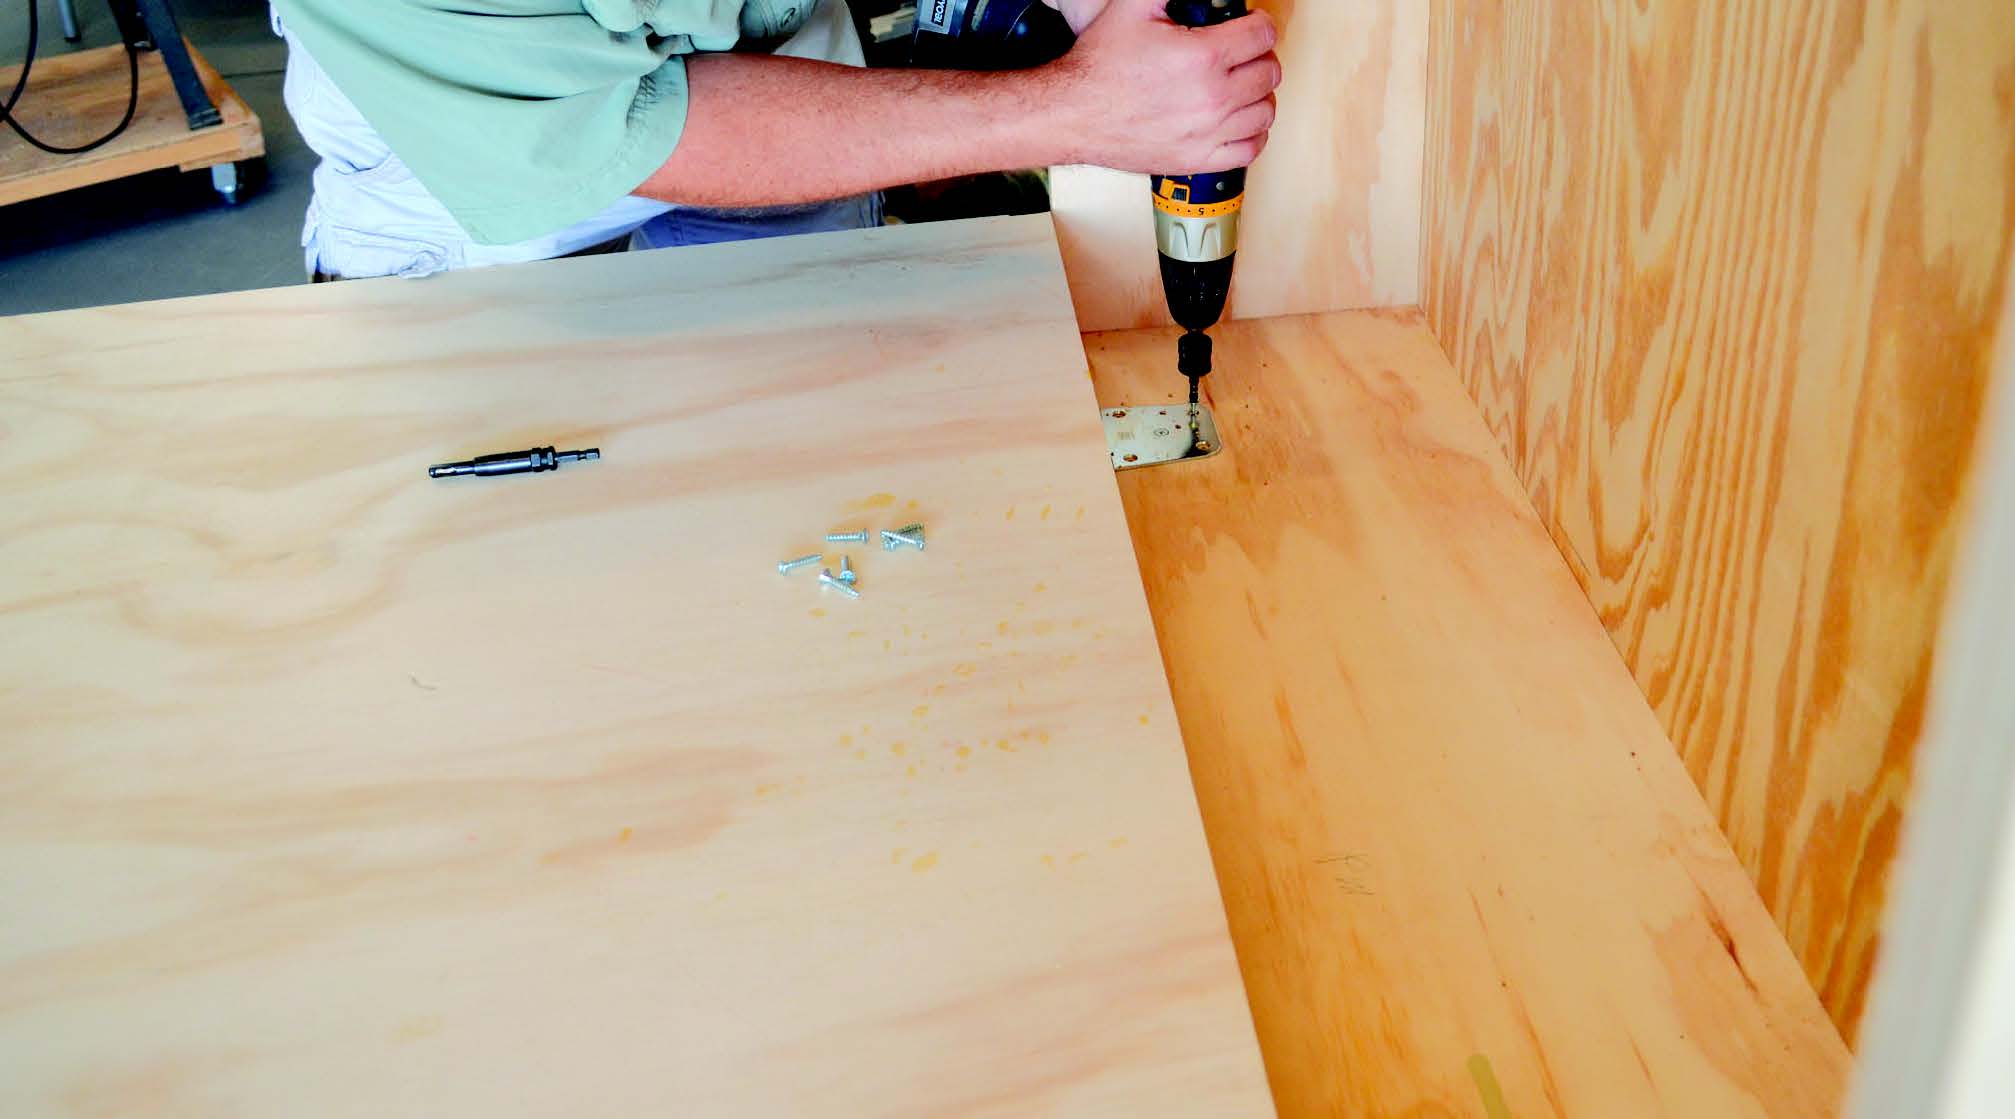
Attach a pair of clamps to the cabinet sides and use a roller stand to hold the work surface level while you attach the hinges to the shelf.
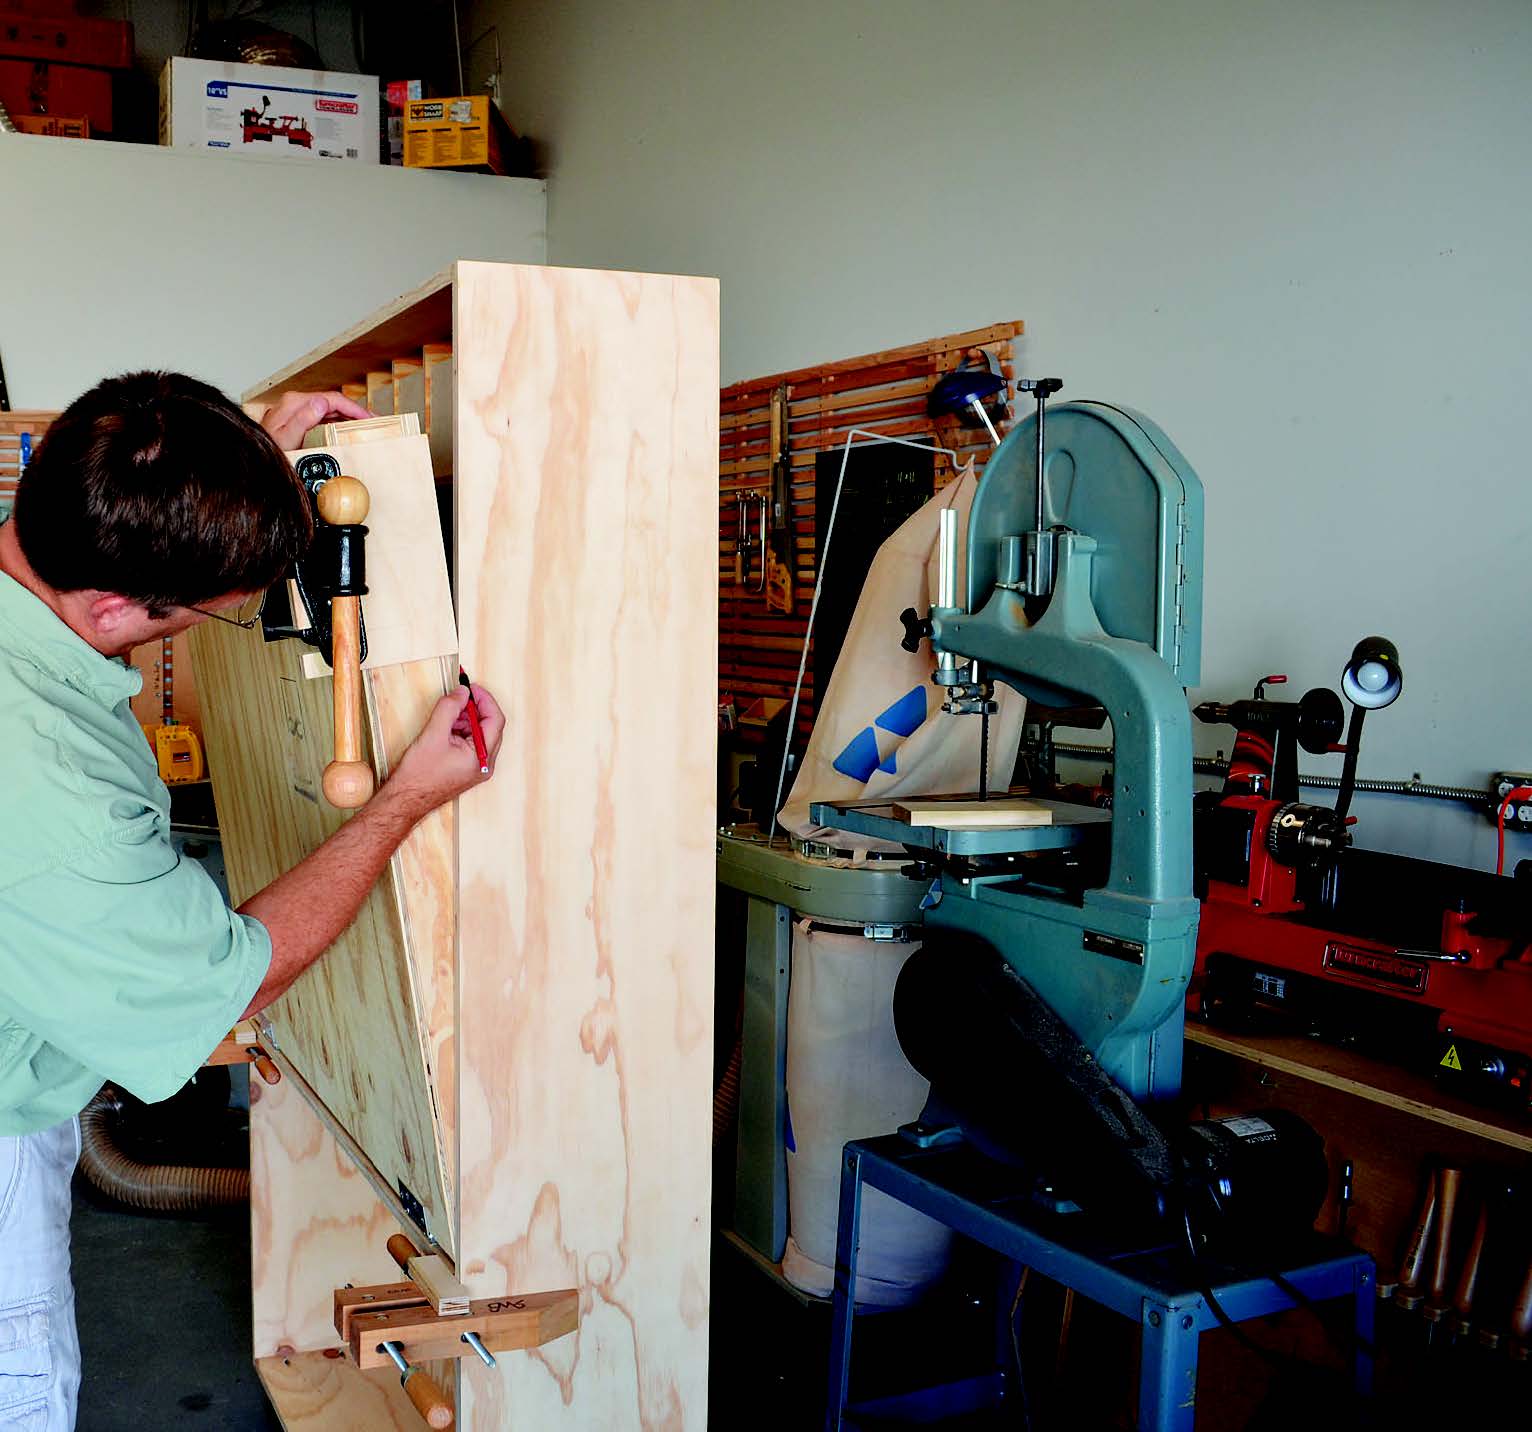
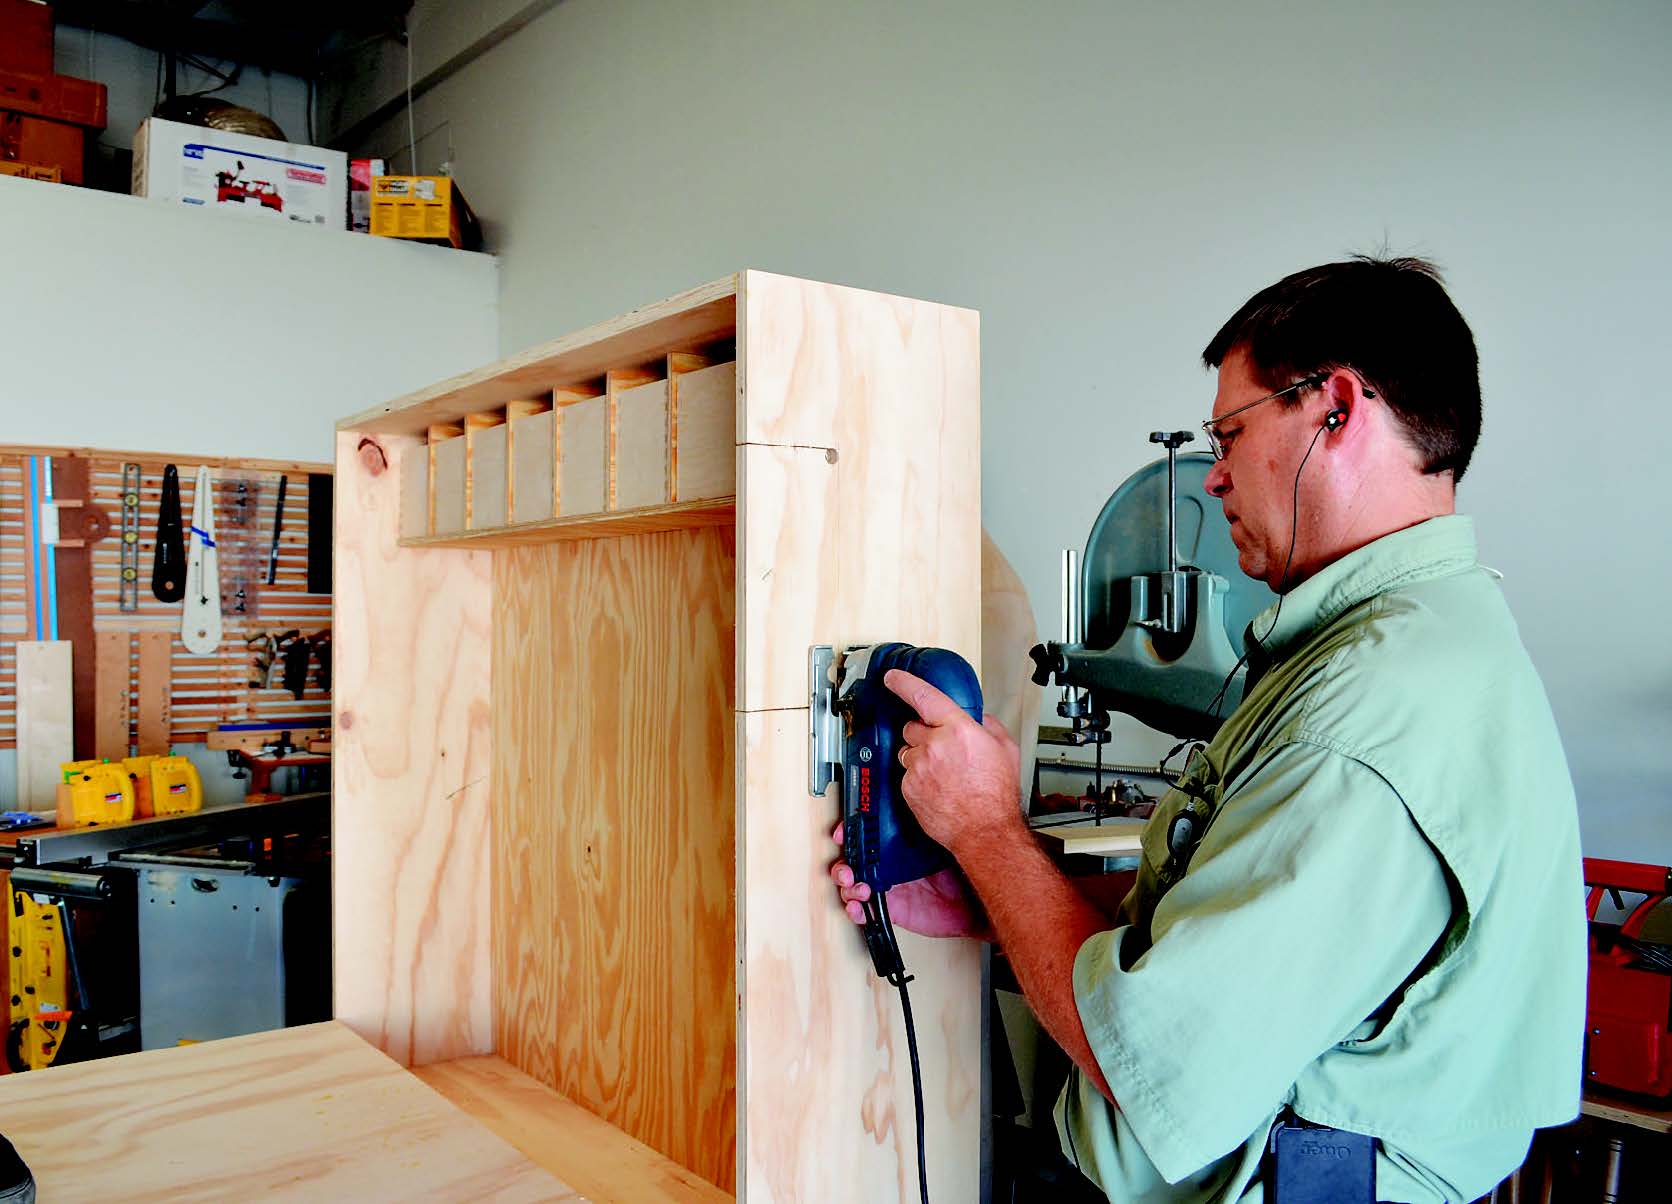
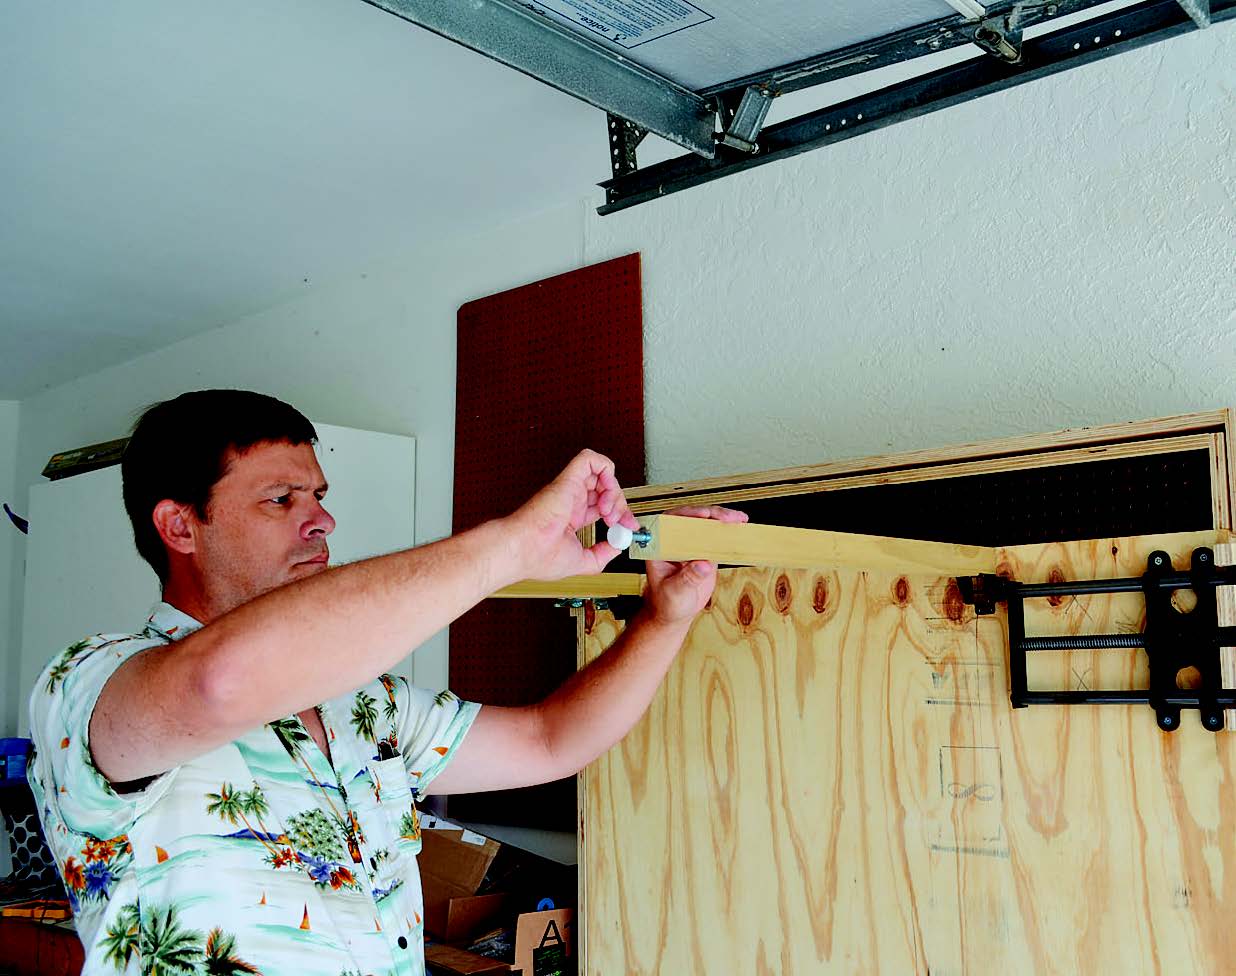
One cabinet side needs to be notched for the vise to clear when the work station is folded. The size and location of the notch are determined by your vise and which side you chose to mount it to. Fold the unit closed as far as possible, then mark the upper and lower points where the vise meets. Add a bit extra, especially at the top, and cut a notch in the side. I drilled the corners with a 1″ Forstner bit and used a circular saw to remove the waste. I cut the outside corners round as well and sanded the notch smooth.
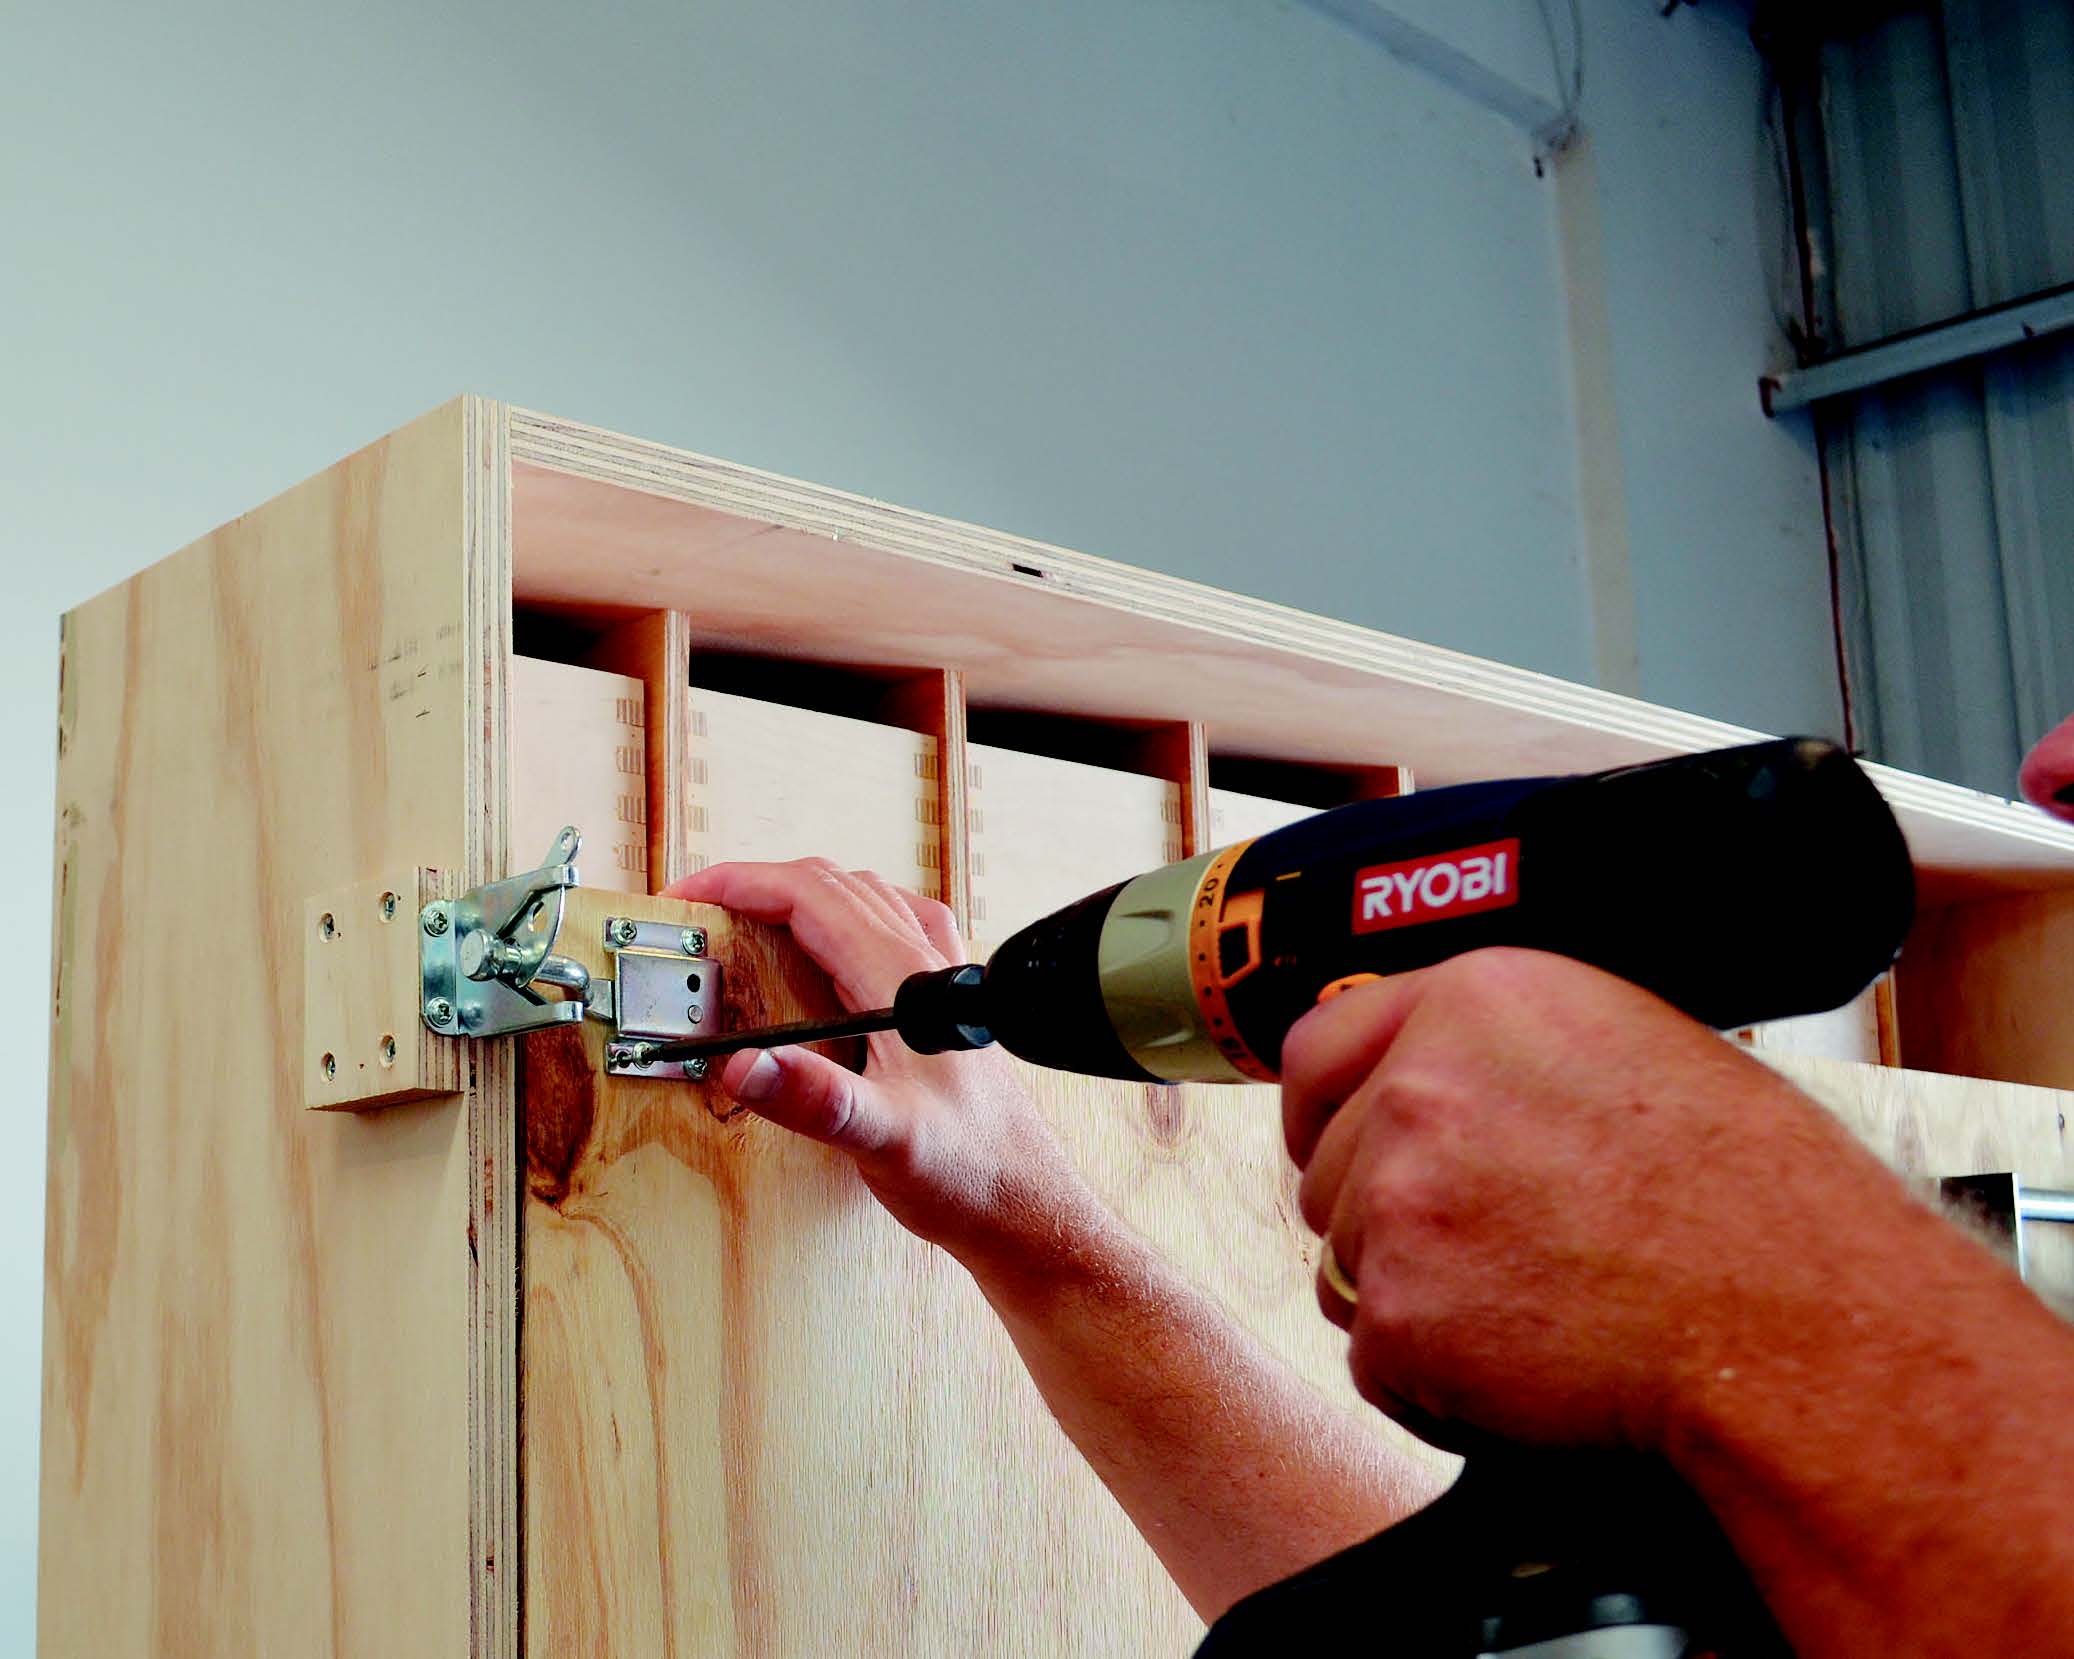
Once the workspace can fold closed, it needs a mechanism to keep it safely locked away. I chose to use a standard gate latch. Mount the arm section to the door, and attach the latch to a block on the cabinet side. I found that the block needed to be set a bit proud of the side to automatically latch closed properly.
I added a tool trough to the front edge of the workbench. It is made from three pieces of 3/4″ ply grooved for a bottom like a drawer box. I used an offcut from the pegboard as the bottom, because the holes will allow debris to fall through rather than collect. I finger jointed the pieces of the trough together.
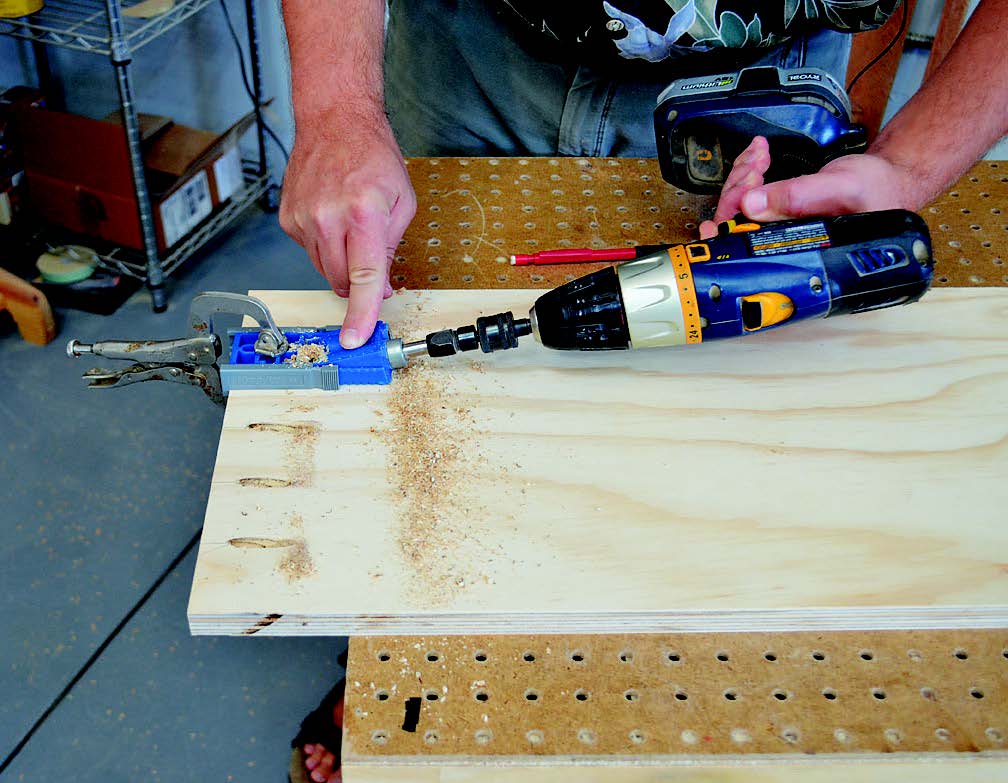
I pocket screwed the side pieces to the front of the bench, slipped the bottom in, then fit the long side into the finger joints with glue. A few small glue blocks under the inside of the trough bottom keep it supported along the bench front.
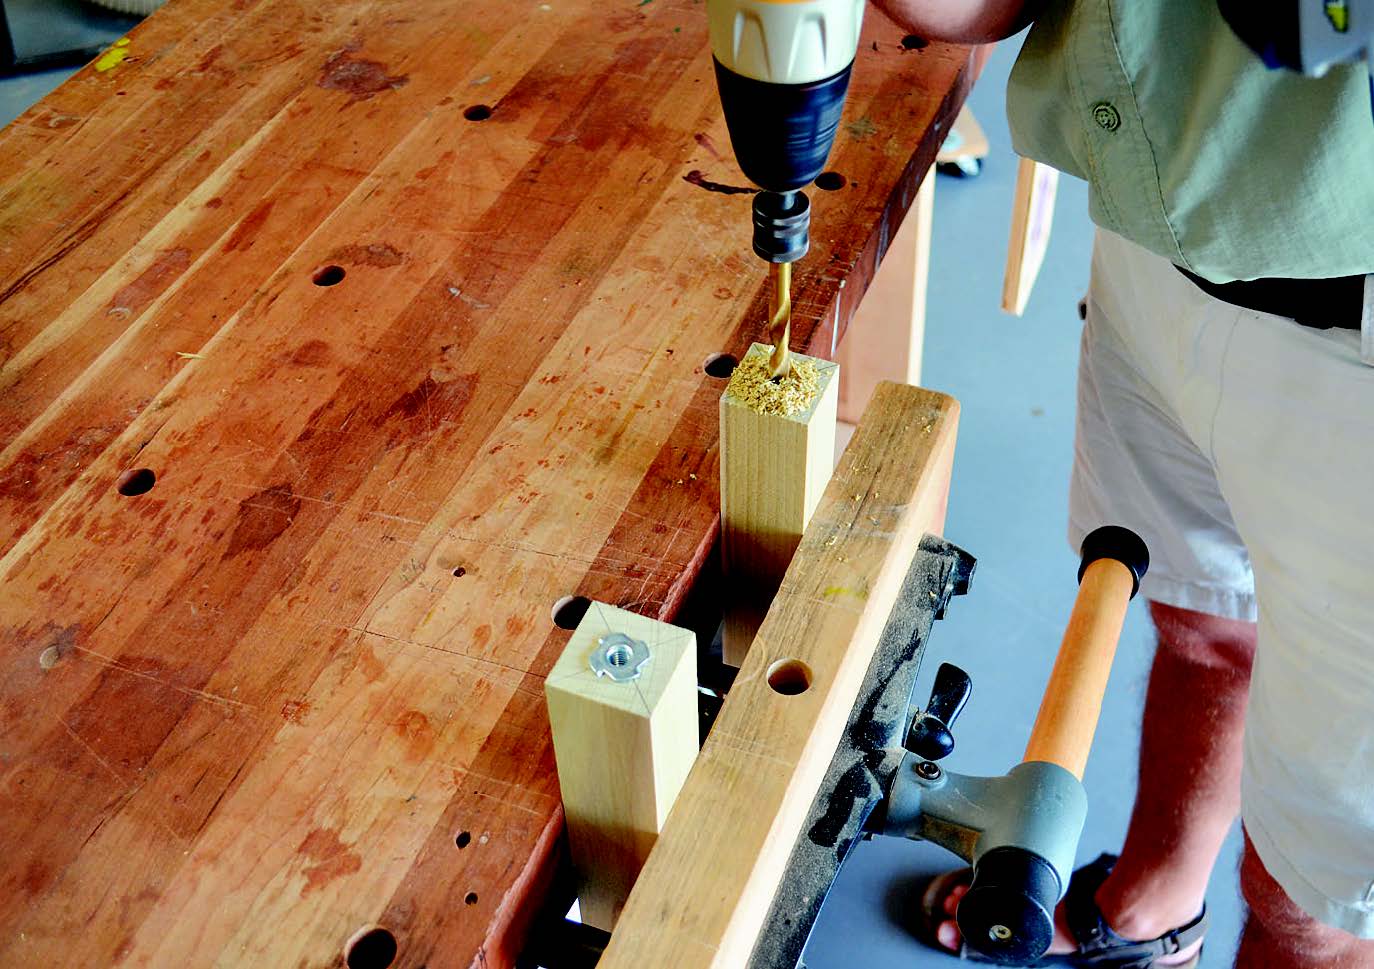
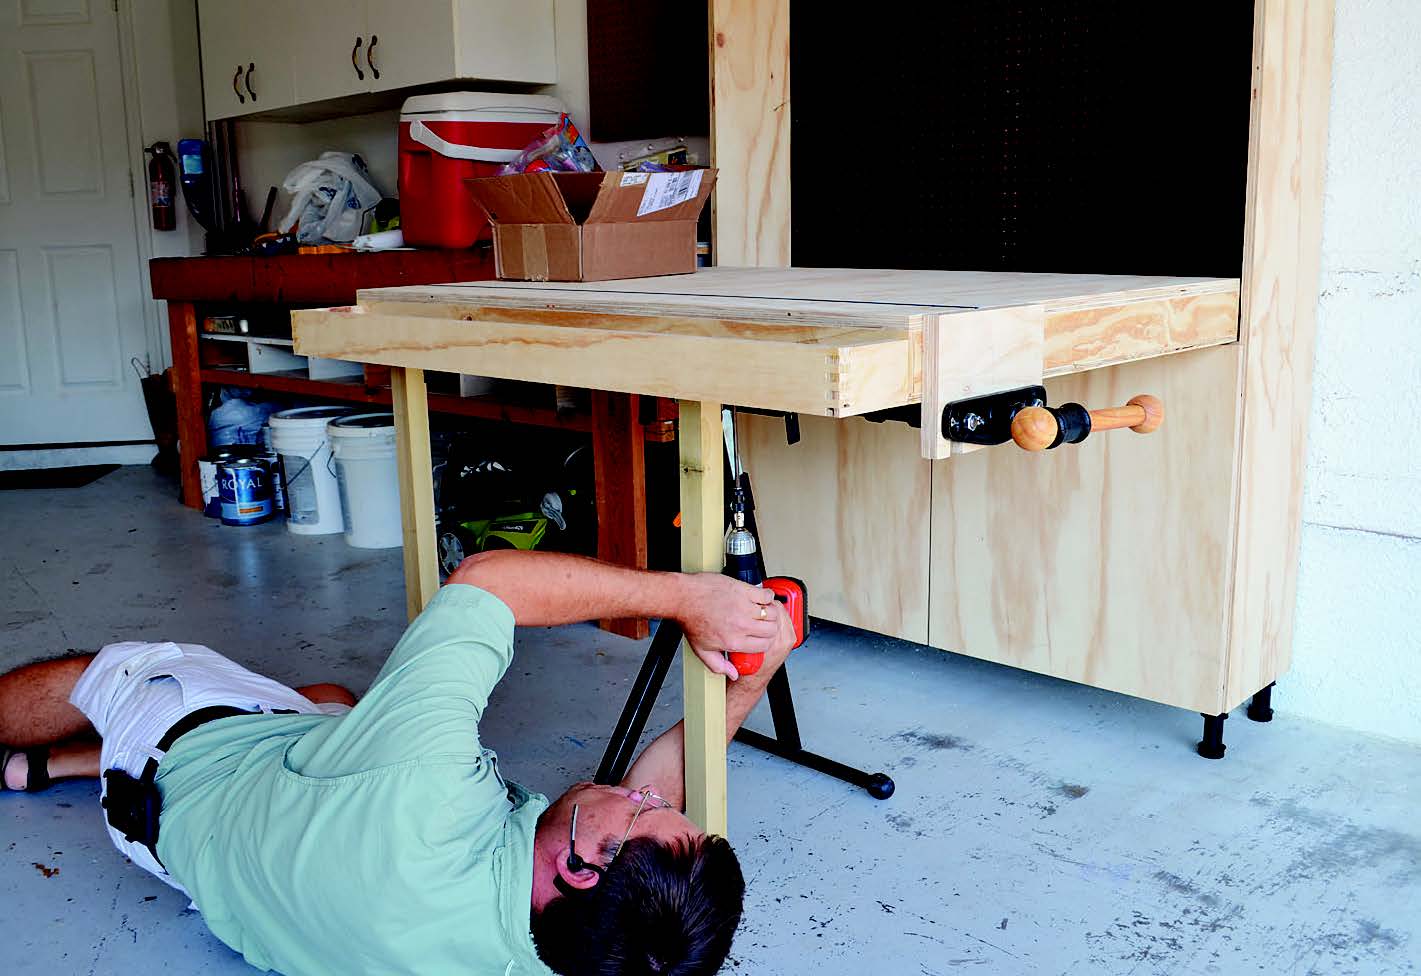
The legs get added next. They mount to the bottom of the work surface using folding leg brackets that lock both open and closed. Cut the legs from 2x stock to 28-1⁄2″ long. Drill a 3/8″-diameter hole about 1-1⁄4″ deep into the lower ends of the legs to accommodate a T-nut and leveling glides.
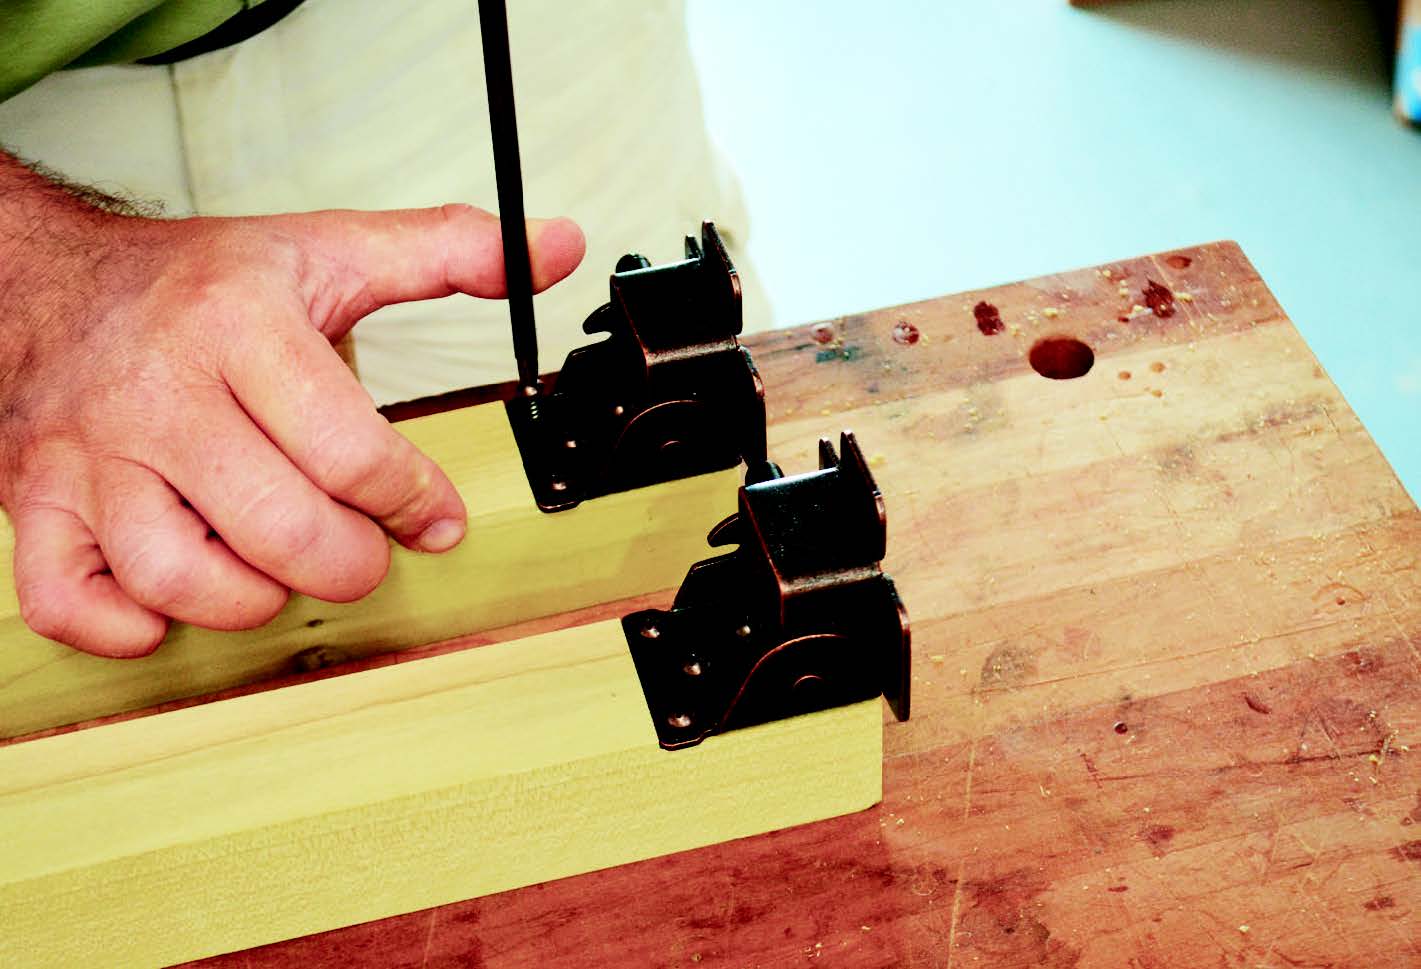
The leg brackets screw directly onto the bottom of the work surface. One mounts well out toward the corner, the other more inboard to clear the vise. Lastly, I added a handle to the bottom face of the work surface to make it easier to open and close.
A piece of pegboard occupies the rest of the upper section of the cabinet. I used strapping to frame the space and added a center cleat. This can be made from scrap you may have on hand as long as all the pieces are the same thickness. Simply screw the pegboard to the strapping where needed.
Finally, I made doors for the lower cabinet space. I cut these out of the remainder of the 3/4″ plywood and mounted them using cup hinges. This space can be organized with shelves or dividers to fit your storage needs.
Installing the Project
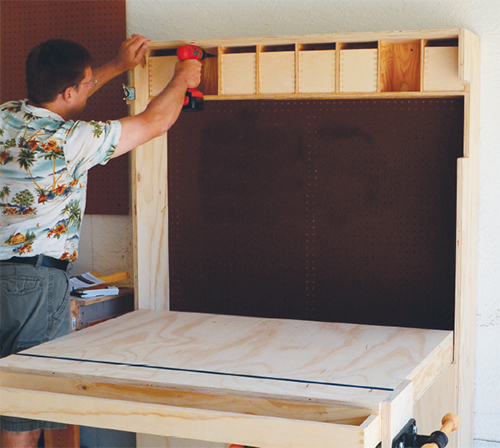
Locate the studs within the area where you plan to install the cabinet. Set the folded work station in place and adjust the legs to level the cabinet.
Drill and drive screws through the back of the cabinet into the studs using at least 2-1⁄2″ screws, #8 or heavier. The cabinet is less than 14″ deep, so anchor it properly for safety. Securing it to the wall will also ensure that it remains stable in use.
Whether you have your entire woodworking shop in your garage, or just need a place to putter at home, this work station will give you the space and versatility to work while only extending a short distance from the wall when folded up.
Click Here to download a PDF of the related drawings.
