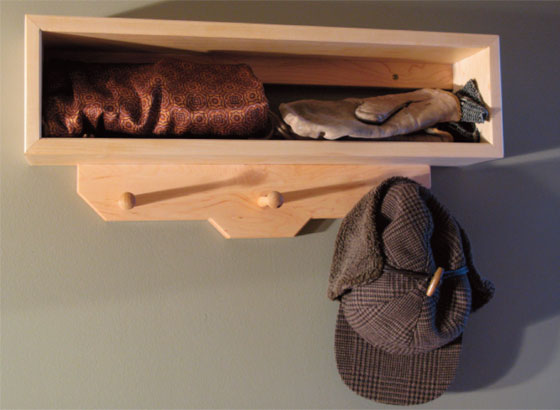
This easy-to-build unit lets you hang hats and coats, store mittens and scarves, and can be built in an afternoon.
This entryway storage unit is made from solid wood and is glued together: no nails or screws (apart from those that hold it to the wall) are used. This unit is made from soft maple – the same material as the Shaker pegs, in this case. It could be made from any good quality solid wood: pine, oak, birch, fir … whatever best matches the trim in the place where it will be mounted to the wall. In this case, the finish is a natural Watco oil, but this piece would also look great painted.
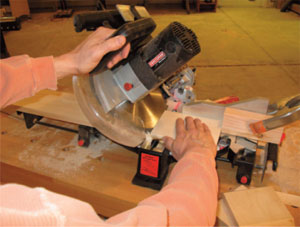
Start out by selecting your lumber and ripping enough material to make the top and bottom and the ends. (All of the dimensions for the various parts are found in the Cutting List (found at end of article) When that is done, step to your chop saw and set up the cut to form the miters on the ends of the pieces. See Figure 1. It is always a good idea to test the miter setup using scrap lumber first – despite being simple in concept, miters can be tricky to form accurately in practice. When the miters are a true 45 degrees, make the parts.
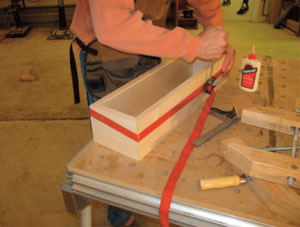
With the miters cut on the main pieces, go ahead and glue up the box subassembly of the unit. A band clamp is a great advantage when gluing up a mitered box. See Figure 2. You can add additional clamps after the band clamp has been cinched up tight. Test the glue-up to be certain that it is square and true, then set it aside and allow the glue to cure.
Next, cut out the screw strip. While the length measurement in the Material List should technically be correct, with a piece like the screw strip, which is captured in an enclosed space, it is always good to measure the actual opening before you cut it to length. You will need to drill at least two countersunk screw holes in the screw strip before you glue it in place; locate those holes so that at least one of them hits a wall stud where you are installing the unit.
Forming the rail is the next task. Once you rip it to size and chop it to length, lay out its basic shape using a sliding combination square. The center chevron is 3-3/4″ wide at its narrow point. The step up is 1″ and the miters at the ends are 2″ across. Feel free to adjust the shape to please you. The laser on the Craftsman chop saw used here helped to accurately align and cut the miters on the ends of the rail. See Figure 3.
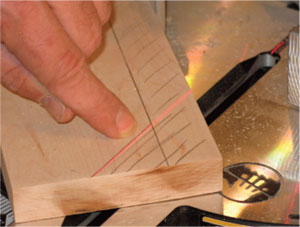
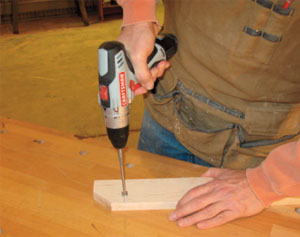
The spacing and the location of the Shaker peg holes is, again, not critical and subject to the builder’s sense of proportion. In this unit, they are located 2″ down from the long straight edge of the rail and 2-3/4″ in from each end. The middle hole is perfectly centered end to end. The pegs in this case required a 1/2″ diameter hole to be bored into the rail. See Figure 4. Once again, measure the pegs that you are using to be certain of their diameters.
The last machining step performed on the rail was a chamfer that is shaped onto the front lower edge. It could be cut with a file or a rasp, but in this case a 45-degree chamfer bit was chucked into a handheld router, which was used to shape the edge. Don’t cut the chamfer onto the long straight edge that will be glued to the box subassembly. See Figure 5.
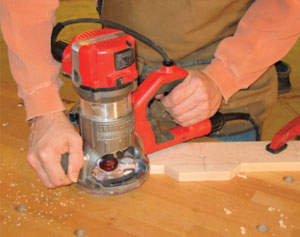
When you have cut that chamfer, set the rail aside and go grab the box subassembly. Take it out of the clamps and decide on the front of the box. Use the same router setup (or the same hand tools) to put a chamfer on the inside and the outside edge of the front opening.
Now it’s time to sand the piece completely. Use a power sander to remove all the machine marks on the box and rail, and on the front face of the screw strip. If you plan to use an oil finish, as in the example here, start with 80-grit paper and work all the way up to 220-grit. On the other hand, if you plan to paint it, start with 80-grit, but you can stop at 120-grit.
When that is done, it is time to glue the rail onto the bottom back edge of the box subassembly and the screw strip in place within the box opening. The screw strip is flush to the back of the box subassembly and is glued in place along the long joining edge. There is no need to put glue on the ends of the screw strip.
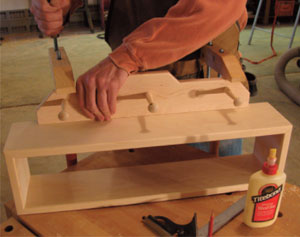
Glue the Shaker pegs into the holes in the rail and then glue and clamp the rail to the box subassembly. Try to minimize the glue squeeze-out on the front edge of the rail. Clean off any squeeze-out before it gets too hard. See Figure 6.
In this example, the unit was finished with three coats of natural Watco oil, flooded on and then wiped off as recommended in the directions. When the finish had cured, it was time to mount the unit to the wall.
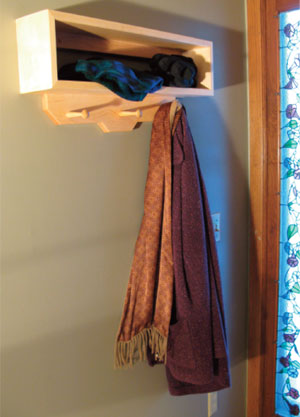
As mentioned earlier, the screw holes in the screw strip should be drilled in a way that the screws will tap into wall studs. If this is not the case, then special drywall mounting hardware is recommended. See Figure 7.
Cutting List
Hanging Storage Unit
Top and Bottom (2) 3/4″ x 5″ x 24-3/4″
Ends (2) 3/4″ x 5″ x 6-3/4″
Screw Strip (1) 3/4″ x 1-1/2″ x 23-3/16″
Rail (1) 3/4″ x 4″ x 20″
Shaker Pegs (3) 3″ long


