I made the first of these benches from a large piece of driftwood that had washed up on the beach of my island home in Nova Scotia. The sand, of course, ruined the saw, and the gritty wood was impossible to plane. I still have that bench, it still smells of the sea, and I keep it as a reminder that driftwood is better left on the beach.
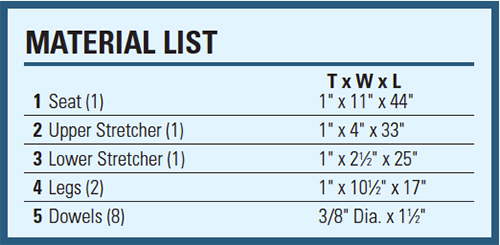
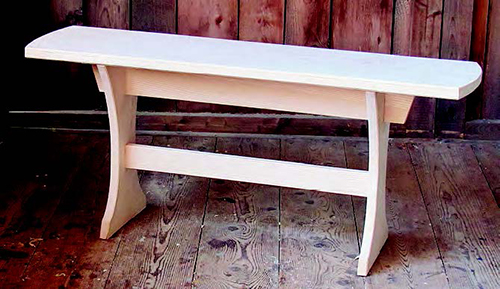
You can adapt the basic structure of this bench to make one of practically any size, but I think the one at the top of the opposite page looks about right. With a 44″-long top, 11″ wide, it seats two comfortably. The overhang is only 8-1/2″ long, so there is little chance of flipping it by sitting on the end.
The only “tricky” joint is a sliding slip joint between the apron and the two supports. You can make this on the table saw or cut it by hand — if you trust yourself to hand saw to a line accurately. I used local white ash (I’d just bought a butt log from our local sawyer), but any reasonably hard wood such as maple, oak, walnut, cherry or even fir would do equally well.
Bench
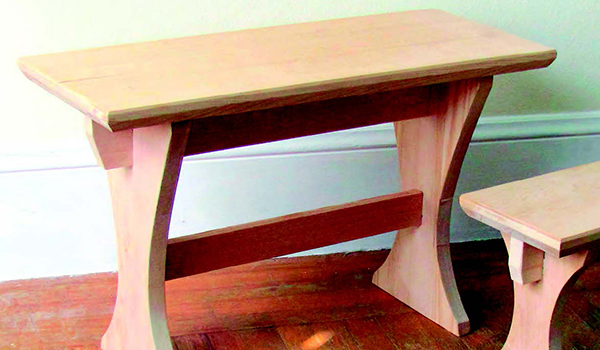
For children, you could very well reduce the overall size of this bench 80%, 75% or even 50%. It’s best not to reduce the thickness of the supports by the same amount, or it will begin to look frail. The bench in the photo above is reduced 50% from the adult version, so it is only 22″ long and 8″ high. Instead of reducing the width of the top in proportion, I left it a little wider for stability — 7-1/2″ instead of 5-1/2″.
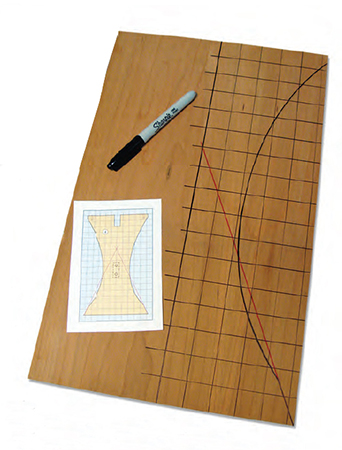
The first step is to make an accurate, full-size, half-pattern of the hourglass-shaped vertical supports. I use the 1/8″ plywood known as doorskin, which makes excellent pattern stock. Use the pattern to mark out the two end supports, but leave these as rectangular blanks until after sawing the slip joints. That way, you can use the table saw fence to make accurate, identical cuts. Clamp a stop block to it, as shown below, so you don’t oversaw. Complete the cut by chiseling out the waste or using a coping saw. Finish cutting out the supports by band sawing just clear of the curved lines, then clean up the sawn edges with an inside spokeshave that has a convex sole. Finish with a 2″ drum sander mounted either in a drill press or a handheld electric drill.
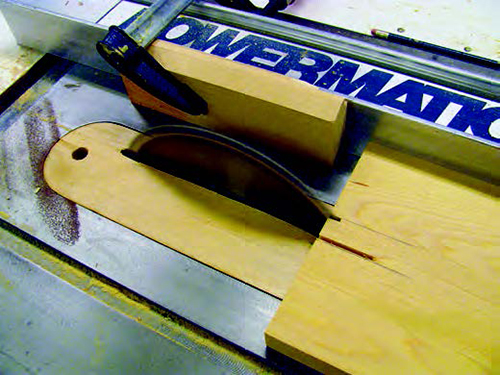
Cut out the stretcher, then notch it on the table saw to fit the slots already cut in the verticals. These must be a close, sliding fit: too snug and you are likely to split the ends of the stretcher; too loose, and you’ll end up with a bench that wobbles. A Japanese Shinto saw file, which has both a coarse and a medium side, is the best tool for fitting end grain joints such as these.
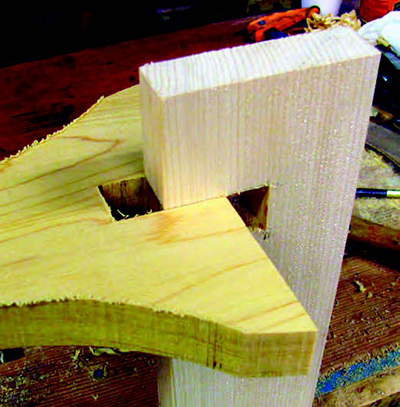
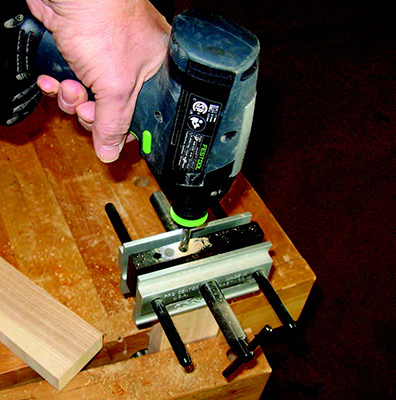
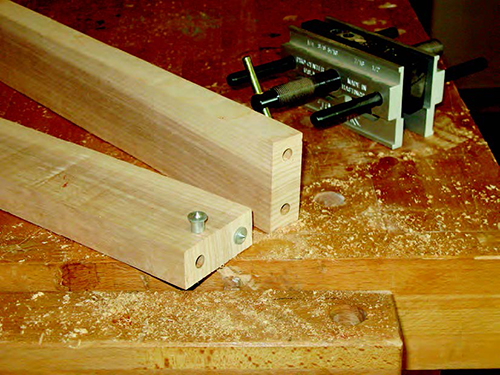
Now cut the stretcher to length and, with the aid of a doweling jig, drill two holes in each end for 3/8″ dowels. Use doweling points to transfer the hole centers to the two supports. Glue the stretcher in place and adjust the clamps so the two supports toe out slightly — not more than 1/8″ or 3/16″. This helps compensate for the optical illusion of parallel lines appearing to converge when seen from above.
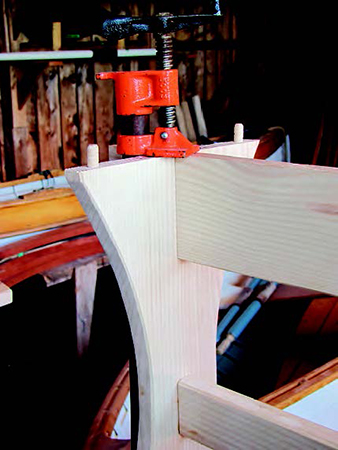
The top of this bench is best attached to the base with 1/2″ dowels. To facilitate dismantling for moving or storage, glue the dowels into the base only, not the top.
Instead of rounding the sharp edges with a wood file or sandpaper, I think it looks better to plane a neat 45˚ chamfer. This makes a crisper impression than the blunted look of a soft, rounded edge. Chamfer the inside curves — both sides, inside and out — and be consistent: make a uniform 1/8″ or 3/32″ flat.
The child’s bench is made in exactly the same way, but you may need to use smaller dowel pins.
Finishing
If you plan on using the bench indoors, you can finish with Watco® oil: two applications, with a light sanding in between, using #600-grit wet/dry abrasive paper and oil as the lubricant. Be sure to wipe off the surplus within 30 minutes, or you’ll be contending with a nasty, yellow, wrinkled finish. Remember to treat the oily rags as incendiary bombs — douse them in water or put them outside on a safe surface to dry.
If the bench is going to live outdoors, consider using a wood that weathers well: teak would be my first choice, mahogany second and any of the cedars third. If you use a wood such as red oak, which is prone to check severely in rain and sun, treat it with Epifanes®, a penetrating outdoor sealer widely used on boats. Of course, the lowest maintenance finish of all is a couple of coats of good paint — you might even acquire the almost forgotten skills of painting and graining it to look like teak!
Click Here to download a PDF of the related drawings.


