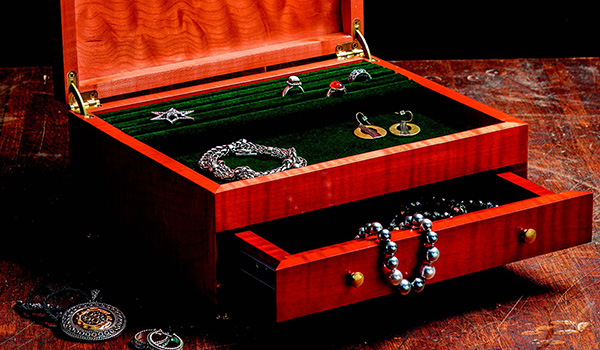
This little mitered jewelry box’s details will have you hustling for a long weekend, but the payoff is sweet. When you’re done, you’ll have a beautiful gift ready for wrapping up this holiday season. I made mine from some nice figured maple, and its dyed finish really makes that grain shimmer! So grab a couple boards of special wood you’ve had set aside, plus a little 1/4″ and 1/8″ plywood, and let’s get to work.
Building the Case
If you’re starting with 3/4″ solid stock, crosscut a 12″-long piece that’ at least 5″ wide and with particularly nice figure. Set it aside for a lid panel. Then, rip a 4-ft. length of your stock to 4-7⁄8″ wide, and plane that down to 1/2″. Square up one end, and crosscut a piece for the front panel/drawer face to 11″ long. Rip what’s left of the long board to 4-11⁄16″ wide — it will become the case’s two sides and back panel when we cut those parts to length, shortly.
Now why, you’re probably asking yourself, is the front panel wider than the other three panels? Well, the drawer face should come from the same front panel so its grain will match the front of the case. And, it takes two 3/32″-wide cuts with a thin-kerf saw blade (3/16″ of material loss) to cut that drawer face free. Once we make those cuts a little later, the widths of the remaining strips of the front panel, plus the drawer face, will add up to 4-11⁄16″, to match the width of the sides and the back panel. (Note: If you use a 1/8″-kerf blade instead, make the front piece 4-15⁄16″ wide to start with.)
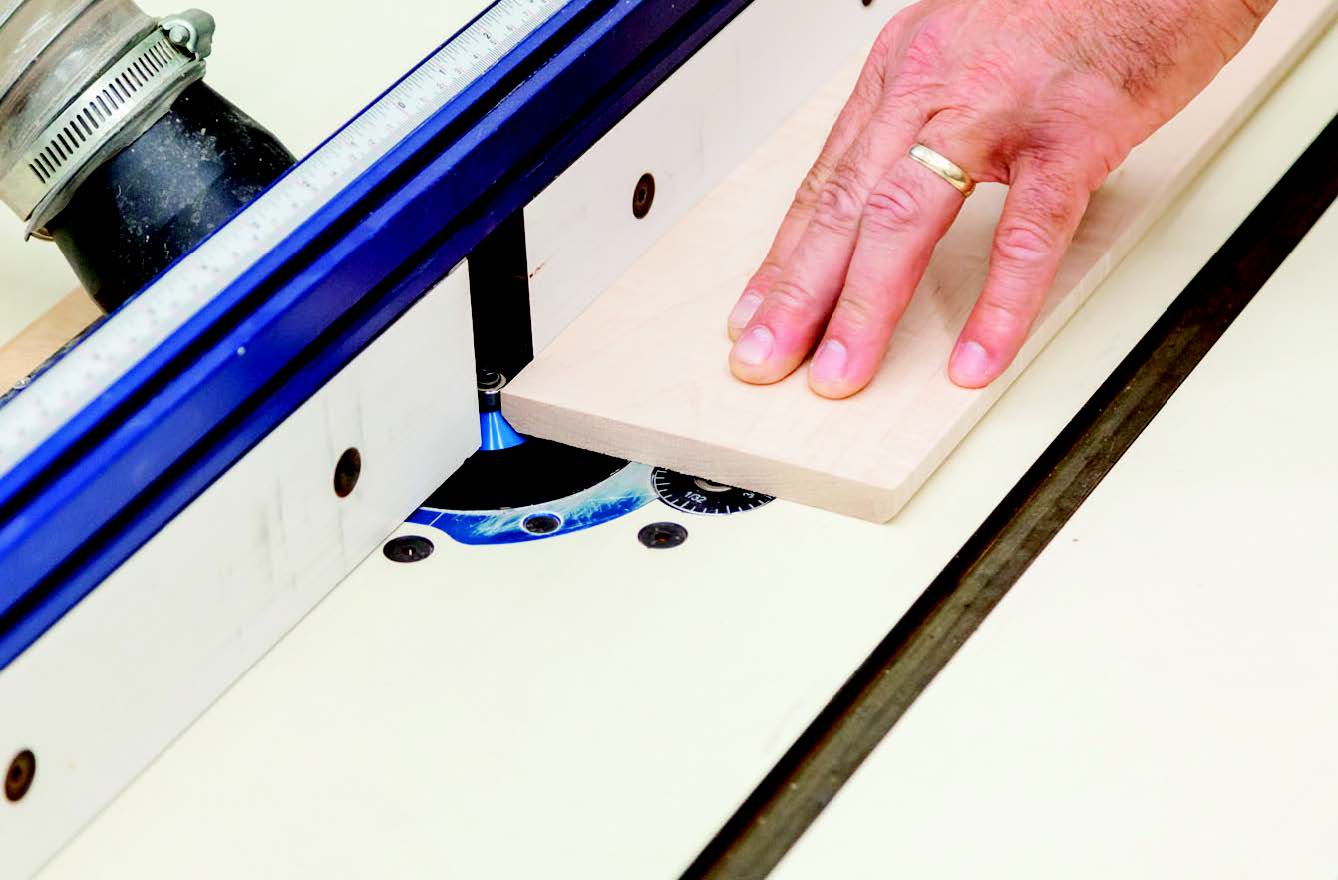
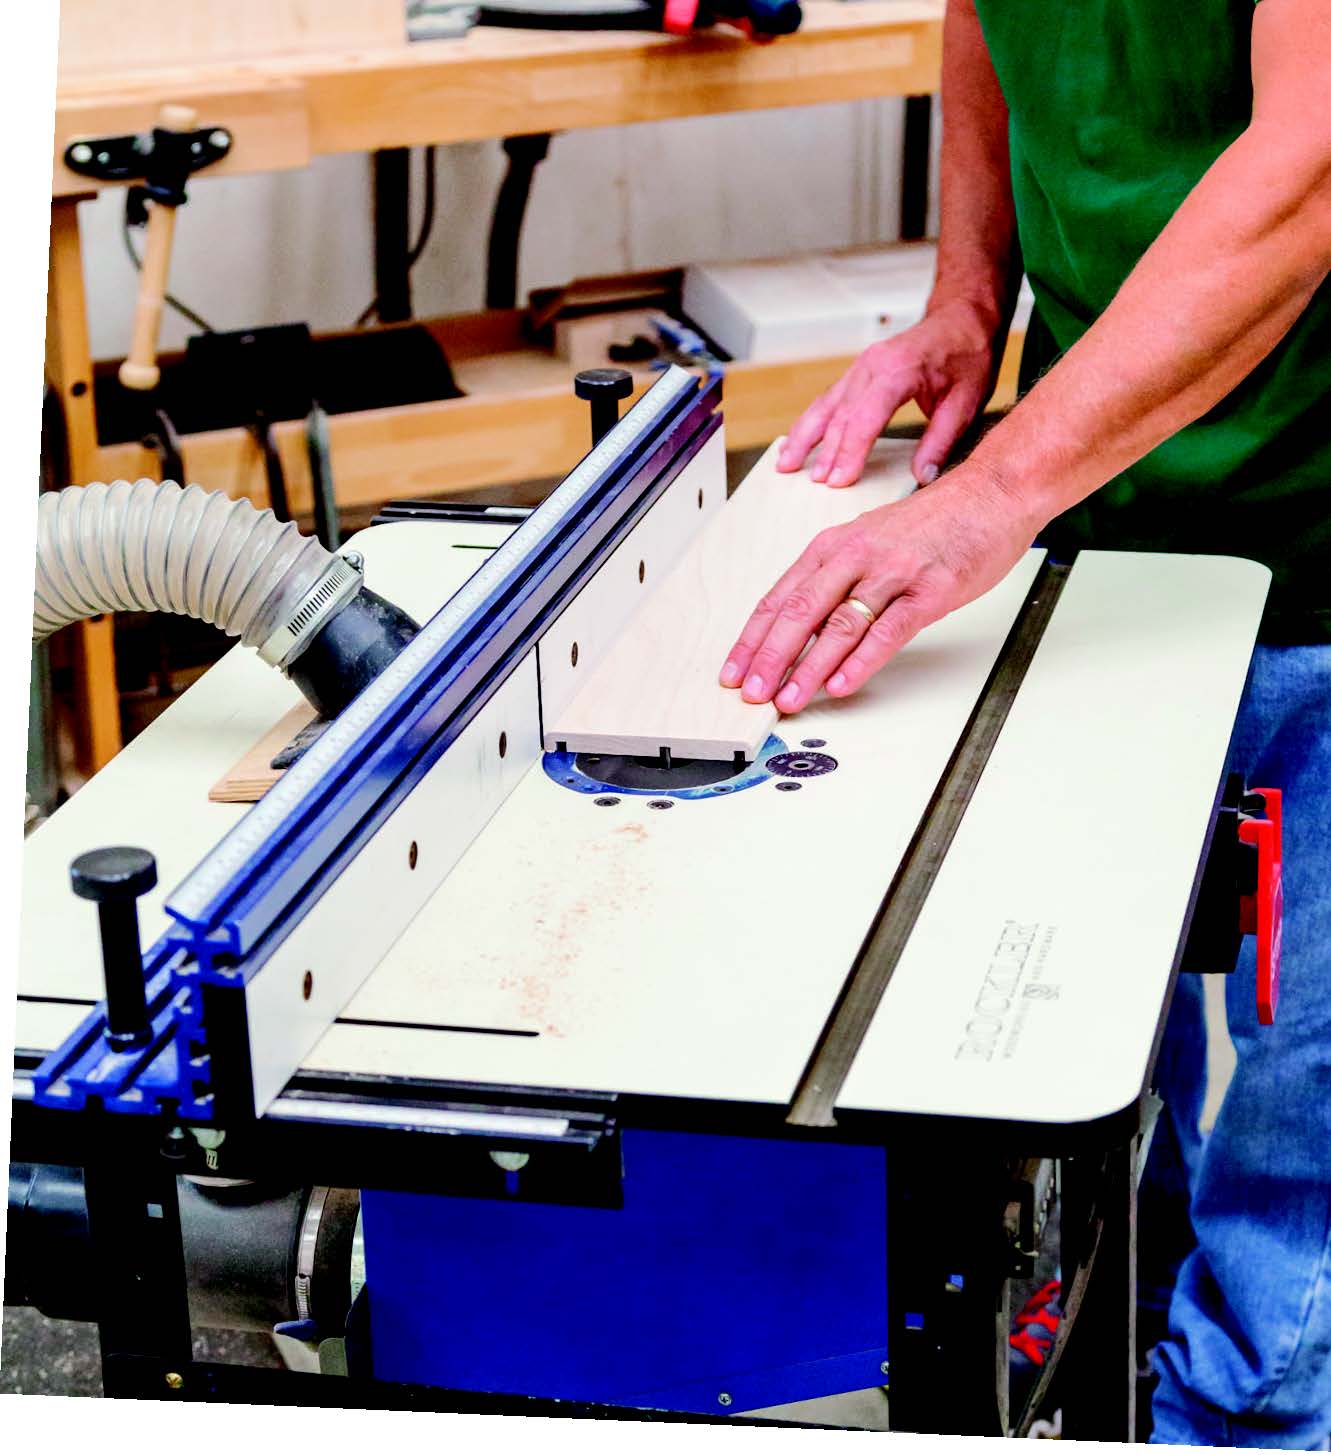
The top and bottom of the box have some decorative built-in moldings, and we’ll mill those next at the router table. With a 45° chamfer bit, first shape the long edges on the prettier “show” face of your front piece and the combined side/back piece. I set the bit height to 3/16″ for these cuts.

We’ll build as much of this box as possible before slicing the lid free, so next come some grooves to house the plywood bottom panel and middle tray, and the top solid wood panel. Since even 1/4″ plywood isn’t a true 1/4″, I used an “undersized” straight bit that cuts grooves to fit my plywood perfectly. Set the bit height to 1/4″. Here’s where to place those grooves on the inside faces of both your front and side/back pieces: mill a bottom-panel slot 1/4″ from the bottom edge of your parts. Plow the second groove for the middle tray 1-7⁄8″ from the top edge. Then, reset your router table fence one more time to rout the lid panel groove 3/16″ from the top edge. Sand the inside faces of the case parts now, up to 220-grit, to get that out of the way.
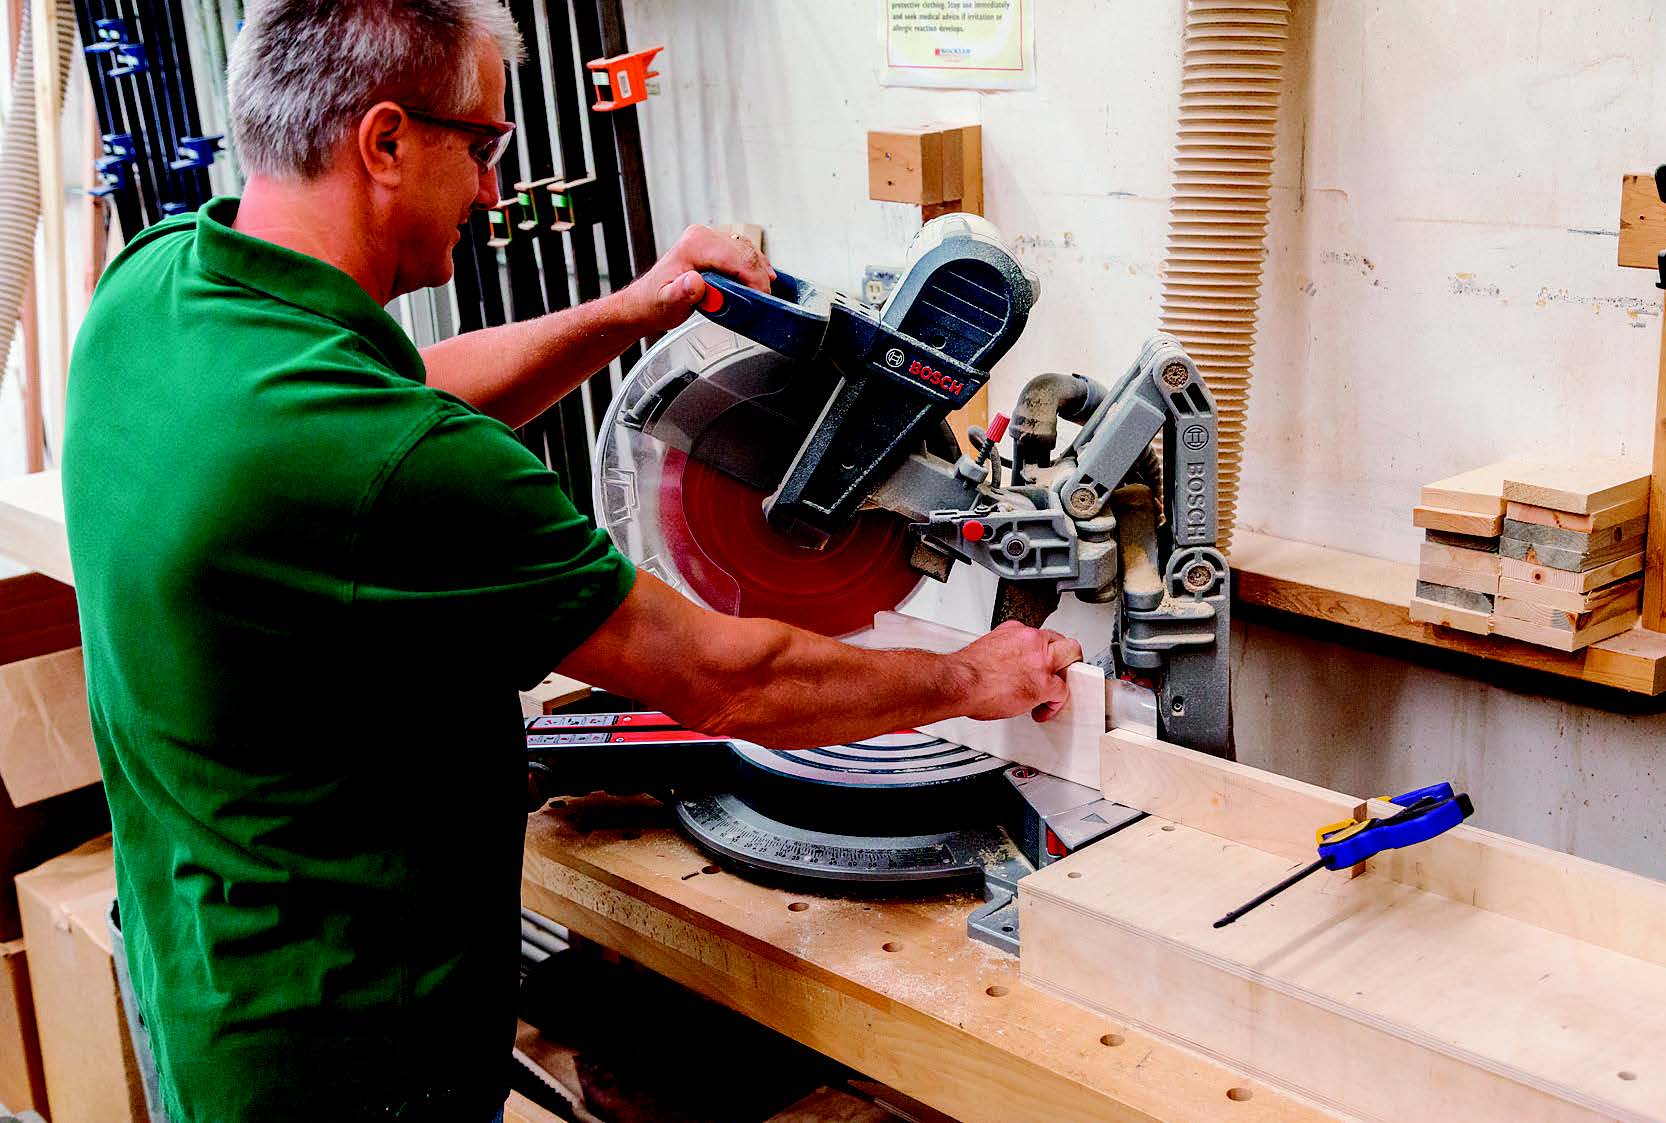
When the dust clears, head to the miter saw and swivel it to exactly 45° so you can take care of those corner miters. Angle-cut the ends of the front panel, then split the longer piece into two mitered sides and a back panel: the sides are 8-3⁄4″ long and the back panel is 11″ long.
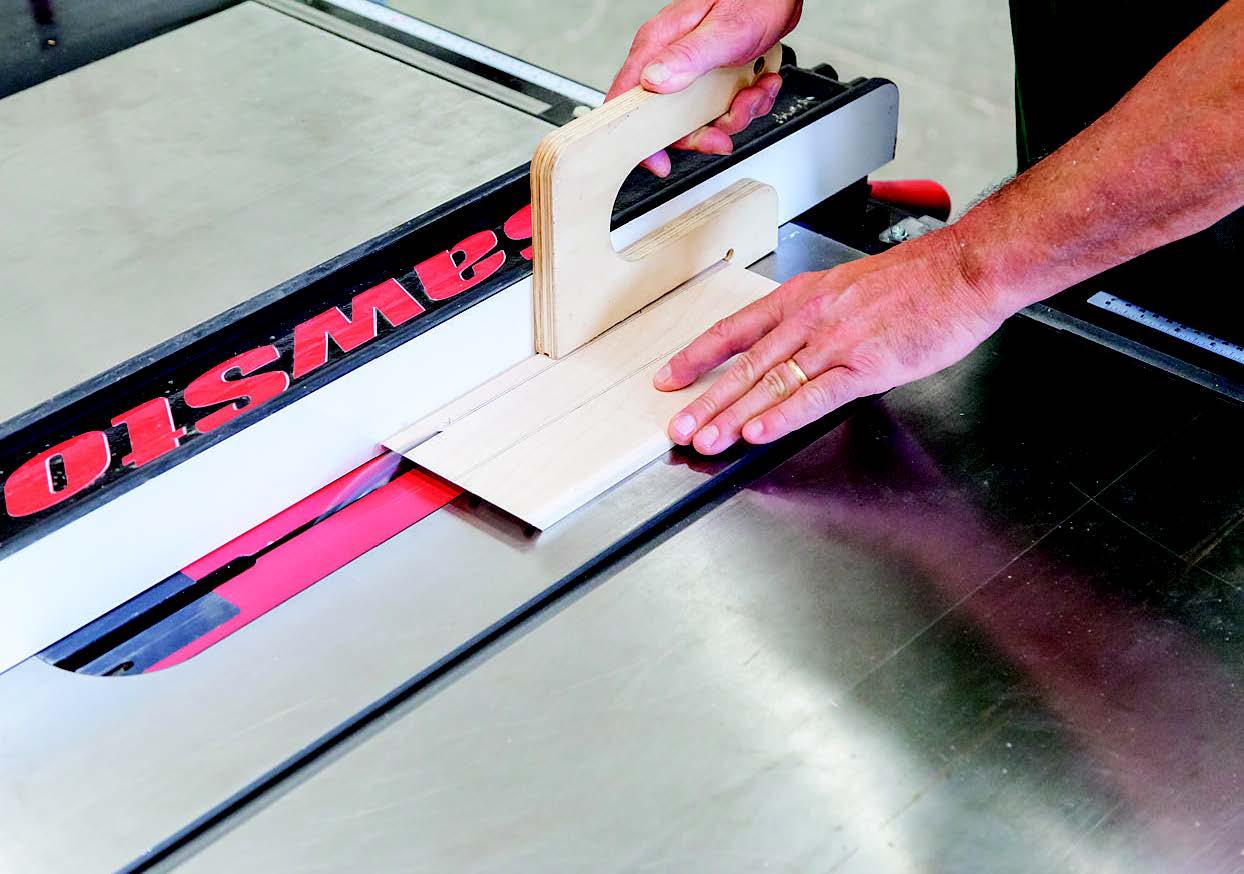
With that done, let’s cut the drawer face out now. Set your rip fence 3/4″ from the blade, and cut the bottom narrow piece of the front panel off. Then slide the fence 1-9⁄16″ away from the blade, butt the cut edge of the rest of the panel against the fence, and make a second rip cut to separate the drawer face from the front panel’s top section. Mark it and the other two loose pieces so you can keep their ordering straight, and set the drawer face aside for a bit.
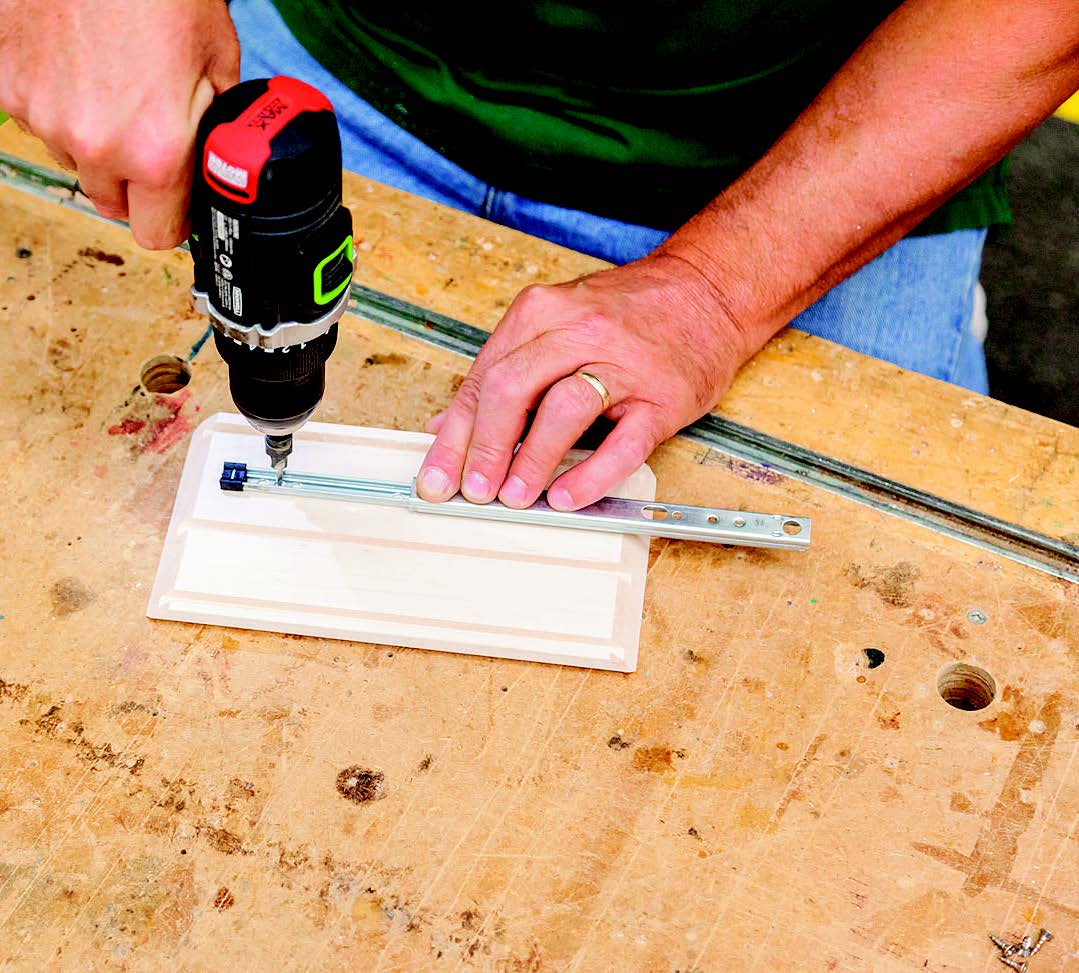
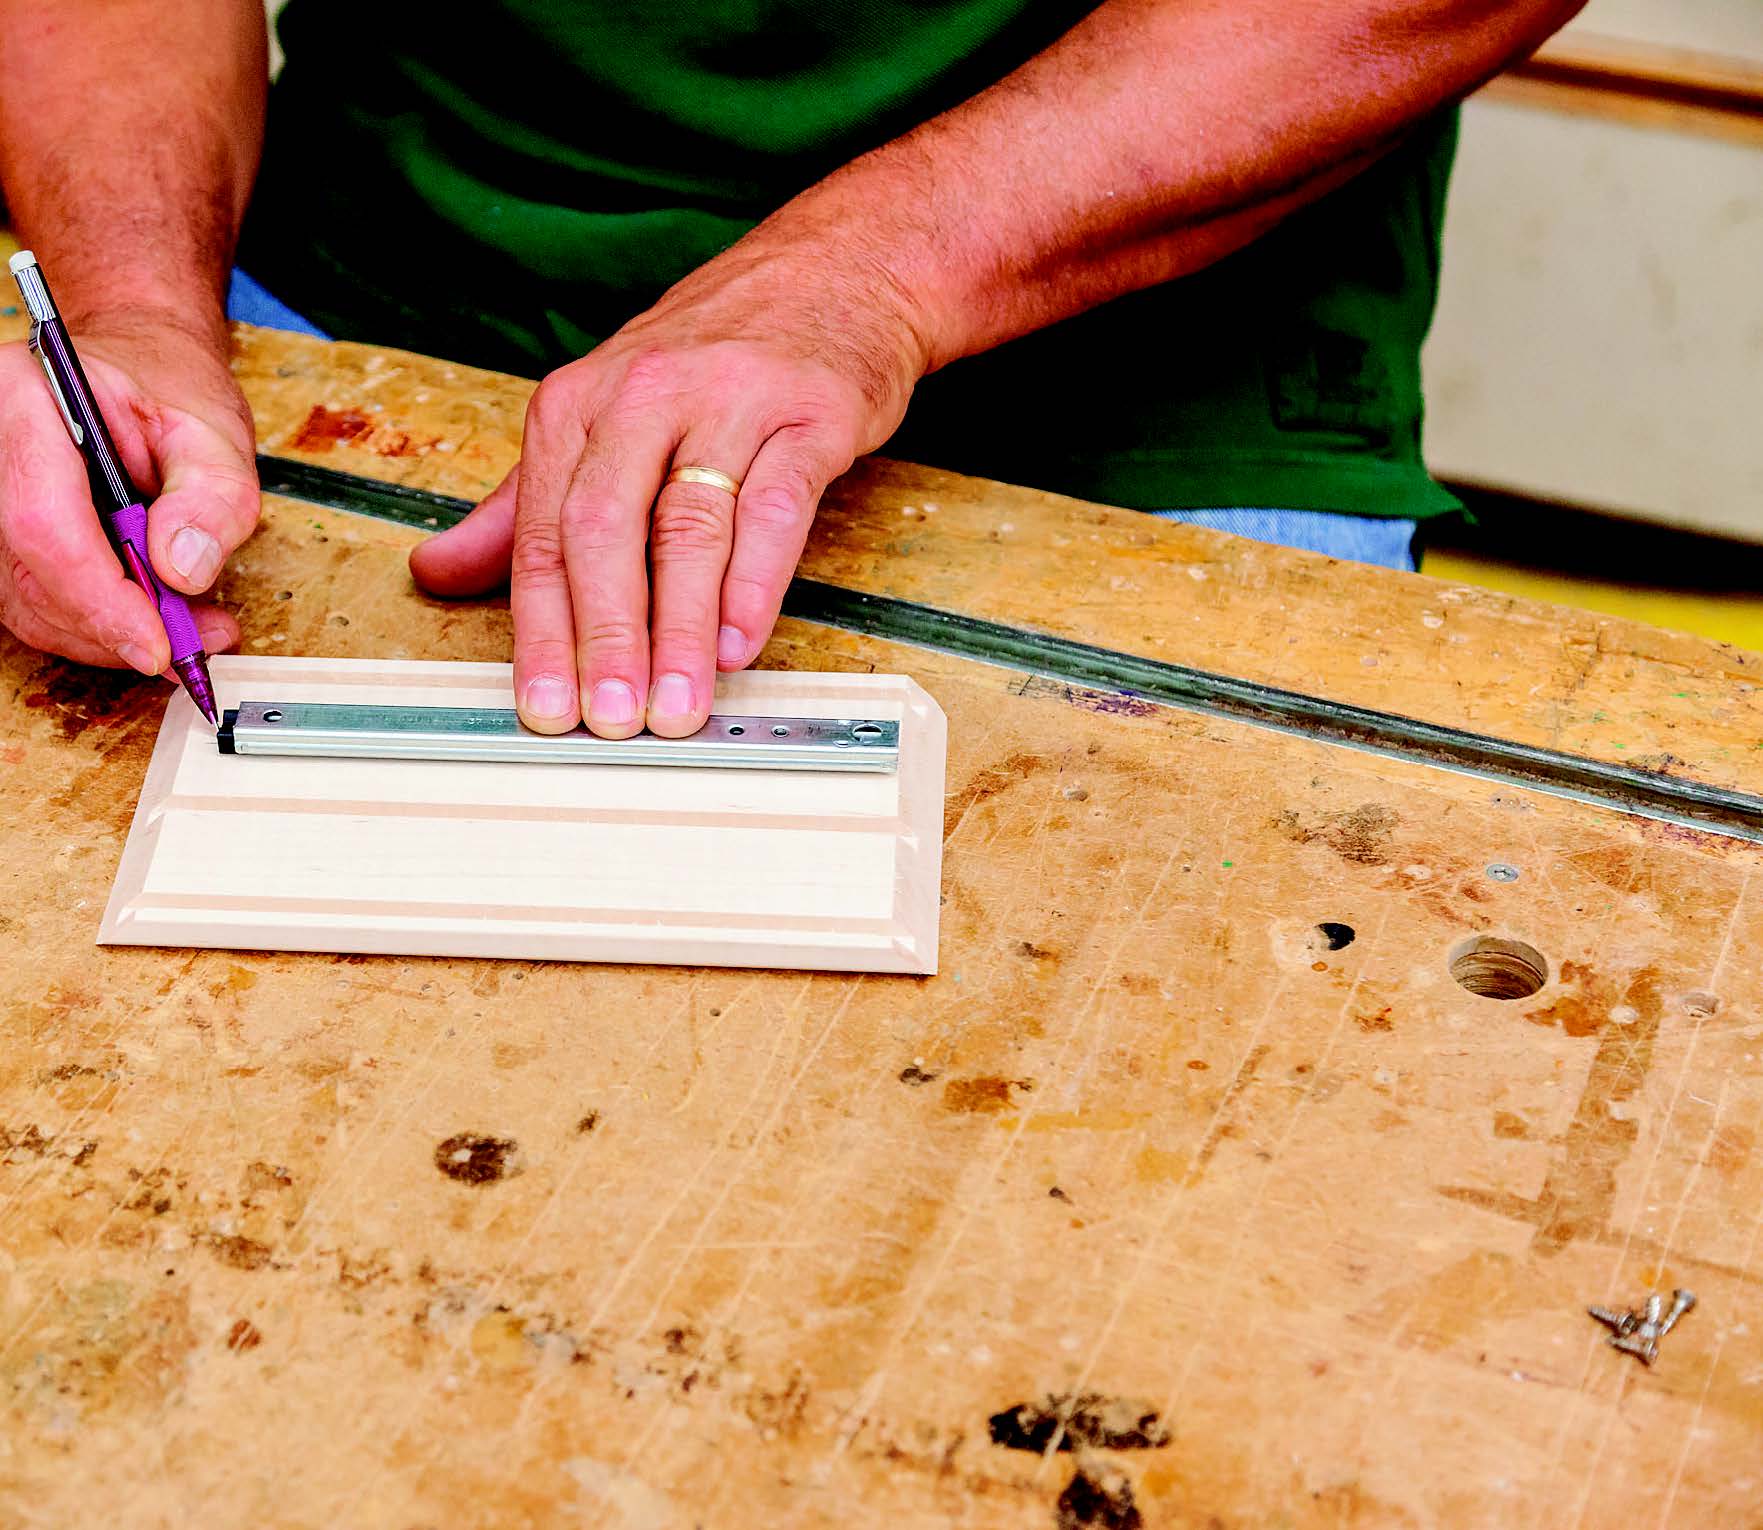
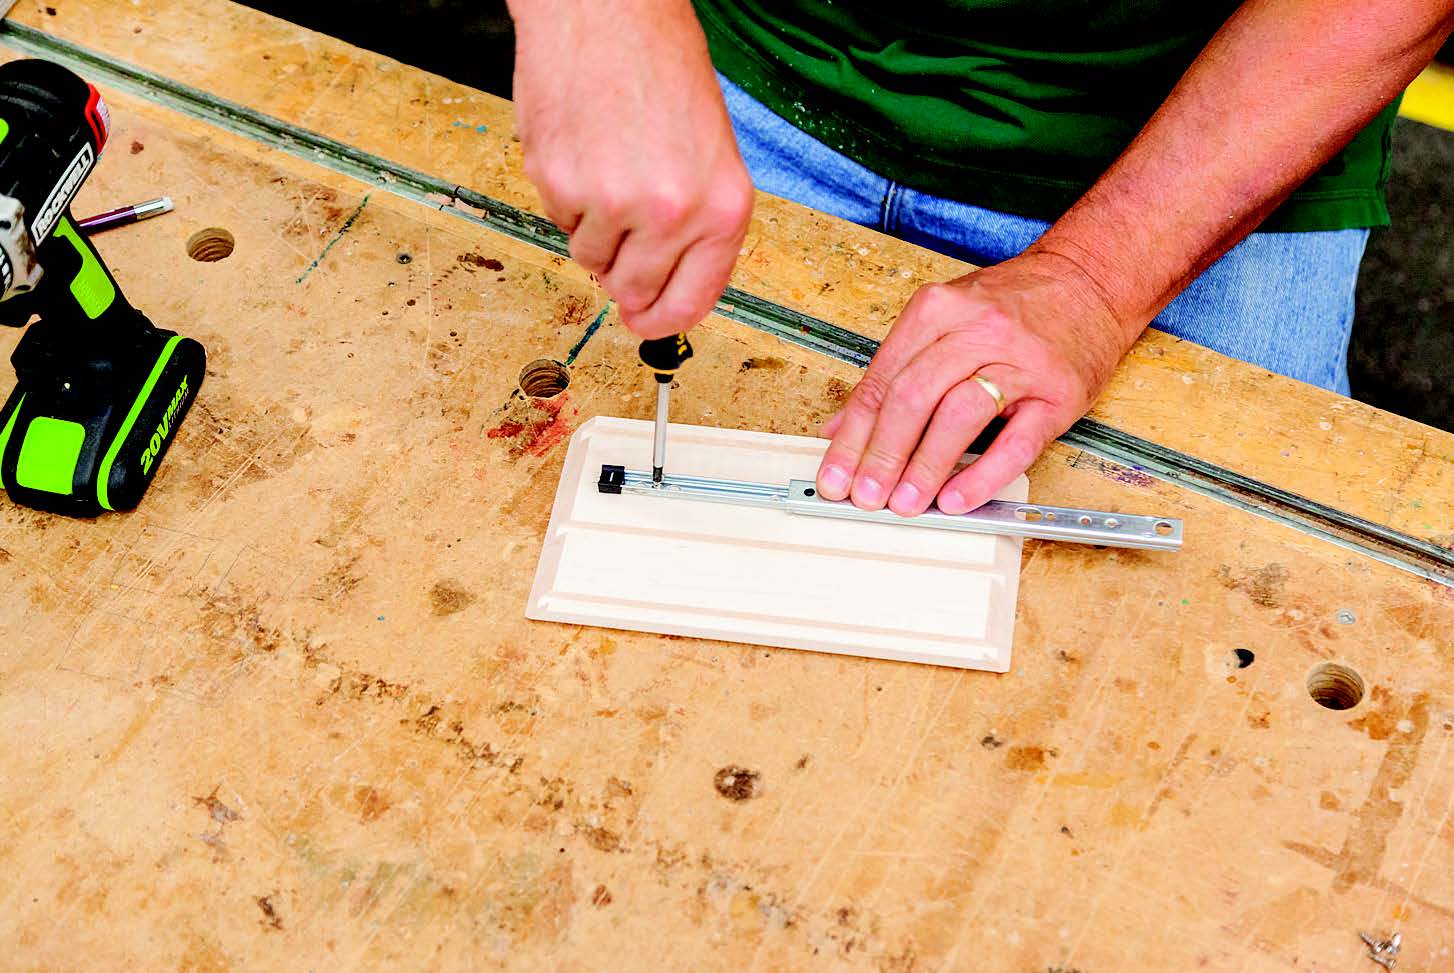
The side panels, on the other hand, don’t need any rip cuts yet, but we do need to mark and install the drawer slides on them while they can still lie flat. Center this hardware between the wider-spaced grooves on the sides (it’s the drawer box area), and choose which ends of both side panels will face front on the case. Close the slides, making sure their front edges are flush with the inside corners of the case miters. Mark the backs of the slides and the hole positions for installing 3/8″-long screws. Drill shallow pilot holes for the screws, and fasten the slides to the side panels.
Remember that first piece of stock you set aside for the lid panel? Surface it flat and step over to your band saw to resaw it down the middle. Fold open the pieces, and you’ve got a beautiful book-matched panel in the making! Glue up this panel, then plane it down to a thickness that just fits into the lid grooves on the case pieces. Then rip and crosscut it, and the plywood bottom and tray panels, to final size, according to the Material List. Finish-sand these three panels.
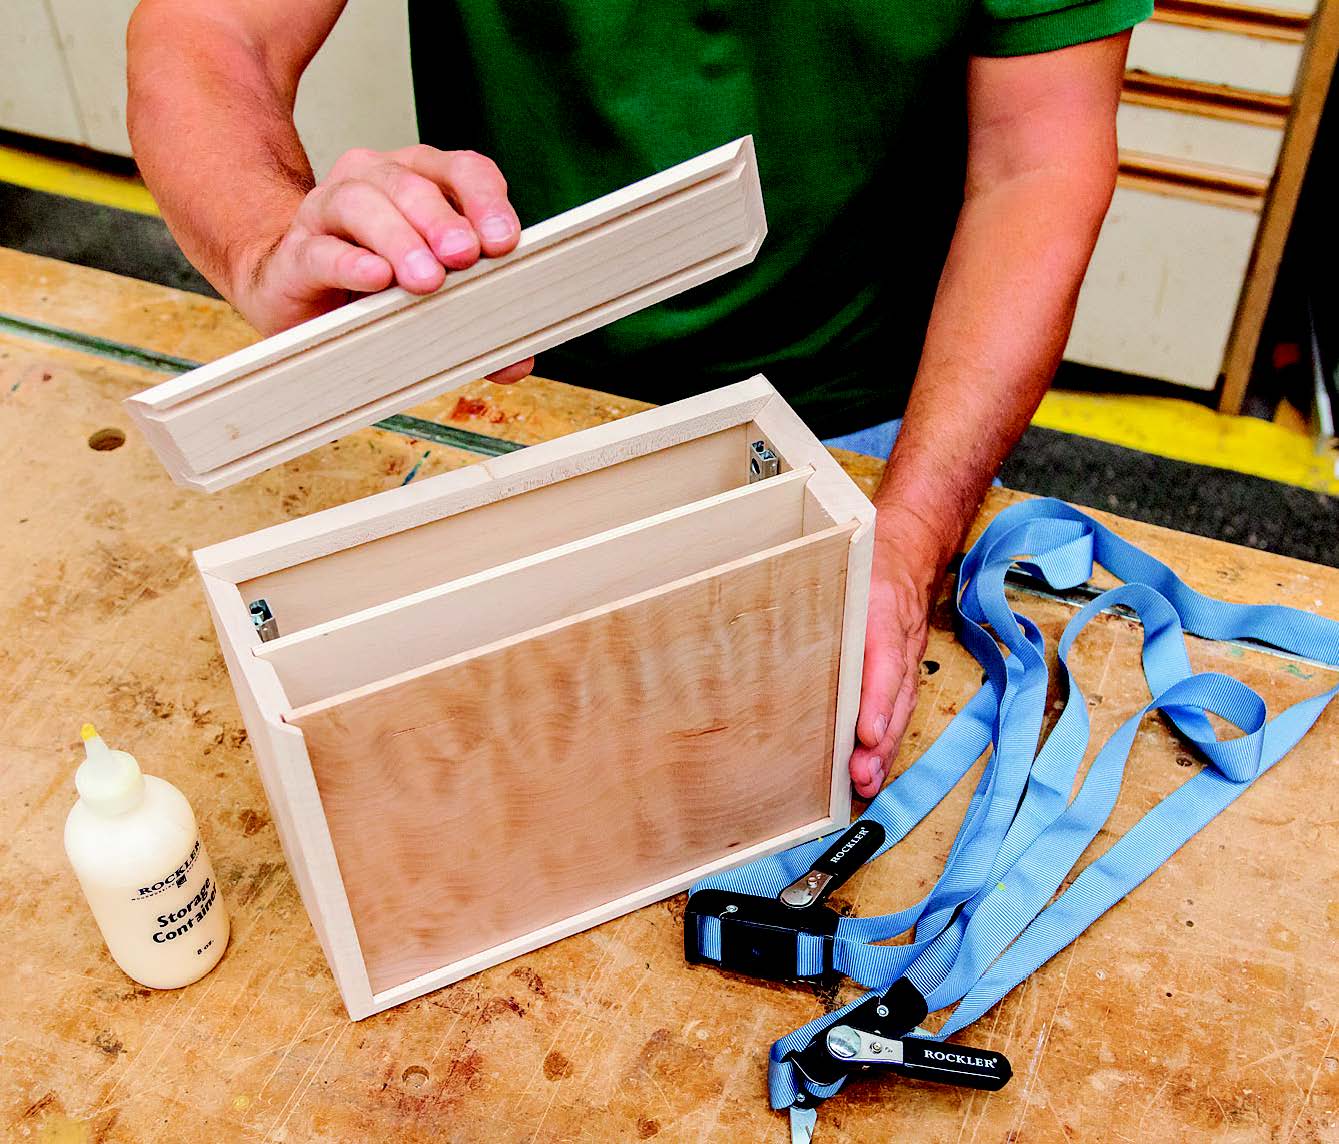
Enough making parts … let’s put this box together! With the glue bottle still capped, assemble the case parts and panels dry to make sure all the miter joints close tightly. Now, spread a sparing amount of glue into the plywood grooves and over the ends of the miters (you can’t wipe off any wet squeeze-out that ends up inside the box, after all!). Pull the box together with two or three strap clamps, clean off any wet glue on the outside, and let the assembly dry.
Adding Splines, Subtracting a Lid
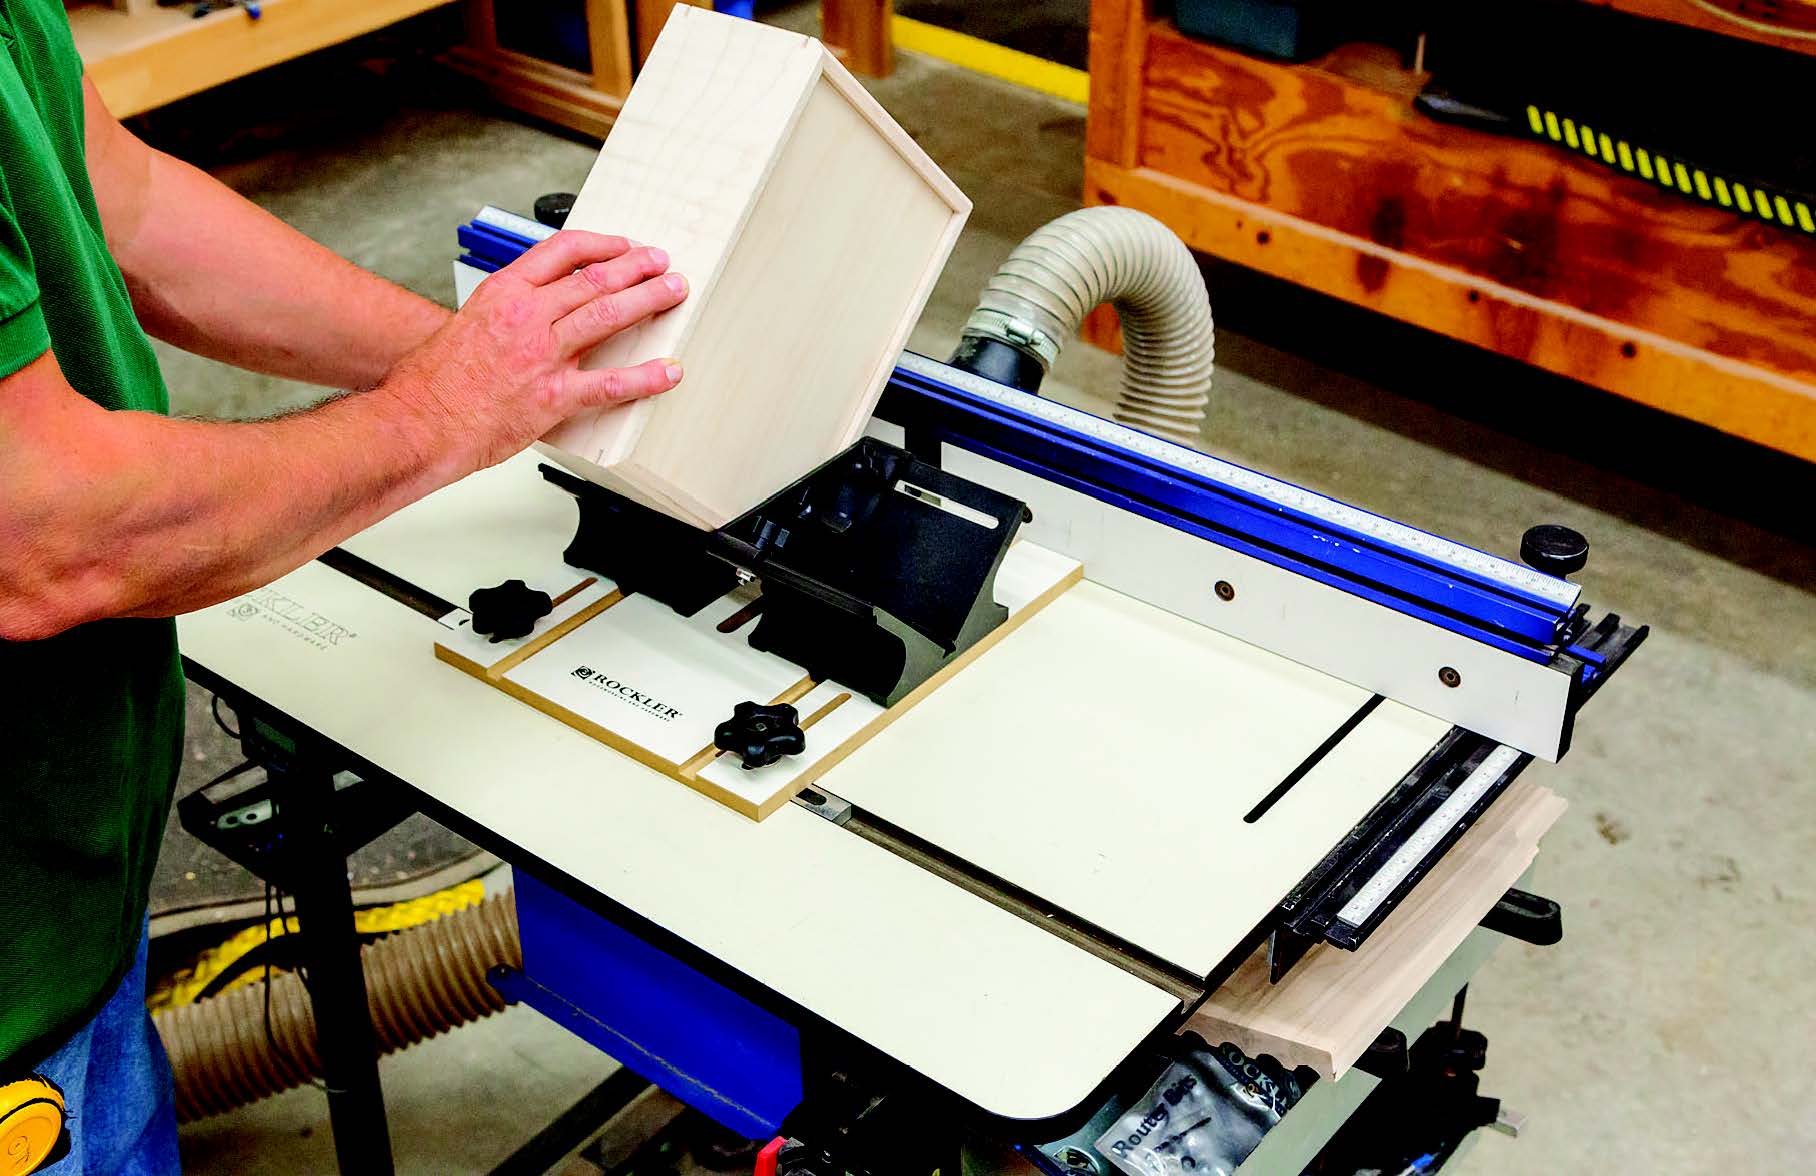
Once the strap clamps come off, you have a decision to make: Spline the corners or not? I think splines made from a contrasting wood like walnut really dress up the mitered joints of this case, but honestly, they’re more decorative than structural on a box this small. I used Rockler’s new Router Table Spline Jig (item 59288) and a 1/8″-dia. straight bit to cut 3/8″-deep spline slots across the corners of the case.
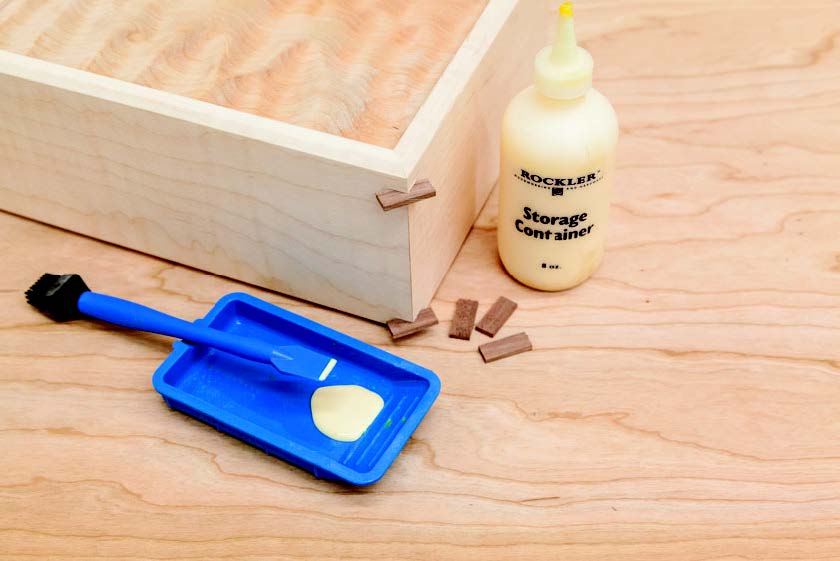
I positioned the top splines 1/2″ down from the top of the case and 3/8″ up from the bottom. I made the splines by ripping a thin strip of walnut and crosscutting it into 1″-long pieces. Glue your splines in place, and trim them flush when the glue dries. Finish-sand the box.
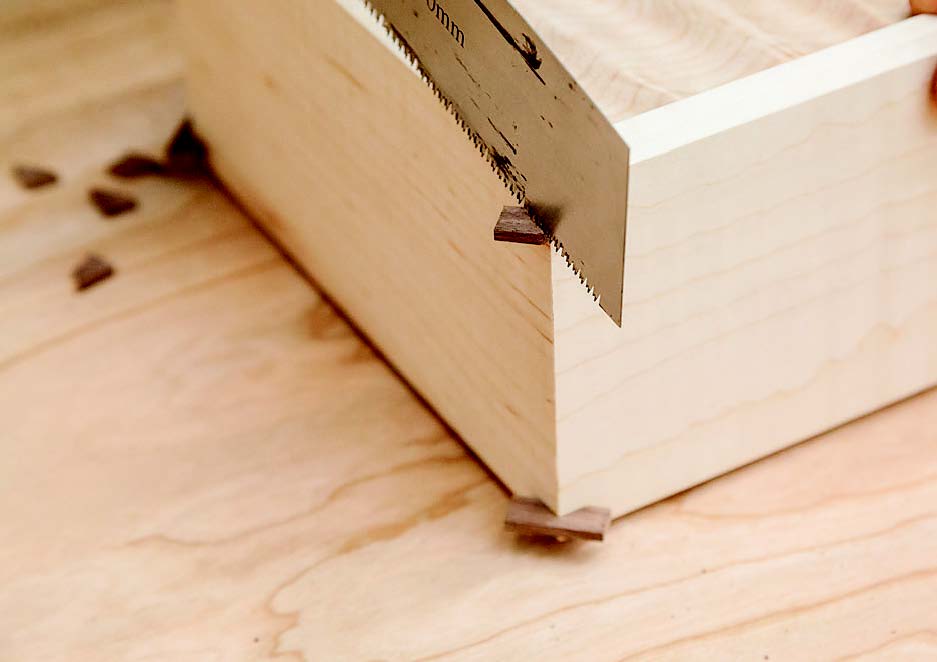
Ready to cut the lid free? It’s finally time. Set your table saw’s rip fence so the lid will be 1″ wide, and raise the blade to just a hint under 1/2″. Stand the box against the fence and make four very careful cuts around its perimeter to score the lid almost free.
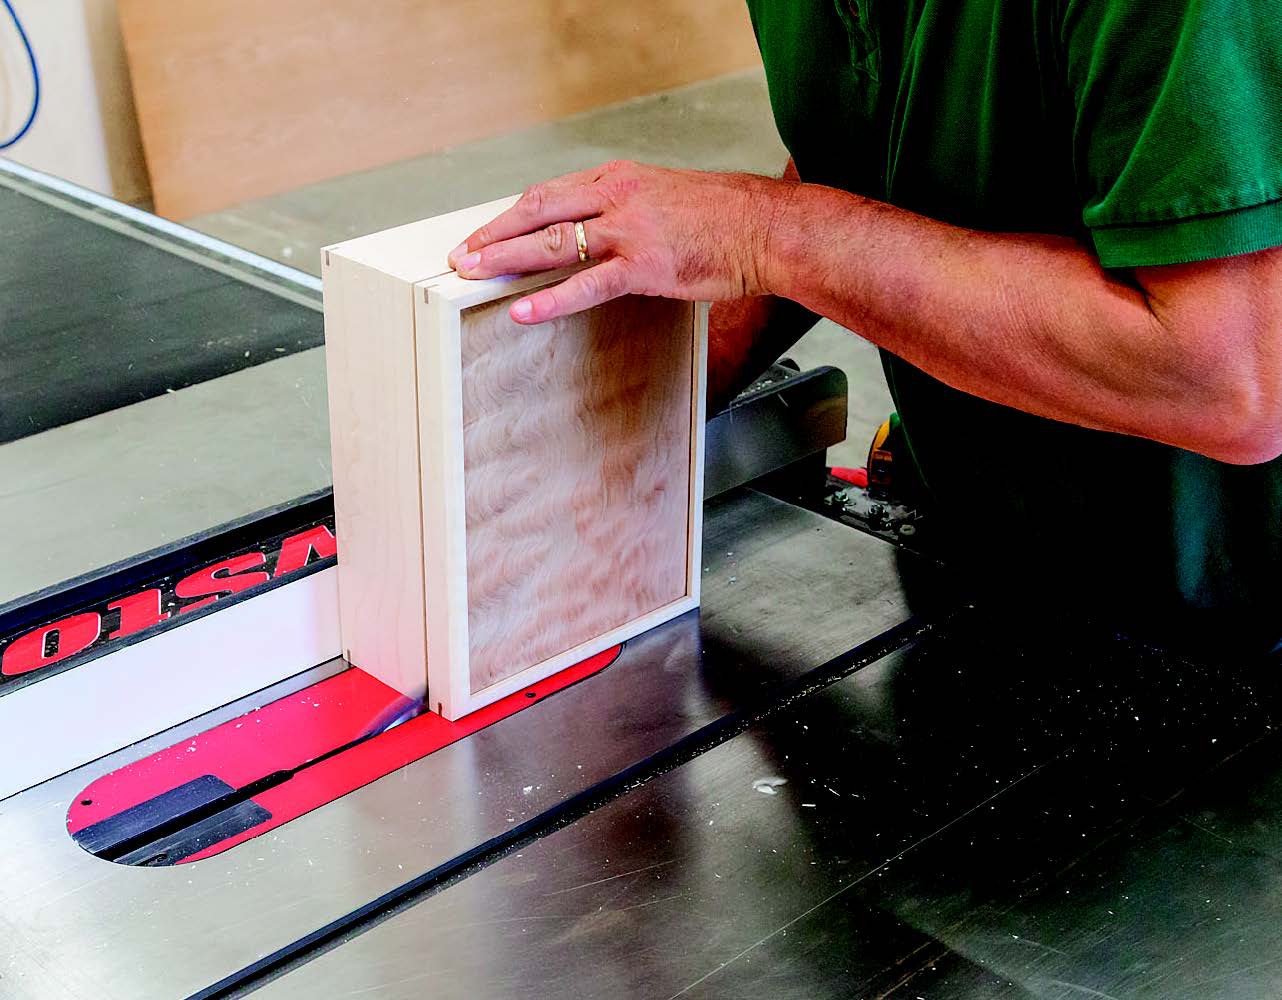
Once the last cut is done, use a utility knife to gently slit through the kerfs and release the lid. Sand the cut edges smooth, and scrape off any dried glue inside that needs to go.
Making the Drawer
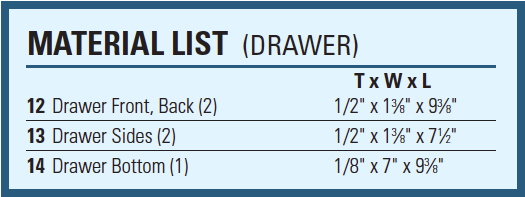
At this point, we can take this project almost all the way to the finish line by building the drawer. Here’s the good news: the construction is simple. Rip and crosscut the drawer box’s front, back and sides to size from 1/2″ stock. If you look carefully at the Drawing, the corner joints are just 1/4″ x 1/4″ rabbets on the ends of the front and back pieces that you can make at your table saw with a dado blade or at the router table with a rabbeting or straight bit. The tongues of these rabbets fit into dadoes cut across the ends of the drawer sides, 1/4″ back from the part ends. Those are easy to cut, too. Once these joints slip together it’s almost like they don’t need glue. Chuck a 1/8″-dia. straight bit in your router table (or a 1/8″-kerf saw blade in your table saw), because this drawer still needs bottom-panel grooves. For one this tiny, 1/8″-thick plywood will do nicely. You can find it at craft stores.
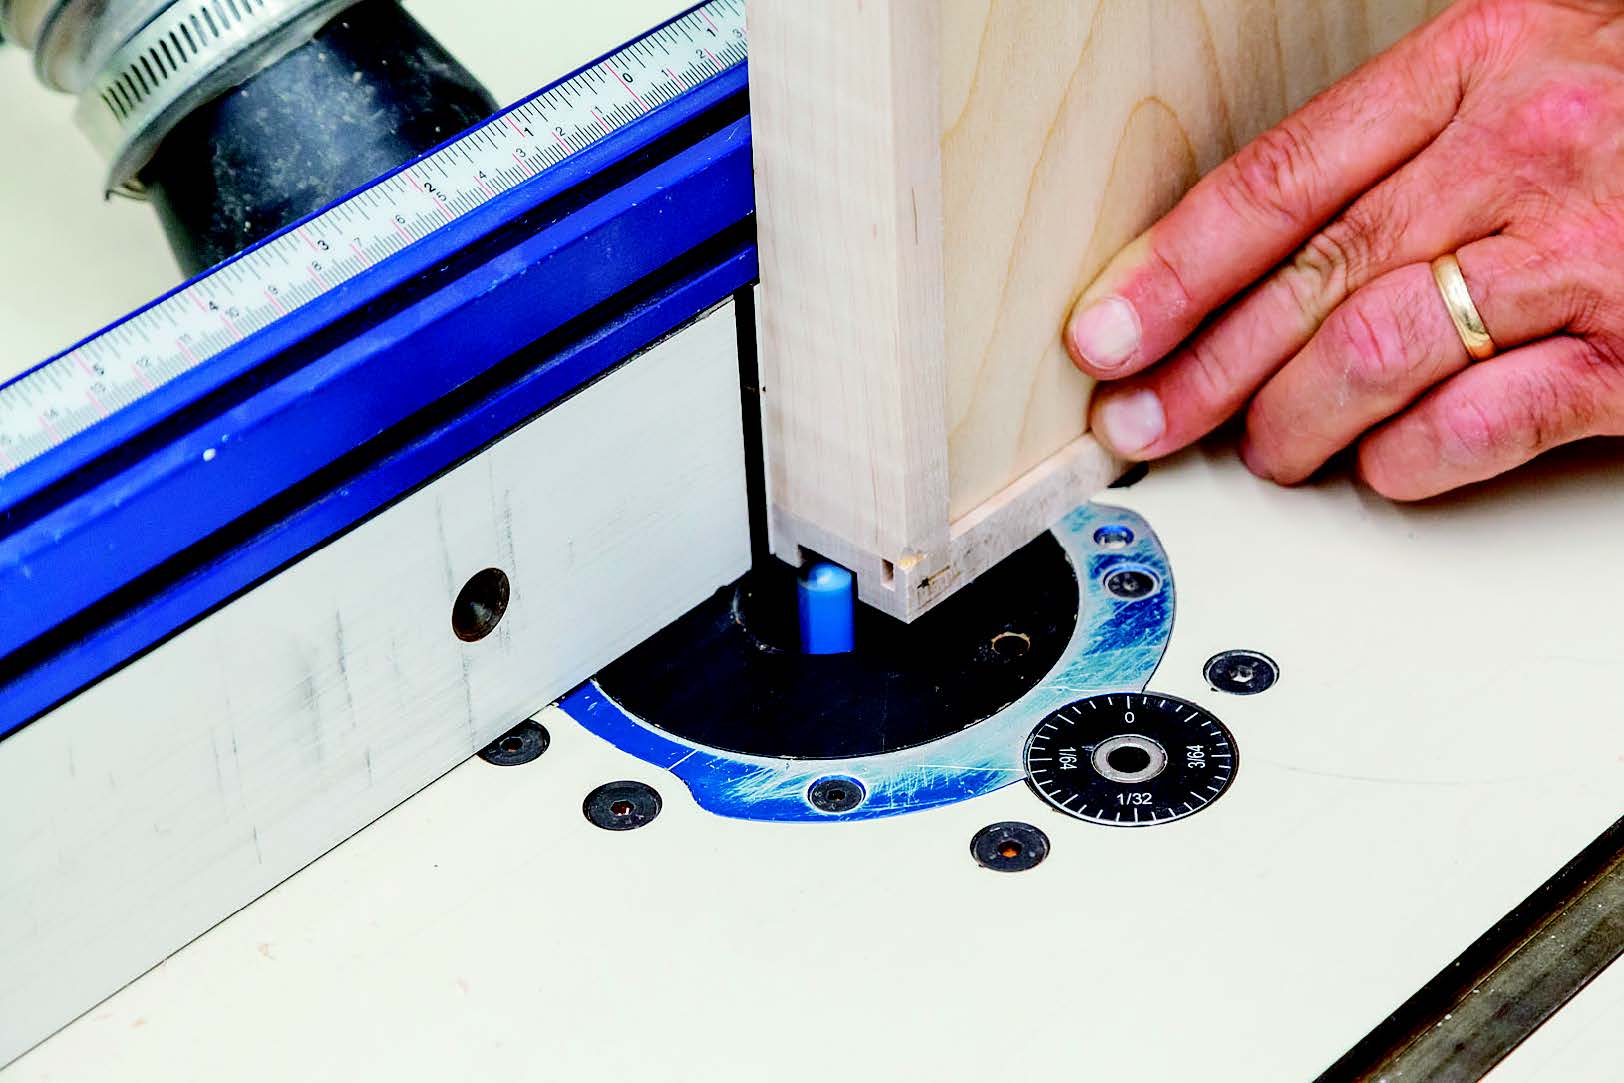
I placed the grooves 1/8″ up from the bottom edges of the drawer parts, and I cut them 1/4″ deep. Cut your bottom panel to fit the drawer box, and make sure all five parts go together nicely. Then give them a thorough sanding, and glue the drawer box and bottom panel together.
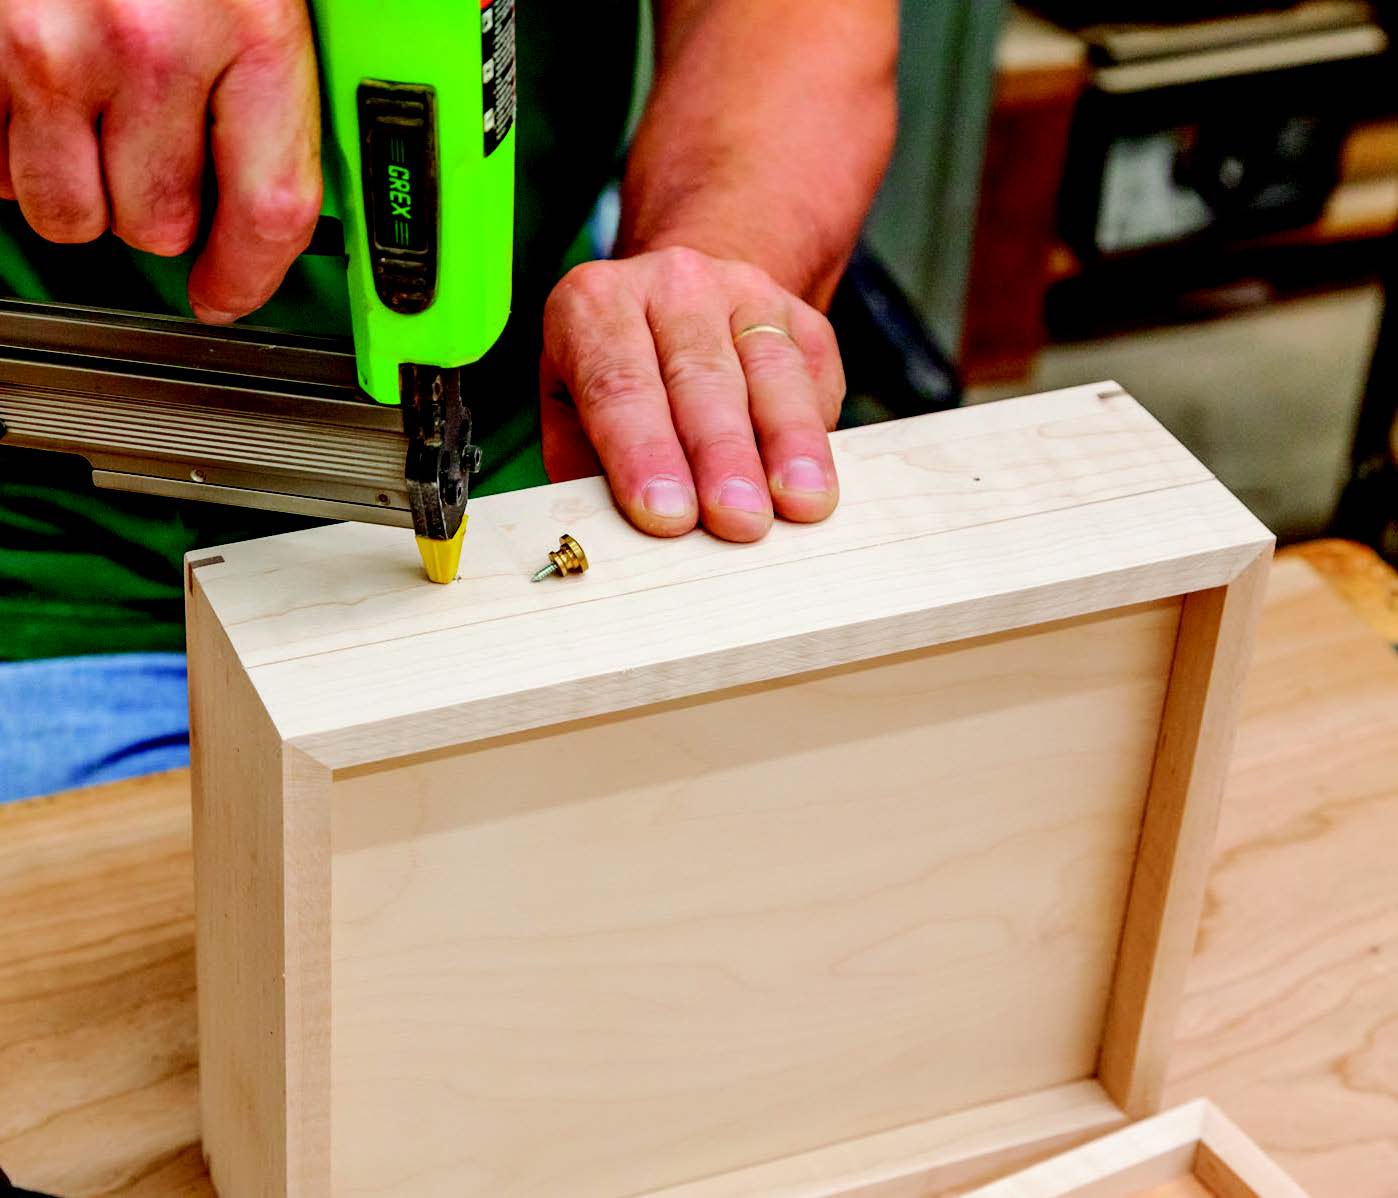
There are still two more big grooves to cut into the outside faces of the drawer box, and those will wrap around the drawer slide hardware, positioning the drawer box in the case. For my project, I was able to cut these grooves 1/4″ deep and 11/16″ wide. You could use a dado blade in the table saw, but I chose the router table and a 1/2″ straight bit. Two passes, shifting the fence back a nudge after the first, widened my grooves as needed. I also positioned these slots about 1/16″ closer to the top of the drawer box than the bottom, rather than centering them perfectly. It left a little more wood near the drawer bottom grooves this way, for added strength. Now fasten the drawer box to the slides, making sure the front face of the box is flush with the bottom corners of the front miter joints when it’s closed. That way, the drawer face’s miters will fit nicely against the miters on the case.
I sanded the edges and ends of the drawer face lightly so that it fit into its opening with a bit of space on top and bottom. Then I positioned it with the drawer box closed inside the case, and pinned the face and box together with 3/4″-long, 23-gauge pin nails.
Mounting the Lid
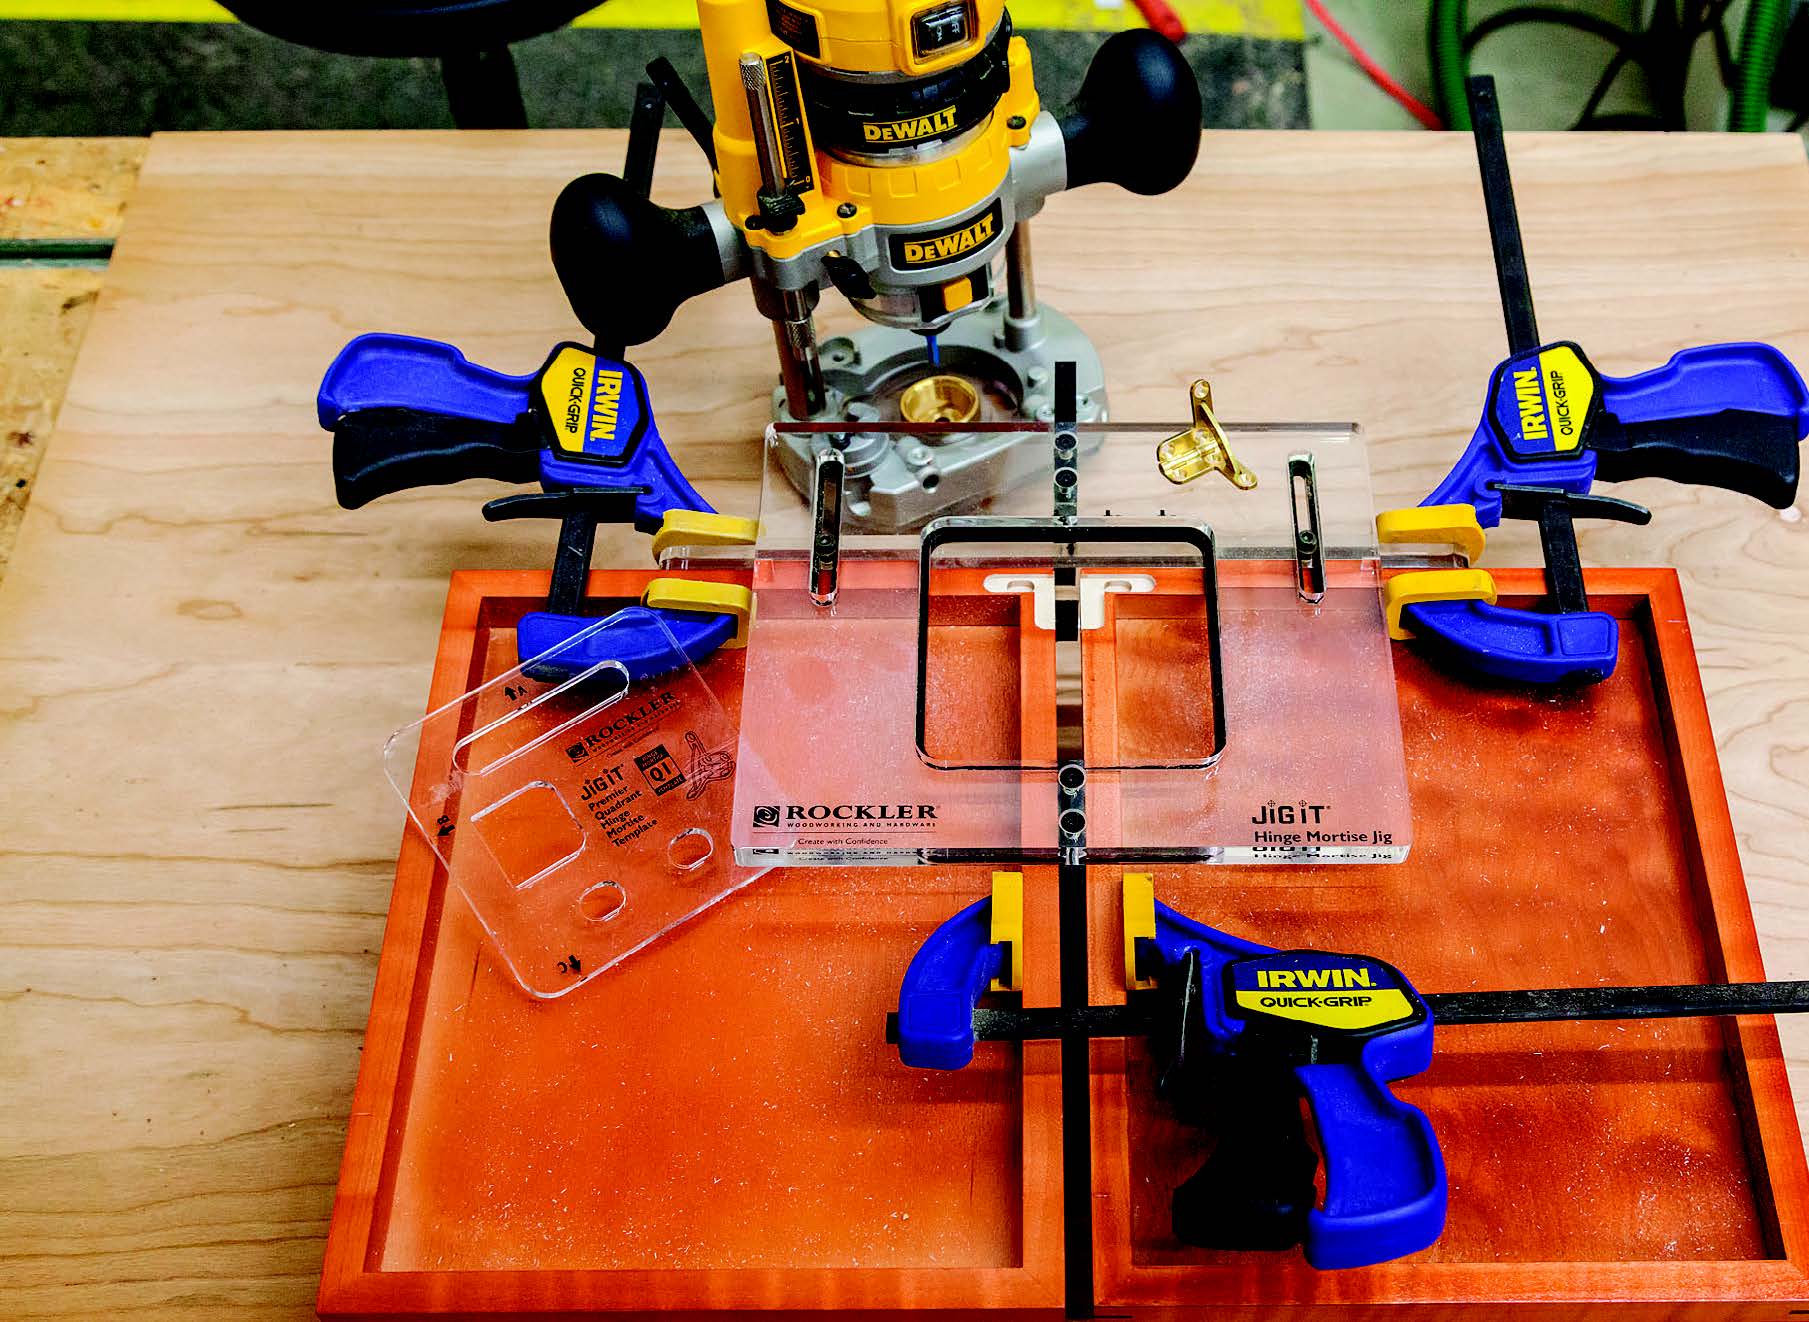
With the drawer done, I dyed the lid, box and drawer, then turned my attention to mounting the lid. I went for the “brass ring” of hinges here: Brusso’s solid brass quadrant hinges. That’s because Rocker offers a new JIG IT® Hinge Mortising System (item 58822) that makes cutting these complex hinge and lid support mortises much easier. A removeable plastic center plate with several cutouts fits into a base plate and positions the various mortising cuts for a guide collar and straight bit in a plunge router. I routed the mortises and installed the hinges and lid on the case with a few screws to check the action. Then, off came the hinges for final top coating to seal in the dye.
Some Finishing Finery
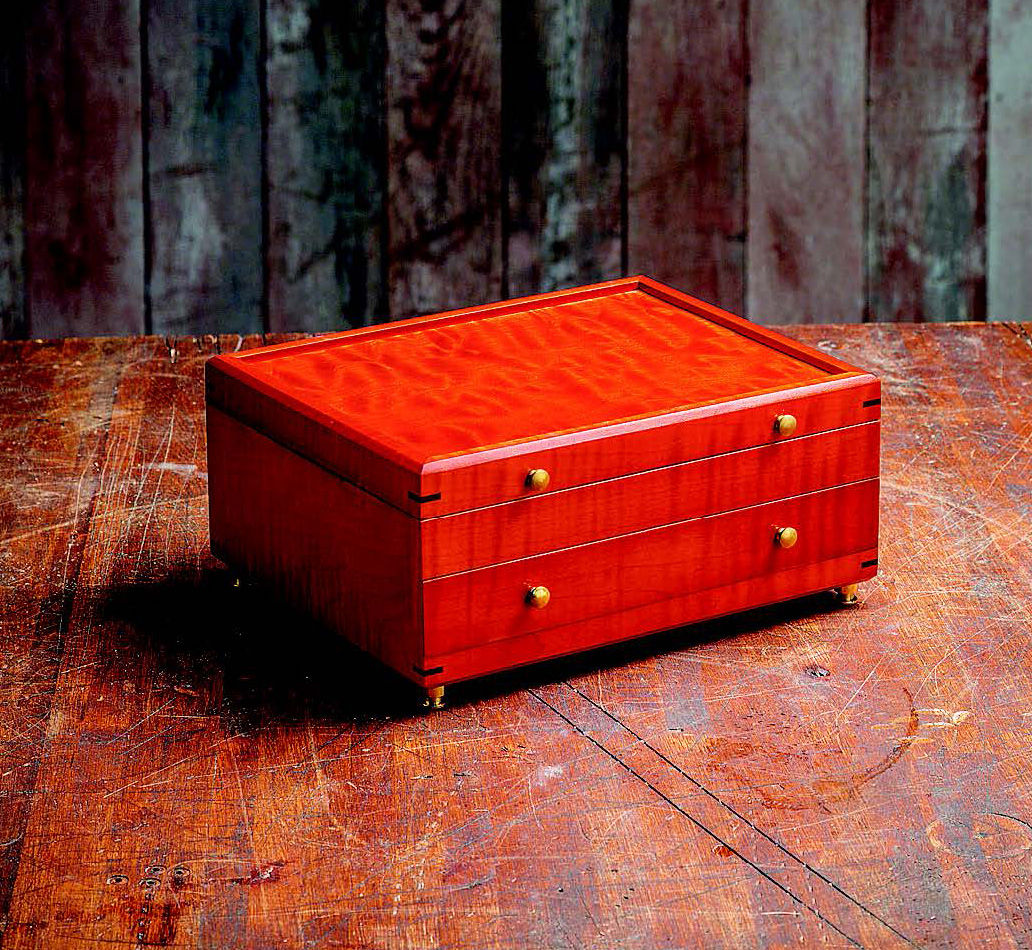
Clear shellac really pops the figure of this maple! But applying it can be tricky. If you’re a novice, try a rattle can of semi-gloss lacquer instead: it’s just about foolproof. Then reattach the lid.
From here, I cut 1/4″ x 1/2″ x 1/2″ wood spacers and glued them to the box bottom corners to serve as mounts for four brass feet. I screwed the lid and drawer knobs in place and lined the drawer bottom and top tray with self-adhesive green velvet. A matching green ring bar came last.
My jewelry box is now ready to wrap up as a special gift. I hope yours will meet your holiday deadline, too!
Click Here to download a PDF of the related drawings.


