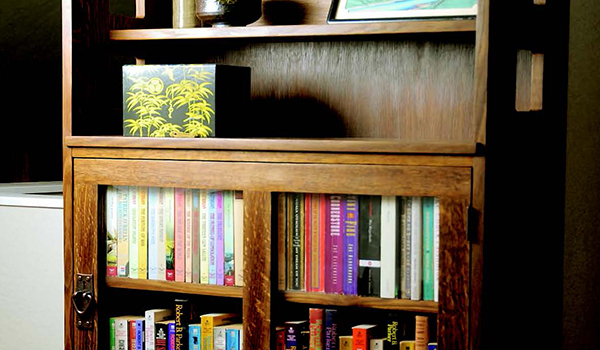
Charles Limbert built his company on a line of Arts and Crafts furniture that, at its best, combines a European sensibility with the strong, linear forms of the American Arts and Crafts movement. It’s a unique style marked by the skillful use of negative and positive space and by canted sides and trapezoidal bases. The No. 367 bookcase provides a good introduction to building in the style while avoiding the intricacies of his more complicated pieces. A few key details distinguish the design: the square cutouts, gallery shelf, radiused corners on the top of sides, and the slightly proud edges of the fixed shelves. Since the case is joined with dadoes and rabbets, construction is simple, and a template makes reproducing the signature details with a router easy. The original was built in quartersawn white oak, and I chose the same material, but like many of Limbert’s best designs, it would look good in a variety of woods and finishes, or even painted.
Flush-trim Routing Jig
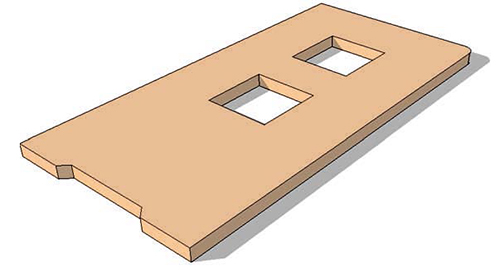
By making a jig that is shaped exactly as the top and bottom sections of the sides, you can assure perfect symmetry in your finished pieces. The dimensions for the cutouts and shape of the sides can be found in the Side Elevation Drawing on the opposite page. A trick for getting the 4″ cutouts perfect in your flush-trim routing jig is to make a quick jig from 4″ wide scrap lumber.

Cut two 4″ square pieces, glue them between the longer pieces, and you have a way to flush rout square holes in your routing jig. Transfer the rounded front corner and the shape of the feet at the bottom of each side to the routing jig. Now follow the directions in the text below to shape the sides.
Pattern Makes Perfect
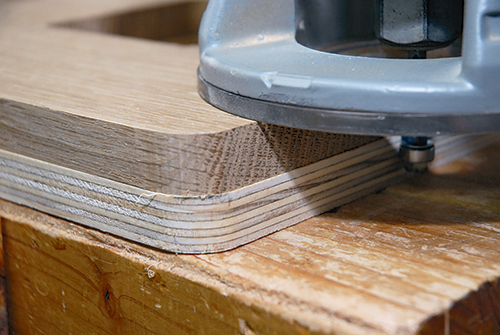
Begin by milling your stock and gluing up parts to rough size, adding an inch to the final length and a half-inch to final width. While the glue dries, prepare the Flush-trim Routing Jig.
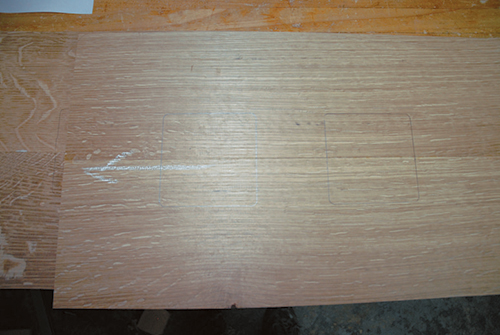
Using 3/4″ sheet stock provides a large surface for the router bearing. Lay out the jig using the Drawings as a guide, then use a band saw or jigsaw to cut out the notch that forms the feet of the case and the radiused upper front corner.
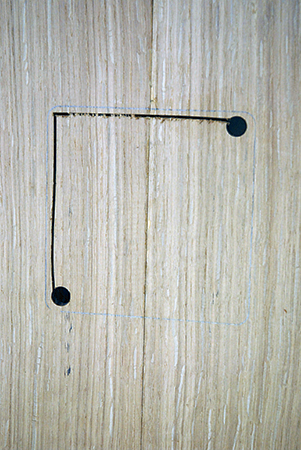
You can drill out the corners of the square cutouts and use a jigsaw to cut close to your layout lines before filing and sanding the cutouts square, but a simple square routing pattern will speed things. Rip a four-inch strip from the middle of a piece of wide stock and cut the strip in half.
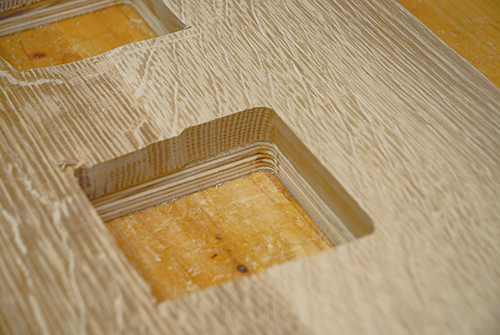
Glue the board back together with a four-inch spacer block between the ends of the strips, and you have a cutout pattern with nice straight edges. It’s like a jig to help make a jig! Place it over the roughed-out cutouts on your final pattern and trim to shape with a router and flush-trim bit.
Shaping the Sides
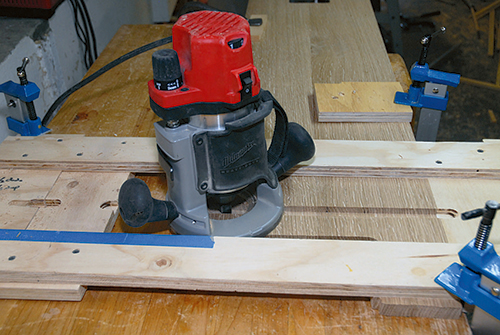
The sides contain most of the joinery for the case, so begin there once you’ve finished using the routing jig. Cut them to final size and chuck a flush trim bit in the router. To use the routing jig, you’ll position it at the top of the shelf sides to shape the radius and square cutouts, then reposition it at the base of the sides to shape the feet. First trace the details onto the case sides, then cut close to your layout lines. Fix the pattern to a side using double-sided tape and rout to final shape. Once you’re done with the pattern, you can swap out the bit for a 3/4″ straight bit and mark the insides of the sides for the dadoes, using the Drawings as a reference. A simple jig makes cutting the through dadoes for the fixed shelves and a stopped dado for the gallery shelf easy. Square up the ends of the stopped dadoes, then form the rabbets for the gallery back and back panel. You can cut the rabbets on the table saw in a single pass with a dado blade, or use a 1/4″ rabbeting bit in a router, making multiple passes until you reach the required 3/8″ depth.
The shallow mortises used to house the kick might seem excessive where pocket screws could serve to anchor the piece, but the joint aligns the kick relative to the case sides and helps the case resist racking.
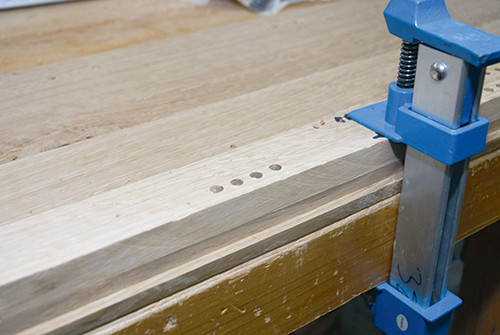
Trust me, it’s easier to drill for the adjustable shelf pins and hinges while the case is still unassembled. There are a number of commercial jigs available, but I made a simple jig to locate the shelf pin holes. The first set begins 9-1/4″ from the bottom and is spaced a half inch apart. The second set begins 18″ from the bottom. The holes at the front of the case are set back 1-1/2″ from the front of the case to account for the depth of the door, while the holes at the back are set 3/4″ in from the rabbet’s edge.
If you’re mortising hinges, place the hinges 2-1/2″ from the top and bottom shelves, mark their location, and cut the mortises using a router or chisel. If you’re using non-mortise hinges, mark their position and drill pilot holes for the screws.
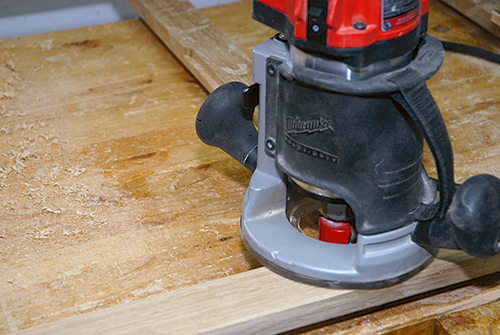
Rabbets join the gallery back to the case and to the gallery shelf. A 3/8″ wide x 1/2″ deep rabbet at either end of the gallery back joins it to either side of the case, and the gallery shelf gets a 1/2″ wide x 3/8″ deep rabbet to house the gallery back.
With the joinery cut in the sides, turn your attention to the shelves and kick. Trim the pieces to final size, notch the gallery shelf, and tenon the kick. Then refine the fit of the shelves in their dadoes. After everything goes together, round over the front edges of the shelves and sand the parts through 180-grit.
Case Closed
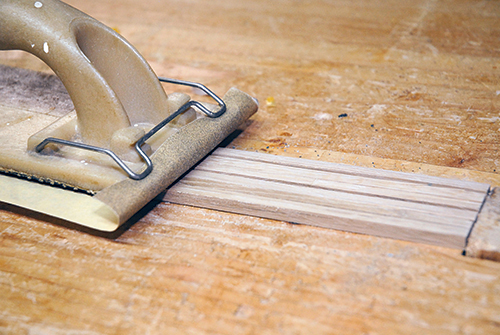
Since the door and back need to be sized to their respective openings, you’ll want to glue up the case first. Take the assembly in three stages: first, glue the kick to the bottom shelf; then, glue the shelves to the sides; and finally, glue in the gallery back and screw in the door trim strip.
With the case out of the clamps, measure the back and trim the back panel to size, undercutting it slightly to simplify fitting. Verify its fit and then set it aside — finishing the case is much easier without the back attached.
The door’s rails run across the ends of all three stiles instead of being captured in the outer stiles. This detail adds a horizontal element to what is otherwise a very vertical design. It also simplifies building the door. Measure the opening and verify the final size of the rails and stiles. Build the door to the opening’s exact measurements, then trim it to fit with a hand plane or jointer. If possible, cut the parts from a single board (it will look better), then mortise the rails and mill the tenons.
You can cut the rabbets for the glass now, taking care to stop the cuts in the rails, or wait until the door is assembled, then rout the rabbets and square up the corners with a chisel. Either way, you can use the time while the glue dries to cut the retaining strips and give them a quick sanding. It’s also a good idea to cut a couple of extra strips in case you split one during installation.
Use the jointer or a hand plane to trim the door until you have the reveal you want, then measure, mark, and drill to mount the door hardware and catch you’ve selected. The original features a ring pull on an escutcheon plate in hammered copper, but many Arts & Crafts-style pulls would suit the finished piece.
A Fumed Finish
Many Arts and Crafts makers used a fumed finish, where quarter sawn white oak is exposed to ammonia fumes, causing the tannins in the wood to darken the furniture. Much ink has been spent describing ways to replicate a fumed finish to avoid working with ammonia, but it’s not a difficult finish to use if you take some basic precautions.
You’ll need 28% ammonium hydroxide, available from chemical supply companies. I use glass pie pans since they offer a large surface area and won’t react with the ammonia. It’s best to wait for a day where you can fume the piece outside. Put on safety goggles, a long-sleeve shirt, rubber gloves, and a respirator with appropriate filters then drape your bookcase (with any hardware removed) in plastic sheeting along with some offcuts from the project, taking care to weight the bottom of the sheeting to form a good seal. Pour some ammonia into your container and place it under the tent.
The longer you leave the white oak exposed to ammonia fumes, the darker it becomes. Because warmer air causes the ammonia to evaporate more quickly, times will vary based on temperature, but four hours is a good starting place. To gauge color, pull an offcut out of the tent and use it to test its color with your desired finish.
Once you’re satisfied with the color, let the bookcase air out, then apply your finish. I applied boiled linseed oil, wet sanding the second coat with 320-grit paper, then wiped on a couple of coats of garnet shellac to add some warmth, and concluded with a coat of dark paste wax.
Final Details
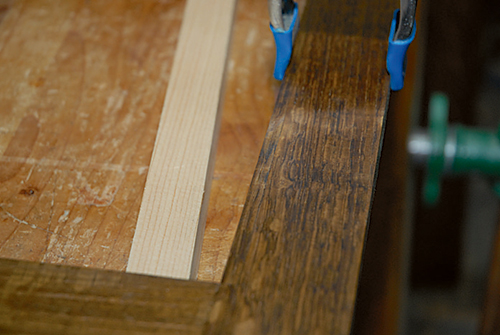
Since I have a toddler, I chose polycarbonate panels instead of glass to glaze the door, but installation is the same: cut (or have a glass shop cut) your panels undersized to easily fit in the rabbeted door back, then trim the retaining strips to fit. Clamp the strips in place and use a pin nailer to anchor them, keeping well in from the ends to avoid splitting the narrow strips. If you don’t have a small-gauge nailer, you can pre-drill and gently hammer in escutcheon pins, or try a narrow bead of silicone caulk. Mount the door handle and catch, then hang your newly glazed door.
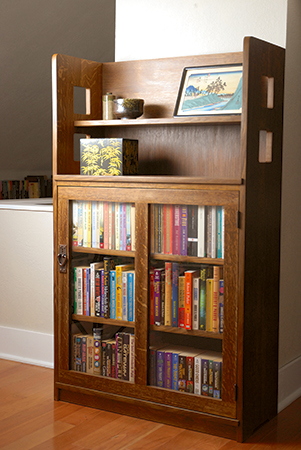
Shelf-pin sleeves are unnecessary here for strength, but they add a finishing touch. Pop them in, position the shelf pins at your desired height and install your adjustable shelves. Put the case where you want it, and you are ready to load it with books and enjoy.
Click Here to download a PDF of the related drawings and Materials List.


