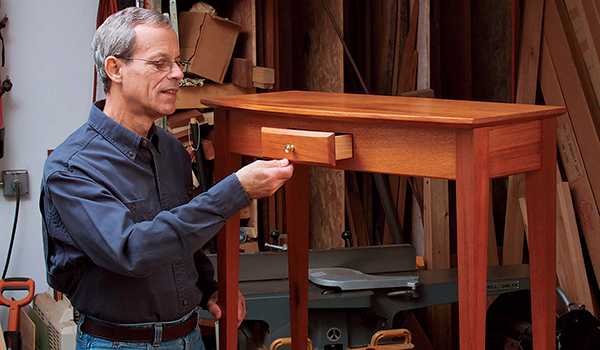
Keeping woodworking projects fresh and challenging can be, well, challenging. And that’s particularly true of tables, which are perhaps the most common of all woodworking projects. You can kick a table project up a few notches by adding an interesting twist to its design that will also stretch your technical abilities. This bowfront hall table is a sure way to keep you on top of your technical game and provides a visually pleasing and useful outcome. Its design melds traditional and contemporary elements that allow it to fit into almost any decor.
In most respects, this table is conventional.However, its curved front presents some technical challenges that may upend some of your woodworking habits and cause you to approach the work from a different perspective. Because the laminated front apron’s curve and dimensions are difficult to control perfectly, all the other workpieces are subordinate to it, so it’s the first part you make.
Start with the Laminated Front
Although I used mahogany, other species such as maple, cherry or birch are also suitable for the design and to make the bent laminate. I started with about 22 board feet of combined 4/4 and 8/4 stock for the table as well as some Baltic birch plywood and maple and sycamore shop scraps for the drawer and slides. Of course, the quantity you need can vary depending on the quality of the wood and the amount of waste you generate.
Using a jointer and planer to mill roughsawn stock will ensure that your workpieces are consistent and true, but if you don’t have these tools, many hardwood dealers can mill the wood for you. However, one tool that’s essential for this project is a good band saw to resaw the 1/8″ or thinner pieces that comprise the laminated bowfront apron.
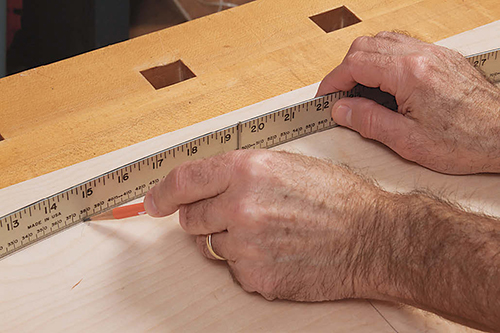
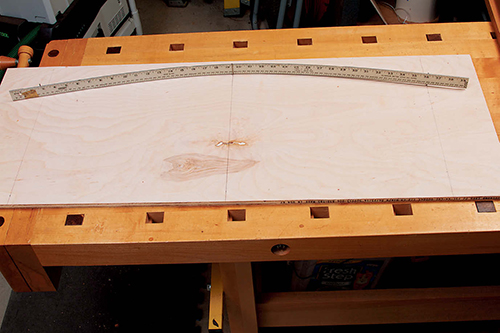
Making the laminated apron is the hardest part of the project and requires patience and precision, but it’s not rocket science. First, you’ll need to make a 5-1/4″-deep bending form out of stacked pieces of plywood or particleboard. There are a number of ways you can lay out the curve, but the method I use is very simple and accurate. Start by making a template of the tabletop on a piece of plywood. (The template works for both the top and the apron curves.) Mark the 12″ width on the outside edges and 14″ on the center. Drive small finish nails at the front, outside corners and one in the middle. Wedge a 36″ steel or aluminum straightedge between the nails and then mark the rule’s curve with a pencil. The natural bow of the ruler provides a smooth, pleasing contour.
Next, you’ll need to cut thin strips to make the laminate. Now’s a good time to make a few test pieces to ensure that your band saw blade is plumb and cutting true. The finished size of the bowfront is 4-1/4″ x 29-1/8″ (including tenons), but you should make 4-3/4″ x 34″ strips to allow for waste. The thickness of the strips is up to you and can be anywhere from 1/16″ to 1/8″ thick, but when combined should create a finished 5/8″ to 3/4″-thick workpiece. The thinner the strips, the less spring-back you’ll have when you remove the workpiece from the bending form. I had virtually no spring-back using seven laminate pieces that were nominally 3/32″ thick.
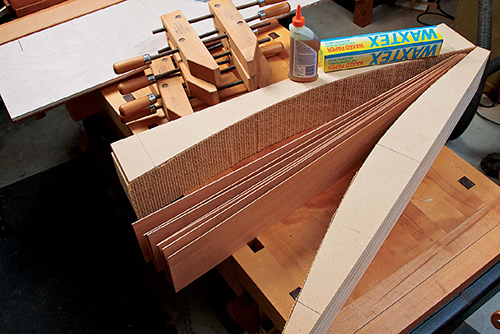
Before you start gluing pieces, glue or tape rubber shelf liner inside the form. This helps distribute clamping pressure evenly and prevents errant glue from adhering the workpieces to the form. I’ve found that polyurethane glue works well for bent laminates because it doesn’t creep under pressure like PVA glue and it has a longer open time. On the downside, it foams and it can be messy, but you can overcome these problems by working carefully.
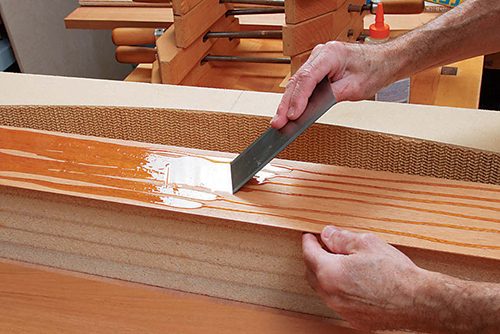
There’s a sense of urgency when laminating, as with any gluing process, but here are a few tips to keep things under control. Before you start, do a dry run and have all your clamps adjusted and ready to go. Cover your workbench with waxed paper to keep oozing glue from bonding with your bench. Mark the center and ends of both sides of the form for accurate alignment and material placement. Apply polyurethane glue to only one side of each surface; the foaming action will force glue into the adjacent surface. Use a spreader to coat the entire surface of the work with a thin, even layer of glue. Check for any horizontal or vertical slippage of the form halves. Finally, tighten clamps progressively to ensure even pressure.
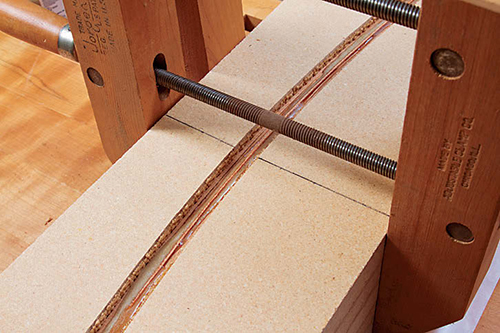
Once the glue has fully cured, remove the workpiece from the form and clean off any glue or shelf liner that’s stuck to it. Mark the centerline and the ends of the workpiece before trimming it to size with the band saw.
Cut Parts, Make Joints, Assemble
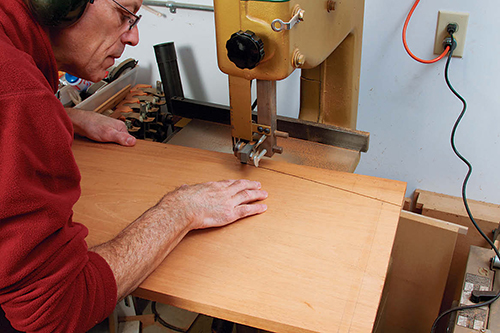
Stock preparation for all the other parts is straightforward. You may need to glue up pieces for the top and legs if large enough sizes aren’t available, and hold off on making drawer parts until after you cut the opening in the front apron. Now that you’re able to compare the curve of the front apron to the template, you can determine if the dimensions of any other parts, particularly side aprons, need to be adjusted. You can also use the front apron to trace the curve onto the stock for the top.
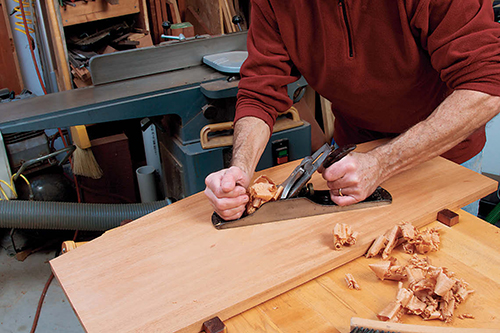
Use the band saw to cut the curve on top just outside the line and then use a hand plane to smooth and refine the curve. (I prefer using planes to smooth most surfaces rather than sanding or routing. There’s less dust and it produces a crisp, clean result.) Use a router and 30˚ chamfer bit mounted in a router table to form the bottom bevels on the front and sides of the top. You’ll need to stand the work on edge, so use a tall fence and clamp a guide board in front of the workpiece. Sand or plane the bevel if it needs to be refined.
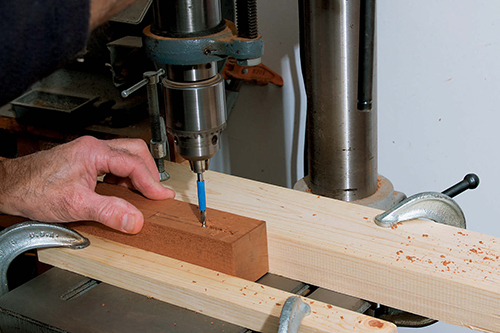
Don’t taper the legs until after you cut the mortises in them. (Mark the top of each leg with its position and orientation to help prevent mistakes.) The mortise-and-tenon joints on the back and sides are a standard 1/4″ thickness and 3/4″ length, so you can use your preferred joinery method, or use a drill press and 3/16″ brad-point bit to remove most of the mortise waste and then make one pass with a 1/4″-up-cut bit and router to finish the joint. (You can use a router table or a handheld router fitted with a fence and your workbench’s end vise as a platform for this operation.) Cut all the tenon faces on the table saw, and use a tenoning jig for the best control.
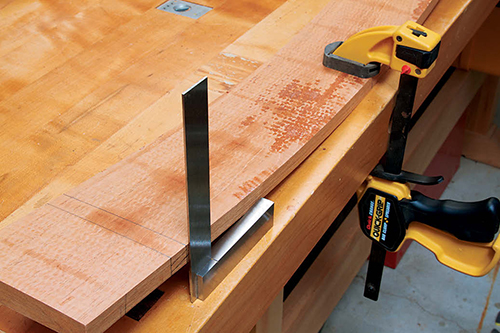
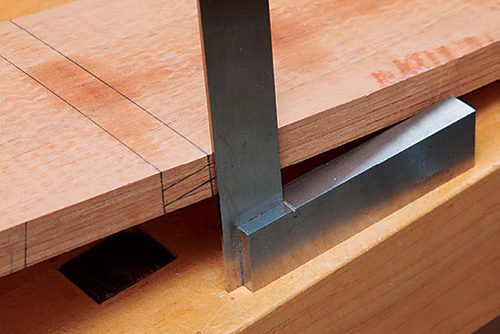
Cutting the front apron tenons is a bit more complicated because they’re angled slightly in relation to the curve. (Providing an exact layout for the joints isn’t practical because the curve of the front apron will vary depending on how much your apron springs back.) I laid out the tenons with pencil lines and then hand cut them with a pull saw and chisel, checking the fit regularly as I worked.
If this seems too daunting a task, you could use a biscuit joiner, dowels or a Festool Domino joiner instead. (If you opt for one of these methods, you’ll need to consider this before you cut leg mortises.) The tenons could also be machined using a router or table saw jig, but it’s questionable if the time spent designing and building a jig for a one-off project is justified when the other methods are faster and easier.
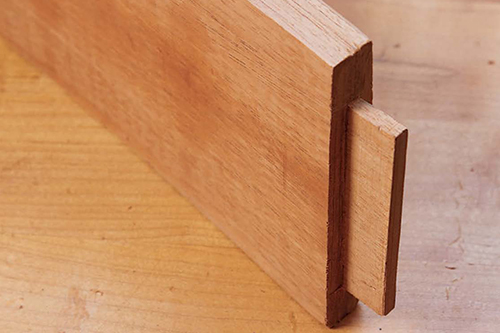
Now that you’ve completed the joinery, test-fit all the parts and make any necessary adjustments. Lay out the leg tapers and then cut them with the band saw. Smooth the tapers with a hand plane or sanding block. Try to keep the leg edges crisp — a few swipes with a block plane or some fine sandpaper is all that’s needed.
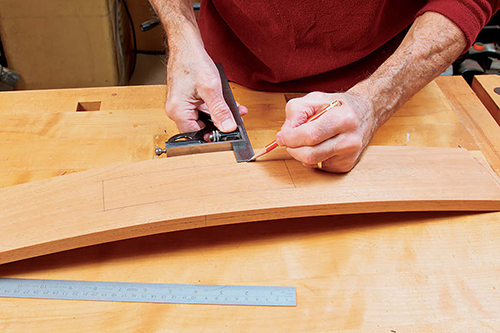
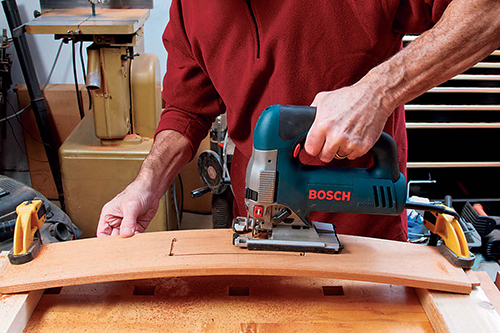
There’s one more somewhat nerve-racking job before assembly, and that’s cutting the drawer opening in the curved front apron. Lay out the opening in pencil using the centerline on the apron. Bore a hole in each corner large enough for a jigsaw blade to pass through; then very carefully cut out the opening, staying just inside the layout lines.
Rout the 45˚ bevels on the bottom of the front and side aprons and sand all the parts with 220-grit paper before assembly. The easiest way to assemble the table base is in stages. First, assemble the front and rear aprons to their legs.
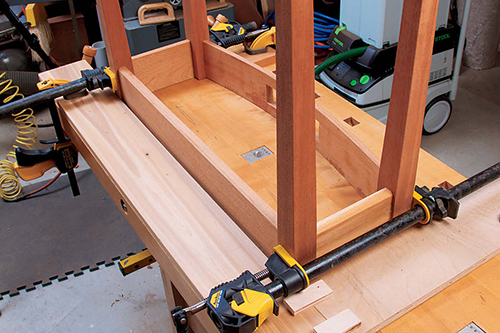
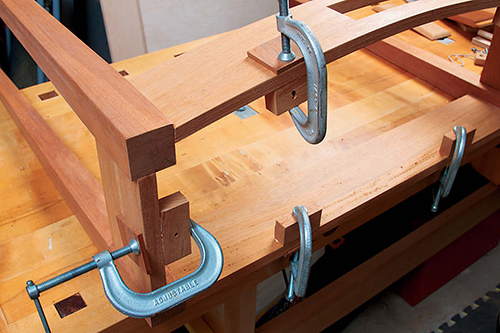
Next, join these two sections with the side aprons. Check the assembly for square and make sure it’s sitting level on the workbench. You can glue the top fastening blocks to the inside of the aprons now, too.
Drawer and Slides
The drawer’s construction is pretty basic: no hand-cut dovetails, although they would be a nice addition. The only complication is that the drawer face and drawer front are curved to match the front apron curve. Cut the joints in the drawer front before cutting its curve. Use the front apron as a pattern (preferably before it’s assembled) and cut the curves with the band saw. Sand the contour on the back of the drawer face so it matches the apron’s curve and then match the drawer front’s contour to the back of the drawer face.
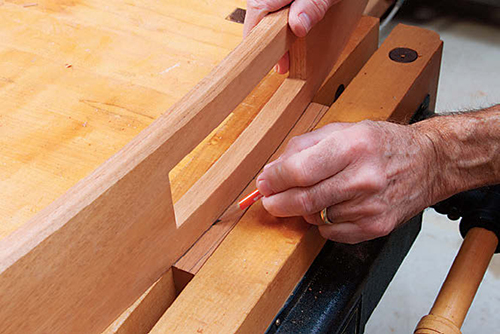
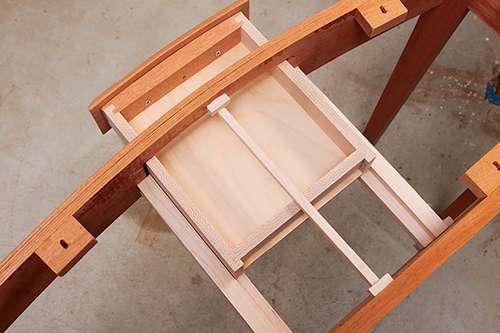
Like the drawer, the slides are simple, just rabbets cut in solid stock. The drawer is small and light, so this arrangement is perfectly adequate. Once you’ve made the pieces, cut them so they fit snugly inside the table base. To position the slides precisely, clamp the assembled drawer to the table base, then glue the mounting blocks in place and secure them with a pin nailer, if available. Similarly, position and fasten the top guide that prevents the drawer from tipping when extended. The drawer should have a little play but still slide smoothly.
All that remains is to fit the top to the base and do a final sanding before finishing. (Remove the top before finishing.) I applied three coats of satin varnish cut 50/50 with mineral spirits and sanded with 320-grit paper between coats (always with the grain). Then I rubbed out the final coat with 0000 steel wool followed by a buffing with a soft cotton rag to restore the luster. Of course, the great thing about this project is that it resides in your front hall, so as the center of attention it’s an instant conversation starter with visitors. You’ve earned your bragging rights with this one.
Click Here to download a PDF of the related drawings.


