I have an old trunk that was apparently covered at one time with burlap. Most of the burlap has disintegrated and is long gone. I would like to refinish this trunk. The trunk’s surfaces are covered with what I assume are the remains of the adhesive used to secure the missing burlap. What is the best way to remove this substance? I have tried sanding, but it is a slow and labor-intensive remedy. The sandpaper clogs up really fast. I have wiped the chest down with naphtha, acetone, alcohol, mineral spirits and even warm water in attempts to loosen and remove this substance. A card scraper works, but again, is there a quicker, more efficient way to proceed? – Gary M. Crofcheck
Tim Inman: Furniture restorers and veterinarians have something in common: our “patients” can’t talk to us. If only that old trunk could tell us what that glue is, or when that burlap was put on, or how and by whom.
Regardless of when and where, there are two “most likely” adhesives to consider in this case. One is simply good old hide glue. The other is a gummy material often referred to as “mastic.” True mastic comes from a natural tree resin. In fact, the tree is commonly known as mastic. It exudes the resin much like pine trees ooze rosin. This material was collected and used to make a rubbery semi-flexible adhesive compound to bind things like fabric and leather to furniture – and often tile to floors. Modern mastic materials are compounds of similar but manmade materials. Unfortunately, it is pretty inert. Most solvents will not liquefy it, and it gums up the abrasives when you try to sand it away, as you know. Much stronger solvents or heat would be my line of attack.
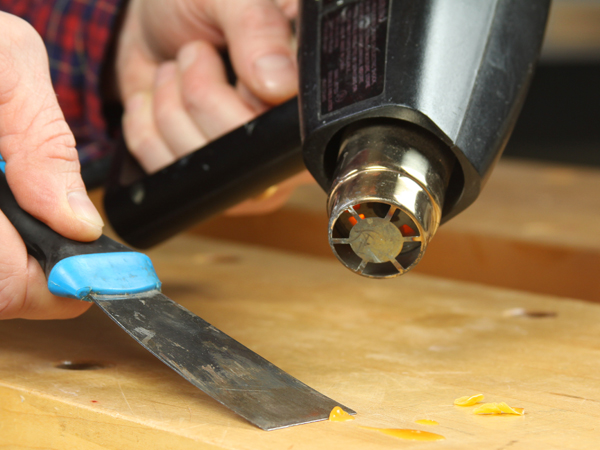
First, I would try the strongest methylene chloride paint remover you can find. (The heavier the can, the more methylene chloride content inside, as a rule, because the specific gravity of methylene chloride is very high compared to alcohols.) Do a test spot to see if this is going to work. Put on a generous dollop of remover and then cover it with plastic to hold in the remover vapors. Wait an hour or so to see if this is working. Heat might also help, so try putting the piece in the sun while the remover is in place. Work outside, of course. If this doesn’t work, then a contractor’s heat gun and a scraper are about your next best friends. Fortunately, other things will bond to the leftover mastic. So 100 percent removal probably is not necessary.
On the other hand, if the adhesive is hide glue, then water and heat will do the trick. As you will quickly tell from the relative space I’m giving each adhesive, I’m betting you’re dealing with mastic.
Chris Marshall: Here’s my experience with a tenacious old tile adhesive I believe to have been mastic: after trying a variety of removal chemicals on it with no success, I finally was able to peel it off the walls of our bathroom with a heat gun and a paint scraper. The brownish, dried adhesive held on some ugly, thin painted metal tiles that just had to go. To my relief, using a heat gun and working carefully didn’t damage the drywall underneath. When I heated it up, the adhesive simply released its grip, blistered up and was easy to scrape off without leaving residue behind. Heat was the miracle cure in my situation! But, use caution if you try this: a heat gun can quickly turn a surface from super hot to scorched black — you don’t want to send that old trunk of yours up in flames.
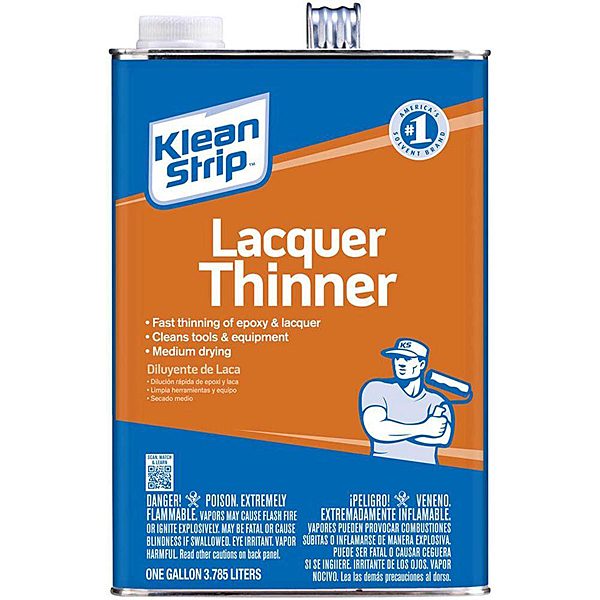
Rob Johnstone: One solvent that you didn’t mention is lacquer thinner, which might be just the ticket. If the burlap was attached with contact cement, lacquer thinner is the best solvent. If that does not work, you could always test with some paint remover. If all else seems to fail, go nuclear: start with some 36-grit sandpaper and just work up through the grits. If you don’t skip any grits, you will be surprised how quickly each successive sanding will go. Remember, you are only trying to remove the previous sanding marks in each step. But, I really hope the lacquer thinner does the trick.


