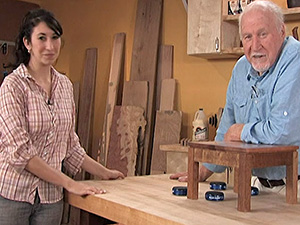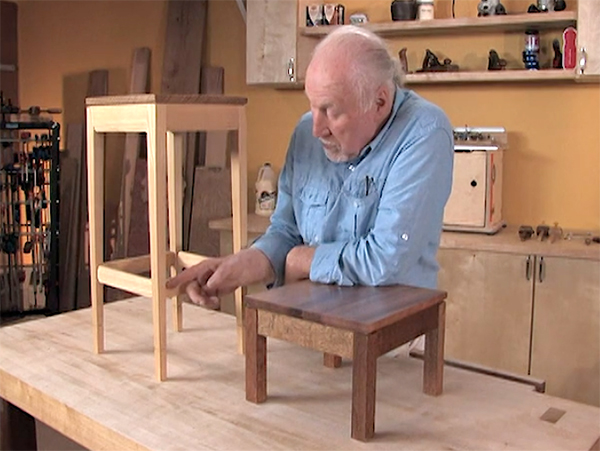
The first project in this volume is a small ash table. In this episode, Ian discusses the design features that make this table distinct.
Watch – The Way to Woodwork – Volume 2
Building on Basics – Ep. 2 – Ash Table Project – Design Considerations
Defining the Face Side and Face Edge
Every piece of stock has six faces: two sides, two edges and two ends. All of these have to be prepared before stock becomes a suitable project part.
Step 1: Preparing a Face Side
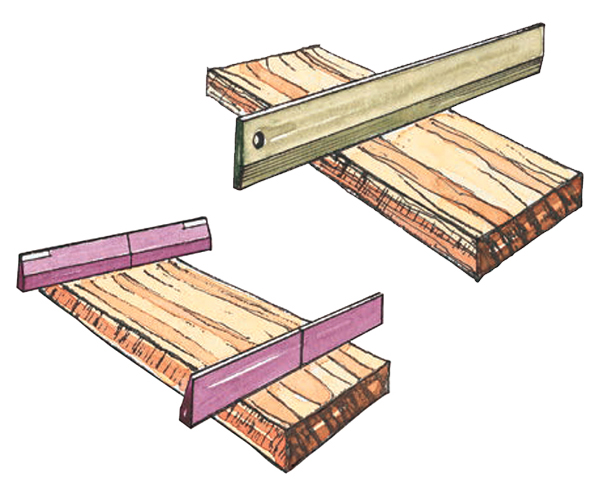
We begin with a side. Look at the piece and choose which is the best looking and the one you want to show on the outside of the piece of furniture. The other side is destined to be the face side — face sides go inside. The face side is simply the datum (a surface to work from) from which all other measurements and angles will be taken. It has three physical properties. It is: flat in length, flat in width and out of twist.
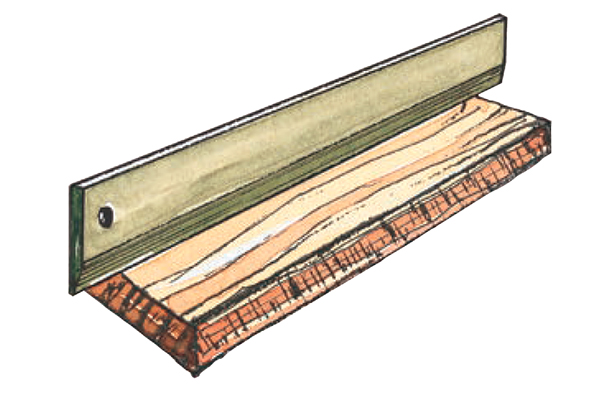
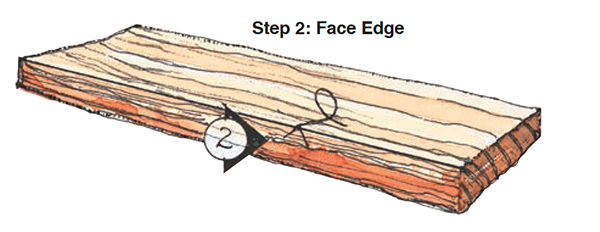
To prepare a face side using hand tools, you need a very accurate (flat) bench, a jointer plane, a straightedge and a pair of winding strips. The straightedge checks the planed stock for flatness in length and width; the winding strips check for twist. To prepare a face side by machine, you need only a jointer with accurate tables. Once the surface satisfactorily meets the condition of a face side, it is marked with a looped line which goes off one edge of the wood.
The edge where the face side mark leaves the planed surface is destined to become the face edge.
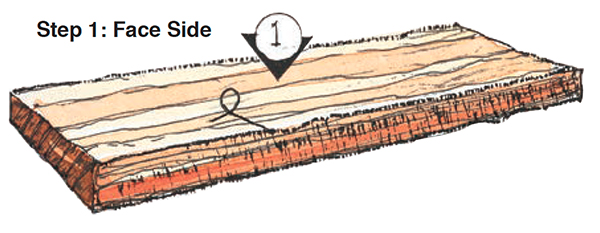
The face side and the face edge are the only two faces which get marked. They are used to orient the part in the structure. Face sides go inside and face edges go down or to the back, depending on whether the face side is oriented vertically or horizontally.
Any subsequent marking with gauge, try square, sliding bevel or miter gauge is done from one of these two faces. Any machine setup should have one of these faces against the bed or the fence to ensure consistency.
Step 2: Forming a Face Edge
The face edge has four physical properties. It is: flat in length, flat in width, out of twist and at right angles to the face side.
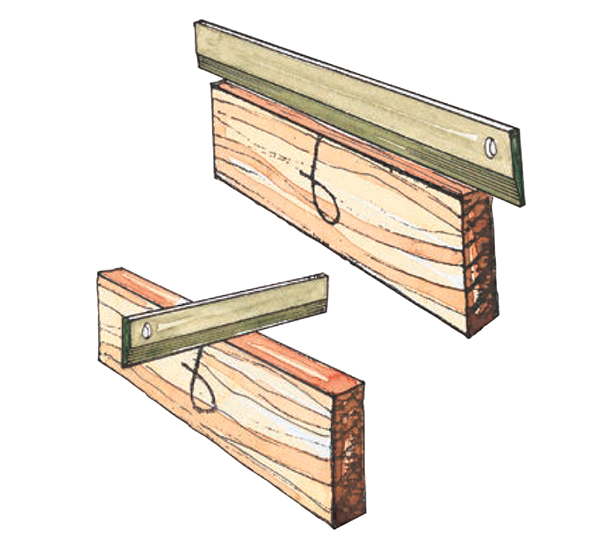
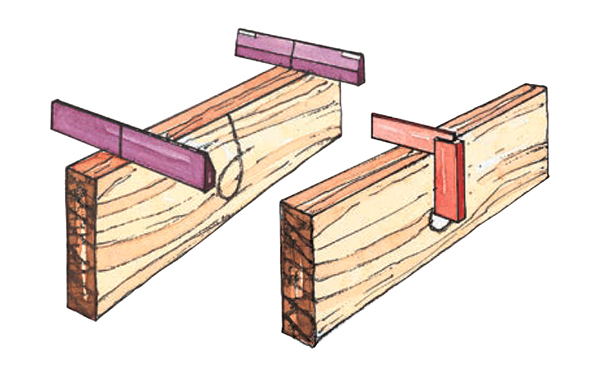
The hand tools necessary to prepare a face edge are a jointer plane, a straightedge to ensure the edge is flat in length and width, a pair of winding strips to ensure that it is out of twist and a try square to ensure that the face edge is at a right angle to the face side. To prepare a face edge by machine, all you need is a jointer with a fence positioned perpendicular to the tables.
Once the edge satisfies the conditions of a face edge, mark it with a V connected to the face side mark. You should put the marks which indicate the face side and the face edge onto the workpiece when you know it to be correct. Make them bold and use a soft pencil 4B or 6B, so they will re-move easily at the cleanup stage prior to polishing.
Watch more episodes from The Way to Woodwork – Building on Basics:
Full series available now to print subscribers!
2. Ash Table Project – Design Considerations [1:40]
3. Ash Table Project – Preparing the Stock [2:32]
4. Ash Table Project – Marking the Joints [3:25]
5. Ash Table Project – Cutting and Fitting the Joints [11:37]
6. Ash Table Project – Shaping the Parts – Legs [6:31]
7. Ash Table Project – Glue Up Sub-Assemblies and Finish Table [4:24]
8. Introduction to Frame and Panel Construction [2:55]
9. Making Frame and Panel Parts [6:50]
10. Assembling Frame and Panel Cases [4:50]
11. Finishing the Frame and Panel Bookcase [2:17]
There’s more to learn! Don’t miss the episodes in Vol.1, Essential Starters and Vol.3 Advancing Your Skills.
Watch The Way to Woodwork, Vol. 1, Essential Starters.
Watch The Way to Woodwork, Vol. 3, Advancing Your Skills
