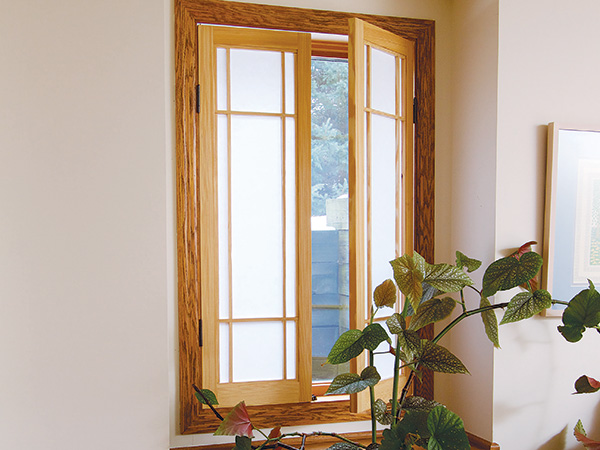
Windows are meant to deliver light into your home’s interior, but they can also provide an unwanted view into your home. That’s why almost everyone wants and needs some form of window covering in their home (unless you live in the middle of nowhere or don’t care about privacy). Although window treatments vary greatly in style and function, I think the best kind are the ones that ensure privacy while still letting in light — and ones that you can make in your shop.
This interior shutter project has a lot going for it, including excellent light transmission that doesn’t compromise privacy and simple modular construction. You can use almost any wood for these shutters, but typically it’s best to either match or complement your existing woodwork. I used vertical-grain pine that has a naturally attractive ribbon pattern and a medium ivory color. It’s also easy to work and relatively inexpensive. A translucent shoji-style fiberglass material works well for the screen, but there are a number of other materials you can use, such as rice paper and plastic-coated paper.
Keep in mind that this is a millwork project, so it doesn’t require quite the high level of workman-ship you might devote to a furniture project. The thickness and width of the parts work for most window sizes, so you only need to adjust the length. For very large windows, you might want to scale up the size of the parts or add more lattice strips to the grid. The variations on this project are almost infinite, so you’ll likely want to add your own special touches.
Measure, Mill, Join Frames
You’ll need to start by measuring your window casing and checking it for square. Measure the exact opening, then subtract about a quarter inch from the sides and top/bottom to allow a little room for swing clearance and space for the hinges. (Most carpentry isn’t as precise as your woodworking, so you may need to make some adjustments after you assemble the frames.) For large windows or ganged windows, consider making bifold or multiple shutters to span the area.
Because this project lends itself to mass production, it’s best to mill the frame parts for all the windows you intend to cover before doing any joinery, to ensure consistency. (Read on to learn more about making the lattice strips.) A jointer and planer are almost a necessity to achieve straight, square and uniform stock. You might want to sand the parts lightly before you start the joinery.
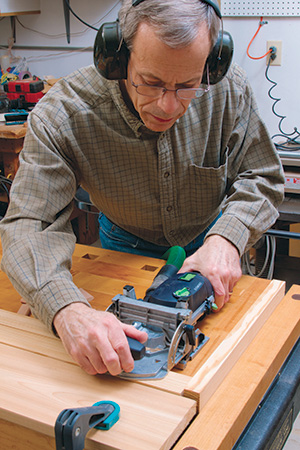
There’s a lot of flexibility when it comes to joinery. I used a Festool Domino to make floating mortise-and-tenon joints. This tool can quickly make strong, precise joints. However, a biscuit joiner is just as fast and makes acceptably strong joints. You can also attain very good results with dowels or pocket-hole screws.
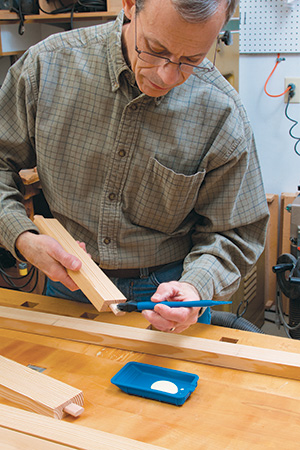
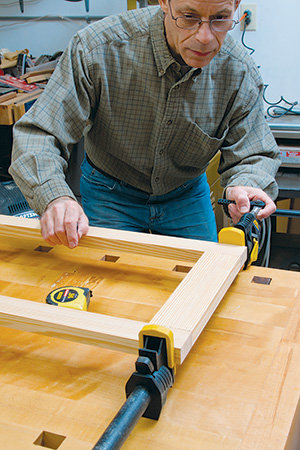
Once you’ve glued and clamped the frames, you can sand them with 150-grit paper. Be sure to ease the edges enough so they won’t splinter, but don’t round them too much. If your shutters are a matching pair like this project, mark the top edges with arrows that point to the front and inside stile edges. This will serve to keep the shutters paired and correctly oriented. Check the bare frames in the window casing to be sure they fit with some room to spare and make necessary adjustments. If the fit is too tight, trim the inside stile edges that form the closure between the shutters.
Now is as good a time as any to cut the translucent screen material. This should be done before fastening any lattice parts inside the frame because the bare frame serves as a pattern. The easiest way is to lay the frame on top of the screen material and trace around the inside with a pencil; then use a metal straightedge and a utility knife to cut the material.
Make Lattice Strips and Router Jig
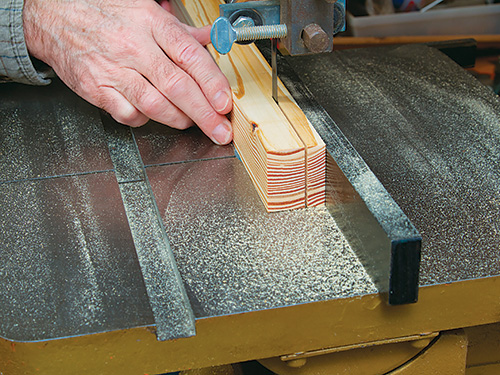
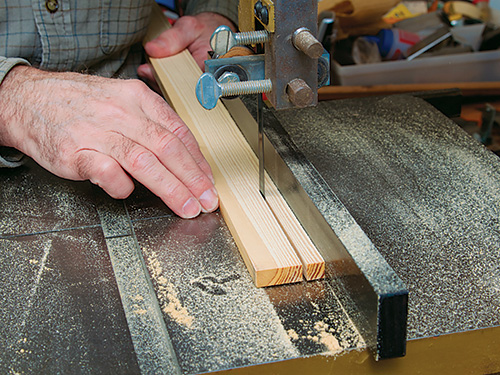
If there’s a fussy part of this project, it’s making the lattice. The 3/8″ x 3/8″ lattice strips must be uniform, and the half-lap joints that form the grid must be precisely made. There are a number of ways to make the strips, but I’ve found that using a band saw and a planer is efficient and it keeps waste and dust to a minimum.
First, rip wide pieces from 3″ or 4″ stock roughly 7/16″ thick. Next, rip 7/16″-square strips from these pieces. Now you need to remove the saw marks and mill the strips to exactly 3/8″ square. Run the strips through your planer, making four total passes: the first two on perpendicular sides of the strips to remove about 1/32″ and then a third and fourth pass on the opposite sides for the final 3/8″ dimension. The strips might not be perfectly square, but the deviation with pieces this small will be insignificant — try making a few practice pieces first. (If your planer won’t adjust down to 3/8″, you can make a subbase out of particleboard or MDF to fit under the planer’s cutterhead.) Make more pieces than you’ll need because you’ll unavoidably have some ruined pieces.
You can use a table saw to make the half-lap joints, but I think a router jig is more accurate and makes cleaner joints. The half-lap routing jig is simple and easy to make with MDF or particleboard and a few bits of hardware. There are two basic parts: the base and the router carriage. The base has a thin hardboard fence attached to it to align to workpieces so they’re perpendicular to the router carriage. The router carriage is adjustable for different stock thickness with the carriage bolts and should be made to fit your router (or at least the guide rails positioned for your router’s base). Adhere sandpaper or self-adhesive abrasive strips to the carriage bottom to prevent stock from shifting. To ensure that the jig makes accurate cuts, all the parts should be square, the carriage bolt holes should align perfectly in the base and router carriage, and the fence on the base should be perpendicular to the slot in the router carriage. The fence should be the last piece you install because it’s dependent on how the base and router carriage are aligned. Finally, run the router into the fence with a 3/8″ bit to create an alignment mark.
Cut Half-lap Joints
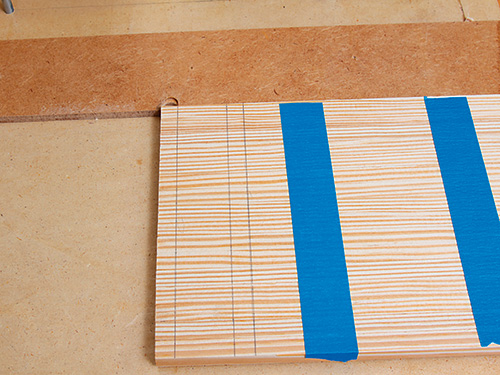
There are several tips that can increase your success in cutting the half-lap joints. You should cut all the strips to the exact length before you cut the joints. Use the shutter frames to determine the fit, and you might want to make dedicated sets of strips for each frame in case there are slight dimensional differences.
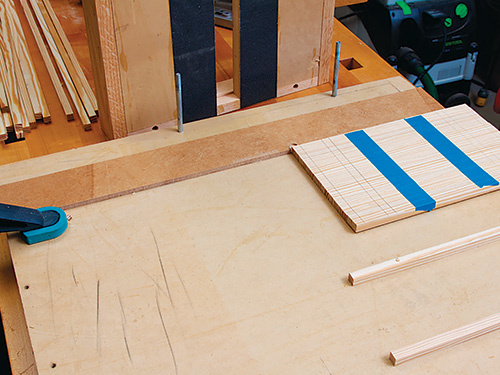
Once you cut the strips, use masking tape to gang them together with the ends perfectly flush. Mark the joint locations in pencil, and then scribe the joint lines with a utility knife. This will help prevent any chipping or tearout from the router. When you place the ganged strips in the jig, be sure they’re abutting the fence, that the joint lines correspond with the router alignment mark on the fence and that the carriage bolts are securely tightened. Also, place an extra piece of lattice to the outside of the ganged pieces to help balance the height of the router carriage.
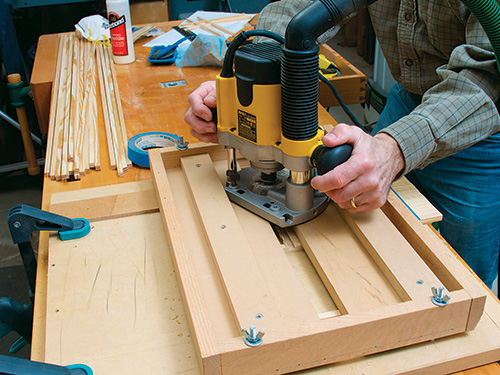
Rout the joints with a 3/8″ straight bit and make the cuts in two passes while keeping the router pressed against the guide rails. Work carefully and don’t force the router through the cut. Use dust collection if your router has it. It will enable you to see the start and stop of the cut much more easily.
Assemble the Lattice
You’ll assemble the front lattice in the frame and the rear lattice as a standalone unit. The rear lattice acts as a retainer for the screen material and provides visual balance when the shutters are open.
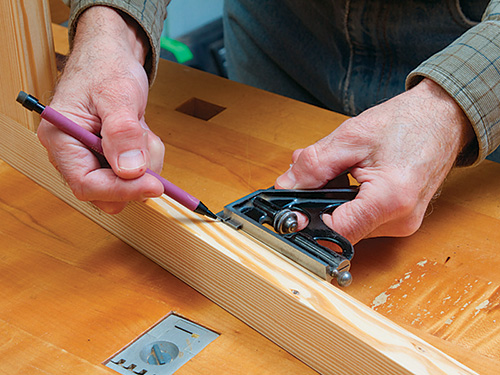
Begin by marking the 1/8″ setback guidelines for the front lattice inset with a combination square and pencil. Before you start, make a dry run to ensure the grid strips fit properly in the frame. The strips don’t need to be glued; pin nails provide all the needed fastening.
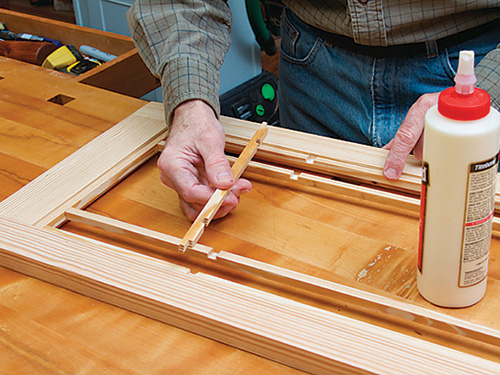
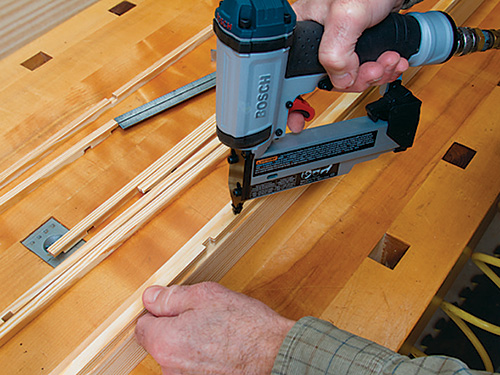
The holes made by the nails are so small they’re almost invisible, and don’t need to be filled. Attach the vertical lattice strips to the stiles then the horizontal ones to the rails. Now you can add the inside vertical strips with a little glue in the joints followed by the horizontal strips.
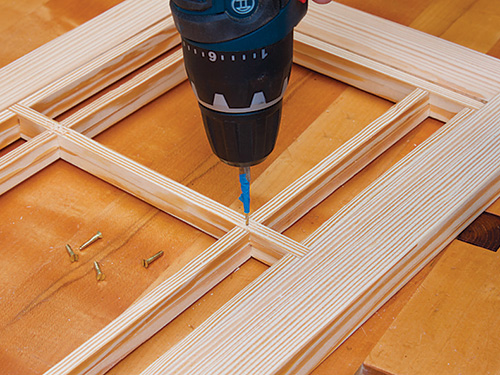
The rear lattice goes together the same way with glue in all the joints, but it’s not permanently attached to the frame. You just need to check that it fits flush over the front grid and isn’t too large (or small) for the frame. To fasten the front and rear grids together, you need to bore screw holes and countersinks for #4 x 5/8″ brass screws through the rear grid into the four inside grid intersections. Install the screws to cut the threads before you finish and assemble the shutters.
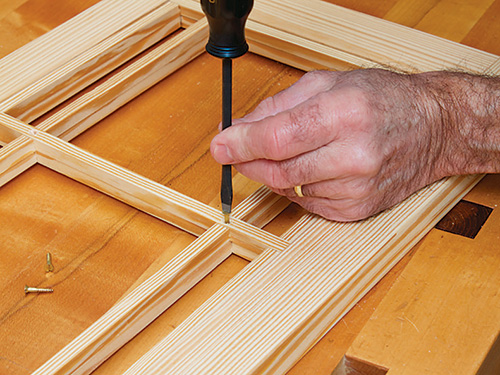
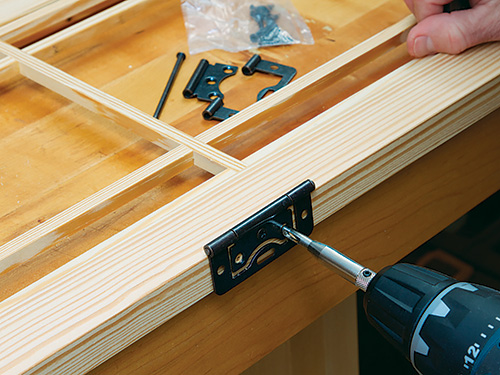
With the grids completed, now is a good time to set the hinge positions. The shutter hinges have removable pins so they work on the left or right side. Unless your shutters are very large or heavy, stick with two hinges on each side. Three or more hinges can cause binding and complicate installation. It’s important that the screw holes are perfectly centered to keep the hinges aligned. I used a self-centering Insty-Drive bit for this purpose. Remove the hinges before finishing.
Finish, Assemble, Install Shutters
Sand the assemblies with 150-grit paper and be sure to ease all sharp edges. There’s no need to sand too much or with a finer grit paper — the finish will hide many imperfections. Thoroughly clean off all the dust before applying finish.
Because the shutters are next to windows, they’re exposed to more light and temperature variations than other woodwork in your home. A film finish will help reduce seasonal wood movement and protect the wood from wear and tear. I brushed on two coats of a clear waterborne interior finish and opted not to stain because the natural color of the wood was appealing without alteration. For a smooth finish, sand lightly with 320-grit paper between coats to remove dust nibs.
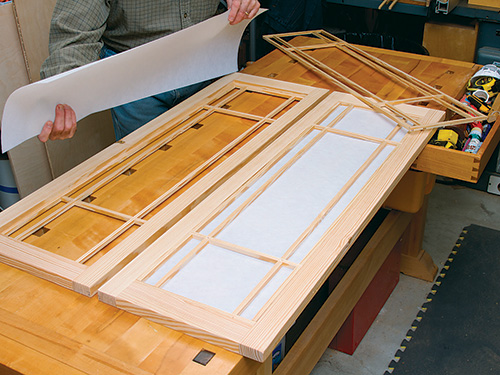
Once the finish has cured, install the screen material. The fiberglass shoji that I used is stiff enough so that no glue, tape or staples were needed to retain it in the frame. But you might need to fasten thin paper screen to the back of the front grid if it doesn’t stay put. Install the rear grid over the screen and install the brass screws; then reinstall the hinges.
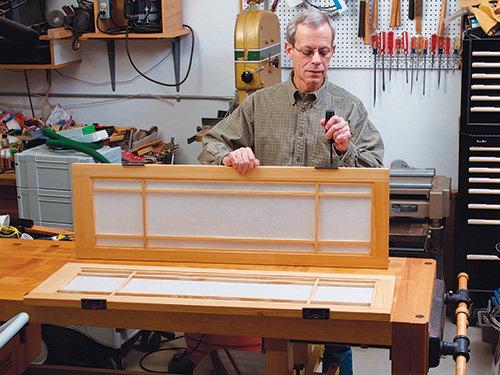
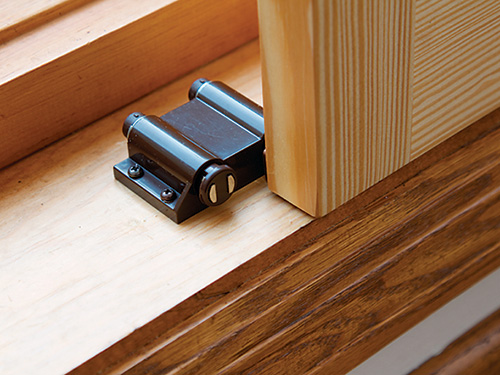
Installing the shutters isn’t difficult, but there are a few steps you can take to reduce any possible frustration. Use a thin spacer between the window casing and the shutter to eliminate the possibility of binding. The hinges also have a slotted hole to allow for vertical adjustment, so use only this hole until you’ve installed the opposing shutter and can align the pair. If the shutters are a little twisted in the frame, you can try moving one of the hinges slightly out to compensate. And if the gap where the shutters meet isn’t even, use a shim behind the hinge leaf. When the shutters seem reasonably well-aligned, install the rest of the screws. I installed a magnetic touch latch to retain the shutters. It eliminates the need for knobs to open and close the shutters to maintain a clean appearance.
If you’re like me, once you’ve built a few of these shutters, you’ll want to make more sets for other rooms in your home. They’ll help keep your rooms light and airy even on the most dreary days.


