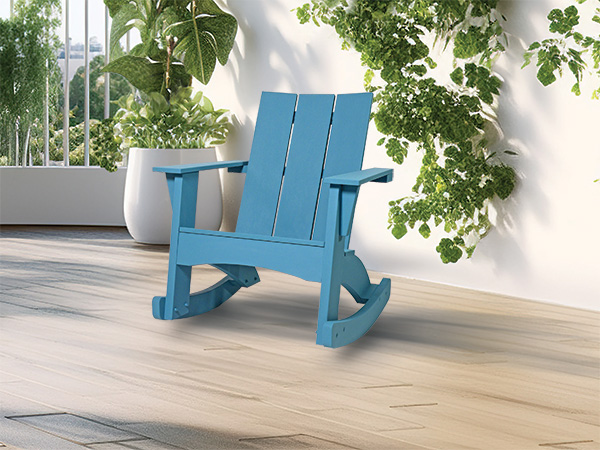
Four years ago, we published a “modern” version of the classic Adirondack chair. Rockler has produced a set of cardboard and MDF templates as well as a hardware kit to make the construction process even more convenient. Customers and our staff have found this chair to be very comfortable. So for 2024, we thought we’d take a good outdoor chair one step further and add rockers to it!
A lot of prototyping has gone into these rockers to get their shape just right. And it’s surprising how much more relaxing the chair is to sit in with them! They raise the seat height a few inches so it’s easier to get out of, and the rocking motion feels stable and pleasant. I think you’ll really enjoy the enhancement! And with the exception of adding the rockers and two blocking pieces, you’ll build the exact same Adirondack chair using the original template kit.
The cut list in the template kit calls for the following six boards: two 1 x 6 x 8′; one 1 x 8 x 8′; one 2 x 4 x 8′; one 2 x 6 x 8′ and one 2 x 8 x 8′. Add a second 8 ft 2 x 8 to the tally so you’ll have ample material to make the two rockers.
From Cardboard to Hardboard
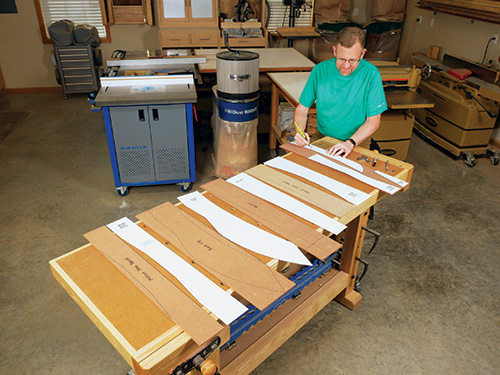
If you already have the chair’s templates, the only new one you’ll need to make from scratch is the rocker shape, and there’s a gridded Drawing for that purpose. I didn’t build the chair for the 2020 article, so I ordered a set of the cardboard templates. I began by tracing each one onto 1/4″ hardboard to create rigid versions for template-routing. I rough-cut those to shape, then sanded them carefully up to my layout lines until they matched their cardboard counterparts. You can skip this step if you buy Rockler’s MDF template kit instead or if you plan to just cut out the chair parts after tracing them with the templates.

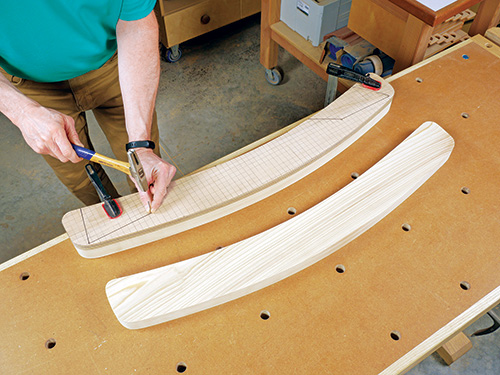
Now, create a template for the rockers. I made mine from a scrap piece of 7″ x 37″ plywood. Draw a grid of 1/2″ squares on your template blank, then using the drawing as a reference, carefully plot and mark enough points on the workpiece grid to approximate the rocker’s major top and bottom curves. I used a long scrap of 1/4″-thick x 2″-wide MDF as a flexible batten to draw these large curves. The smaller front and rear end curves of the rocker shape were easy to create by tracing around a small French curve.
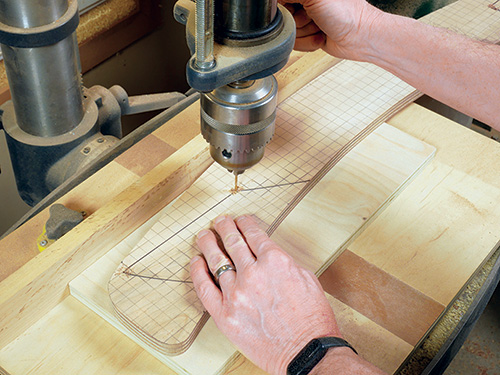
Once you have the overall rocker laid out, mark the front and back leg positions on it to match our gridded drawing. Then cut out the rocker template and sand it smooth. Take your template to the drill press and drill a 1/8″-diameter hole through it at the bottom two corners of each leg, marking these positions.
Shaping the Parts
Lay out and crosscut slightly oversized blanks of project lumber for all of the parts except for the back slats, follow ing the Material List. Those three back slats will need to be cut to exactlength to obtain all three from one 1 x 8 x 8′ board. Then use your templates to trace, cut out and template-rout the back legs, arms, arm braces, front cross brace, lower back brace and upper back brace to final shape.
When these parts are done, trace the template for the middle back brace onto the top face of its blank. Now, take either the lower or upper back brace templates and compare them to what you’ve drawn on the middle back brace workpiece. The front angles of the upper and lower back braces (that will support the three back slats) match one another, but these angles don’t match the middle back brace, right? They should; it’s a mistake in the middle back brace template, and other builders have discovered this already. To fix the problem, I simply used the lower back brace template to redraw the two angled lines on my middle back brace workpiece that will support the outer two back slats. The position of the center back slat on the middle back brace template is fine where it is.
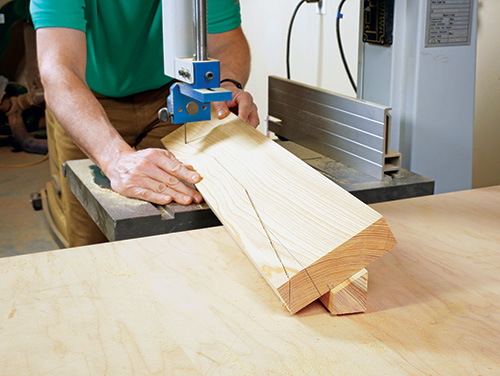
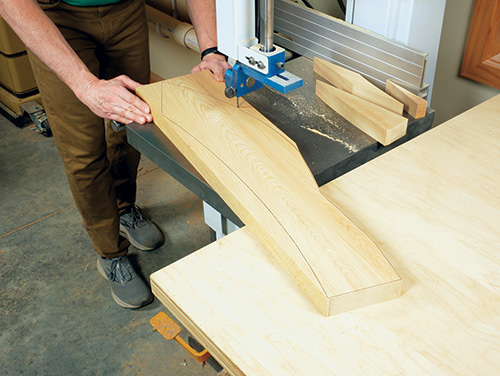
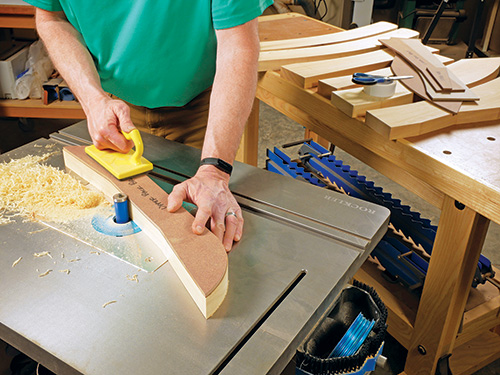
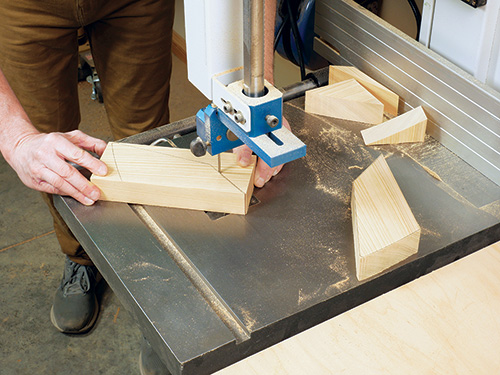
Now, cut the middle back brace to shape with a jigsaw or band saw. This part requires making three bevel cuts where the back slats will attach to match the backrest angle of the chair. While the printed note on the template specifies a 30-degree angle, I found 25 degrees to be a better overall fit. Arrange the saw or the workpiece so that the blade angles out toward the front, concave edge of the workpiece, and cut out this shape. I made these bevel cuts on the band saw by attaching my workpiece with double-sided tape to a scrap that was bevel-ripped to 25 degrees. That way, I didn’t have to tilt the band saw table off of level, which would have made the bevel cuts harder to guide. Or, tilt your jigsaw’s shoe to 25 degrees, and make the bevel cuts this way instead.
Give all the workpieces a thorough sanding up through at least 120- or 150-grit. I then eased their sharp edges with a 1/8″ roundover bit in a compact router to reduce the chances for splinters.
Building the Framework
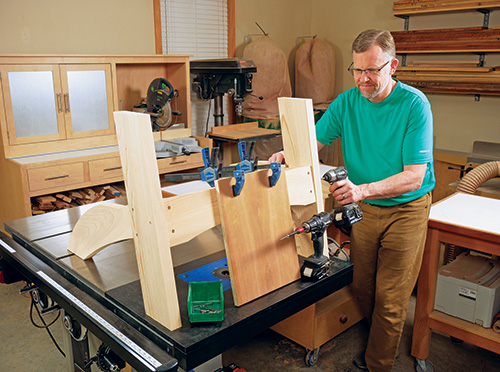
At this point, you’re ready to do some assembly! Start by attaching the front cross brace to the back legs with pairs of #8 x 2-1/2″ exterior screws. Align the top edges of the parts and drive the screws through the front cross brace into the front ends of the back legs. Drill countersunk or counterbored pilot holes first to prevent splitting the wood. I counterbored these, and all the other screw holes on this project, so I would be able to cover them with wood plugs.
Next, cut the front legs to shape from 5-1/2″-wide stock. I made these blanks 25-5/8″ long to start with. Then angle-cut their ends to 10 degrees with these miter cuts parallel. That creates the 24-5/8″ part length noted in the Material List.

Go ahead and attach the front legs. To do that, lift the front cross brace up until the “feet” of the back legs are flat on your work surface. Now, position the front legs against the outside faces of the back legs so their front edges are flush with the bottom front corner of the front cross brace. Be sure the bottoms of the front legs are also flat on the work surface. Clamp the back and front legs together in this position; the bottom edge of the front cross brace should be about 9-1/2″ up from the bottom front corners of the front legs. Attach the front legs to the back legs with three #8 x 2-1/2″ screws driven through each front leg.
Next, on the top edges of both back legs, make a mark 1″ back from the point where the curve for the seat begins. Slip the lower back brace between the back legs and align its front edge with these back leg reference marks. Its top face should be flush with the top edges of the back legs. Attach it with pairs of #8 x 2-1⁄2″ screws driven through the back legs and into its ends.

You’re ready to attach the arm braces to the top outside faces of the front legs with pairs of #8 x 2-1/2″ screws driven through the front legs. I located the braces 1″ back from the front edges of the legs. Then grab the middle back brace and both arms. Arrange these three parts and clamp them together so the back ends of the arms overlap the ends of the middle back brace and the back corners and edges are flush. Check that the arms are square in relation to the middle back brace; their inside edges should also be about 24-5/8″ apart and parallel. Drive pairs of #8 x 1-5/8″ screws into these corner joints to secure them.
Now, set this arm assembly on top of the front legs and adjust it so the front ends of the arms overhang the legs by 1-1⁄2″. The arms should overlap the inside faces of the legs by 1/2″. Drive three 2-1/2″ screws down through each arm to attach it to the arm braces and front legs.
Adding Back and Seat Slats
Set the back slats into place so their bottom ends are aligned with the bottom face of the lower back brace, and space the slats about 3/8″ apart. Attach the back slats to the lower and middle back braces with #8 x 1-5/8″ screws. Use three evenly spaced screws per joint. Once that’s done, you can clamp the upper back brace to the back faces of the back slats.
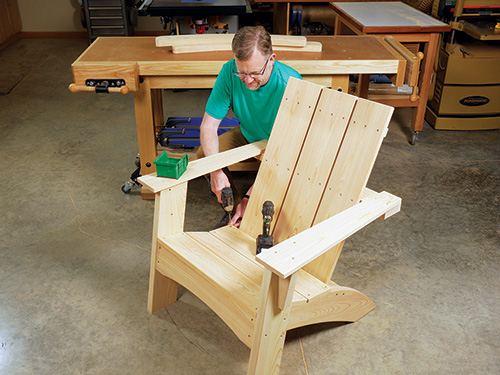
Locate its top face about 3-1/4″ down from the tops of the slats and attach the slats to it with #8 x 1-5/8″ screws, driving three screws per slat into the brace. Go ahead and install the three seat slats, too. Arrange them so the front seat slat overhangs the front cross brace by about 1/4″. Position the other two seat slats so there’s consistent space between all three.
Making, Installing the Rockers

Use your rocker template to create two rockers on some 2x stock. Notice in the Exploded View Drawing that installing the rockers requires adding a blocking piece between the rockers and the back legs. These account for the offset arrangement of the front and back legs. To make the blocking, set your back leg template in position atop the rocker template, and draw a line across the back leg template where it crosses the top edge of the rocker template.
This lower portion of the back leg creates the blocking shape. Use the back leg template to draw two blocking shapes onto scrap 2x stock and cut them out. Then set the blocking pieces into position against the outside faces of the back legs and screw or nail them in place.
Remember those nail holes we first made in the rocker template? Now’s when they’ll be very useful! Set the template onto each rocker workpiece with their edges flush and use a thin casing nail inserted into the nail holes to prick the leg corner positions onto the rockers. (Keep in mind when doing this that the rockers are mirror opposites of each other; you’re marking the leg positions on the inside face of each rocker.)
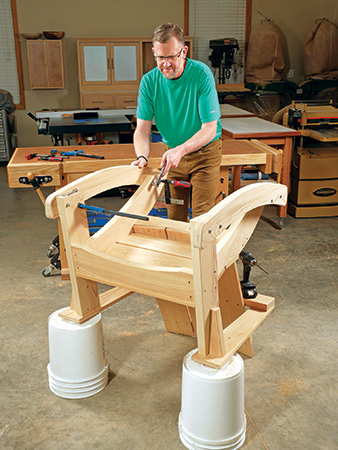
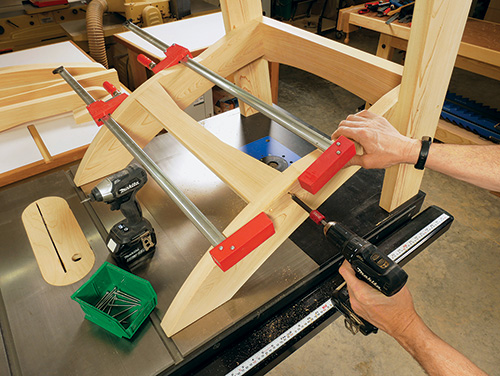
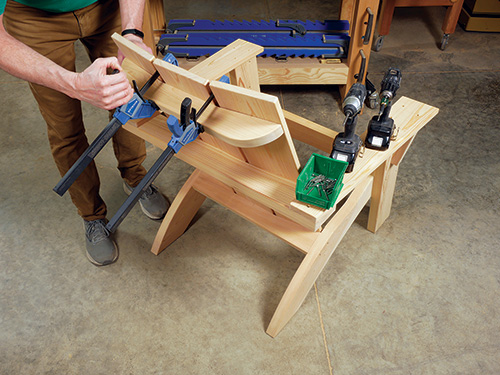
Use the nail marks to align the rockers on the legs and blocking and clamp the rockers in place. It’s a good idea at this point to set the chair on the floor and test the rocking action to make sure the chair rocks evenly and well. Then attach the rockers to the legs with pairs of 5/16″ carriage bolts, washers and nuts. You’ll need a pair of 3-1/2″-long bolts for each front leg/rocker connection and two 5″-long bolts for each back leg.
Finishing Up
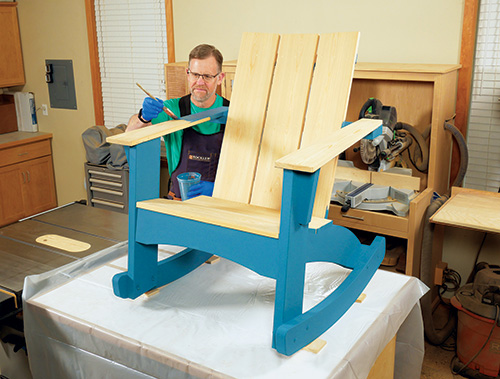
Finish your rocker however you prefer with exterior stain or paint. Or leave it bare; it will weather to gray. I filled the screw holes with wood plugs first, to hide them. After cutting and sanding those flush, I brushed on two coats of an all-in-one primer/paint. Give the finish time to thoroughly dry. Then your “easy chair” will be all set for relaxing outdoors.


