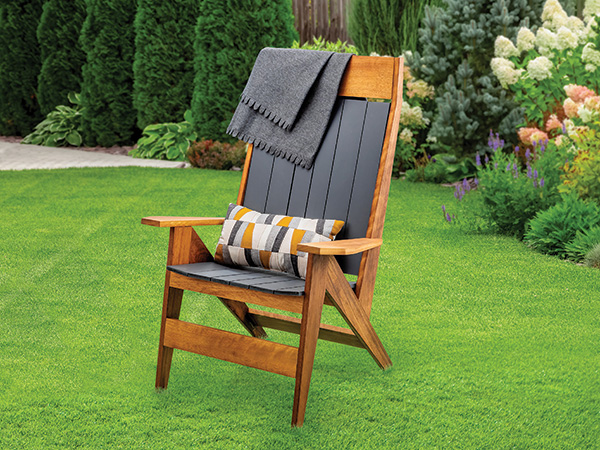
Relaxing outdoors is an American tradition. And while that can mean a lot of things, sitting in an Adirondack-style chair with a tasty beverage, a good book and the Twins game on the radio is as sweet as it gets (to me). But some folks, like my wife Mary, think Adirondack chairs are torture devices of the first order. Her small frame gets stuck way in the back of the chair, with her legs dangling uncomfortably just past the front edge of the seat. (She also thinks they are kinda ugly.) Don’t sugarcoat it honey, just tell me how you feel …
With that feedback in mind, senior art director Jeff Jacobson and I decided to design and build an updated version that has some of the best features of an Adirondack chair but addresses some of the shortcomings. Jeff built two prototypes before he was satisfied, and this chair is the result of those efforts.
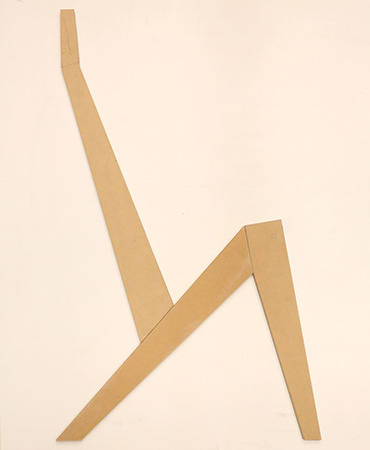
The outside frames are built in a “Z” shape and are then joined together with a series of cross braces. I chose African teak from Rockler as the lumber for the frame and crosspieces. It is excellent for outdoor projects as it resists rot very well (but not quite as well as the Asian teak that most folks are more familiar with). It machines well and, while there is a wide variation of hues in the lumber I selected, when finished with an outdoor oil I think it looks lovely.
For the seat and back slats we used 1/2″ pine lumber. I can almost hear you thinking, “Pine is a terrible outdoor wood!” And that would be true if it was not painted — then it holds up great in the great outdoors. The chair’s design also allows the slats to drain, so no puddling of water, which also is a hedge against rot.
How So, Domino?
I want to say a couple of things about the joinery of this chair. I happen to be a fan of Festool’s Domino loose-tenon system. At the same time, I understand that Domino machines are financially out of reach for a lot of woodworkers. Even so, I wanted to try out Festool’s Dominoes made from sipo wood — a species that resists rot. But if you want to build this chair and don’t wish to use the Domino system, let me say that dowels would be another perfect product for joining the legsets, too.
And while I also used Dominoes to join the cross braces to the leg frames, you could do that with dowels or even with screws driven in from the outside of the leg frames.
Terrific Templates
I chose to make a complete set of MDF templates for every piece of this chair’s framework (with the exception of the seat and back slats). Not only does it speed up the building process, but as it is not uncommon to build more than one of this type of chair at a time, they also will make that easier down the road. A set of templates can also help to minimize measuring errors, because many of the project parts can simply be traced to shape using the templates.
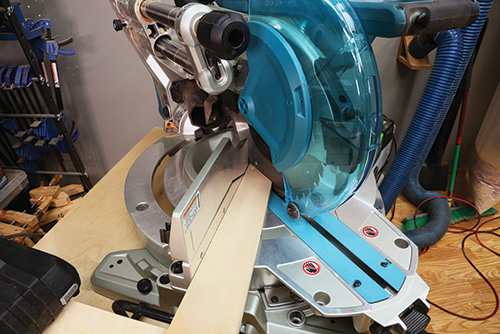
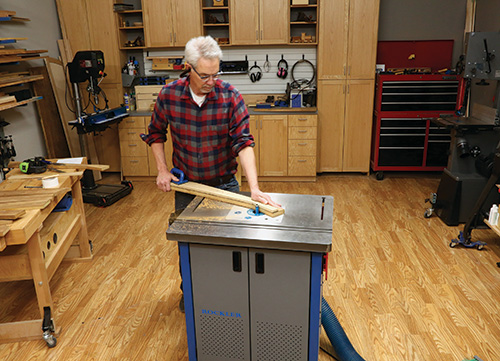
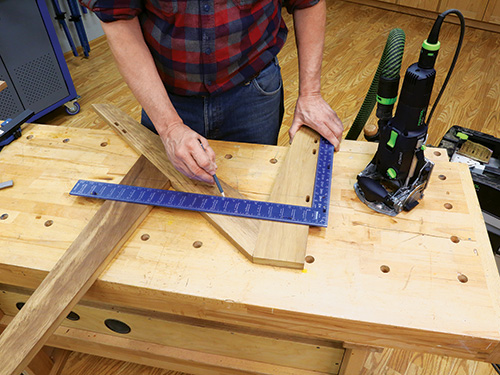
Start by ripping the leg pieces to width. Then mark out the shapes of the different pieces using the templates. With that done, step over to your miter saw and use the templates to set the angles that you need to cut. That’s another benefit of the templates. The last step in forming the legs is using a taper jig to cut the long tapers.
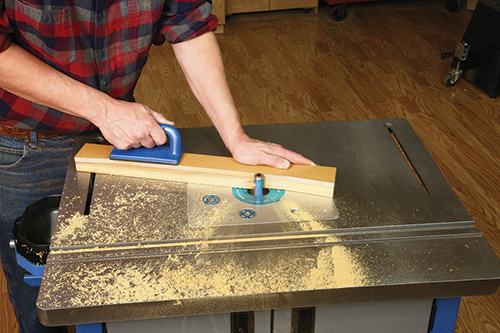
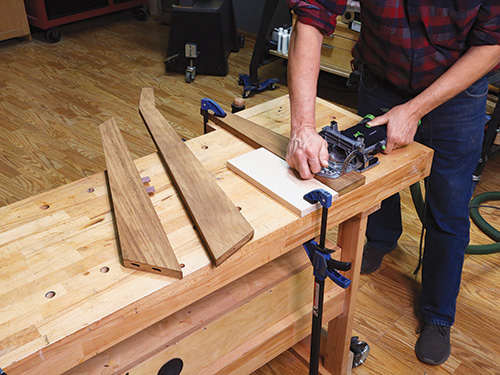
To form the backrests, use the template to lay out the pieces. Cut the angles on the backrests with a miter saw, and then use a band saw to cut away most of the waste close to the long remaining line. Next, step to the router table chucked with a flush-trim bit. Attach the template to a backrest blank with double-sided tape and rout the shape.

Cut the remaining section (the back) of the top angle on the band saw. Now cut up blanks for the seat cross braces. Attach the cross brace template to a blank and template-rout the shape onto the cross brace. Repeat this for all the cross brace pieces.
Doing the Dominoes
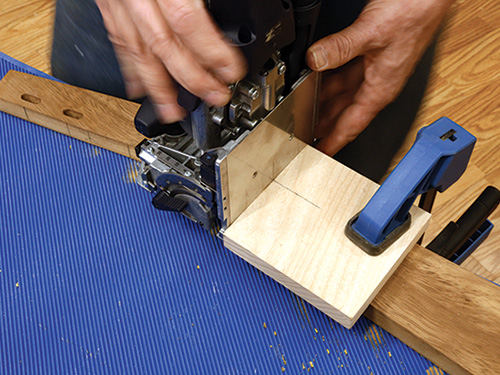
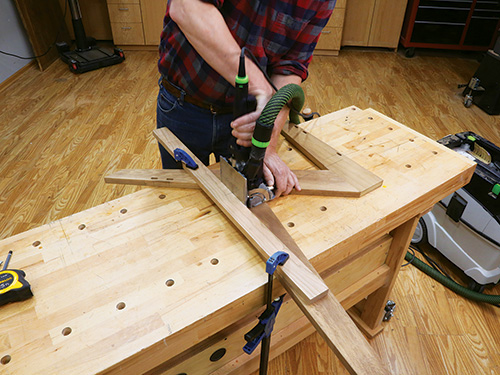
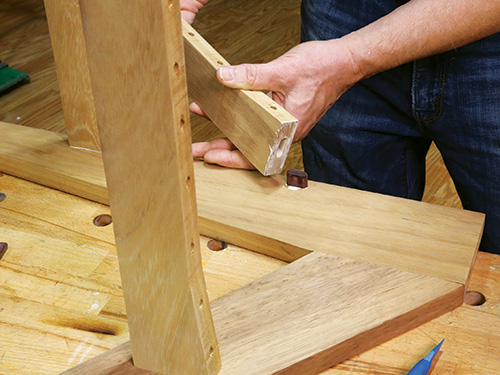
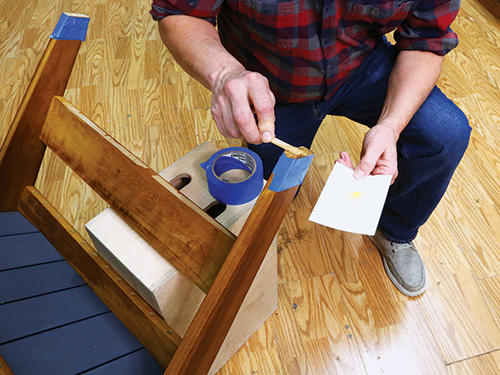
Now it’s time to chop the mortises for the Domino loose tenons for the legs and backrest subassembly. Using two 8-mm Dominoes at each joint, they will form a strong connection. Machine the mortises and dry-fit the subassemblies together with the Dominoes in place. When you are convinced that all is well, move on to gluing and clamping the parts together. I used Titebond III, as it is waterproof and has a reasonably long open time. Clamping these pieces together is a bit of a puzzle, but using the cutoff blocks of waste, and double-sided-taping them to the edges of the pieces, I was able to get sufficient clamping pressure to make it work.
While the glue was curing in the leg frame subassemblies, I moved onto machining mortises into the ends of all of the cross braces. It was straightforward work. Put two mortises in each end of the 4″-wide cross braces and one mortise centered in the seat cross braces. Wait on the headrest for now, as you’ll need to locate the mortises at the top of the backrest first.
When the glue has cured on the leg subassemblies, it’s time to sand them smooth. I worked up through the grits from 80- to 180-grit. I softened the edges of the legsets with 220-grit sandpaper, just to remove the sharp edges.
Next up, I needed to bore holes through the seat cross braces and upper back cross brace that allowed me to screw the seat slats to the chair with the screws hidden from view. See the Drawings on the next page for how these two-step holes work. I used #8 x 1-3/4″ flathead zinc screws. They need to extend 3/8″ beyond the edge of the cross braces to penetrate into and secure the seat slats. Take note that the outer holes need to be bored deeper, because the piece changes width, and the holes on the upper back cross brace are just counterbored, as it is a much narrower piece.
Proceeding with the Seat Layout
With the leg subassemblies prepared, it’s now time to lay out the mortise locations for the seat and seat back cross braces. I confess that it was at this point where I decided I would rather just screw them in place, but I persevered with the Dominoes. Three seat cross braces are mounted on a line that runs squarely back from the front edge of the front leg. For this location, see the Drawings.
The cross braces that support the back slats are mounted with their back edges flush to the back edge of the backrest. See the Drawings for their location, too. If you, like me, are using a Domino machine to form the mortises for the seat cross braces, you will need to use a scrap fence clamped in place to help you cut the mortises accurately. Remember how I had you wait to cut the mortises into the headrest? It will make sense now as you need to get the plate of the Domino machine past the bend in the backrest. Locate the mortises at the top of the backrest, then transfer the locations onto the headrest and machine them.
Now let’s back up a bit and address this process if you are not using a Domino machine. If you are using dowels, it would be pretty much the same but would be a bit easier to lay out. If you are using screws driven in from outside the leg frames, you should lay out the cross brace locations on the inside of the leg frames and then drill a small-diameter pilot hole from the inside of the legs outward. Those holes will give you the location where you can drill the counterbore or the countersink (your choice). If you choose to counterbore, you can make your own plugs from African teak with a plug cutter. The screw holes will almost disappear under the plugs.
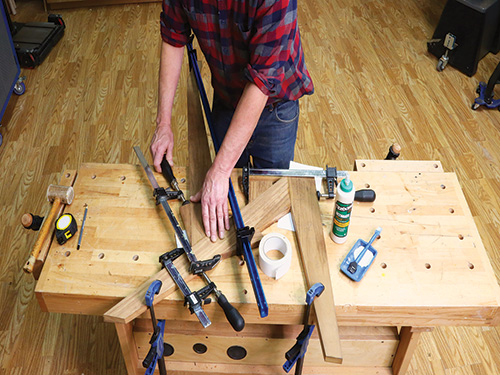
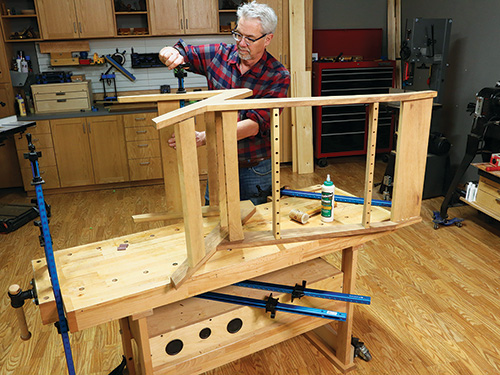
However you choose to do it, when you are done it’s time to dry-fit all the joinery. Be certain everything comes together correctly, because once you start the glue-up for real, you are committed and there is no going back. I started the glue-up on my workbench, applying glue into the mortises and to the ends of the cross braces. Once I had them all in place, I put the other leg frame on top of the assembly. This is possible to do by yourself, but another person helping makes it much easier.
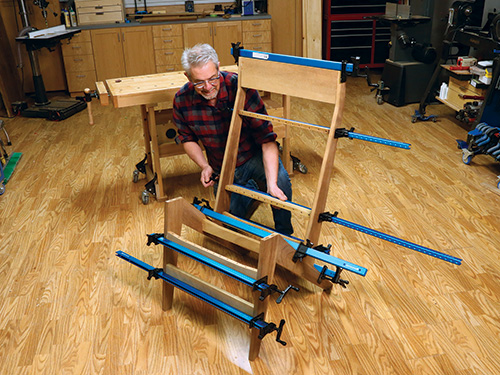
Still on the bench, I clamped across the headrest, the wide cross brace between the front legs and the other wide cross brace between the back legs. Then I carefully lifted it from the bench and stood it up on the floor. In that position, it was easy to add clamps where they were needed to close up all the joints. Allow the glue to cure. Once the glue has dried, re-sand the pieces starting at 150-grit and switching to 180-grit. The chair frame now is ready for its finish.
Heading for Home
You are well on the path to completion, but there are a few more tasks to get done. If you have not already done so, go ahead and make the armrests. Carefully make the notches where they join the backrest. Note that the forward edge of the notch is angled to match the backrest. Lay out and form mortises on the top of the front legs, transfer the locations to the armrests and chop those mortises. Clamp the armrests in place and drill a counterbored hole through the backrest. Unclamp and take the armrests off, apply glue to the appropriate surfaces and clamp and screw them in place.
Now it’s time to make the seat and back slats. Take note that there are two widths (3″ and 3-3/4″) for each set. I painted my pine slats gray. You could make them from African teak or some other hardwood, too. That’s a design option — you choose. Whatever you decide to do, I suggest that you apply finish before attaching them. Same goes for the chair subassembly. I put two coats of General Finishes Outdoor Oil on the teak before I attached the slats, and I think it looked great.
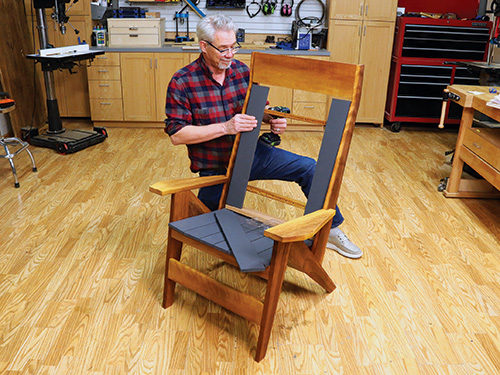
When the paint and oil has cured, it’s time to complete the project. Screw the slats in place. I started with the seat slats. Space them evenly and drive the screws home. I tilted the chair forward to make it easier to get to the screws on the bottom of the cross braces. (Easier for this past-60-year-old, but still not particularly easy.) I found it necessary to clamp each slat in place before I could drive the screws. As I was using pine, I took care not to overtighten and strip out the wood fibers. For the back slats, I put a 3/4″-thick piece of wood across the seat slats to ensure that I located them properly. The back slats were easier (okay, easy) to install.
Here are two optional tips. The first is using epoxy resin to seal the end grain at the bottom of the legs. If the chair will be used in places where the leg bottoms will get wet, the epoxy will stop the water from wicking up into the wood fibers. This will help to keep the wood from breaking down over time. Five-minute epoxy works great.

Second, I wanted to hide the screw holes on the back cross braces. A 1/8″-thick strip pin-nailed in place did the job.
Now you are done! And you may be wondering if this design is more comfortable for smaller framed people — the answer is yes. While Mary was not available to try it out, we had a bunch of folks “test sit” in it with positive results. Most wanted to take it home and continue testing it over the summer. Hmmm …


