At some point in the Middle Ages, someone came up with the idea — and whether they borrowed it from another trade or developed it themselves is lost to us — of surrounding a solid panel of wood with stiles and rails securely joined at their corners. They put a frame around a panel, and solid wood furniture making as we know it was born.
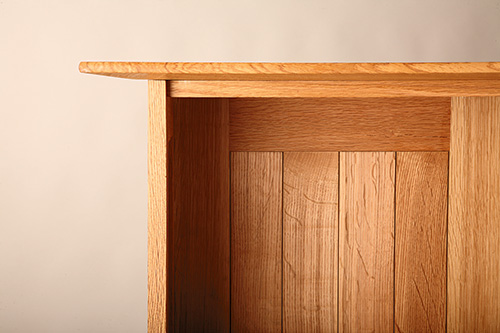
Until then, people making furniture from solid wood used big slabs of wood and joined those boards together with pegs, bands of metal or leather. But none of those techniques could deal with the dynamic quality of solid wood — the fact that it expands and contracts in reaction to seasonal humidity changes. That expansion and shrinkage is as unstoppable as the tides, and it doomed primitive furniture pieces without mercy. But when the frame and panel was developed — joined at the corners with mortise-and-tenons, the solid panel floating inside that frame — wood movement had been put into a box it could not escape.
Now, hundreds of years later, when we talk about solid wood construction, the frame and panel is still the ultimate building block of woodworking. In fact, even though we now have manmade materials that do not expand and contract with the seasons, builders often machine them to look like a frame and panel, for the simple reason that people find the appearance of them to be attractive. They’ve become inculcated into our cultural environment. Function has become the form which we crave.
A Frame and Panel Bookcase
While developing the content for The Way to Woodwork DVDs, it was clear that we would need to teach frame and panel construction, and that it would be most practical to do that in the context of building a casework project. Solid wood casework projects are successfully made of frame and panels for the reasons described above.
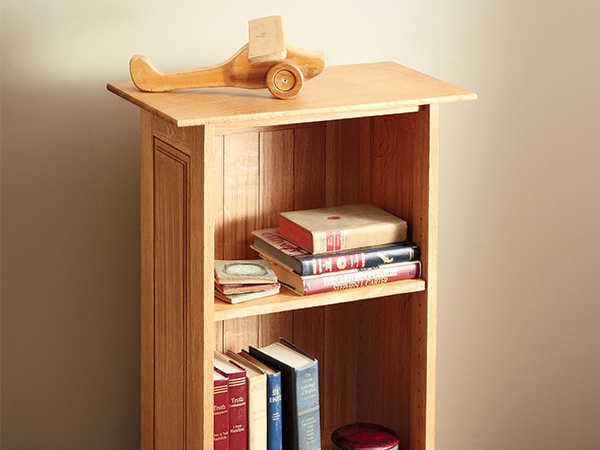
This elegant little bookcase combines three frame and panel subassemblies with a top, bottom and a base. Two adjustable shelves sitting on shelf pins complete it. As woodworking projects go, it is not overly challenging in its joinery. Its proportions allow that, if attractive lumber is selected and care is taken in its construction, you will have an elegant and practical piece of furniture for your efforts. In designing it, I tried to exemplify the three major tenets of the British Arts and Crafts Movement:
- The design of the piece should fulfill its function and be visually simple.
- The materials shall be “of the best.”
- The work shall be rightfully constructed using rightful workmanship.
And in addition to all that, this little piece teaches you the essence of frame and panel and casework construction. Try it — I’m sure you’re going to like it.
Harvesting Your Parts
Because the design, the Drawings and the Material List are provided here, the first step of consequence is harvesting the parts. If you are unfamiliar with that term, it refers to carefully going through the wood you have collected for your project and determining which piece of wood will go where on the project. For example, in this project, the infill pieces on the side panels were each made from one piece of wood with a very attractive figure running from the top to bottom. Because they are so large and so prominent, putting a plain-looking piece of wood in the side frames would leave the bookcase looking bland. In the same fashion, the top will be highly visible and needs to be composed of stock selected for its beauty. Taking the time here to select these pieces in advance can take your project from soso to something special. Identify the parts with chalk markings so you won’t lose track of them. This is also the time to butt join the pieces that will become the top, the shelves and the bottom. They are too wide to be made from a single width of stock.
Prepare the Stock, Mark and Cut the Joints
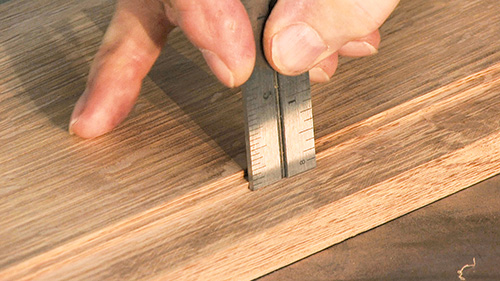
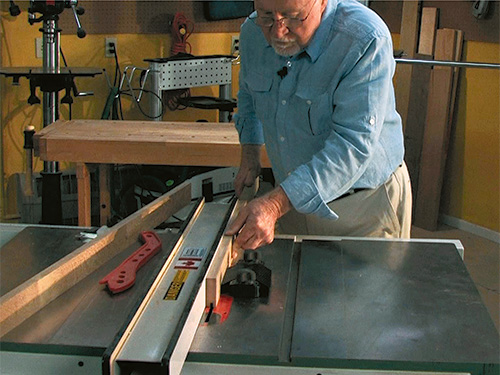
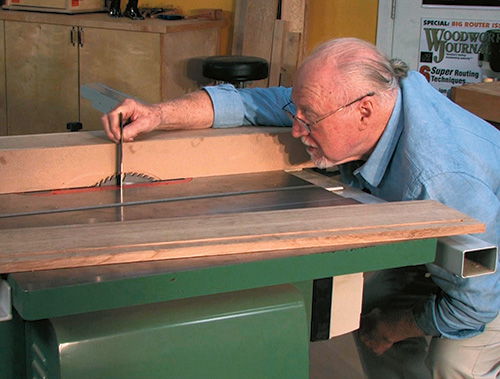
It’s time to start making some sawdust. Using the information found in the Material List, prepare the pieces for the sides and back by machining them to thickness, width and length. Use the table saw to plow a groove 1/4″ wide x 3/8″ deep into the rails and stiles of the side frames and the rails of the back frame. This is easily done using a 1/4″ dado head and registering the cut with the fence. Unlike the sides, the stiles used to form the frame on the back have a 1/8″ spline slot cut into them in virtually the same manner as the groove. See the Drawings for details.
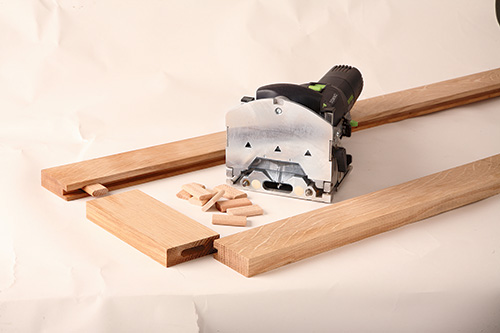
With those parts prepared, the next step is to mark out and then cut the slot-mortises for the loose tenons. Festool’s Domino system is an extremely accurate and easy way to make strong corner joints. In practice, almost any type of mortise-and-tenon would do well at the corners of the frame (although you would have to adjust the Material List accordingly), but few would be faster. With the mortises cut and the stiles and rails test fitted together with their loose tenons, you can move on to making the side infill panels and the back slats.
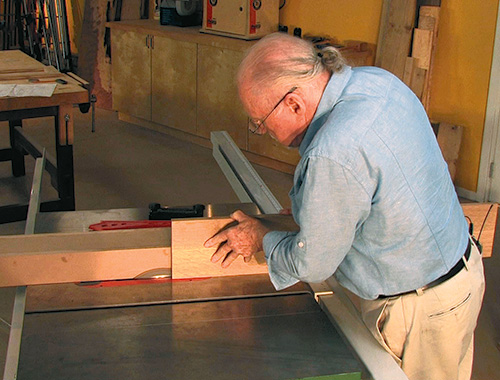
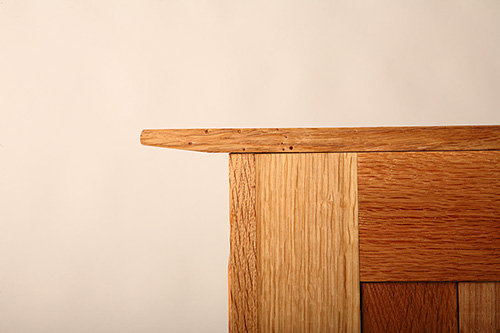
The side panels are sized so that they have room to expand and contract within the frame’s groove. To fit into the groove and to cosmetically detail the pieces, the side panels need to be rabbeted around their perimeter. All the shaping of these two panels is done on the table saw. A series of rabbets (called rebates on the other side of the pond) step down from the face until the final rabbet creates a thickness on the edge of the panel that is just a bit thinner than 1/4″. See the photo above for the details of these rabbets. Combined, they create a pleasing design accented by the shadows they cast. The photo sequence demonstrates the method and the order for cutting the rabbets.
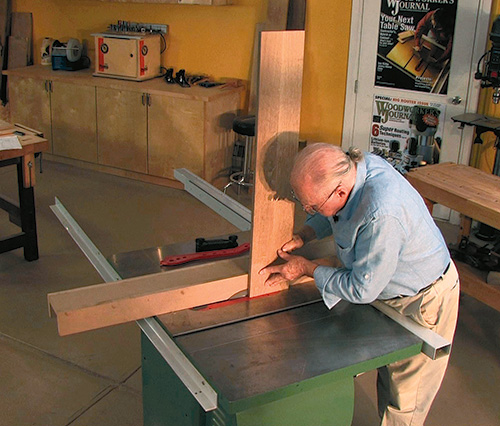
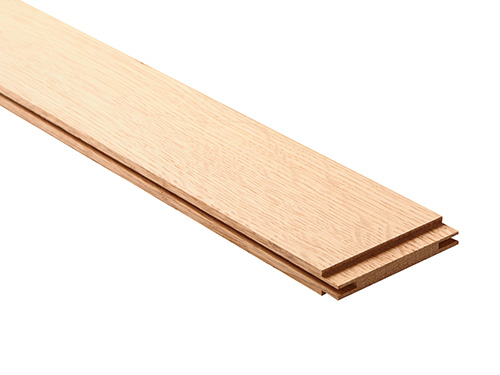
The slats that make up the infill of the back frame are also composed in regard to their color and grain pattern. The slats have tongues raised on their ends so as to be captured by the grooves in the rails. In addition, floating splines (not glued) are used to align the edges of the slats and to visually fill the gap between the slats. The slats are not glued into the frame — they must be able to expand and contract. Once again, all this machining is done on the table saw.
The Subassemblies
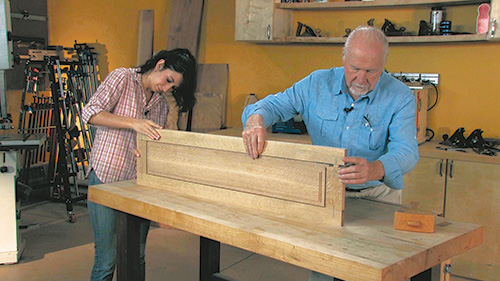
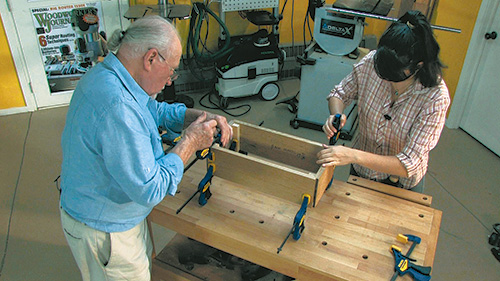
One of the points I make in The Way to Woodwork DVDs is that gluing up is a process that strongly benefits from a second person’s set of hands. Gluing and clamping is essentially an irreversible step, so avoiding mistakes is critical. To glue and clamp the back and sides, I asked LiLi Jackson to assist me. Each step was discussed and we walked through them so that the assembly was well understood and done accurately. Once the sides and back have been glued and clamped, the dovetailed rails can be made and joined into the side.
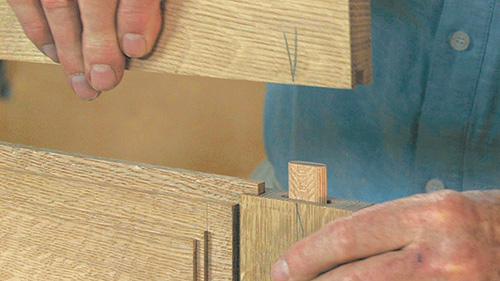
The dovetailed rails perform a couple of important tasks. First, they connect the sides together at the open front of the bookcase, adding strength and rigidity. Second, they provide a means to attach the top and bottom to the carcass. The joint is a single-lap dovetail let into the top and bottom edges of the sides. The length between the shoulders is the same as the width of the back panel subassembly. Because white oak is hard and strong, the dovetails only need to be 1/4″ thick. Form rabbets on the ends of the rails, leaving the 1/4″ thickness, and locating the shoulders at the same time. (See the Drawings for all these details.) Mark and cut the dovetailed shape onto the ends of the rails. Then transfer the shape onto the ends of the sides, marking the outline with a knife. Complete the marking-out with a marking gauge to locate the bottom line of the dovetail pocket. Chop out the dovetail pockets with a combination of a handsaw and sharp chisels, test fitting the rails into their pockets as you go. With that done, you are almost ready to assemble the carcass.
Before that next glue-up step, there are a couple of tasks to be completed. Bore holes for the shelf pins as shown in the Drawings. It is much easier to do it now rather than later. Next, mark out and cut a series of biscuit slots in the back and sides. The biscuits make the gluing and clamping step easier by aligning the parts. It is my practice to pre-glue the biscuits into one panel, in this case the back, to prepare for the glue-up. Once again, it is a step that will keep the glue-up process more manageable. After a test fit and dry clamp, glue and clamp the sides to the back and the dovetailed rails to the sides.
Good work; with that step you have completed the lion’s share of this project.
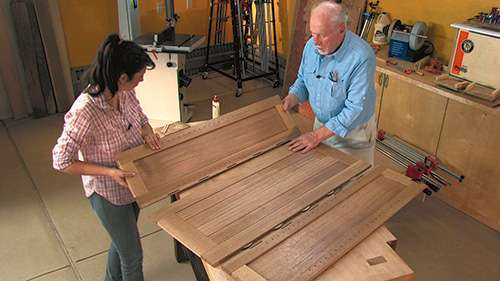
There is one point to be made here. In my construction process, I plane the faces and the edges that can’t be planed after assembly smooth as I complete them. This brings their surfaces to the point where they are ready to accept a finish. That allows me to apply a finish before I glue up a subassembly — once again, those areas which would be hard to get to after assembly. If you proceed differently, you will need to sand these surfaces smooth at an appropriate point in your process.
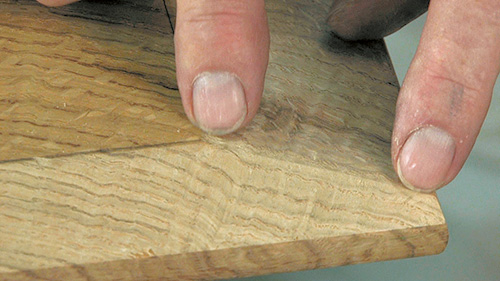
Remove the carcass from its clamps, and take a few moments to make and glue the two ledgers (see the Drawings) to the carcass back. They’re for attaching the top and bottom later.
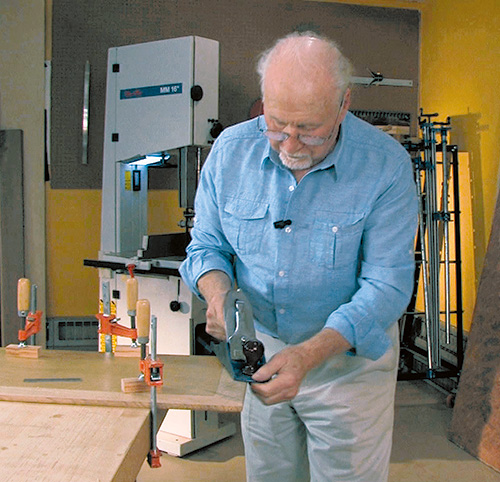
With that completed, the top is the next logical component to make. You already selected material and butt joined the stock for the top. Now cut it to size and get ready to form the bevel on its underside. Once again, a plane is my tool of choice for this task. Alternatively, you could shape the bevel on your table saw or with a large-diameter router bit. With the bevel in place, shape a gentle radius on the same three edges of the top. Then, clamp the top in place and mark and drill holes through the top ledger and top dovetailed rail for your screws. Secure the top to the carcass, then remove it and set it aside for now.
The Last Details
The base is designed to be held together with screws and glue. In this instance, the mitered corners don’t go to a feather edge; instead the miter stops short, leaving 1/4″ flat on the end grain. See the Drawings for details. The corner blocks get correctly positioned and are glued and screwed onto the inside faces of the front and back first. This makes clamping up the whole base manageable. Following that, a ledger is glued onto the back of the base to facilitate attaching it to the carcass.
To attach the base, drive screws down into the front piece of the base through the dovetailed rail. In the same way, drive screws down though the ledger at the back of the carcass subassembly into the ledger on the back of the base. The bottom panel will cover these screws.
The two shelves and the bottom were also butt joined and prepared earlier. The front edges of these parts were finished square with the smallest of chamfers — a bare 1/16″ of an inch shaped across the flat. Fit the bottom panel into the carcass and secure it up through the dovetailed rail with screws. The shelves also need to be fitted into the carcass. Plane or sand them smooth, and you are done with the joinery aspect of building this bookcase.
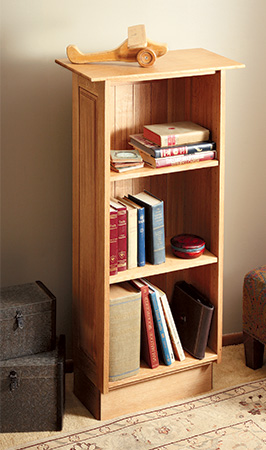
Salad Bowl Oil was our finish of choice for this piece. It dries hard and enriches the color of the wood, and it builds well with only a few applications. Flow the oil onto the wood liberally with a sponge brush, allow it to stand for 10 to 15 minutes, and then wipe it off. Leave the surface alone to cure and then repeat the process until you have the surface that you want. De-nib between coats with worn fine sandpaper if required. Now all you have to do is reattach the top, position the shelves, put the books in their proper place and light up your pipe!
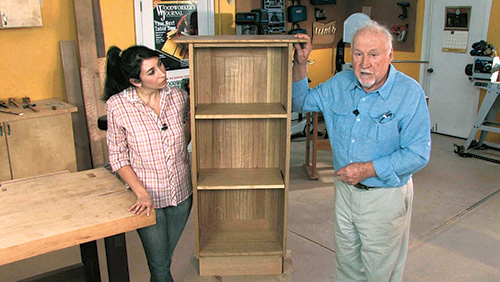
As stated earlier, I conceived and designed this piece for our DVD series, The Way to Woodwork. While there is more than sufficient information here to build this bookcase, in the DVD series, significant background information is delivered regarding preparing stock in general (not just for this piece), harvesting the stock and all of the steps in my woodworking methodology.


