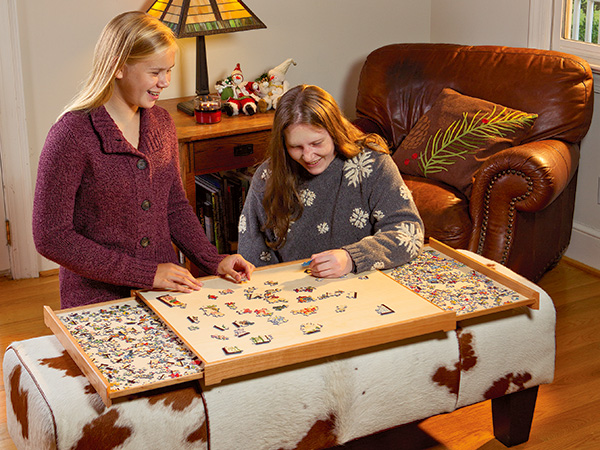
When Grandma Jan visits for the holidays, we lose our kitchen table for a week to family puzzle making. I’m all for that tradition, but holding a dinner plate on my lap does get old. If you can relate, then here’s a project that can take back your table without ruining the good time. Our Jigsaw Puzzle Tray gives you space to assemble a 500- piece puzzle, and two pullout trays let you spread out the pieces. Now you can do puzzles wherever you like, or pick it all up and move midway through without dismantling it. Portability at last! Here’s how to make a tray for your puzzle fans.
Building the Housing
Study the Exploded View Drawing, and you’ll see that this project consists of a main housing with grooved and mitered sides that hold a pair of top and bottom panels in place. A center support helps keep the 1/4″-thick panels flat. The pullout trays slide in and out on a pair of grooves in the sides, and they are held open or closed with magnets recessed in the housing bottom panel and on the bottom inside ends of the trays.
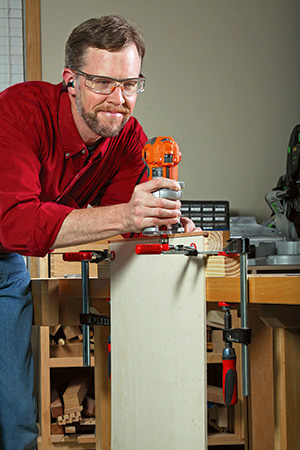
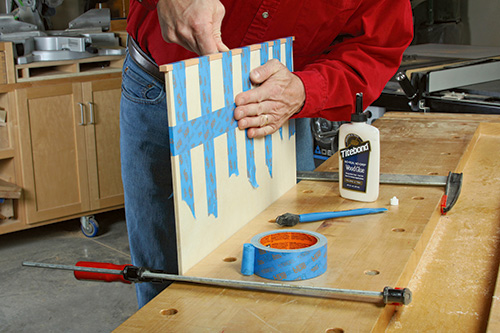
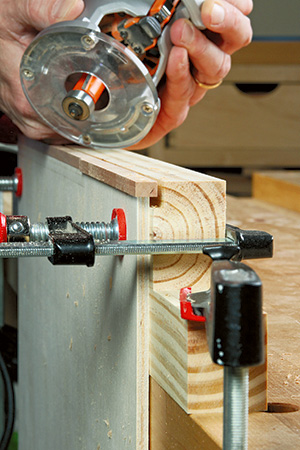
Start by cutting your top (piece 1) to size, according to the Material List dimensions. I used Baltic birch plywood throughout. Cut two edging strips (pieces 2) from solid wood to cover the ends of the top panel and dress it up. I made mine 1/4″ thick by 3/8″ wide before centering and gluing the edging in place. When the glue dries, trim the edging flush with the plywood using a small router and a flush-trim bit to reduce it to its 1/4″ x 1/4″ final size. Now measure your top panel’s overall length, and cut a bottom panel (piece 3) to match it. The bottom panel has no wood edging.
Next, mill a 32″-long piece of 1/2″-thick, 4-1/8″-wide stock so you can make both side pieces (pieces 4) at the same time. (You’ll split them down the middle when you’re through.) Notice in the Drawings that the top and bottom panels fit into 1/4″-deep grooves in the sides. Since plywood is undersized in thickness, even a 1/4″-wide dado blade will be too wide for cutting these grooves. So, I just used a standard ripping blade with flat-topped teeth for this task. Start by setting your rip fence 1/4″ away from the blade and cut the outermost grooves for the top panel first; flip the workpiece end-for-end after the first cut to make a matching cut along the other edge (it will become the second side piece). Shift the fence and cut again to widen the first cuts until the grooves fit the top panel snugly. When you are satisfied, reset the rip fence 1-1/2″ away from the blade and repeat the process for forming a pair of grooves to accept the bottom panel. Then finish up the sidepiece grooves with enough side-by-side passes to create two, 1/2″-wide tracks for the tray side pieces. Start these wider grooves with the fence set 3/4″ from the blade. I recommend carrying out this grooving process on a matching test piece before you cut each of the grooves on your final workpiece. That way, you’ll have your fence settings dialed in and know exactly where each of these grooving cuts will land.
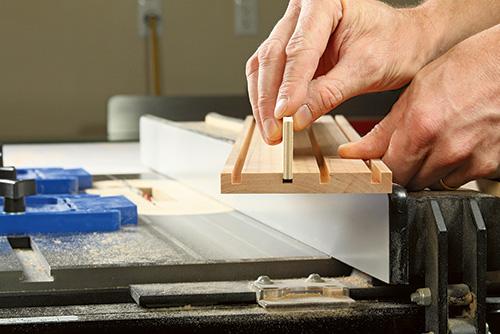
Now head to the router table with your side workpiece so you can rout a channel through the middle of it. We’ll use a 1/2″ straight bit here as a nifty way to create the curve-ended profile for the feet on the bottoms of the side pieces.
Mark your fence so you can start and stop the cuts accurately to rout a centered, 24″-long channel. Start the milling process with the bit set low, and raise it with each pass until it pops through the top of the workpiece. Flip the wood end-for-end after each pass to keep the channel centered. Then, widen the slot to 5/8″ by shifting the fence 1/16″ further away from the bit and making two more passes. Finally, chuck a chamfering bit into your router, and form 1/8″ chamfers along the outside edges of your “sides” workpiece. Rip it in two back at the table saw with a standard 1/8″-kerf blade.
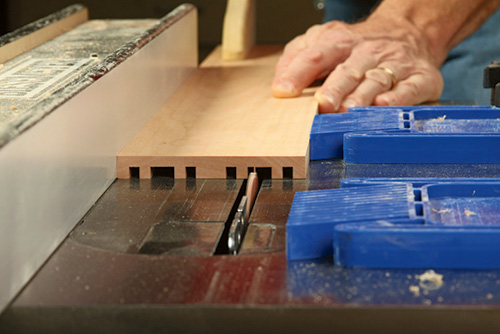
You’re ready to miter-cut the ends of your side pieces to 45°, but measure the length of the top and bottom panels carefully to verify where to make these cuts. The inside corners of the miters on the side pieces should just intersect the ends of the top and bottom panels when they’re installed in their grooves.
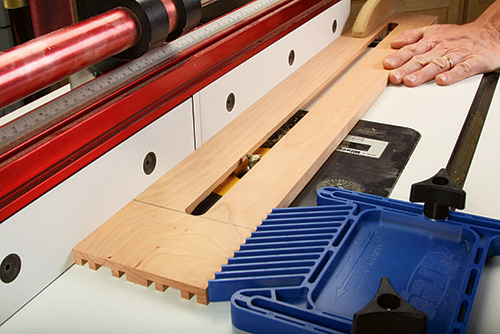
Once the miters are cut, set the sides aside and prepare a piece of 1″ x 1″ stock for the center support (piece 5). Cut a pair of 1/4″-long, 1/2″-thick tongues on its ends, either with a standard blade or a dado set. These tongues should seat neatly in the wider tray grooves on the housing sides. Glue the center support across the middle of the bottom panel’s top face.
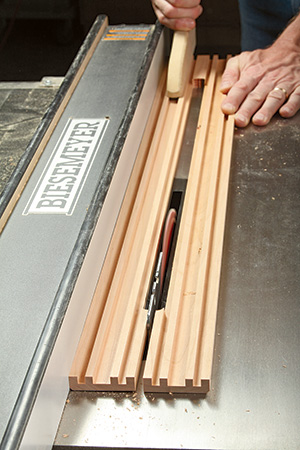
Round up four rare-earth magnets (pieces 10) for the bottom panel. They will keep the trays closed during transport or from falling out of the housing when pulled open. Locate them according to the Bottom Drawing. Use a 3/8″ Forstner bit to drill shallow holes that will sink the magnets until they’re flush with the panel’s top face. Attach them with dabs of epoxy, but first, make sure their “face up” polarity matches, before gluing them in place.
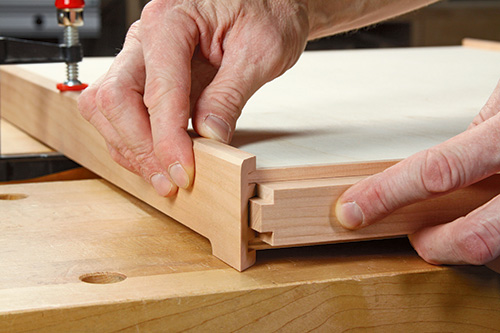
Final-sand the housing parts, and apply a coat of finish onto the top face of the bottom panel and the bottom face of the top panel. When it dries, go ahead and glue the panels into their grooves in the sides to complete the housing. I glued the panels to one side piece at a time — it made the assembly process easier.
Making the Trays
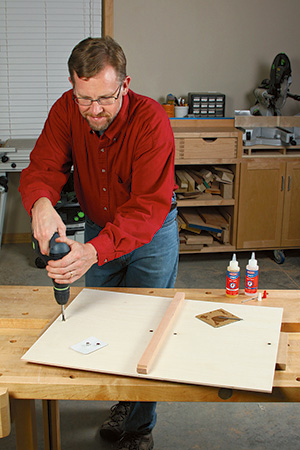
Form the tray frame ends (pieces 7) the same way you made the housing sides: start with a double-wide workpiece plus an eighth inch for blade kerf, mill a 1/4″-deep groove for two tray panels (pieces 6), and cut a centered channel at the router table to create feet on these two parts. Split the workpiece to bring the tray ends to final width. Don’t forget to add the top chamfers. They should match the chamfer proportions on the housing sides. Then miter-cut the tray frame ends carefully, “nibbling up” on a good fit against the housing’s side miters.
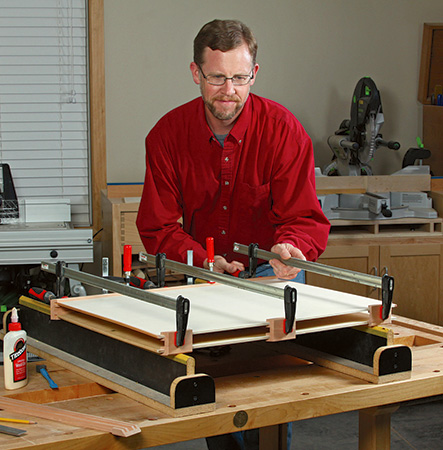
Rip thin strips of solid stock to create four side pieces (pieces 8) for the trays. The last parts yet to make are the 3/4″ x 3/4″ inner ends of the trays. Take two 20″ sticks and plow a 1/4″-deep, centered groove along one edge of each piece to fit over the tray panels. Then recess and glue a single magnet into the bottom faces of these two parts, centered on their length and width. Make sure their polarity will attract the bottom panel magnets first, before attaching them.
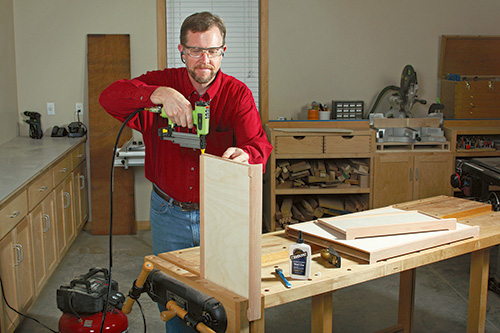
Finish-sand the tray components and assemble them in this order: Glue the mitered ends to the panels, making sure the parts are square. When the glue dries, add the inner ends. Then miter-cut one end of the tray sides to fit against the tray end miters, and glue them in place. Align their bottom edges flush with the bottoms of the panels. A few 23-gauge pin nails were a big help for me to keep these thin, narrow parts aligned.
Slip the trays into their openings to check their action in the housing grooves. If there’s resistance, hand-sand the tray sides as needed to loosen their fit a tad. Then, topcoat the remaining bare surfaces, and your new Jigsaw Puzzle Tray is ready for many hours of puzzle making to come. I hope it’s a holiday hit!
Download the Drawings and Materials List.
Hard to Find Hardware
Rare Earth Magnets (6) #44833


