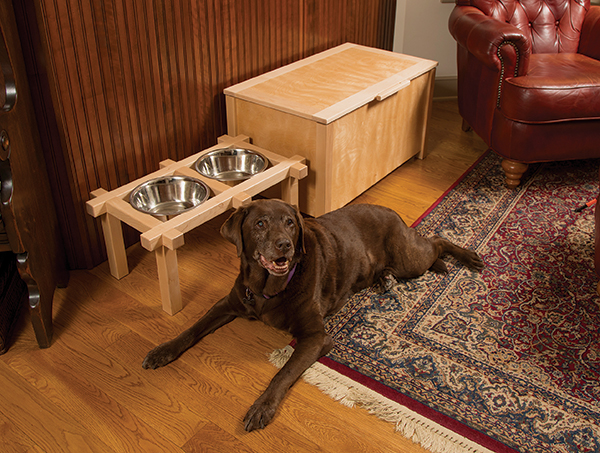
Make a dog feeding station that’s easy for you to fill and even easier for your best dog friend to empty.
My sweet, sweet dog, Bailey Bacon Snugglesworth, is getting older. She has the middle name Bacon because she grunts and eats like a pig — and she’s also as good as bacon. This dog dish holder lets her devour her food without having to bend over, a benefit she more than deserves at her advanced age.
If I made this project for a smaller dog, like my puppy, Cedar, everything would be sized smaller.
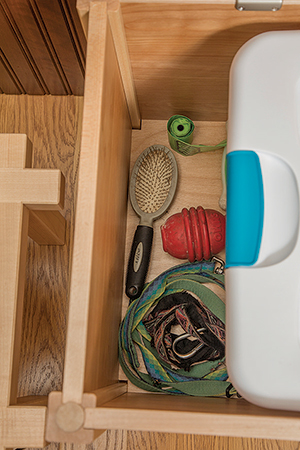
The box holds a plastic container for a 40-lb. bag of dog food. It also has room for leashes, treats, medicine, shampoo and all sorts of doggy things that need storage.
Cutting Half-Lap Joints
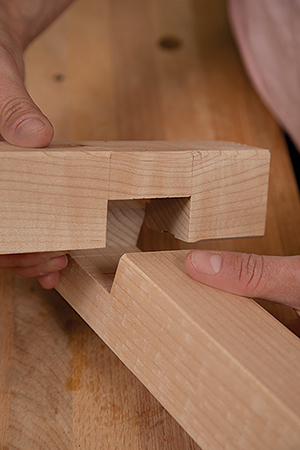
Since all of my half-lap joints are positioned the same distance (1-3⁄4″) from the part ends, I could cut all of these parts in the same stages one setup at a time. I prefer to cut these by moving the fence to the left side of the blade, and I used a stop block clamped to the fence, well in front of the blade, to keep the cut from binding.
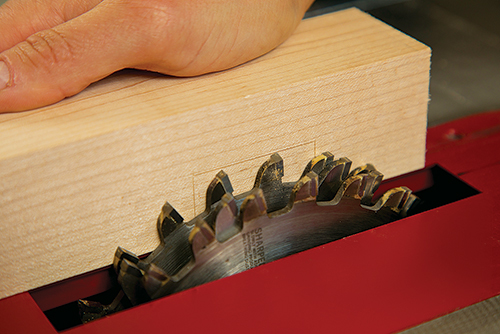
Use your test pieces to adjust your setup. The blade should be raised to half the height of the thickness of the wood (7/8″) for perfect half-laps. Run all the joints at one fence setting before repositioning the fence to widen the cuts. I set up the dado blade to remove 3/4″ of wood at a time, and therefore I had to run the wood over the blade three times to get 1-3⁄4″.
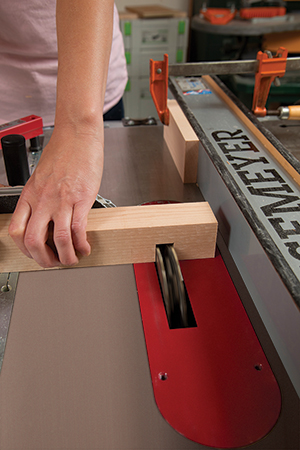
The resulting two pieces of each joint should slide together with a bit of friction. You shouldn’t have to pound them together, and they shouldn’t just fall apart, either, when picking them up.
Make the Dog Dish Holder
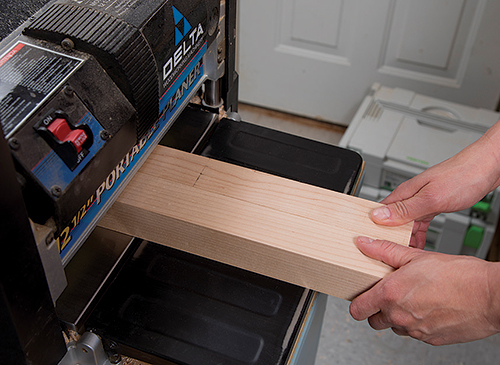
I used 8/4 maple for most of the design, but like I said, if this was for a 30-lb. dog like Cedar instead of a 65-lb. dog like Bailey, I’d consider sizing everything down, including the thickness of the legs and plywood. Poplar would be a great choice of wood for this project, but I already had maple: one less trip to the store!
Start by milling hardwood stock to the dimensions found in the Material List. I milled all of the 1-3⁄4″ square stock first, including the storage box legs (milling the other pieces after making the dog dish holder). You’ll want to make two extra pieces of the 1-3⁄4″ square stock to use as test pieces for the lap joints and the grooves on the bench box.
Once I had milled all the 1-3⁄4″-square stock, I started to make the bowl holder. First, I cut all the pieces to final length on the miter saw. Next, lay out the pieces to decide which grain patterns look best together. Label the matching faces so you will know where to cut your joints. I cut all the dadoes on the table saw.
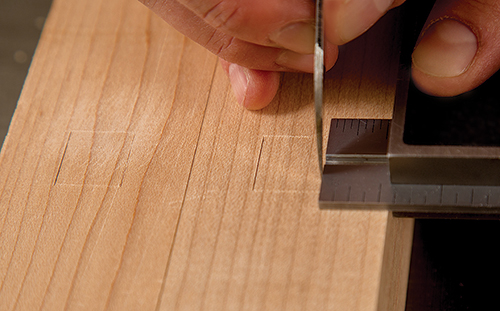
The dog dish holder’s legs are affixed with mortise-and-tenon joinery. Lay out each mortise carefully by using your combination square and a marking knife. Set your combo square to one measurement and mark all four board ends before resetting for the next marks.
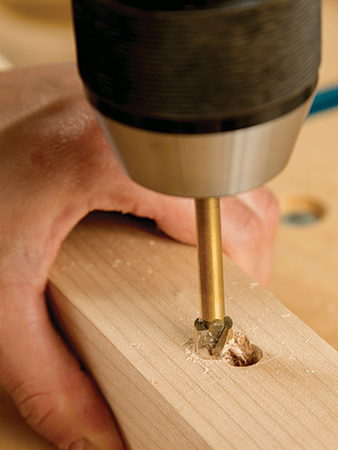
Then go to the drill press and use a 3/8″-dia. Forstner bit to remove as much material from the mortise as you can. Carefully use your chisels to square the corners and clean up the interior faces.
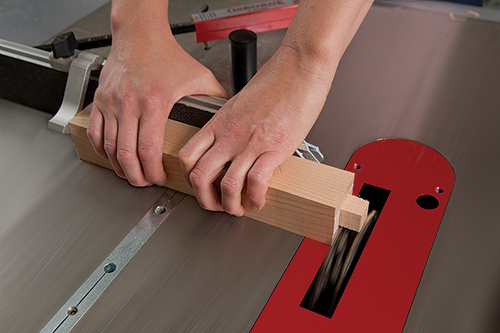
For the tenons, you’ll want to use the dado blade on the table saw again. Move the fence back to the right side of the table saw blade. You can use a miter gauge with a stop on its fence to keep your cuts spot-on. Make one pass at a time and continue rotating the piece until all four sides have been cut.
Dry-assemble the parts to check the fit of all of your joints before moving on to make the dog food storage box.
Making the Storage Box
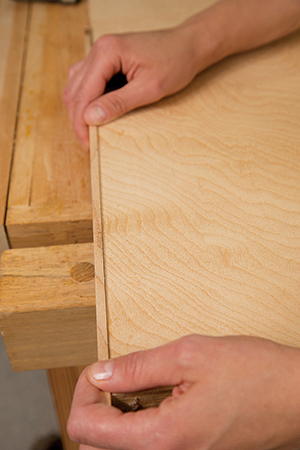
Start making the storage box as you did the dish holder: cut all of the plywood to size and mill the rest of the hardwood. You have already taken care of the legs.
Next, glue the solid wood trim to the top edges of the front, back and end pieces. Use scrap wood to protect the edges when clamping during glue-up. You can remove excess edging with a flush-trim bit in a handheld router. (You’ll want the plywood side to be clamped down or in a bench vise while you’re doing this.)
Cut a groove for the box bottom to fit into the box’s panels, 1/4″ up from the bottom. Stepping to the band saw, notch out the corners of the bottom to fit snugly around the legs.
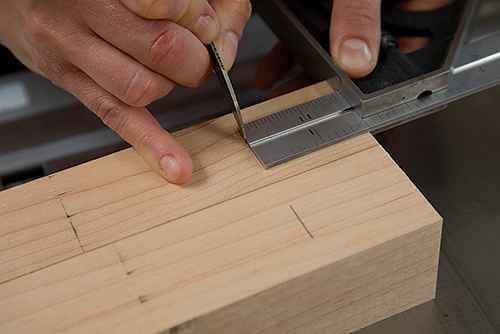
Now set up your router table with either a 1/2″ straight bit or a spiral down-cut bit (which was my choice) to cut the leg grooves. Use one of the extra pieces you made to test the table setup. Go ahead and mark where the groove will end on each side of the legs with a marking knife.
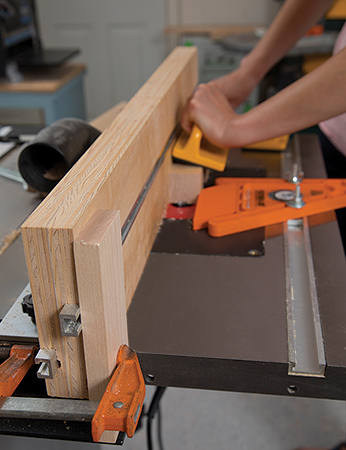
Clamp a stop block on the router table fence to stop the groove at the scribed mark. Because you are using a 1/2″ bit, it will take two cuts to make the 3/4″-wide groove, but you can adjust that cut to fit your plywood perfectly. Each pass should be about 1/16″ deep. When you make the first cuts on the two faces of the leg, they will be out of alignment to begin with, as in the photo above.
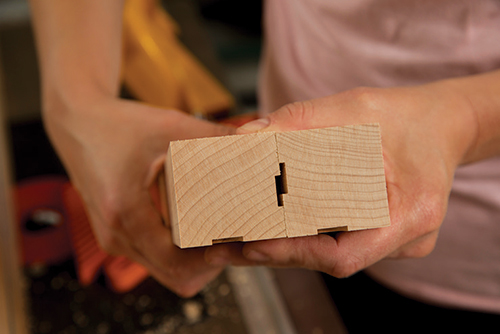
Keep raising the bit about 1/16″ higher for each pass until you reach the final depth of 3/8″. Next, I carefully reset for the second cut in the grooves, starting back at a depth of 1/16″. Of course, I used my extra piece to check the second setup, too. Finally, use a chisel to square up the ends of the grooves.
Slip Slotting Away
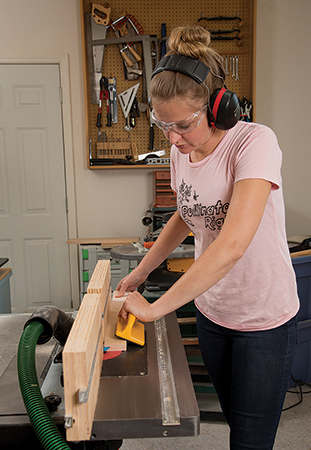
When it comes to the top of the dog food storage box — which can also serve as a bench when you’re not in there accessing the kibble — there are several ways you could attach the edges to the plywood, but I chose to use splines.
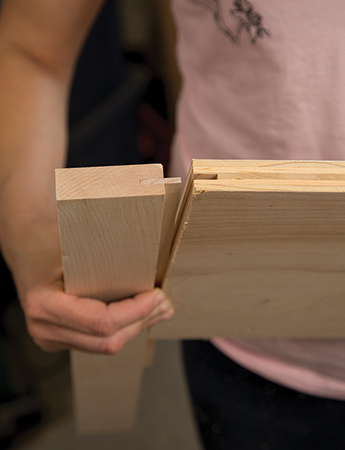
To get started, I first set up a router table with my 1/8″ slot-cutting bit and set the fence for a 1/2″-deep cut. Cut a slot along the ends of the plywood top panel and the full length of the short top end pieces. The top’s front and back pieces are also slotted, but they need to stop short of the ends. Wait to cut these for now.
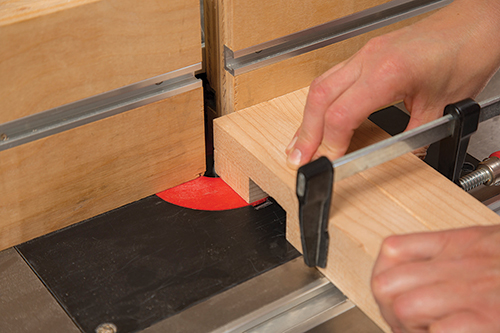
Make splines by ripping 3/4″-thick hardwood on the table saw (use a zero-clearance insert) so that you are getting 1/8″ offcuts. Make enough pieces to have lengths for the two short sides and the long sides. Cut the splines to appropriate length for the top’s short end pieces.
Glue the hardwood short top ends to the plywood with splines. Now create spline slots along the top’s front and back edges, and into the long hardwood pieces, stopping these slots short of the part ends so they won’t show. Cut splines to length, and glue the hardwood pieces and splines to the top.
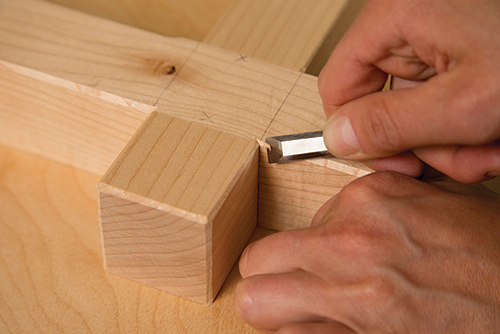
Before assembling the body of the storage box and the dish holder, use a 45˚ chamfer bit to ease the edges. Be sure to not rout where the joints go together. In fact, stop routing the edge about 1/4″ away from the lap joint intersection. I used my router table, but a handheld router would work well, too. Chamfer the bottom of the legs, too, so that they don’t catch on the floor.
Making the Handle
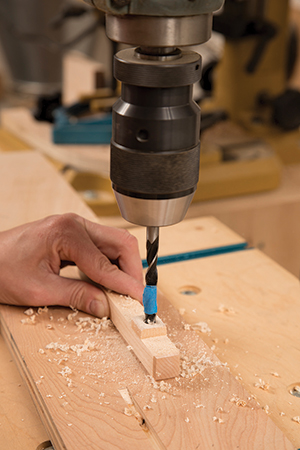
Now make the storage box’s handle to the dimension shown in the Material List. Carefully cut the handle’s two standoffs on the miter saw, but make sure the blade completely stops before lifting it, or the tiny piece may go flying.
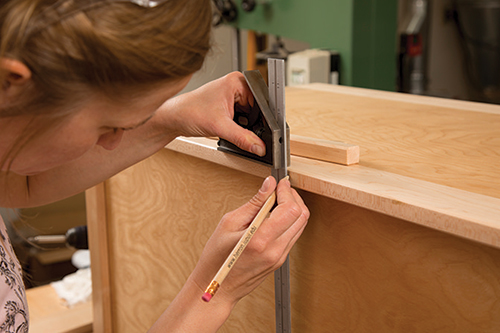
Glue the standoffs to the handle, and use a block with 180-grit sandpaper to chamfer all of the sharp edges. The handle is just too small to shape safely on the router table. Now drill 5/16″ holes through the standoffs into the handle to start creating dowel joints.
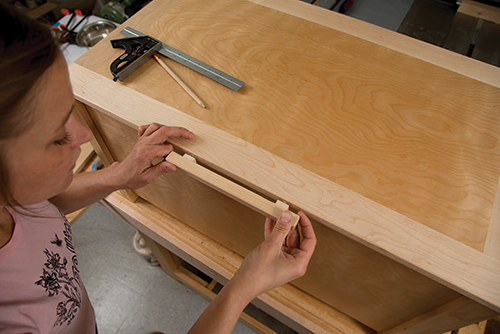
Measure so that you can find where the handle will be centered on the front edge of the box top. Then take a set of metal dowel centers and put them in the handle holes.
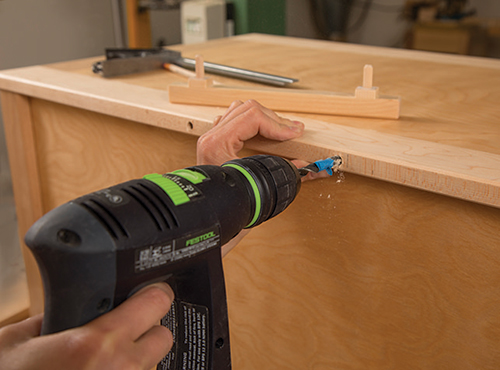
Carefully press the handle in place hard enough to make indentions where the dowel centers make contact. Drill two holes perfectly perpendicular to the edge of the top for mounting the handle.
Bowl Holder Assembly
I glued up the dog dish holder in two phases. First, glue and clamp the top frame together before sanding. Always use protective blocks to prevent marring from the clamps. You also get better distribution of your clamping pressure. Then add the legs.
When the glue gets rubbery, carefully use a chisel to remove it and then extend the little chamfers with a chisel up to the lap joints, too.
Installing Hinges

I attached the hinges to the lid first, measuring in 61⁄2″ from each edge, and then made a light pencil line to locate them.
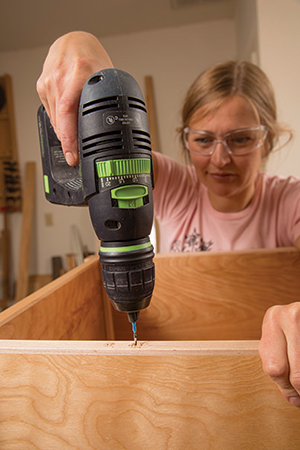
Place the hinges on the lid and draw centerpoints for the screws. Take the hinge off and pre-drill using a 1/16″-dia. bit, then screw the hinges to the lid. Place the lid in position on the box. (A friend can make this task easier.)
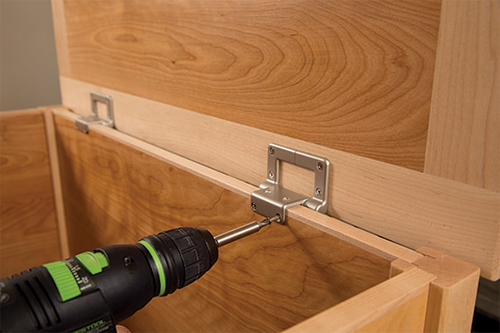
Mark the centerpoints as you did before. Remove the lid, pre-drill, and screw the top onto the box. Check the fit and adjust it now for an even overhang.
Time to Sand
Sand all surfaces of the bowl holder and storage box pieces up to 220-grit. Be sure to sand the end grain well to really bring out the beauty.
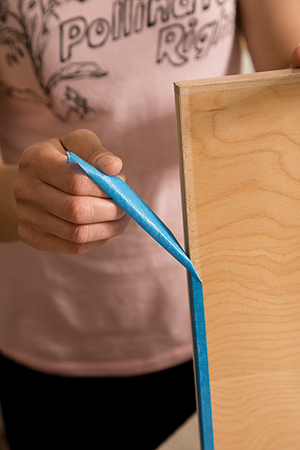
On the box pieces, tape off the ends of the side panels before finishing because if you finish the whole panel, the glue won’t be able to adhere to the finish. About 3/8″ goes into the grooves for the joint, so I taped off about 1/4″ to be sure that I’d get finish coverage everywhere that might show. Also, take care to not get the finish in the grooves.
I used Minwax® Polycrylic™ in satin because water-based finishes don’t yellow. I wanted to keep the maple’s natural lighter color. I brushed on three coats, lightly sanding between them with 400-grit sandpaper.
Glue up the Storage Box!
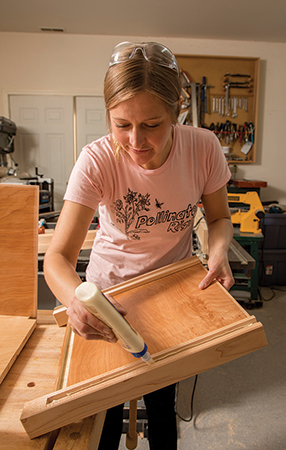
Finally, it’s time to put that box together! I started by gluing and clamping the box legs and the short ends together. Once that was dry, it was easier to glue the front, back and bottom in place. I used scraps of wood as clamping cauls to keep from damaging the edges of the box. Remove any glue squeeze-out when it is just rubbery hard. Check the clamped-up box for square and allow the glue to cure. I added stick-on felt pads to the tops of the legs to cushion them when the lid closes.
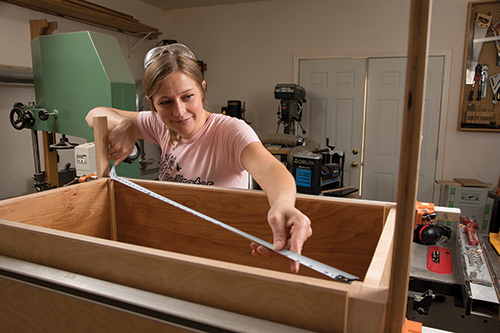
When you are done with that, it is on to installing the hinges. I also used rubber feet on the dog bowl holder to ensure that Bailey, the aggressive eater, won’t scoot the whole thing across the floor. Draw two lines corner to corner (making an “X” and finding the center) on the bottom of each bowl holder leg. Then drill pilot holes and screw on the rubber feet.
And now, you are done! It’s hard to believe, but I’m pretty sure that Bailey, the pig dog, enjoys eating and drinking even more than she did before! I’m also enjoying having a new bench to sit on while I put on my shoes, and I’m glad that all the dog accessories and food are hidden away.
Hard to Find Hardware
Dish Holder:
Non-Skid Rubber Bumpers 3/4″ #46618
Storage Box:
Lid-Stay Torsion Hinge Lid Support #44283
Slipstick Round Self-Stick Felt Pads, 1″ Dia. #57071
Rockler Biscuit Cutter Router Bit Set #50090
Freud Down-Spiral Router Bit #37925


