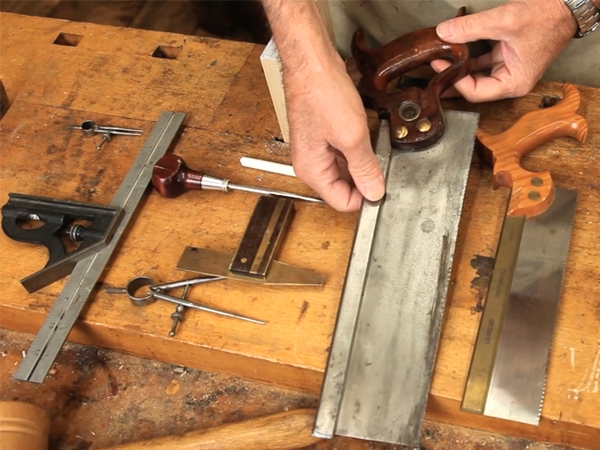
It’s easier to cut dovetail joints that fit well and look nice when you have the right tools. In this episode of Hand Cutting Dovetails series, Ernie shows you the tools that he uses to layout and cut dovetail joints. You’ll learn his favorite marking gauges, dividers, squares, scribes or awls, marking knives, chisels, back saws for the layout, marking, and cutting of dovetails. Ernie also includes several useful tips about how to care for and use your tools.
The dovetail may be the most iconic joint in woodworking. It is the perfect marriage of form and function – both strong and attractive. In this series, Ernie Conover clearly demonstrates how to lay out, cut, and assemble the most popular types of dovetail joints.
Watch: Tools for Hand Cutting Dovetails:
Watch more videos from the Hand Cutting Dovetails Series:
Hand-Cut Dovetail Series Episode Listing:
1. Introduction: Why hand cut dovetails? A brief history of the joint.
2. Tools for Making Dovetails
4. Through Dovetails – Sawing Pins
5. Through Dovetails – Chiseling the Waste
6. Through Dovetails – Transferring the Layout
7. Through Dovetails – Sawing the Tail Boards
8. Through Dovetails – Trial Fit, Gluing, and Clamping
9. Through Dovetails – Making Boxes by Widening the Top and Bottom Pins
10. Half-Blind Dovetails – Overview
11. Half-Blind Dovetails – Layout Pins
12. Half-Blind Dovetails – Sawing and Chiseling the Pins
13. Half-Blind Dovetails – Transferring the Pin Layout to the Tail Boards
14. Half-Blind Dovetails – Gluing and Clamping


