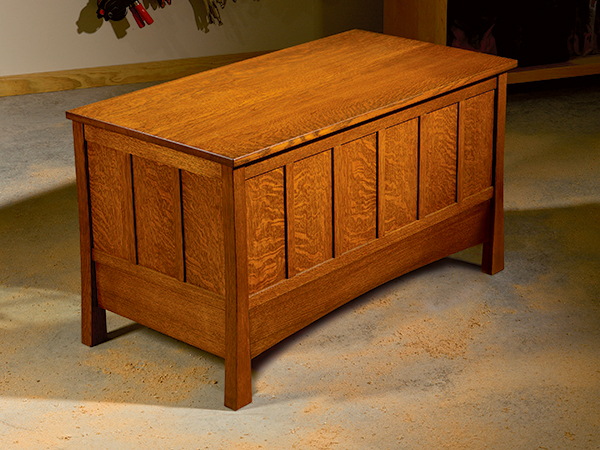
If you appreciated the style of our first Small Shop Journal project this year — an Arts & Crafts Bookcase that appeared in the January issue — then you’re going to like this Veneer Paneled Blanket Chest. It would be an ideal companion piece for that bookcase. But there’s even more to love here if you’re ready to learn a new technique or you enjoy dabbling with the latest hardware. This chest gives you a chance to tackle iron-applied veneering and create a hidden lower drawer that opens and closes automatically with some nifty undermount slides. Sound like fun? Then let’s make some sawdust!
Veneering Made Easy with Roller and Iron
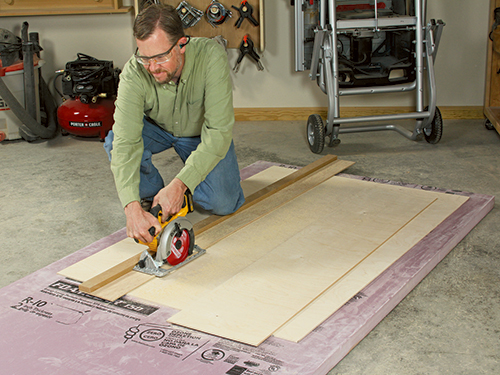
Veneering has the reputation of being difficult to learn, and requiring a bulky veneer press, lots of clamps or an expensive vacuum bag setup. While some or all of this might be true on other projects, our technique is simple, and all you need is a household iron, a foam paint roller and a couple of quarts of yellow or white PVA glue. Well that, and some attractive quartersawn white oak veneer! We sourced our unbacked (bare) veneer in flitches that measured 6-1/2″ x 50″. Nine pieces were just enough to cover the front and back faces of the 18 panels on this chest, but it’s good to have an extra flitch or two on hand to be safe, in case you make a miscut or find a split in a sheet.
You can use either 1/4″ MDF or solid-core plywood for the panel substrates and get great results. We used Baltic birch. Cut the 18 panels to size, as outlined in the Material List. If you go with plywood, sand both faces up to 150- or 180-grit, and clean off all the residual dust. You don’t have to sand MDF, but make sure the panels are clean and free from dust.
When the substrates are prepared, trim 36 sheets of veneer to about 1/2″ larger than the panels in both dimensions. A special veneer saw isn’t necessary to do this; just use a fresh, sharp utility knife blade run against a straightedge. Three or four light scoring cuts will separate the veneer into pieces without issue.
Now comes the gluing and (re-gluing!) part. Thin your PVA glue by about 10 percent with distilled water so that it flows out more easily, and mix it thoroughly. Use a 4″ foam paint roller — not the low-nap style … only foam — and roll a thin layer of glue to seal one face of your panels. Let it dry to the touch for 20 to 30 minutes — until the surface is shiny. Roll a coat of glue onto the back faces of 18 veneer sheets now, too. On unbacked veneer, either face can be the “show” face; we chose the side with the best ray flake pattern and glued the other one.
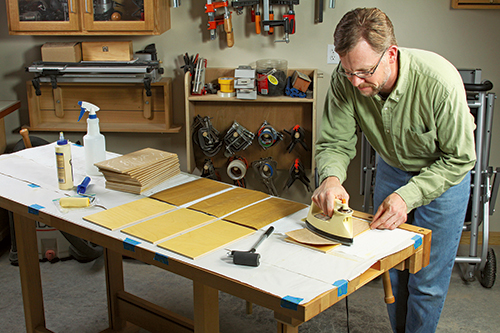
Repeat the whole gluing process for another round. This is the layer that provides most of the bonding strength. When the second coat dries, you’re ready to apply the veneer. Set your iron to medium high heat (the “cotton” setting is about right). Lay the veneer squarely over each piece of substrate, aiming for an even overhang, and simply iron it down, starting at the center and working slowly outward to the ends and edges. If the veneer curled during the gluing stage, spritz the unglued face first with distilled water and it will flatten out, then iron it down. The iron reactivates the dried glue for a permanent bond — and once it’s down, you can’t peel it off, so work carefully. When the veneered surface cools, tap on it with a fingernail. It should sound like solid plywood. A snare drum sound means there’s a loose spot underneath, so re-iron to bond that area. After you’ve veneered the first faces, trim the overhang flush with a utility knife or a flush-trim bit in your router, then glue and veneer the remaining 18 panel faces (there are 36 faces total).
Give your panels a gentle sanding to smooth any raised grain on the surface, then follow that with the stain of your choice and one layer of top coat to seal in the stain. We brushed on some unwaxed shellac to enhance the quartersawn figure. Pre-finishing will be a recurring theme for this project. There are many nooks and crannies on the finished chest. Finishing in stages eases the whole process and ensures a uniform, quality result.
Machining the Legs
Face-glue the chest’s 1-1/2″-thick legs from two laminations of 3/4″ riftsawn white oak. Riftsawn provides an even, linear grain pattern across both the faces and edges of the legs to help hide the glue lines and to make them look like thicker stock. When the glue cures, rip the four legs to rough width, square them up and cut the legs to final length. Keep the legs square in profile.
Spend a few minutes familiarizing yourself with the groove and mortise layouts of the legs, using the Drawings. Notice that the sides and back of the chest require two offset cuts in the legs — a long groove for the panels and top/bottom rails, and a mortise for the side and back aprons. The front legs only receive one long groove for the front panels and rails, as the drawer takes the place of a front apron. The apron mortises are set 1/4″ back from the panel/rail grooves in order for the faces of the aprons to be flush with the panel faces in the chest.
Before you dive into cutting these grooves and mortises, be sure to measure the veneered panel thickness; it will probably be just shy of 5/16″ now with the veneer applied. Set up your router table and a 1/4″ straight or spiral bit to mill the eight 1/4″-deep panel grooves, then deepen the ends of these grooves to 3/4″ to fit the top and bottom front, back and side rail tenons. Follow the Drawings to set the length of these mortises. Widen the panel grooves and rail mortises by shifting the router table fence back slightly and making more passes. Now reset the fence and mill mortises for the side and back aprons: the side aprons have 3/4″-deep mortises, while the back apron’s mortises are 1/2″ deep. Square up the end of these cuts with a chisel.
Preparing the Rails, Stiles and Aprons
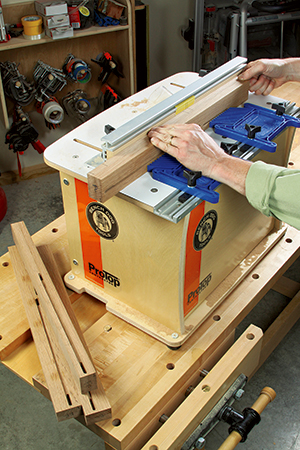
Next, make up blanks for all the rails, stiles and aprons from more riftsawn white oak. Use a dado blade and table saw, or head back to the router table again, to mill centered, 1/4″-deep grooves along one edge of the rails and both edges of the stiles to fit the panels.
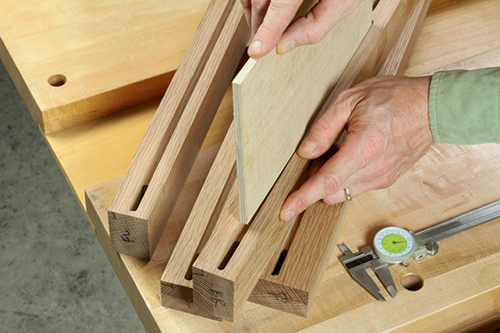
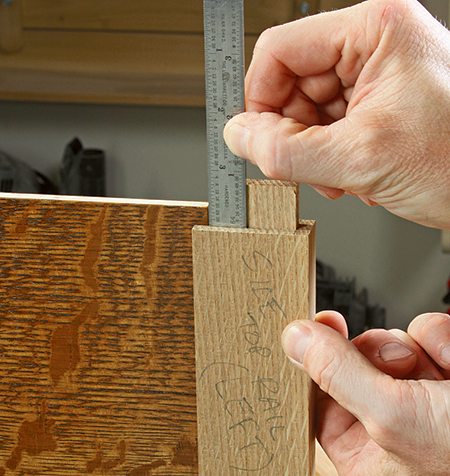
Then cut tenons on their ends using a machining method you prefer. Remember that the rail and stile tenons must be thicker than the apron tenons to fit the panel grooves.
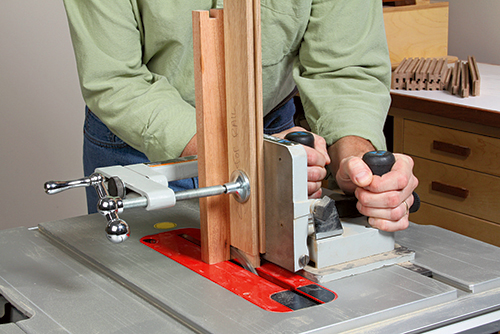
This is also a good time to rout a shallow mortise along the top edge of the top back rail for the 36″ continuous hinge that attaches the lid to the chest.
Mark your router table fence carefully to note the cutting limits of a straight bit, and mill this mortise 3/16″ deep and 1/2″ wide. Make sure the hinge mortise opens out to the back face of the rail, not toward the chest interior.
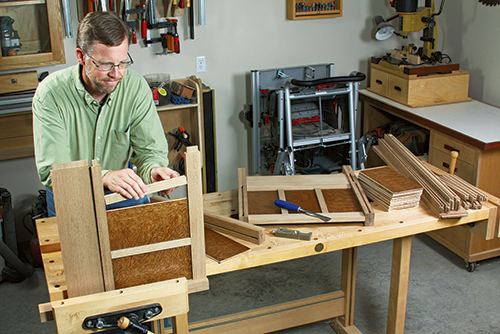
You’re still a few prep steps away from a glue bottle, but take time now to dry-assemble all the parts into front, back and side subassemblies.
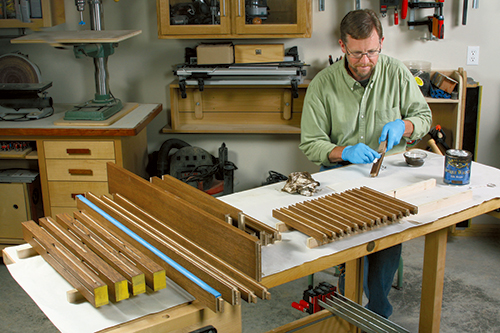
Don’t be surprised if, when you fit the panels and stiles on the rails and between the legs, that their cumulative “width” makes a bit of trimming necessary in order for the rail tenons to seat fully in the leg mortises. If that happens, trim the panel widths to correct for any error. Once the rails, stiles, panels and aprons come together properly, give the frame parts and legs a thorough finish sanding. Stain and topcoat them, but leave the unmortised faces and edges of the legs bare for now.
Assembling the Carcass
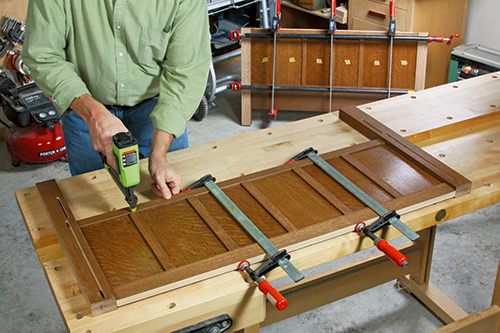
After the finish dries, go ahead and glue up your components into a front and back chest subassembly — legs, rails, stiles and panels. To ease the glue-up process, simply dry-fit the stiles in place, then lock them to the rails with 5/8″ brads driven from the inside. When the clamps come off, make a template from scrap to shape the bottom of the legs with a flared curve.
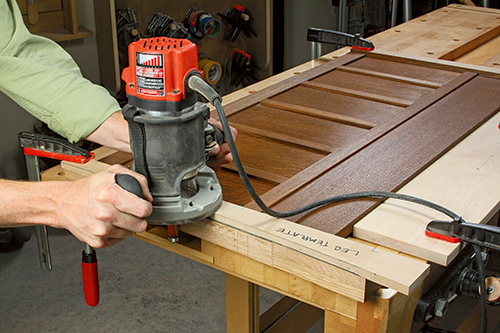
Rough-cut the legs first with a jigsaw, then use a flush-trim bit in your router, run against the template, to perfect these profiles. Hold the template in place with strips of double-sided tape during routing. When that’s done, sand the curves. Complete the chest’s carcass by joining the front and back subassemblies with the side rails, aprons, stiles and panels. Finish up by staining and topcoating the remaining bare leg surfaces.
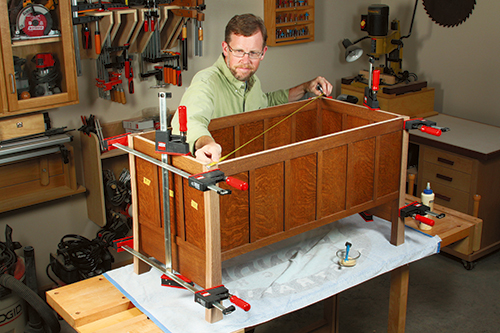
You are making great progress now! The chest’s bottom panel rests on four cleats. Make and screw them into place so the side and back cleats rest on the tops of the aprons. Line the bottom of the front cleat up with the bottom edge of the bottom front rail. Cut a plywood panel to size, and notch the four corners to fit around the legs.
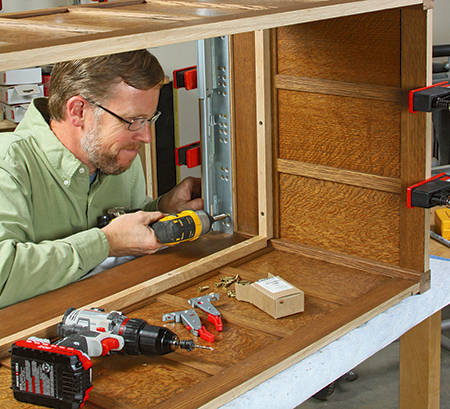
Sand and finish it, but wait to install the bottom until after the drawer is hung, for access sake. Now fasten two 1/4″-thick drawer slide spacers between the legs, 1/4″ up from the bottoms of the side aprons. Attach the drawer slides to them with screws so the hardware and spacers are flush along their bottom edges.
Hanging the Drawer
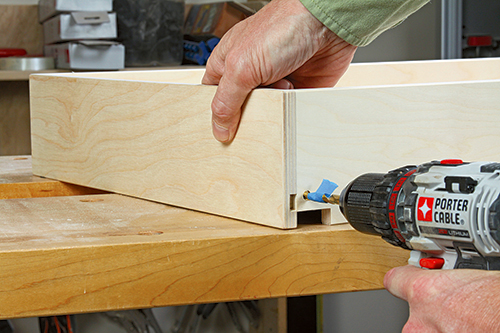
With its stone simple 1/4″ x 1/4″ dado-and-rabbet corner joints, building this drawer is about as easy as drawer construction gets. Size the parts carefully from the Material List above — we used 1/2″ Baltic birch ply for both the drawer box and bottom — and glue the box together after milling the corner joinery and 1/2″-wide, 1/4″-deep drawer bottom grooves.
Notice in the Drawings that you need to cut two 1/2″- deep, 1-5/8″-wide notches through just the drawer back in order for the drawer to fit over and rest on the metal slide rails. This hardware also requires a pair of small holes to be drilled in the drawer back; mounting prongs fit into the holes to lock the back of the drawer to the slides.
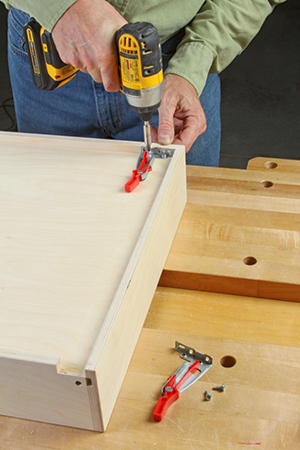
Two release levers (you can see them in the photo) tuck into the front bottom corners of the drawer box and fasten to it. They clip the slides and drawer together from in front. Once it’s all in place, the drawer opens a few inches with a gentle tap and closes the last few inches with a nudge after it’s been extended. Very cool hardware: discreet, slam-proof and whisper quiet.
Finish up the secret drawer by making and installing the drawer face from one more piece of nice, riftsawn oak. A flexible batten made of scrap hardboard or thin hardwood works well for setting and scribing the gradual arch shape along its bottom edge.
Cut the arch and sand it smooth, then stain and finish the drawer face. Fit it carefully and drive several #8 x 1″ countersunk wood screws through the drawer front to secure it permanently.
Capping It Off With a Quartersawn Lid
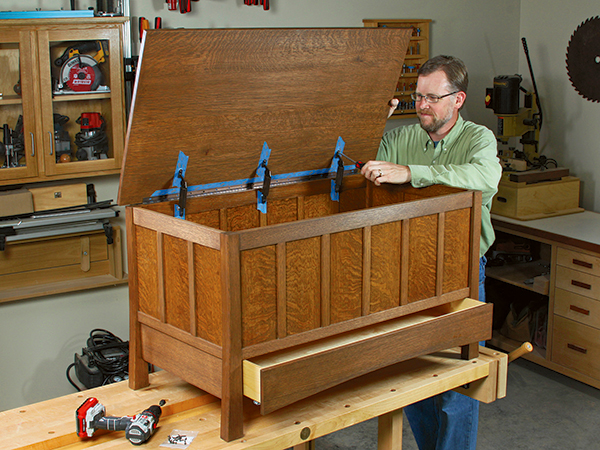
A fitting “crown” for this blanket chest is a lid made from some highly figured quartersawn oak to match the panel veneer. Glue up the lid blank, trim it to final size and break the sharp edges and corners with a chamfering bit in your router or with a block plane. Apply stain and finish. Given its nearly 30 lb. weight, we installed the lid with three slam-proof toy box lid supports so it closes gently and lifts up with ease. They’re perfect for the job. This chest will turn heads, and it’s a prime example of how great woodworking can be done even in a small shop space.
Click Here to Download a PDF of the Related Drawings, Materials and Hardware Lists.


