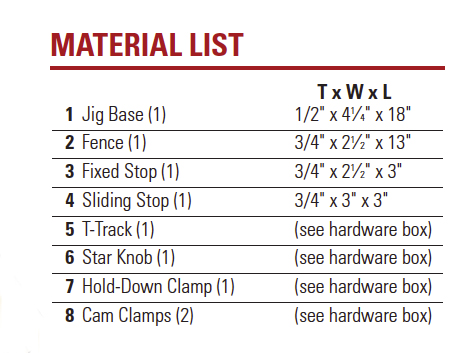
Properly adjusted, nothing beats a drill press for boring perfectly vertical holes. With your stock flat on the table, held by hand or with a clamp when needed, as long as your table’s square to the chuck, you’ll get spot-on vertical holes. However, when drilling holes into the ends of a workpiece, turning the work on-end and keeping it rigidly vertical while drilling creates a delicate balancing act. A vertical drilling jig like this one makes the process easy again.
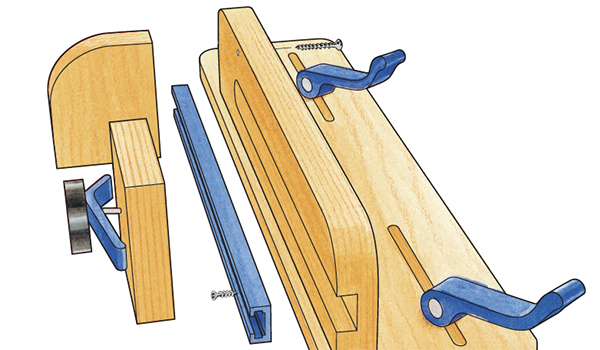
This jig works with the drill’s table (properly adjusted so it’s square, of course) to hold your workpiece vertically with a dual stop system — one stop permanently affixed to the jig’s 90° fence serves as the vertical register for the workpiece, while a sliding stop adjusts along a T-track to hold the workpiece upright.
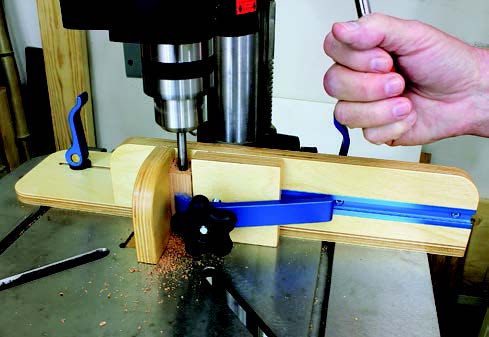
Sliding stops and T-tracks go well together — a hole drilled through the stop accepts a star knob and T-bolt; slide it along the track to wherever you want it and then just snug it up. I offset the hole in the sliding block to add versatility.
For simple drilling of shallow holes, just use the sliding stop and knob by itself to orient your workpiece against the jig’s fixed stop. The jig provides the verticality while you simply hold the piece in place. For deeper drilling (especially for things like pen blanks that tend to “get stuck” on the drill bit), add a hold-down clamp beneath the star knob. Slide the whole thing over against your workpiece and clamp everything down securely.
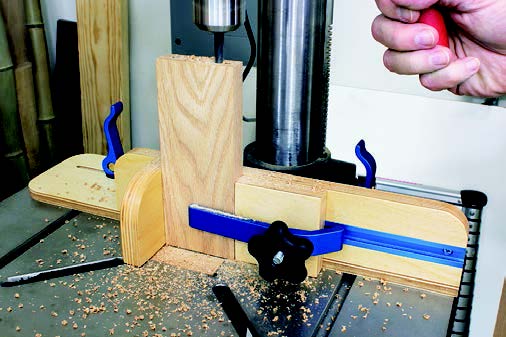
Because the T-bolt hole is offset in the sliding block, you can orient the long tang of the hold-down to one side or the other of the block and orient the block with the hole to the right or left, all of which provides versatility and efficient clamping power for differently sized workpieces.
Making the Jig
You can make your jig from just about any flat material, but I chose 1/2″ birch plywood for the jig base, and 3/4″ for everything else. I’ve sized the jig and its components for my drill press, so you may want to adjust sizing to best fit your machine. Also, my drill press has a pair of T-tracks in the cast-iron table that I took advantage of with T-bolt cam clamps, but if your drill lacks those you can also use the cam clamps with regular bolts and large washers in the open slots in your table. If that does not work, you can simply clamp the jig to your drill press table to hold it securely.
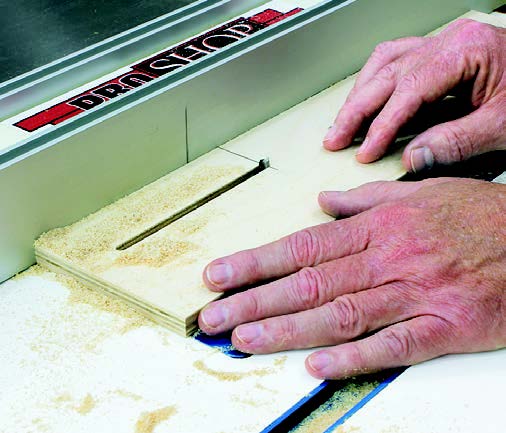
Begin by cutting the base to size and routing a pair of 1/4″ x 5″ slots for the cam clamps. Place these about 1-1⁄2″ from the back edge, and an inch from each end. (This placement and slot length gave the movement range that worked best for my drill press, but adjust yours as needed.) The router table works best for this task. Mark the router fence so the bit lines up with the slot’s starting point, then mark the workpiece where you want the slot to stop. To cut the slot, line up the workpiece on the fence mark and drop the wood onto the bit. Then just slide the workpiece along the fence till you reach your stop mark, and lift the workpiece off. Repeat the process for the other slot. With that done, round off three of the corners with a band saw or jigsaw as you can see in the Drawings — the right/front corner of the base remains square for placement of the fence shortly.
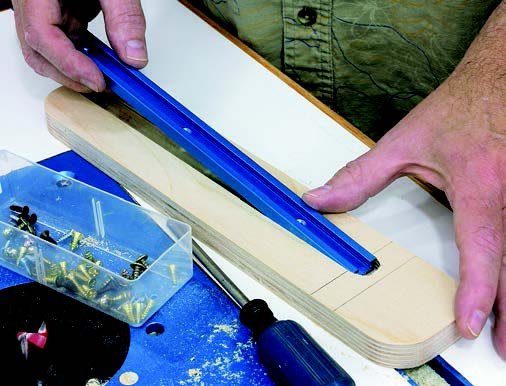
Now, cut and round off the jig fence and mark the location of the fixed stop onto the fence face as shown in the Drawings. Rout a 3/8″ x 3/4″ dado along the length of the fence, stopping the dado in the middle of the stop location. This allows you to attach the T-track so the end is hidden underneath the fixed stop once it’s in place.
Attach the fence to the front of the jig as shown in the Drawings with glue and screws, and then glue the fixed stop into place on the front of the assembly. Note: The fixed stop holds the key to keeping your workpiece vertical, so check for squareness as you do this glue-up. Once the glue has cured, reinforce the fixed stop with a pair of screws countersunk from the back of the fence.
Finally, drill a hole for the star knob through the sliding stop centered top-to-bottom and about 1″ from the edge.
You can leave the jig unfinished if you like, but two coats of polyurethane will help the sliding stop move more smoothly along the face of the fence (and make the jig look terrific).
Click Here to download a PDF of the related drawings.

